Smart Attachments for Jira Cloud allows you to manage labels for attachments within issues, as follows:
tag attachments with labels
remove labels from attachments
filter attachments by label
group attachments by label
Start using the app
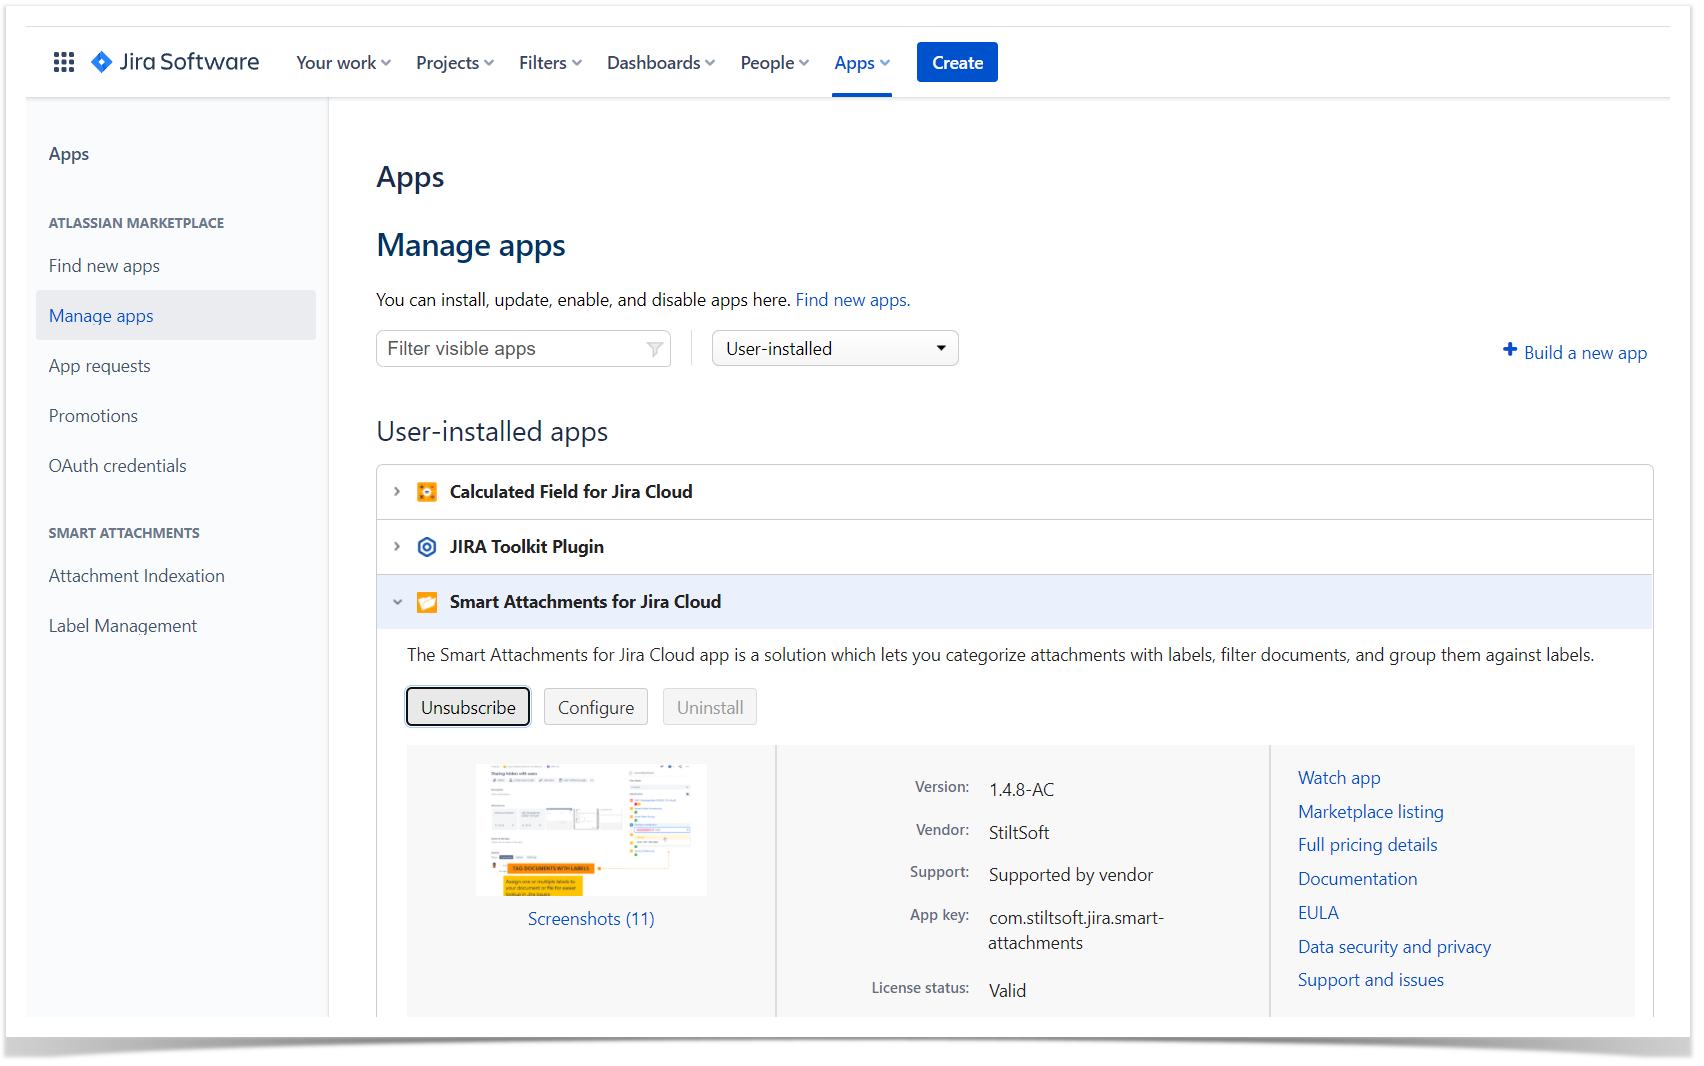
Navigate to Settings > Apps > Manage apps
Click Find new apps
Search for Smart Attachments for Jira Cloud and install it.
You're all set.
Set up the app after install
You don't need to configure Smart Attachments for Jira before the first use. The app is ready to use immediately after installation in the Manage apps section.
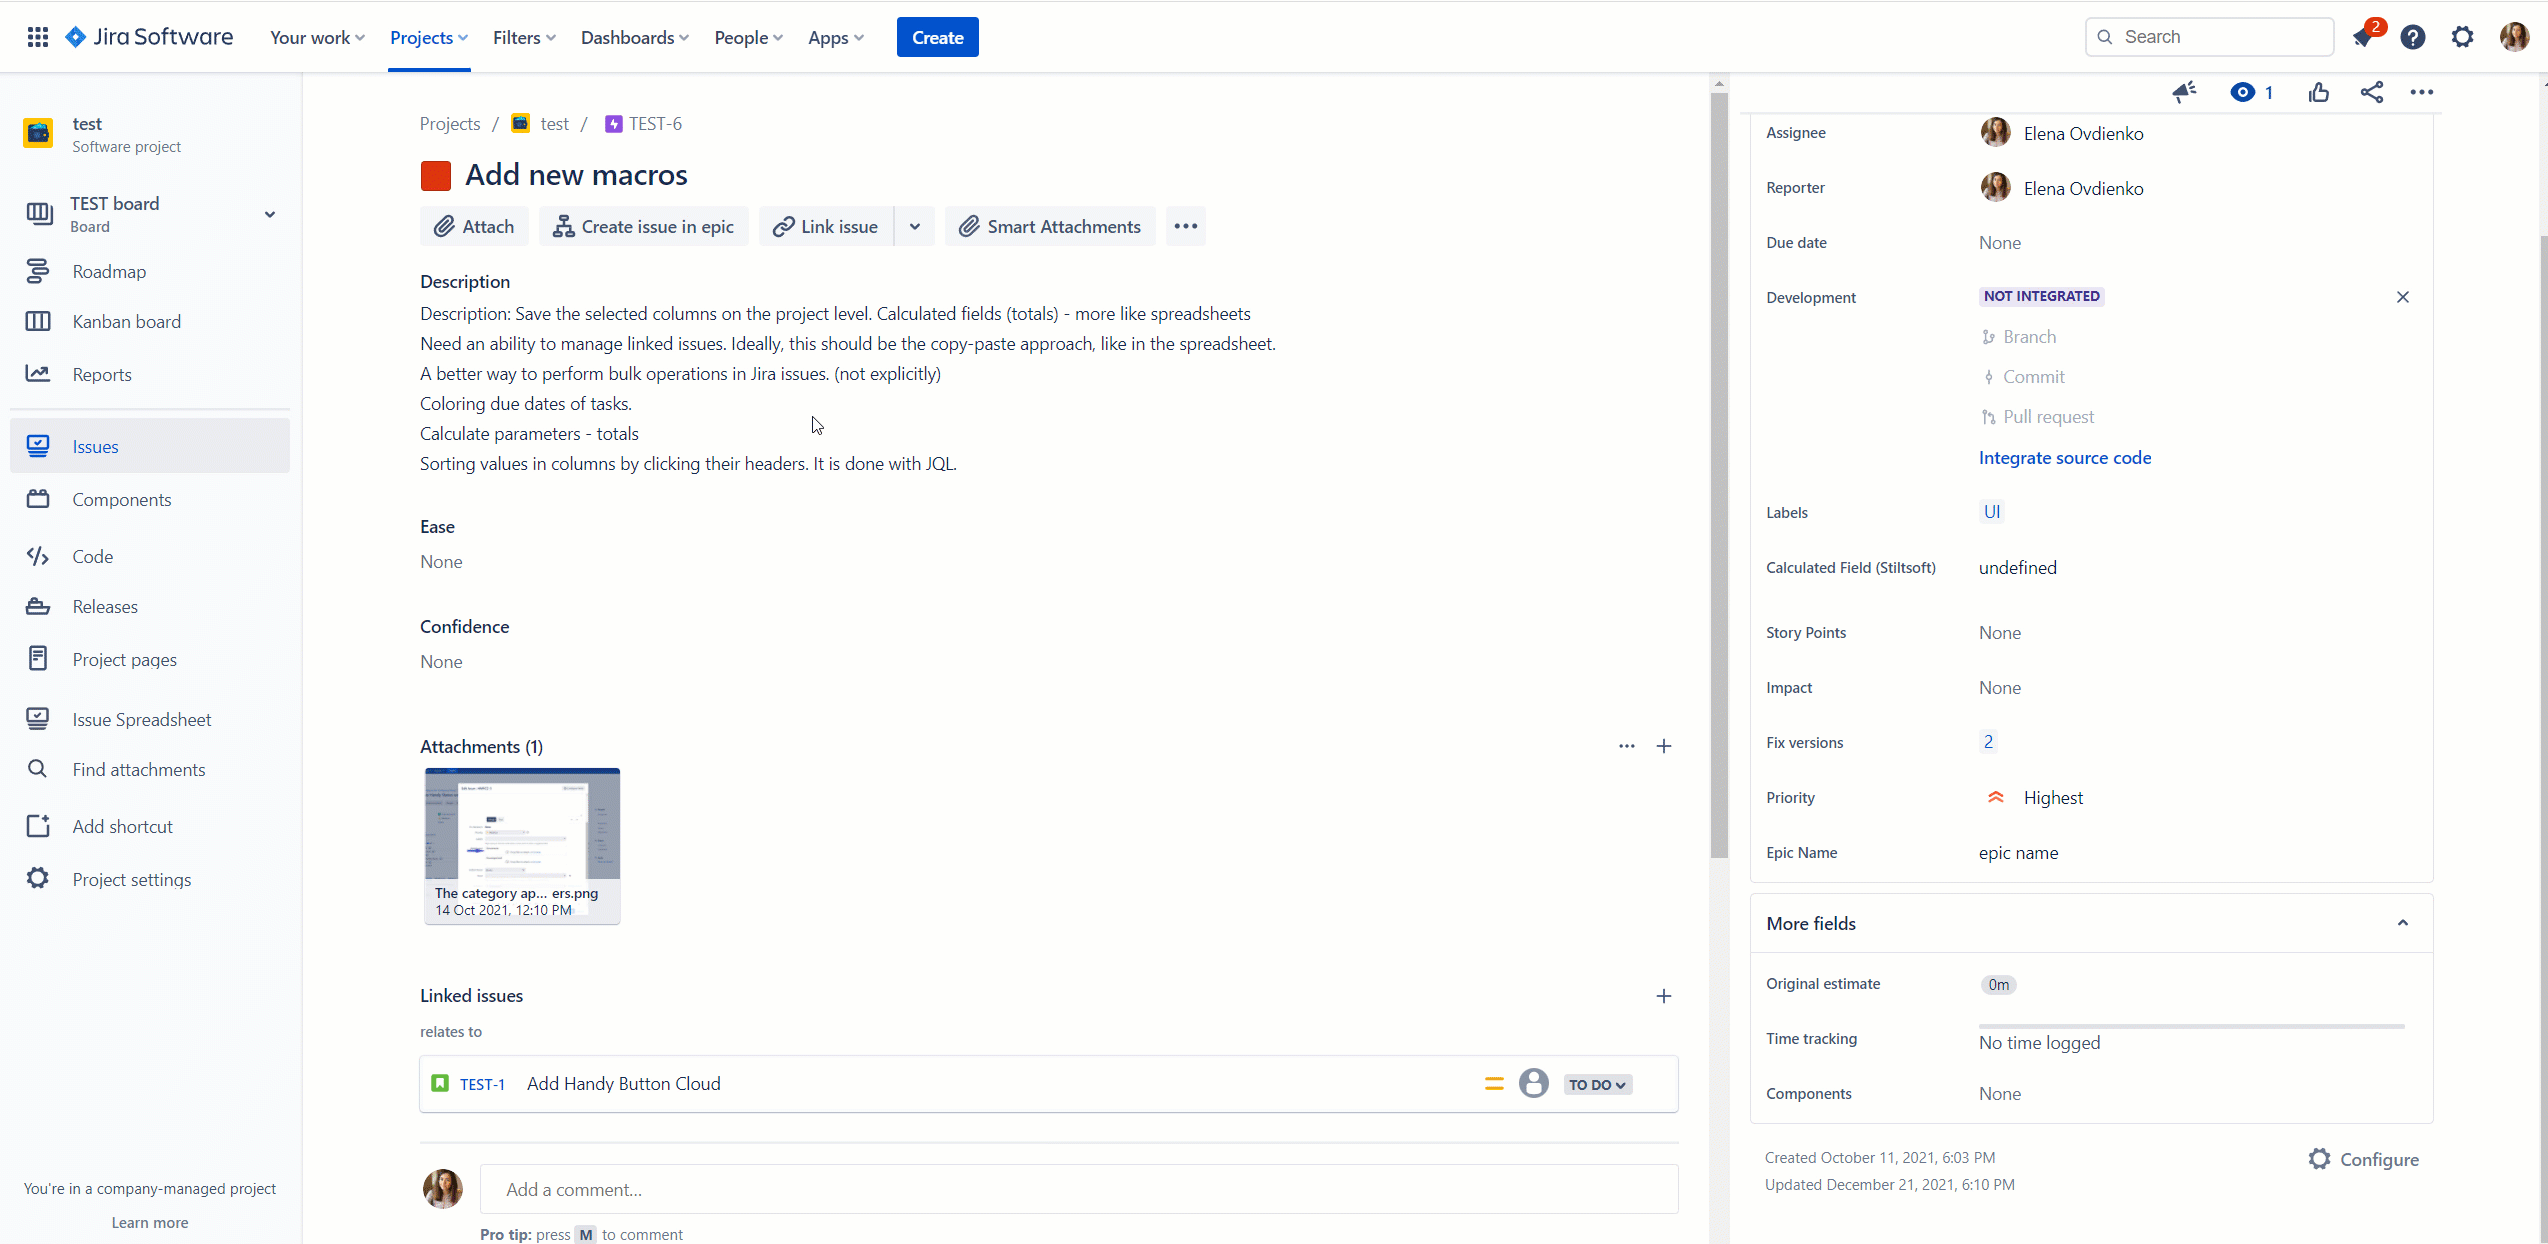
Just navigate to any of your issues with attachments and tag them with the labels you want. You can find the detailed instruction inthe Tag attachments with labelssection.
Manage the app view
You can choose how the Smart Attachments section will appear on your Jira issue screen. It can be visible by default or expand on click. You can define it in your Project settings.
Navigate to Project settings > Smart Attachments.
Enable or disable the toggle Show smart attachments panel depending on what view of Smart Attachments in this project you want.
When enabled, Smart Attachments appear on your Jira issue screen at once, when disabled - after a click on them.
Cookie Notice
This website uses cookies for analytics, personalization and advertising. By continuing to browse, you agree to our use of cookies. Learn more