Download PDF
Download page Using multiple SQL statements.
Using multiple SQL statements
Using multiple SQL statements within a single Table Transformer enables more comprehensive data transformations, allowing for the handling of complex and advanced use cases. This approach provides the flexibility to perform intricate data manipulations, making it possible to address a wider range of scenarios efficiently.
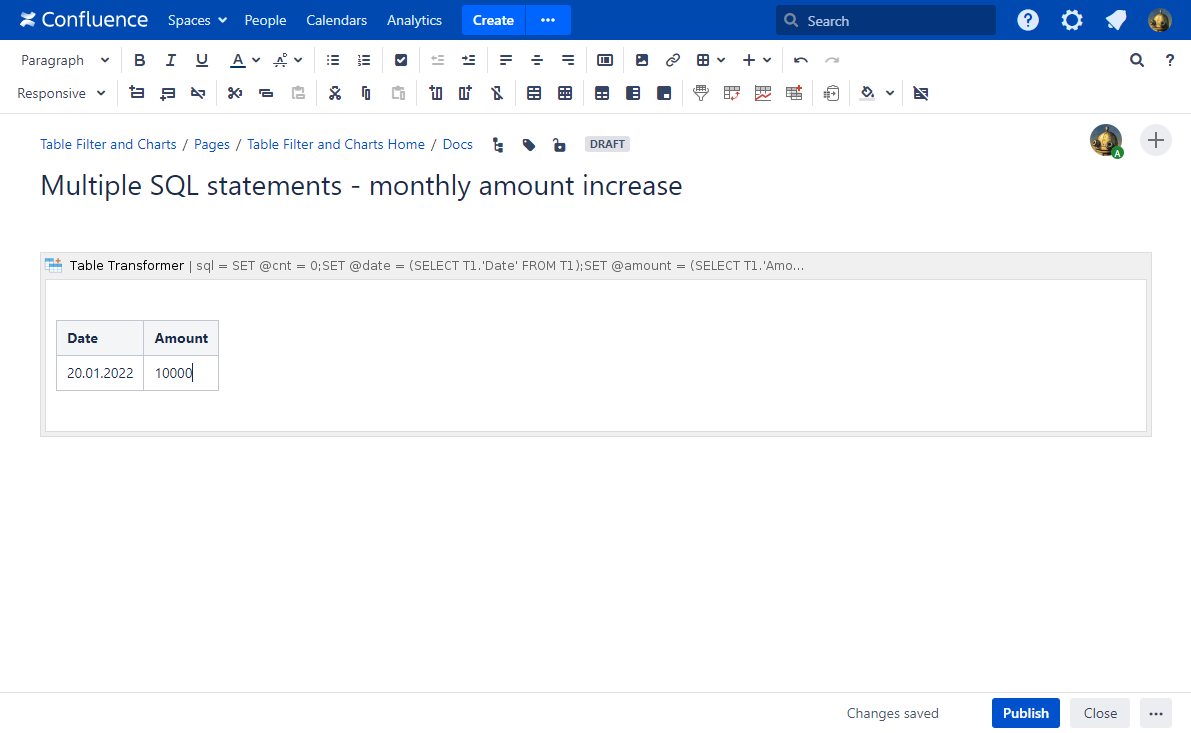
Inserting new rows
Use case:
You have a table with the date and the amount and need to show the amount increase by 4% from month to month.
Solution:
- Switch the page to the edit mode.
- Insert the Table Transformer macro and paste the table with the start date and the start amount.
- Select the macro and click Edit.
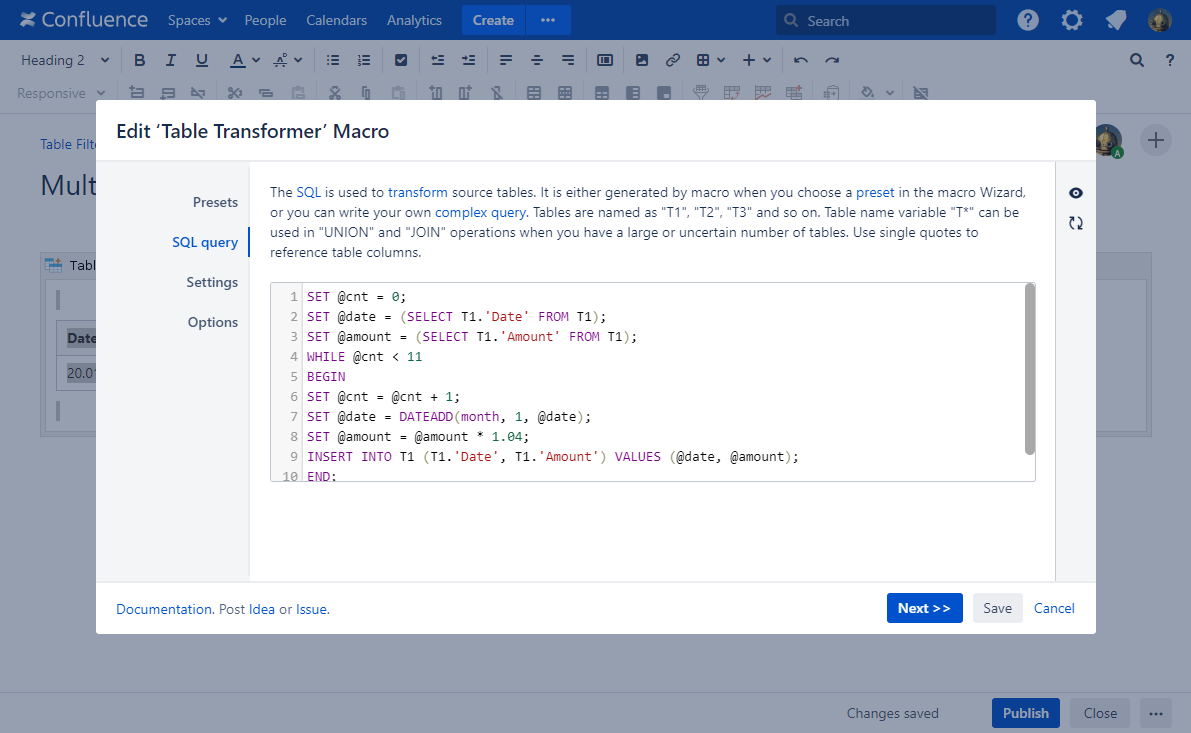
- In the Presets tab select Custom transformation and click Next.
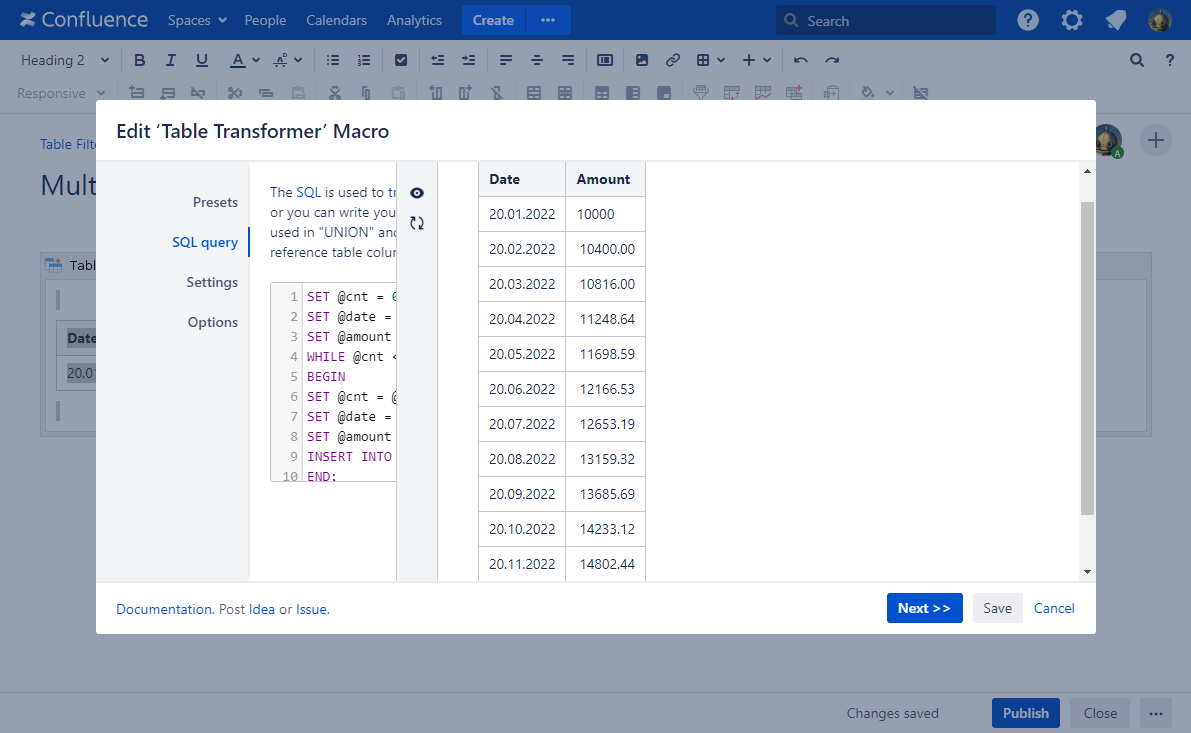
Enter the following SQL query:
SET @cnt = 0; SET @date = (SELECT T1.'Date' FROM T1); SET @amount = (SELECT T1.'Amount' FROM T1); WHILE @cnt < 11 BEGIN SET @cnt = @cnt + 1; SET @date = DATEADD(month, 1, @date); SET @amount = @amount * 1.04; INSERT INTO T1 (T1.'Date', T1.'Amount') VALUES (@date, @amount); END; SELECT * FROM T1SQL- Click Next.
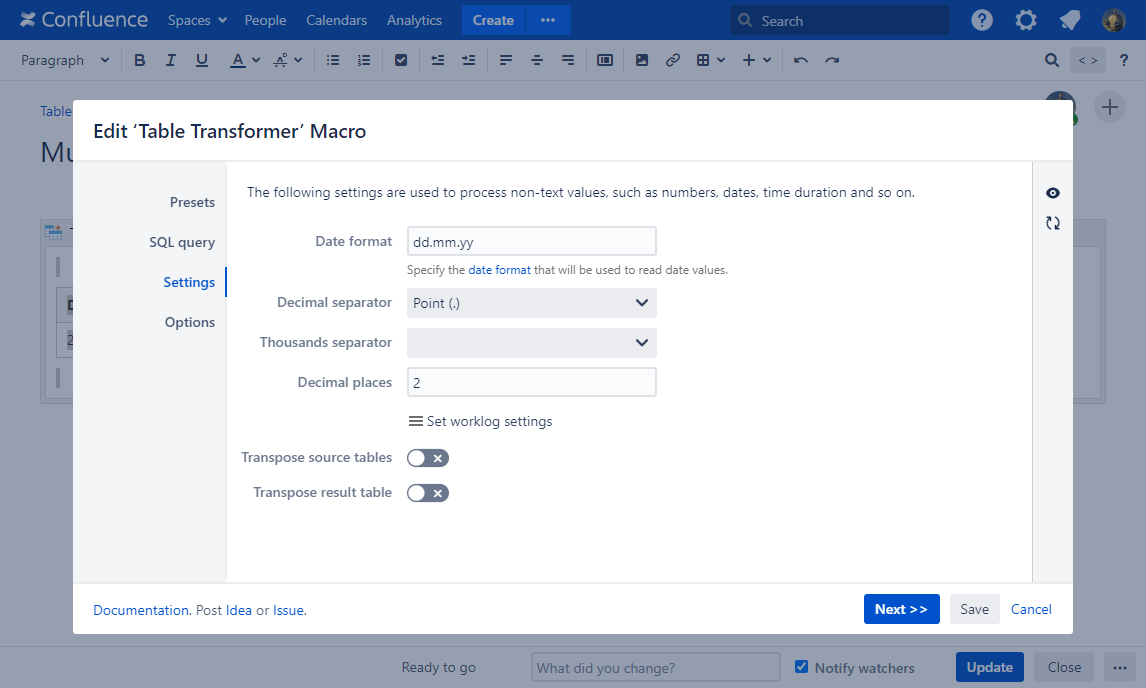
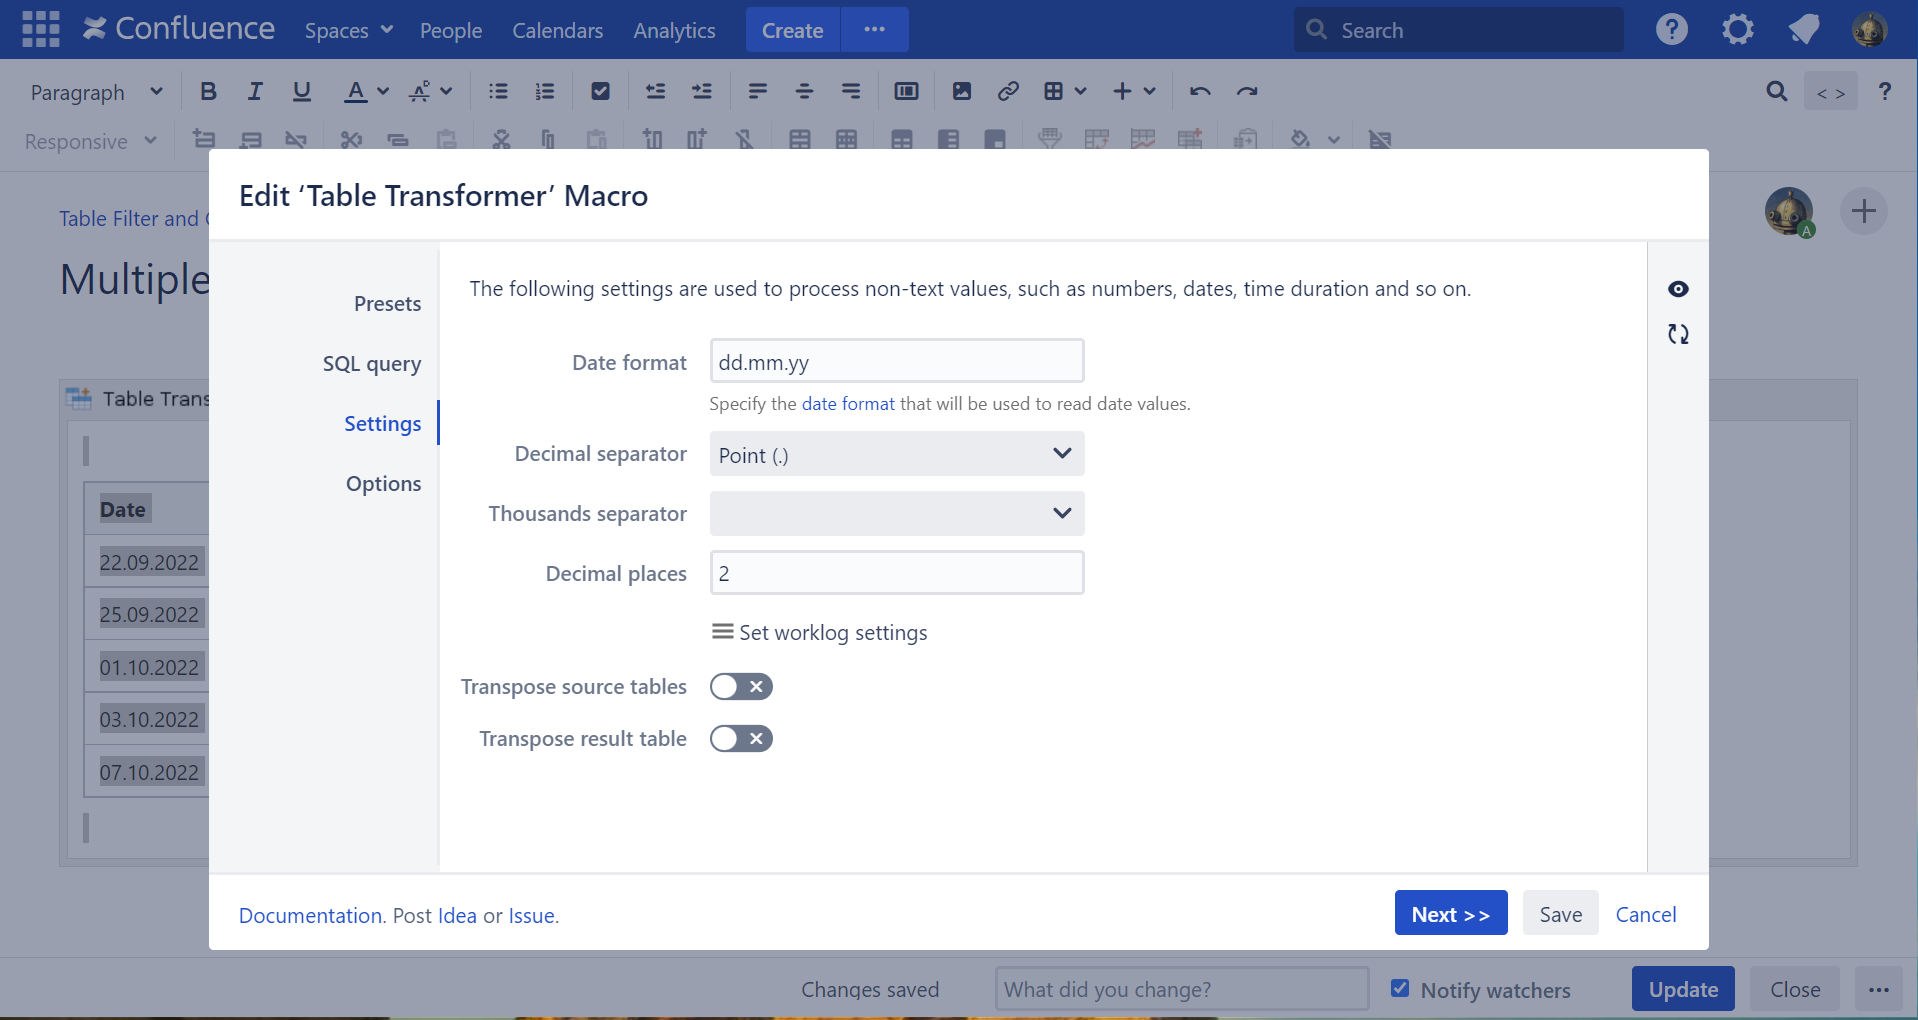
- Define the date format .
Save the macro and the page.
Updating existing rows
Use case:
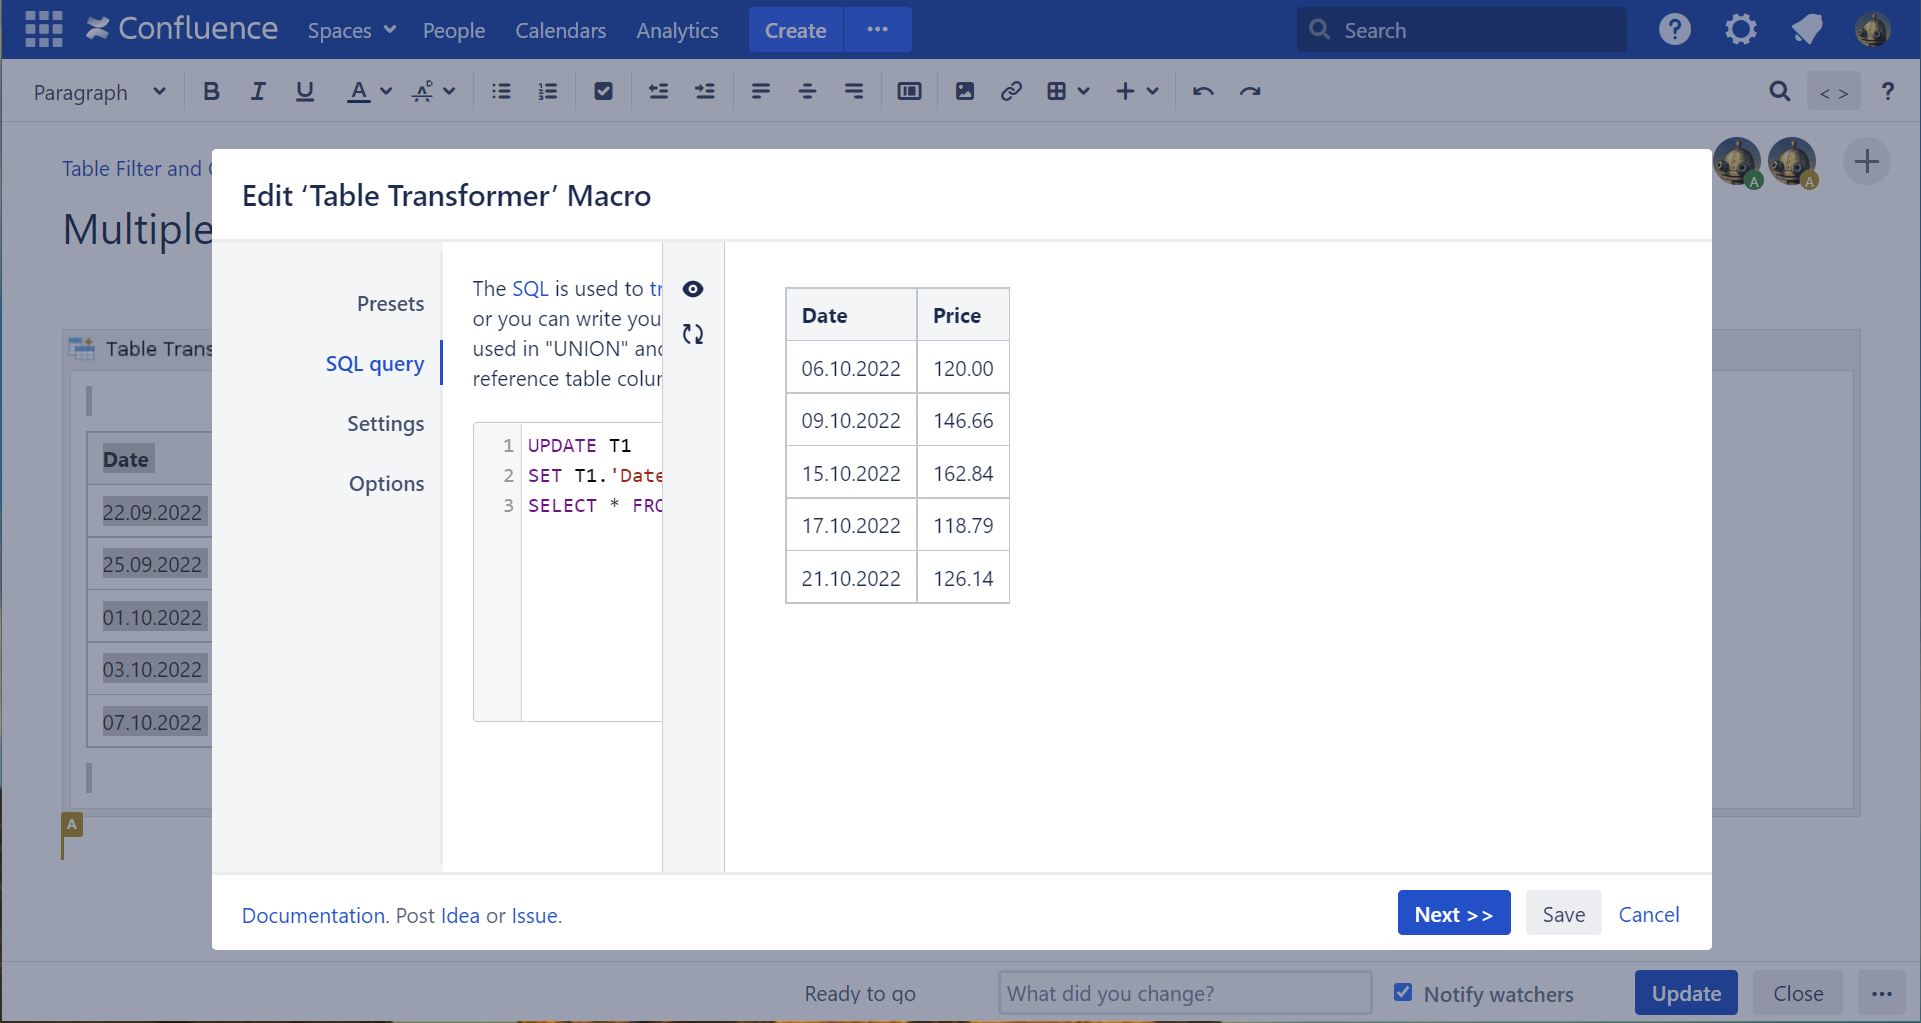
You have a table with dates and prices and need to move the dates two weeks forward and the prices 20% up.
Solution:
- Switch the page to the edit mode.
- Insert the Table Transformer macro and paste the table with the dates and the prices.
- Select the macro and click Edit.
- In the Presets tab select Custom transformation and click Next.
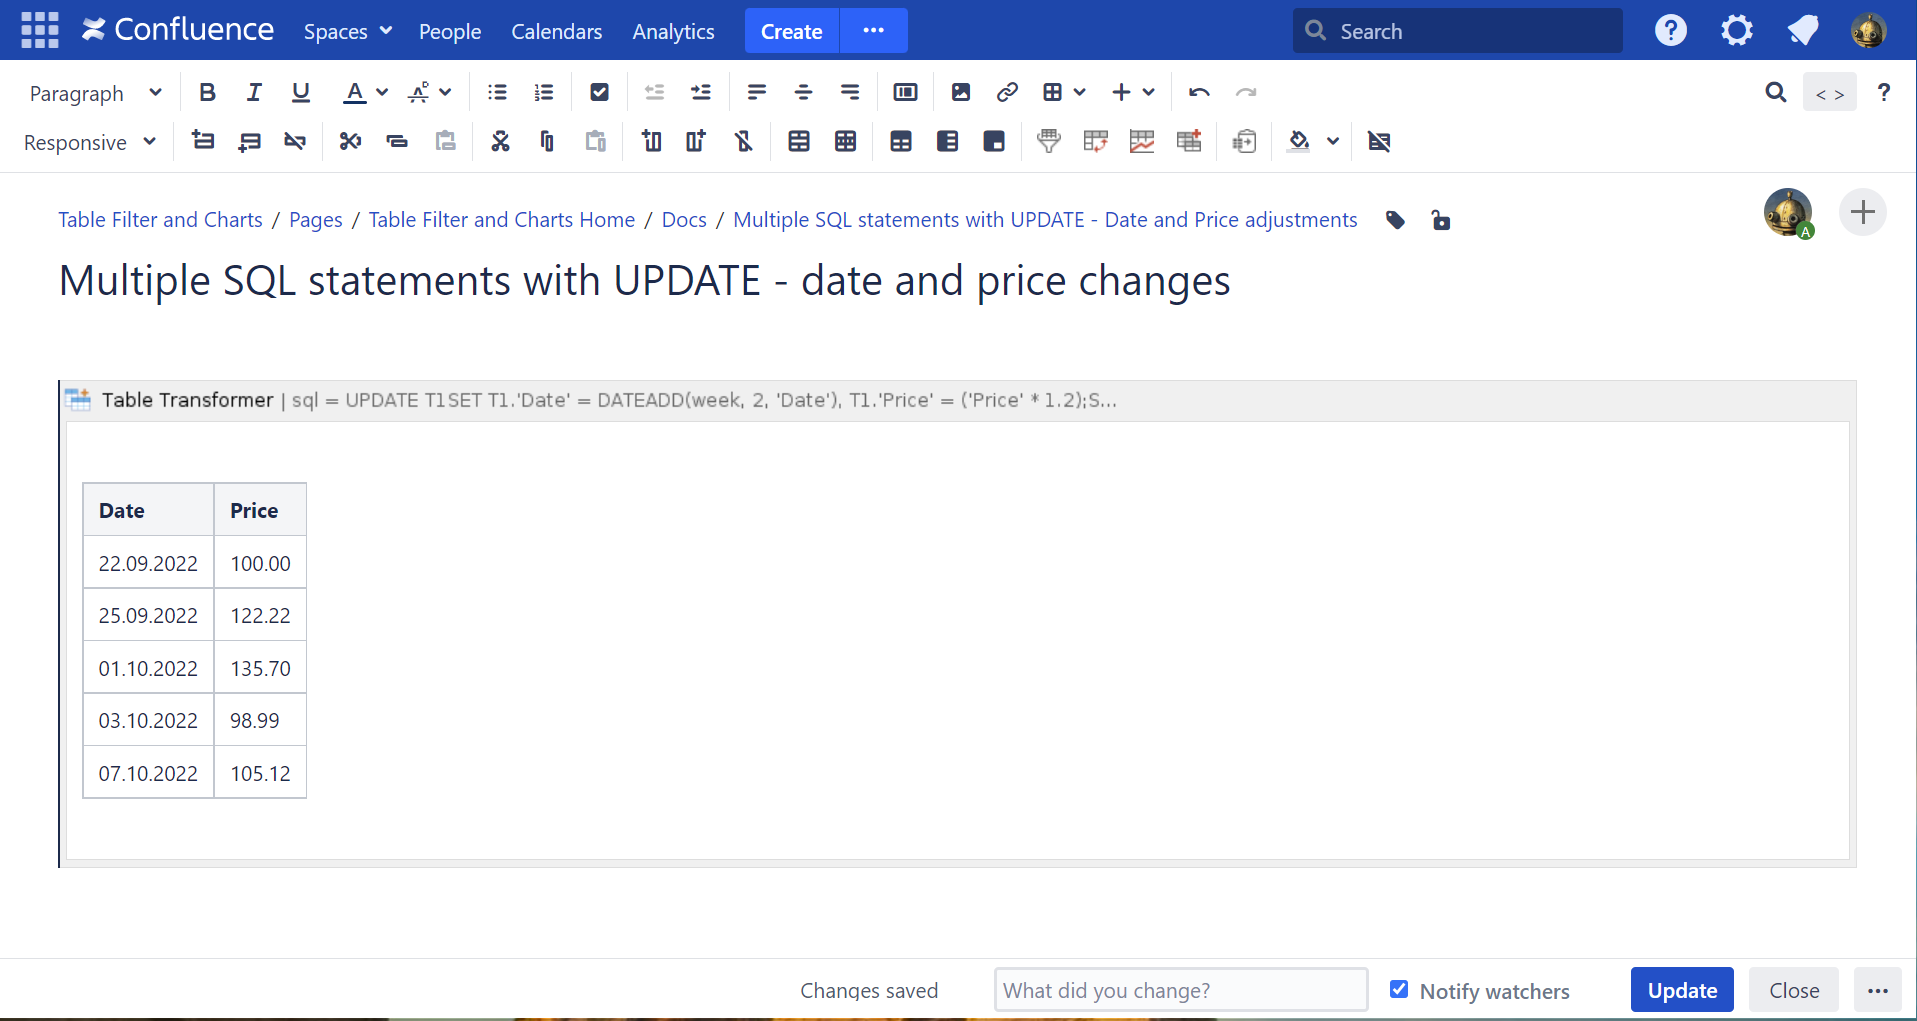
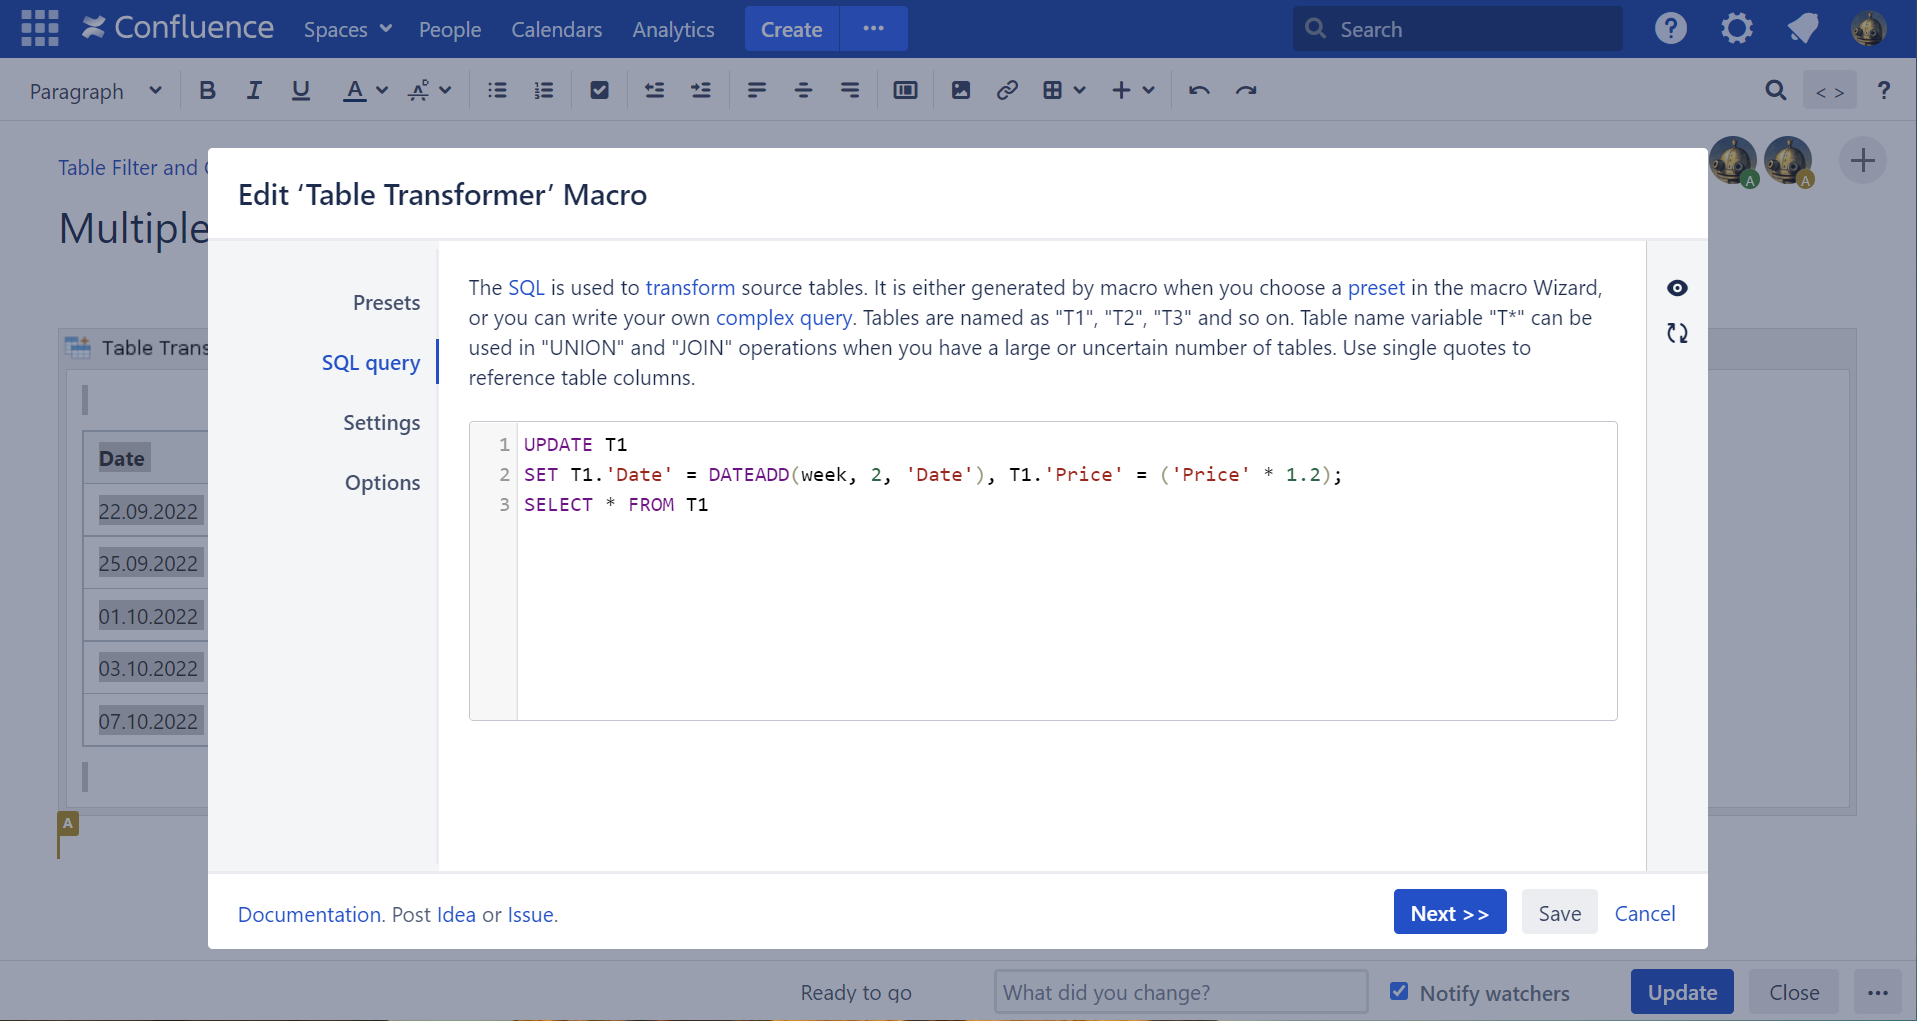
Enter the following SQL query:
UPDATE T1 SET T1.'Date' = DATEADD(week, 2, 'Date'), T1.'Price' = ('Price' * 1.2); SELECT * FROM T1SQL- Click Next.
- Define the date format .
Save the macro and the page.
Creating temporary tables for reuse in SELECTS. Normalizing tables
Use case:
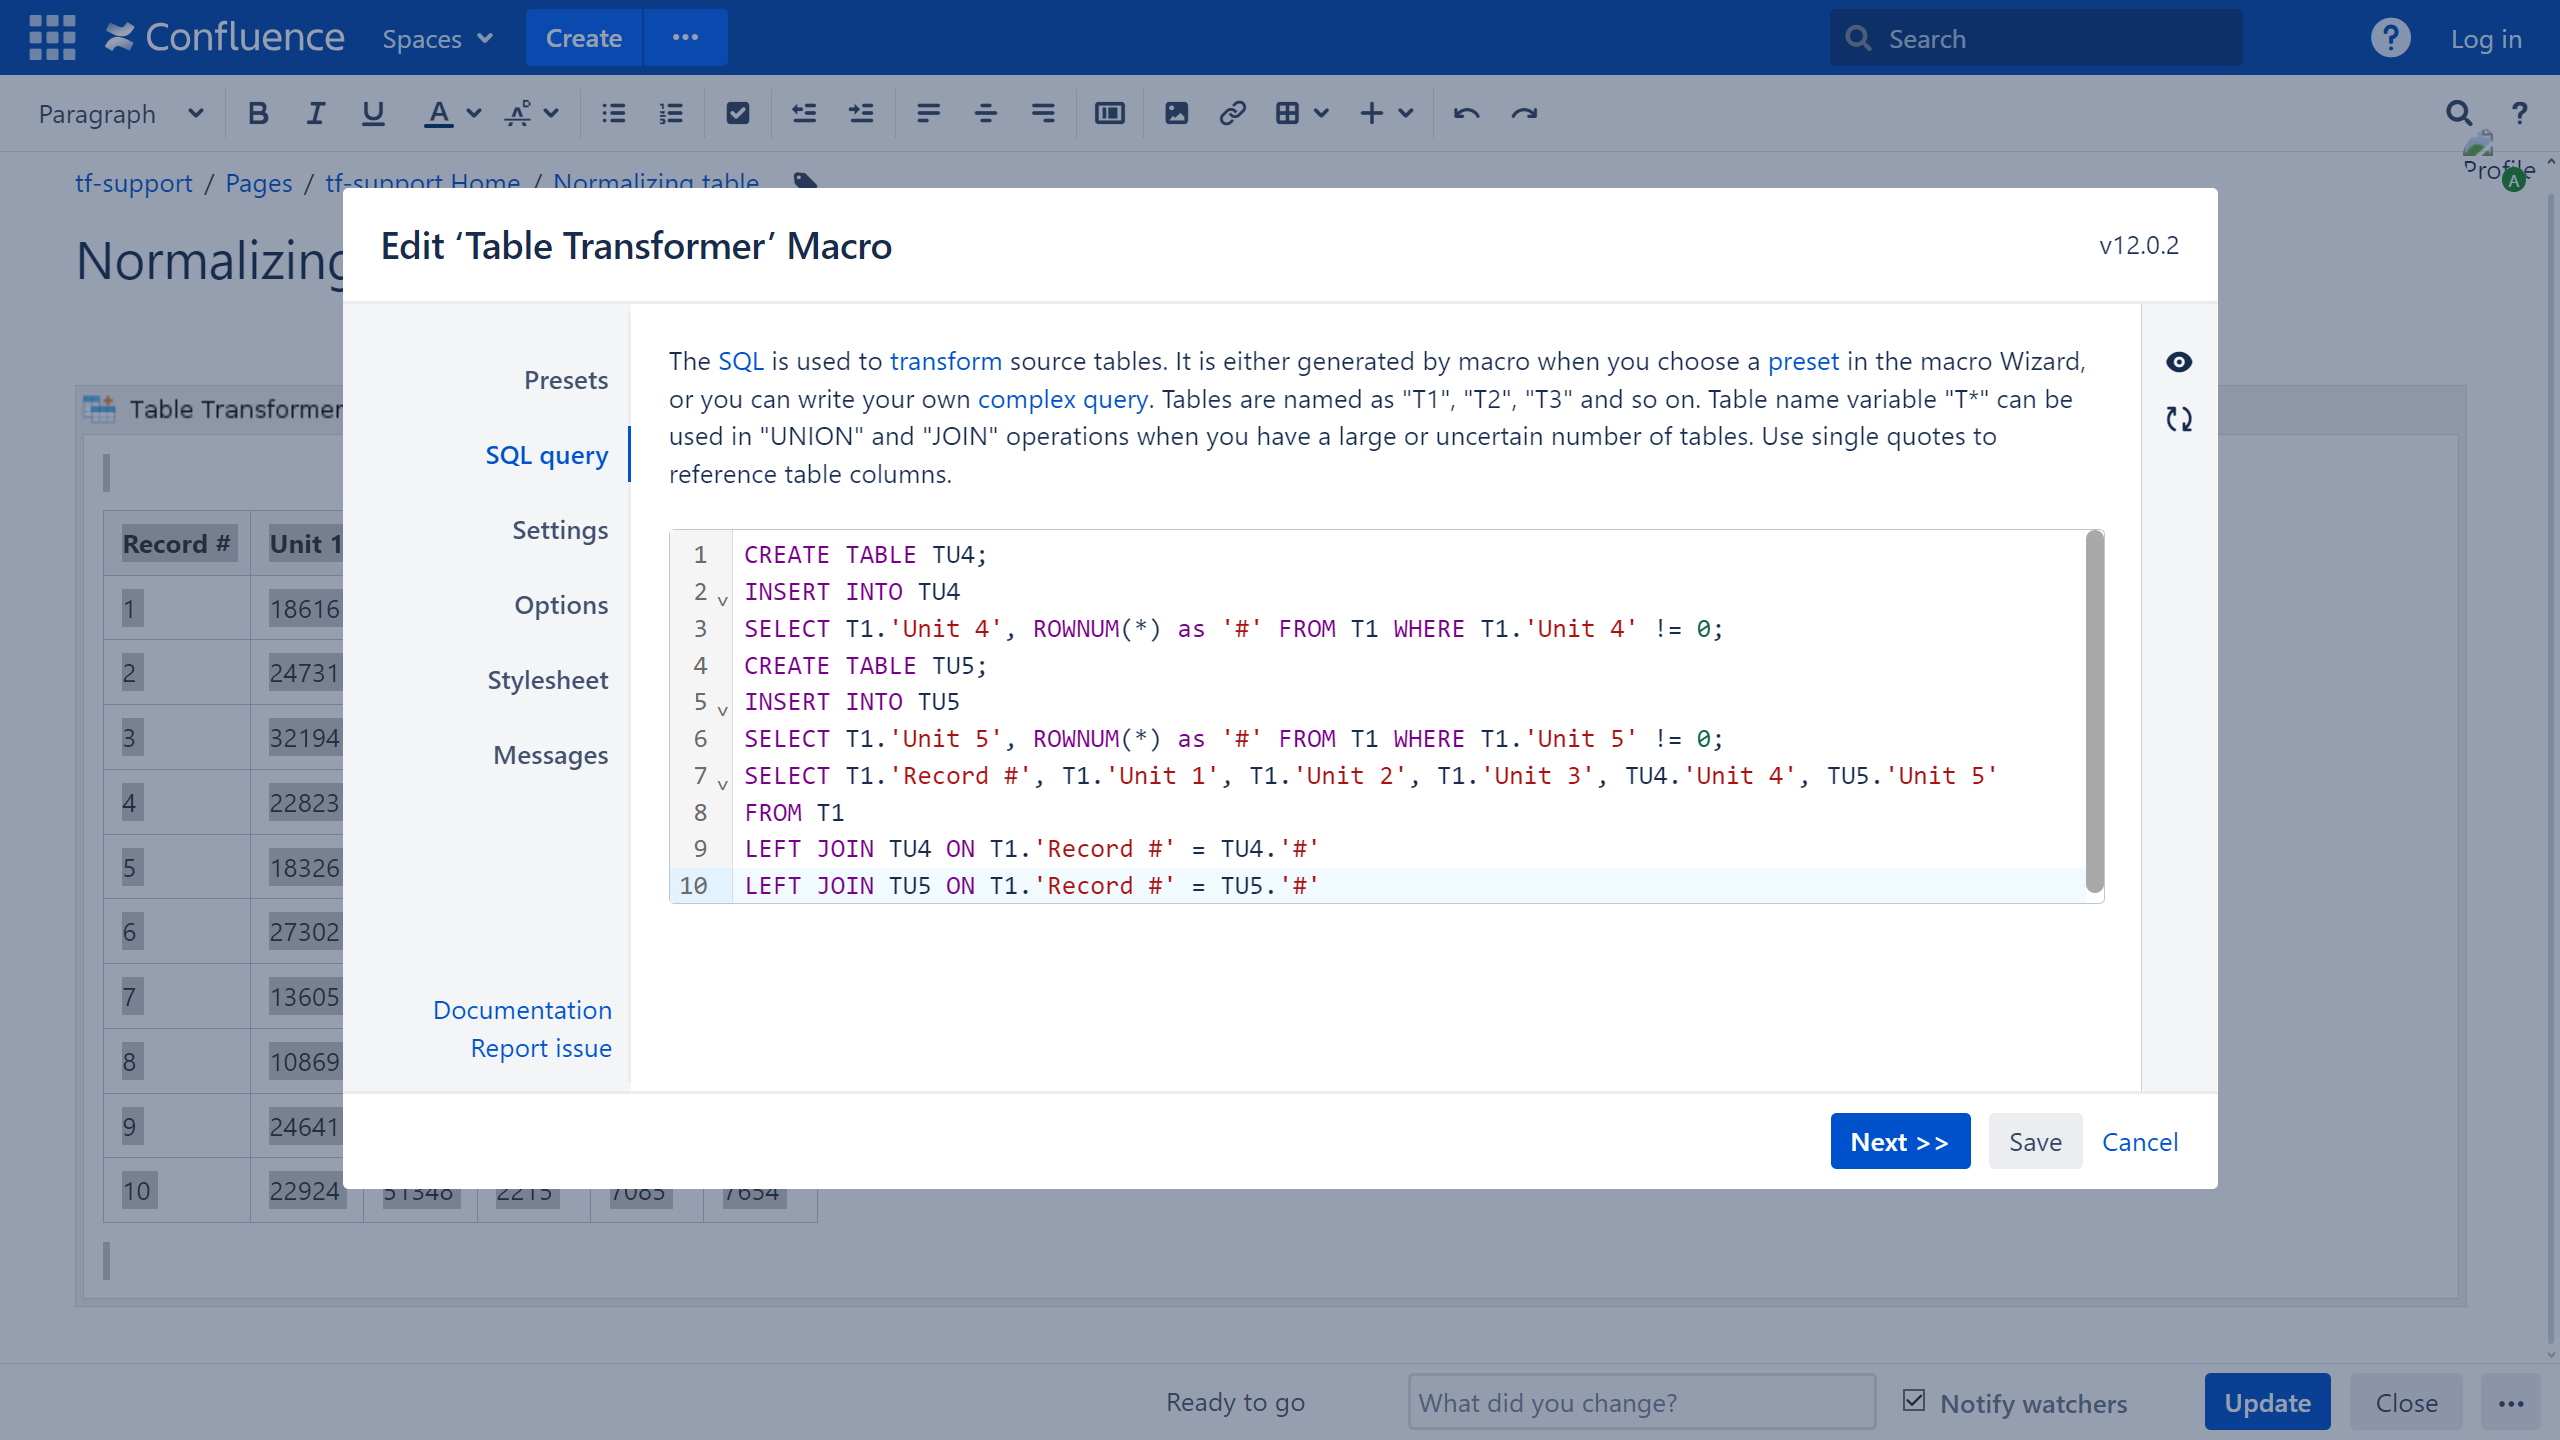
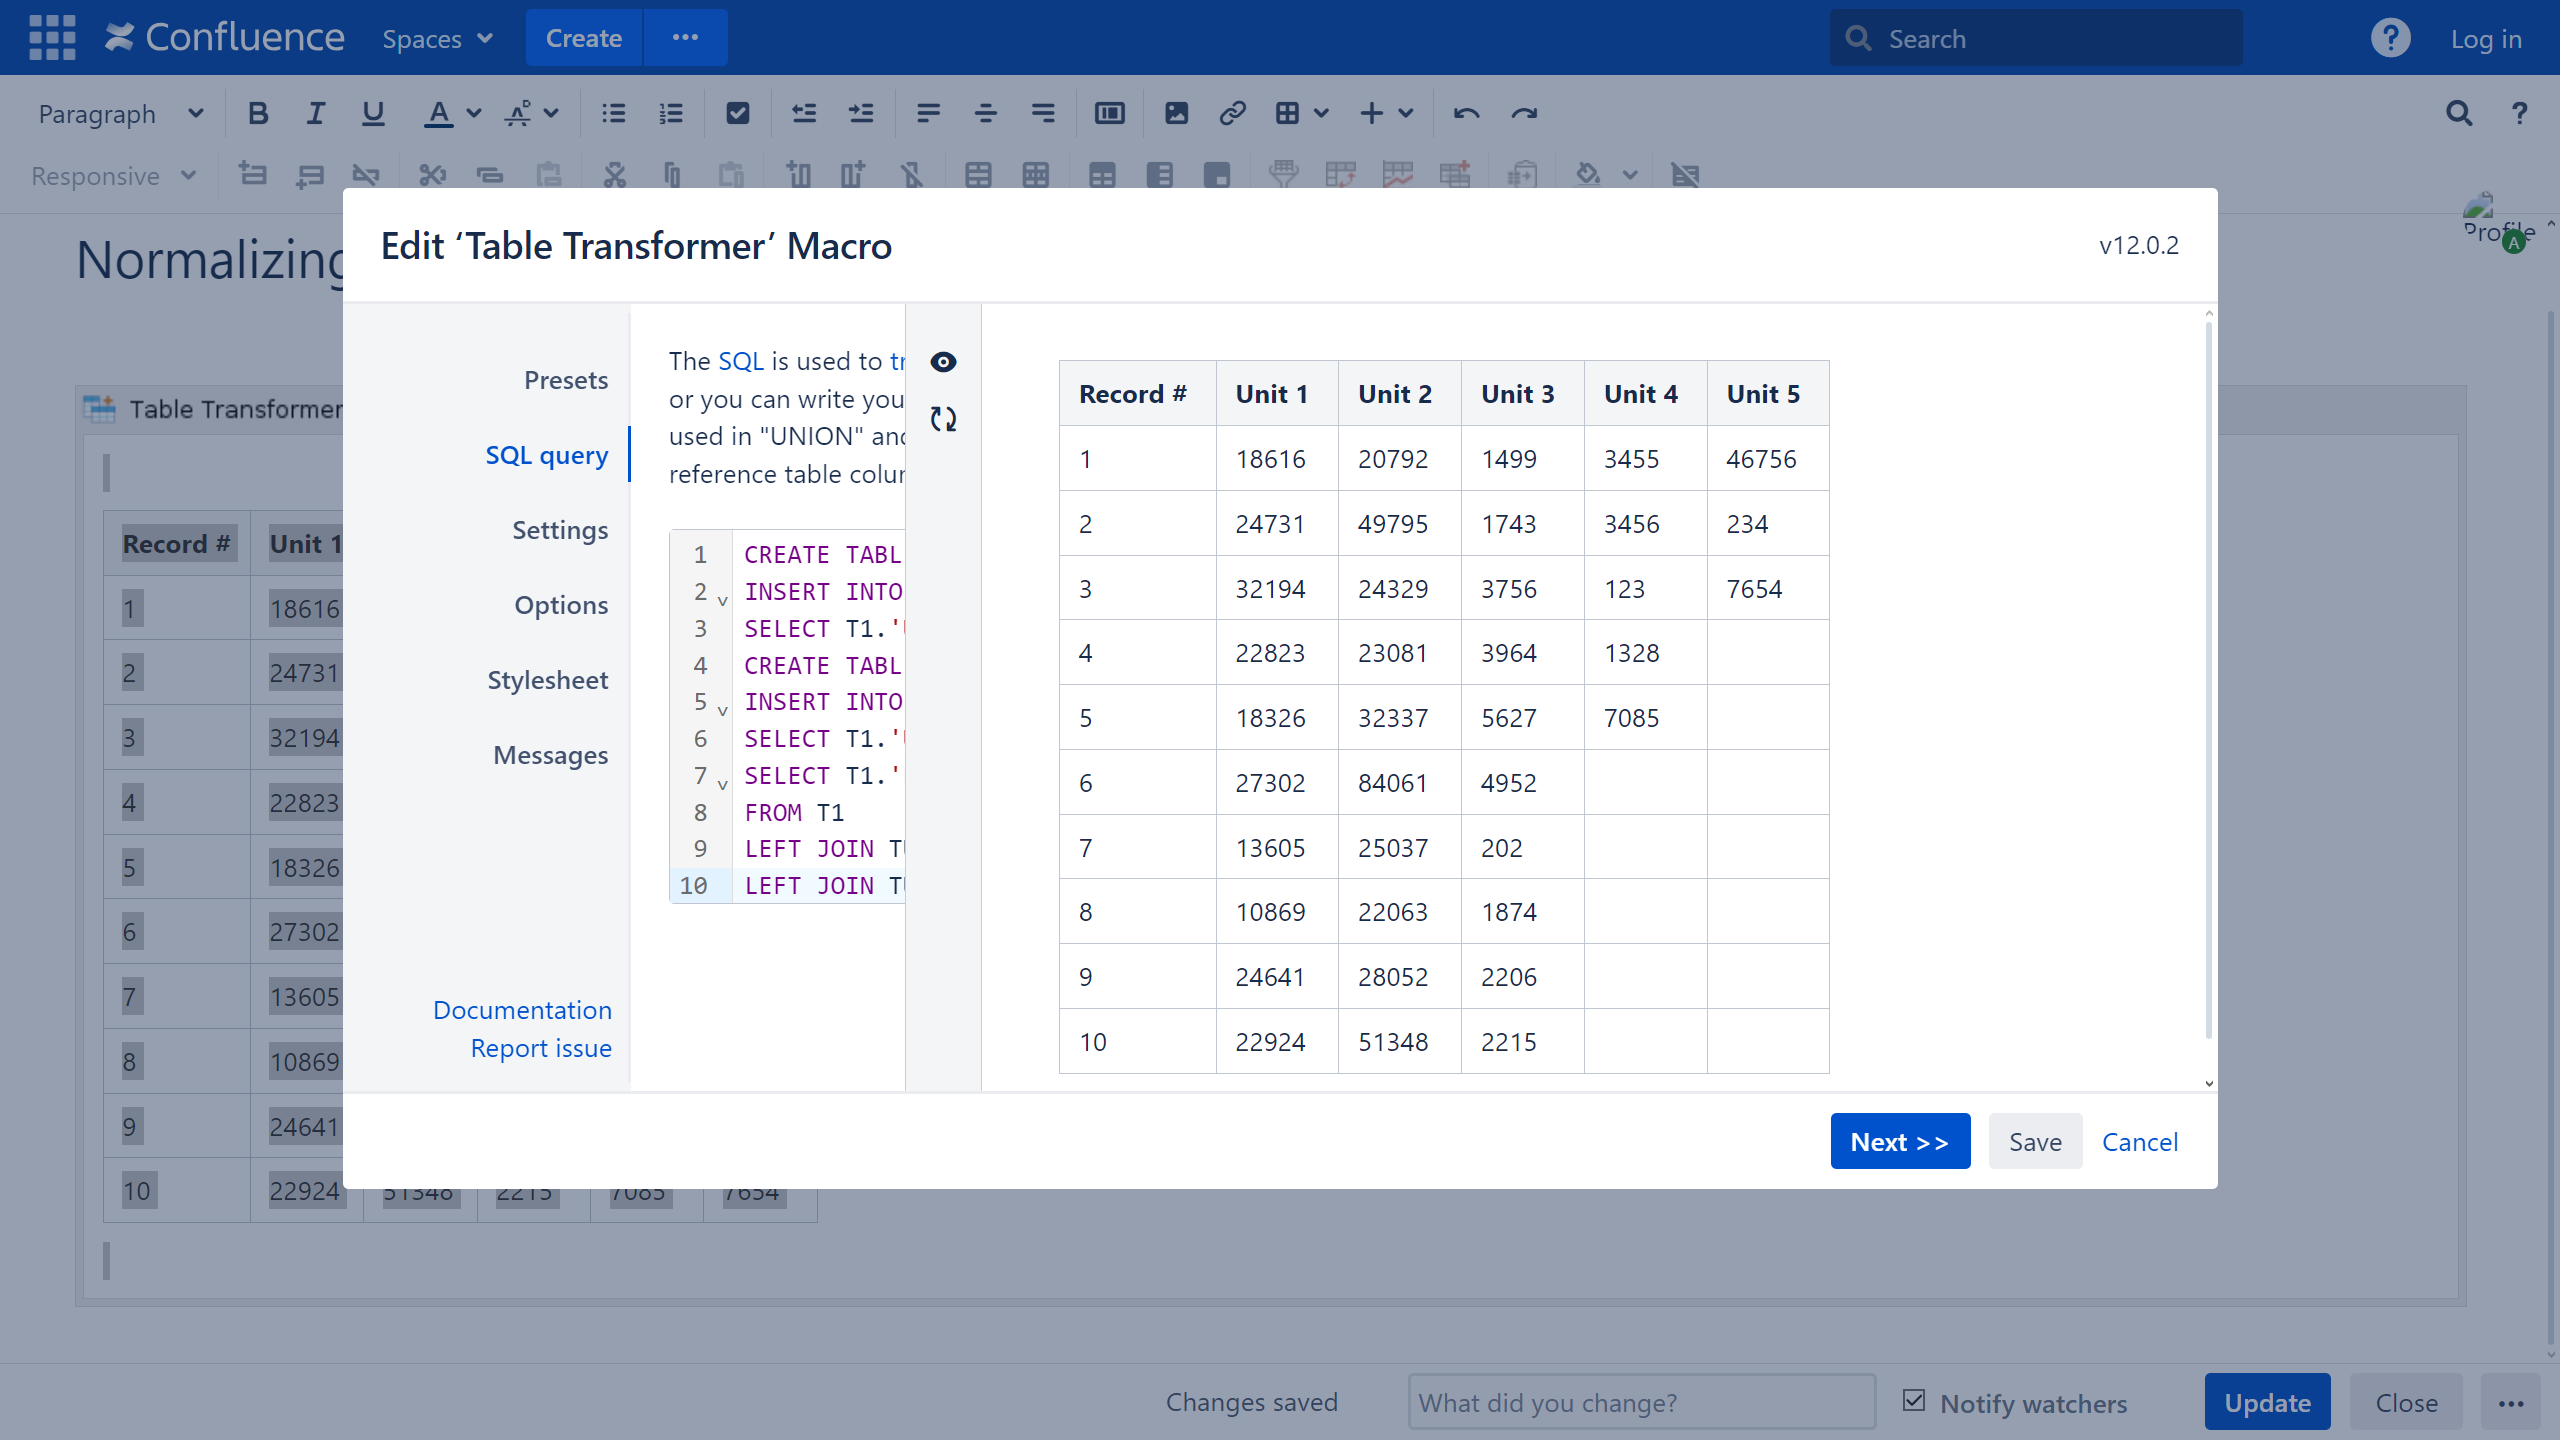
You have a table with empty cells in some columns ('Unit 4' and 'Unit 5' for our example). You need to normalize the table: get rid of the empty cells and "move up" cells with data.
Solution:
- Switch the page to the edit mode.
- Insert the Table Transformer macro and paste the table or the macros outputting tables within the macro body.
- Select the macro and click Edit.
- In the Presets tab select Custom transformation and click Next.
Enter the following SQL query:
CREATE TABLE TU4; INSERT INTO TU4 SELECT T1.'Unit 4', ROWNUM(*) as '#' FROM T1 WHERE T1.'Unit 4' != 0; CREATE TABLE TU5; INSERT INTO TU5 SELECT T1.'Unit 5', ROWNUM(*) as '#' FROM T1 WHERE T1.'Unit 5' != 0; SELECT T1.'Record #', T1.'Unit 1', T1.'Unit 2', T1.'Unit 3', TU4.'Unit 4', TU5.'Unit 5' FROM T1 LEFT JOIN TU4 ON T1.'Record #' = TU4.'#' LEFT JOIN TU5 ON T1.'Record #' = TU5.'#'SQLSave the macro and the page.

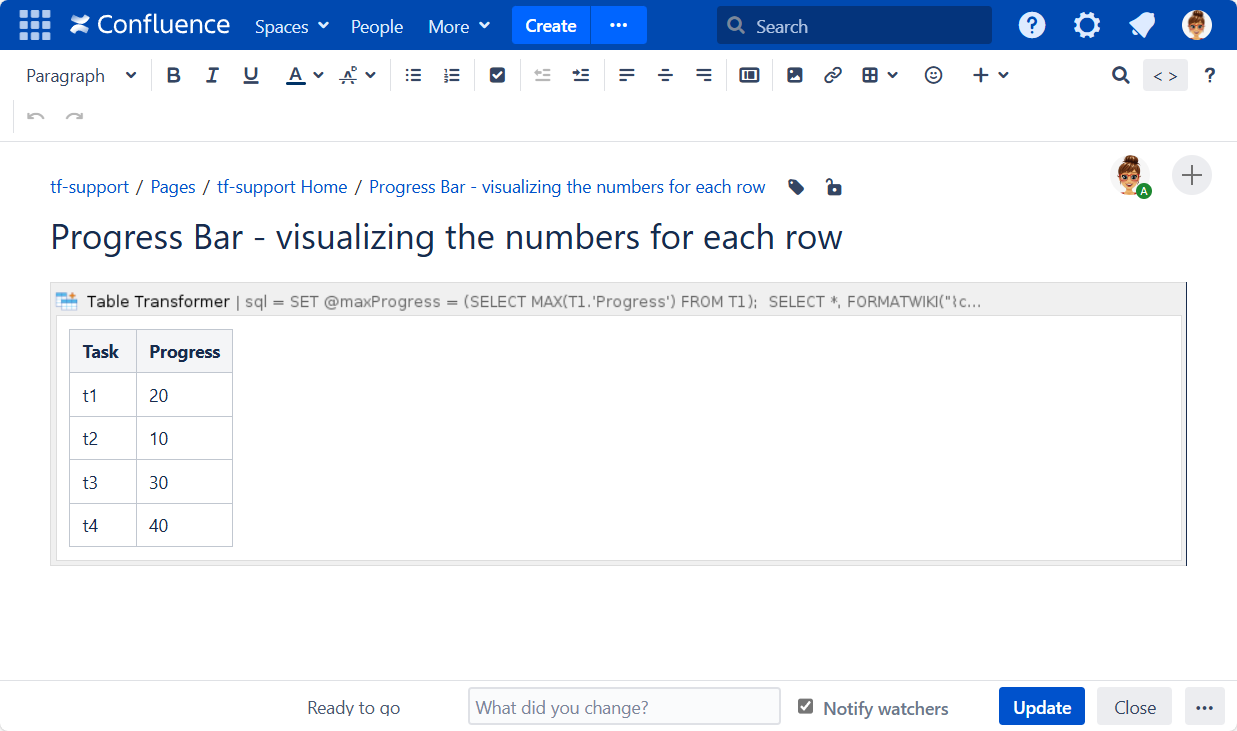
Visualizing the progression data in rows as bars
Use case:
You need visualize the numbers representing progression in a table.
Solution:
- Switch the page to the edit mode.
- Insert the Table Transformer macro and paste the table within the macro body.
- Select the macro and click Edit.
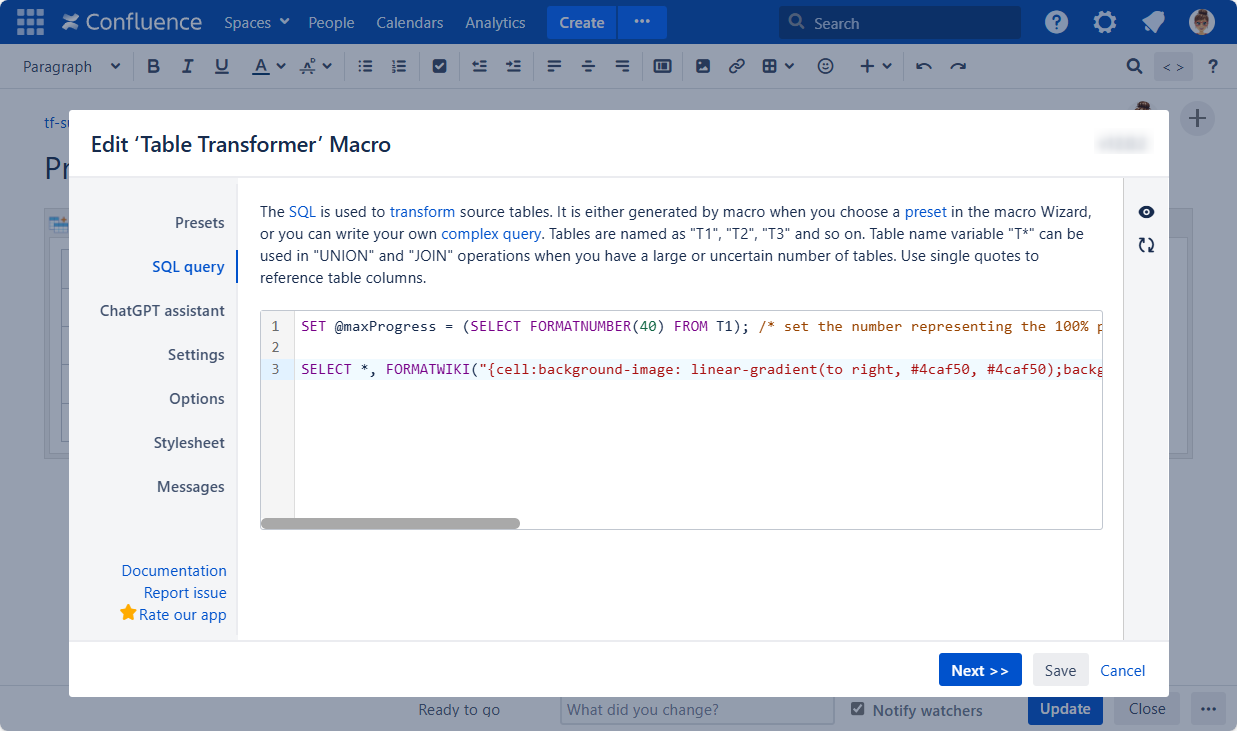
- Switch to the SQL query tab.
Enter the following SQL query:
SET @maxProgress = (SELECT FORMATNUMBER(40) FROM T1); /* set the number representing the 100% progression in this variable or use MAX('Your Column Name') instead of the FORMATNUMBER() function to determine the value */ SELECT *, FORMATWIKI("{cell:background-image: linear-gradient(to right, #4caf50, #4caf50); background-repeat: no-repeat;background-size:"+ 'Progress Bar' +" 50%;background-position-y: 50%;}", 'Progress Bar', "{cell}") AS 'Progress Bar' FROM (SELECT *, T1.'Progress'/@maxProgress * 100 + "%" AS 'Progress Bar' FROM T1);SQL- Click Next.
- Save the macro and the page.