Before you start
Handy Status Timestamp is a macro that allows you to add the date and time of the last status update to a Confluence page. Use it only with the Handy Status macro.
Handy Status Timestamp will show and automatically update the information about the last status change in the format you specify.
You can use Handy Status Timestamp for status management, workflow control, and automation.
Insert Handy Status Timestamp
Once you have one or more statuses inserted into your Confluence page, you can add the Handy Status Timestamp macro to see and automatically update status meta information instantly.
- Go to the edit mode.
- Locate the Handy Status macro where you want to add the timestamp for the last updates.
- Click the Copy status ID button in the inline edit menu of the Handy Status macro.
- Insert the Handy Status Timestamp macro from the editor toolbar (click Insert more content
 > Handy Status Timestamp) or by typing { > Handy Status Timestamp.
 - Paste the status ID value in the corresponding field of the macro editor.
- Select the required format for the date and time meta info for status updates on the page.
- Click Insert and save the page.
After that, your Handy Status Timestamp is connected to the status based on its ID. As soon as you change the Handy Status value, the corresponding Handy Status Timestamp date and time will be updated automatically.
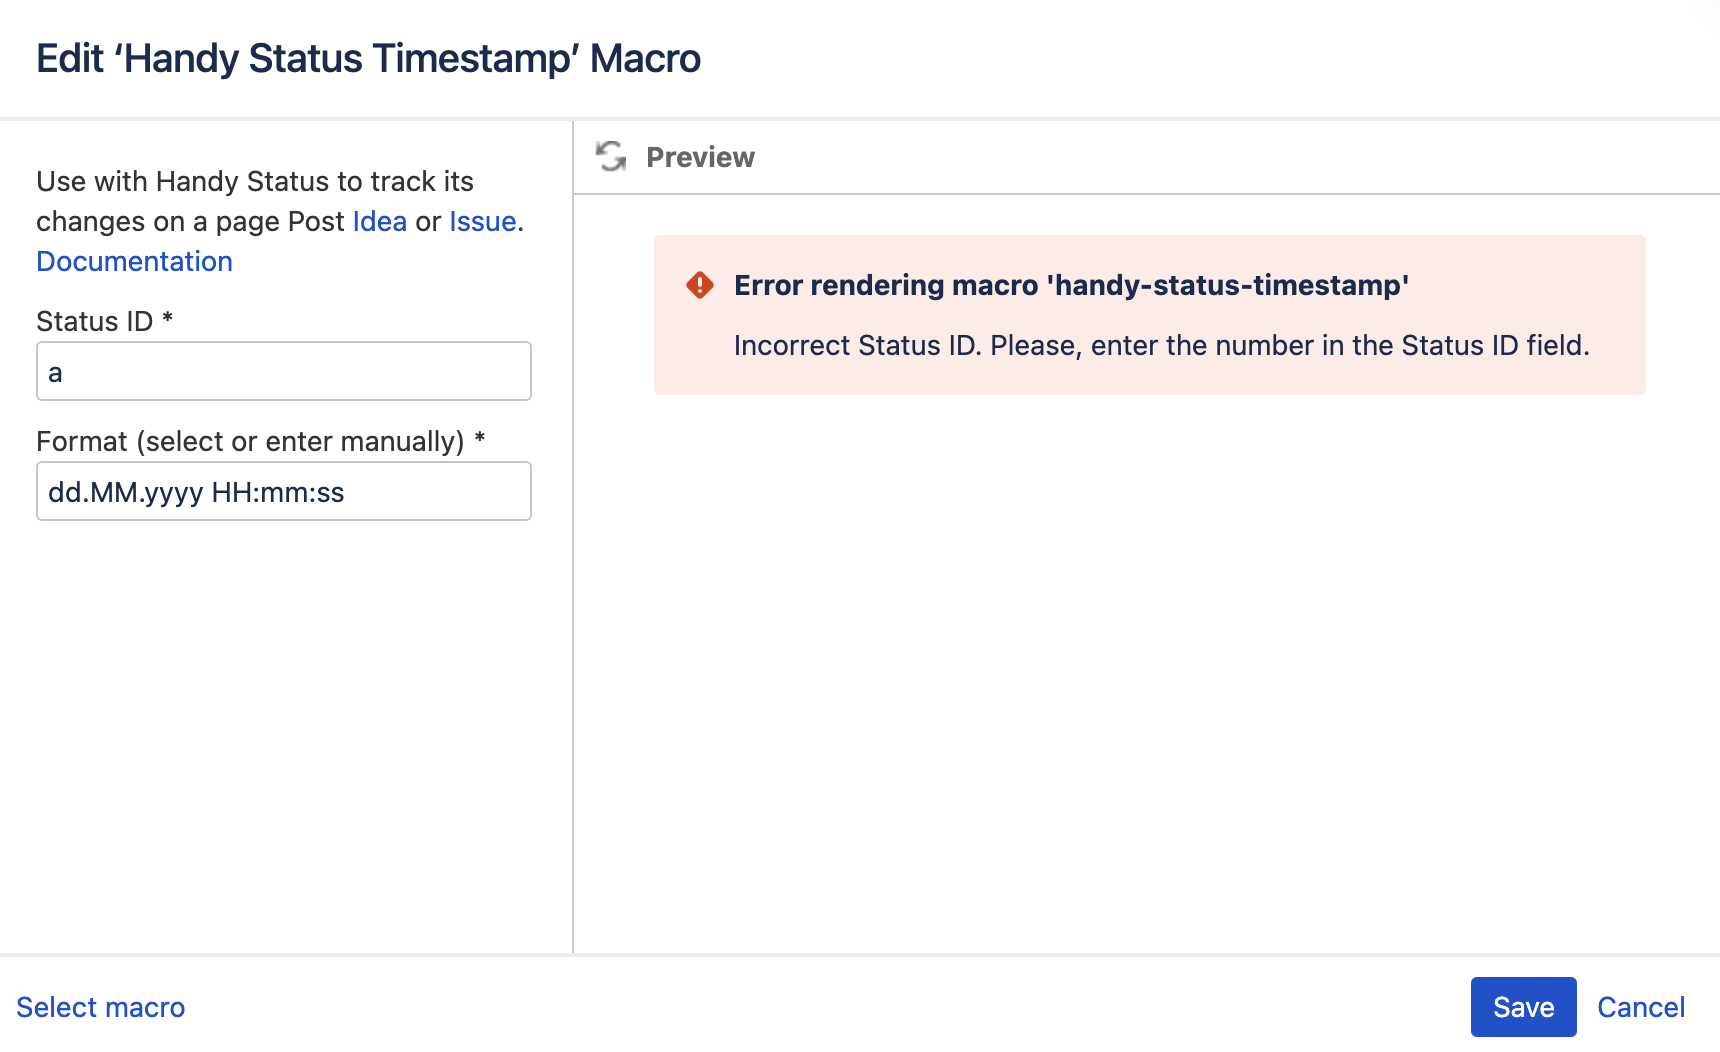
You can only enter the number value in the Status ID field during the Handy Status Timestamp macro configuration. This field is obligatory. If you enter values other than numbers, the error message will appear in the macro preview area of the macro editor.
To eliminate this error, enter the status ID number in the corresponding field in the number format.

Change Handy Status Timestamp
You can always associate your Handy Status Timestamp with another Handy Status.
- Go to the edit mode.
- Copy the status ID of the status you want to associate with Handy Status Timestamp.
- Paste it into Handy Status Timestamp.
- Save the page.
Known Issues
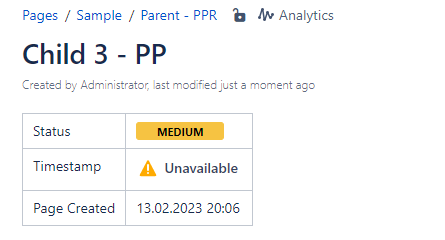
Handy Status Timestamp is displayed as unavailable after the page publishing on a copied page.
- Copy a page with Handy Status and Handy Status Timestamp.
- Before publishing the copied page, copy the status ID.
- Insert the status ID into the status timestamp
- Save the page
Expected result
Handy Status Timestamp reflects the date and time of the newly created (by copying the page) status.
Actual result
Handy Status Timestamp is unavailable in the page view mode.

Workaround
Change Handy Status in the page view mode and refresh the page or change Handy Status in the edit mode.
Handy Status Timestamp is displayed as unavailable after the page publishing on a page from template.
- Create a page from template with Handy Status.
- Copy status ID.
- Add Handy Status Timestamp.
- Insert the status ID into Handy Status Timestamp.
- Save the page.
Expected result
Handy Status Timestamp reflects the date and time of the status.
Actual result
Handy Status Timestamp is unavailable in the page view mode.
Workaround
- Change Handy Status in the page view mode and refresh the page or change Handy Status in the edit mode.
- Create a template with both macros - Handy Status and Handy Status Timestamp.