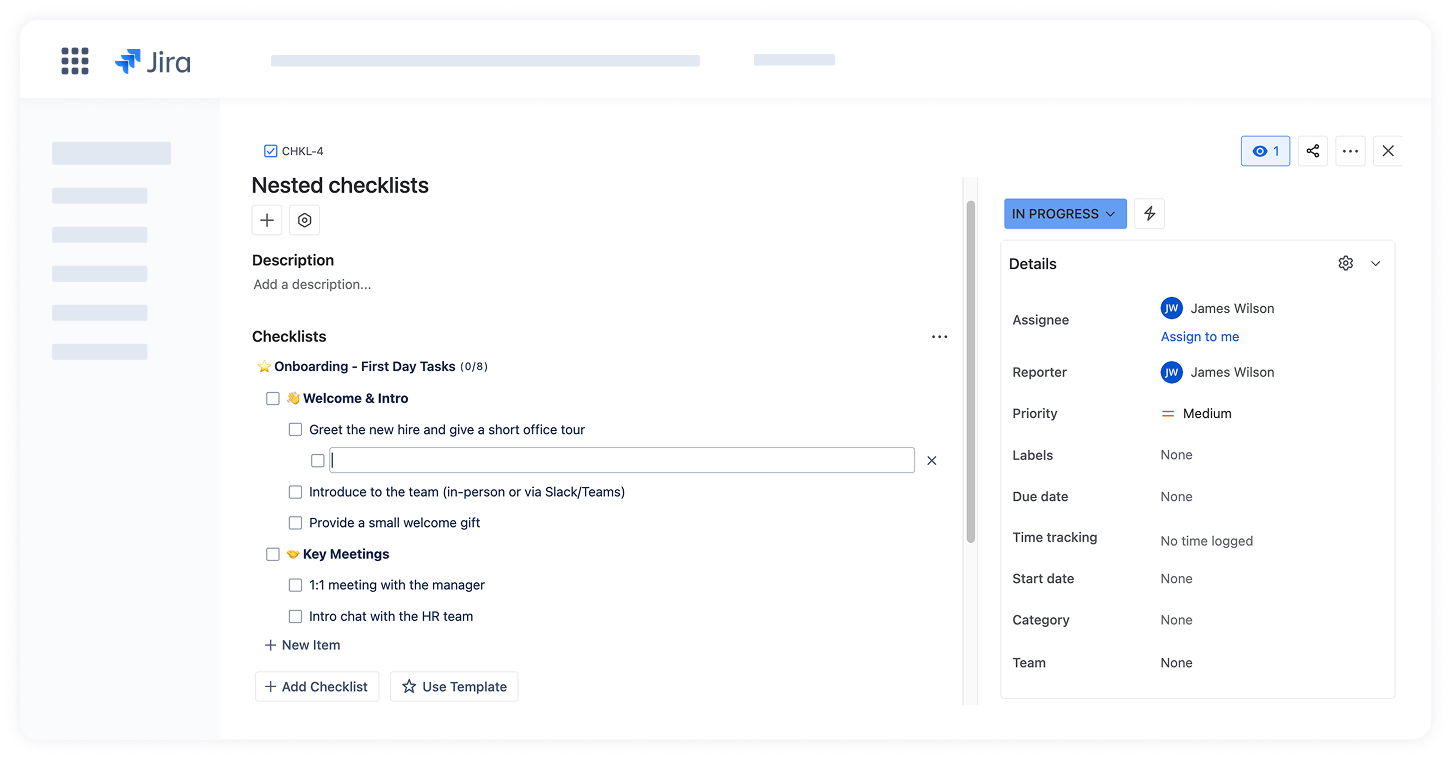
You can easily create nested checklist items in Jira to break down tasks into smaller, structured steps. Nested items help organize your checklists visually and logically, and are especially useful for multi-step processes or subtasks.
How to create nested items
You have two ways to create or modify nested checklist items: via keyboard shortcuts or the item menu.
Using keyboard shortcuts
To nest checklist items:
Press Cmd + ] (Mac) or Ctrl + ] (Windows) to indent the selected item.
Press Cmd + [ (Mac) or Ctrl + [ (Windows) to outdent the item.
Press Enter to add a new item. It will appear at the same level as the current one.
Use the indent/outdent shortcuts to adjust its nesting level as needed.
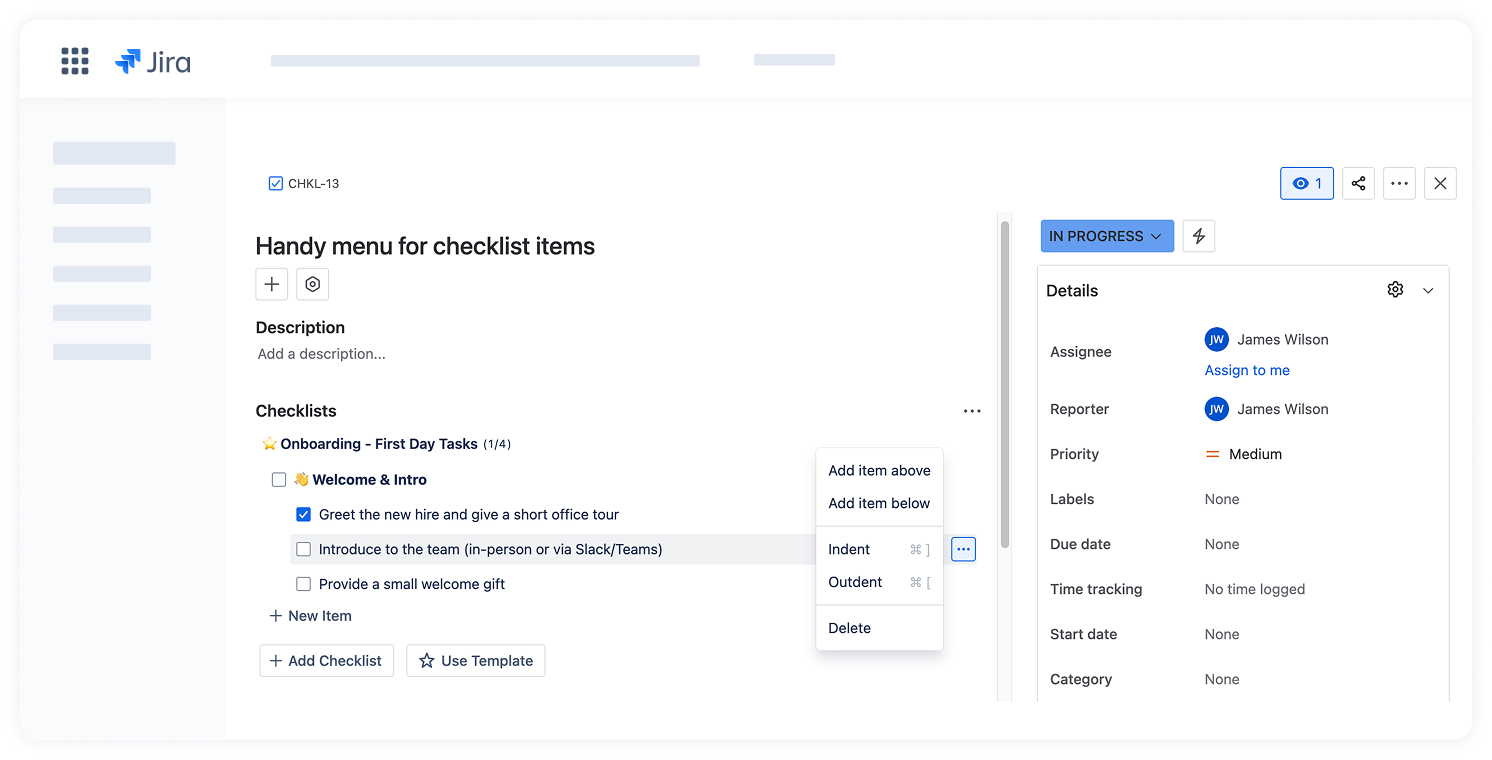
Using the item menu
Each checklist item has a⋯menu on the right side. You can use it to change the nesting level without shortcuts.
To indent or outdent an item:
Hover over the checklist item.
Click the ⋯ menu.
Select Indent to move the item to the right (nest under the item above).
Select Outdent to move the item to the left (bring it up a level).
You can also use the menu to:
Add item above
Add item below
Delete items
Using the item menu, you can easily add, nest, or remove items even if you prefer not to use keyboard shortcuts.
You can continue nesting items up to a maximum depth of 6 levels.
Cookie Notice
This website uses cookies for analytics, personalization and advertising. By continuing to browse, you agree to our use of cookies. Learn more