The Smart Attachments for Jira app allows you to manage documents and store them in the appropriate folders in Atlassian Jira depending on their contents, objective or format.
Viewing documents
Open the project storage.
Open the folder where documents are stored.
For each document, the following information is displayed:
Name - name of the document.
Size- size of the document
Uploader- last uploader of the document / creator of the folder.
Creation Date- date when the document was uploaded into the folder or the folder was created.
Last Modified Date- date when the document or folder was modified (title updated).
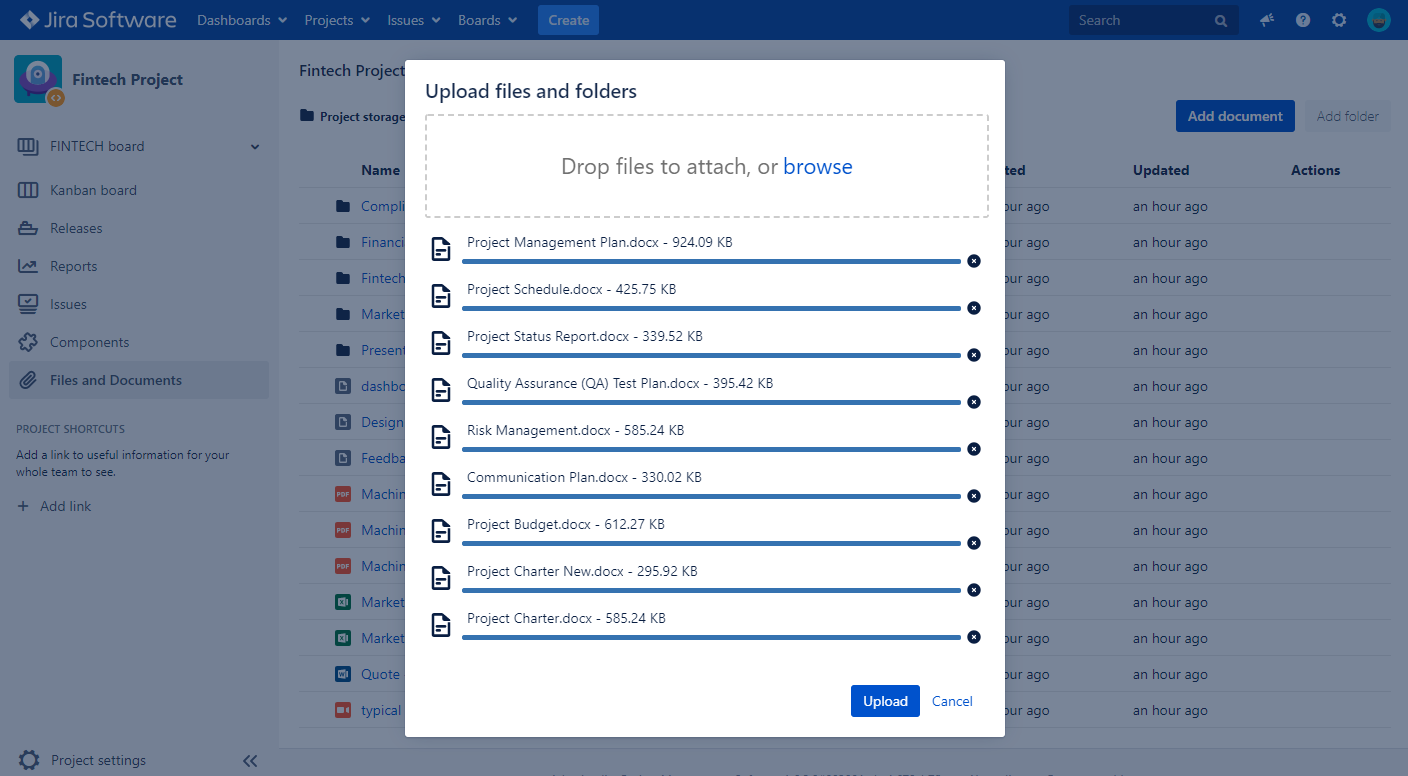
Uploading new documents
Open the folder which you want to upload a new document to.
ClickAdd document.
In theUpload documentform, clickBrowseand select files on your local computer. You can also directly drop files to the form.
ClickUpload.
To delete the currently attached documents on the form:
Click the icon for corresponding documents.
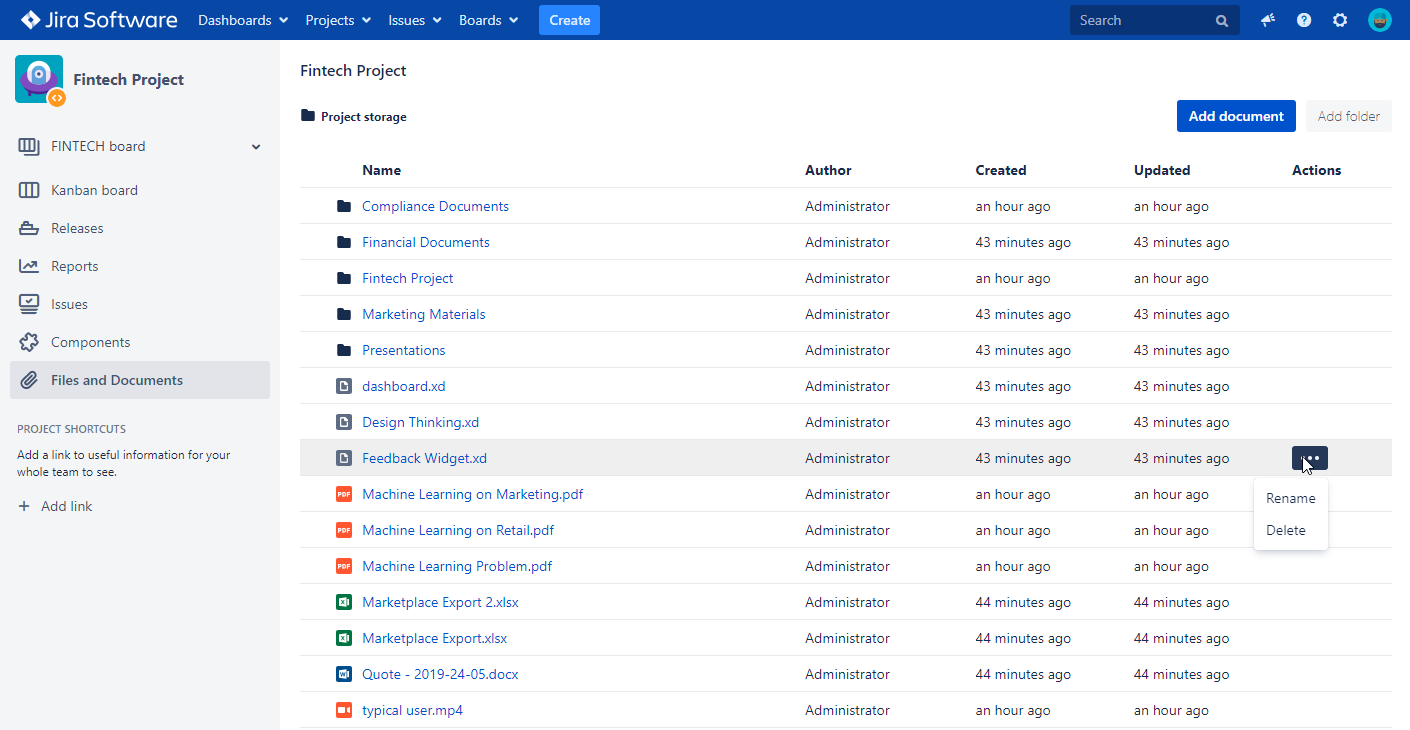
Renaming the document
On the list with folders, locate the document you want to rename.
Hover over the document.
Click the [...]button.
SelectRename.
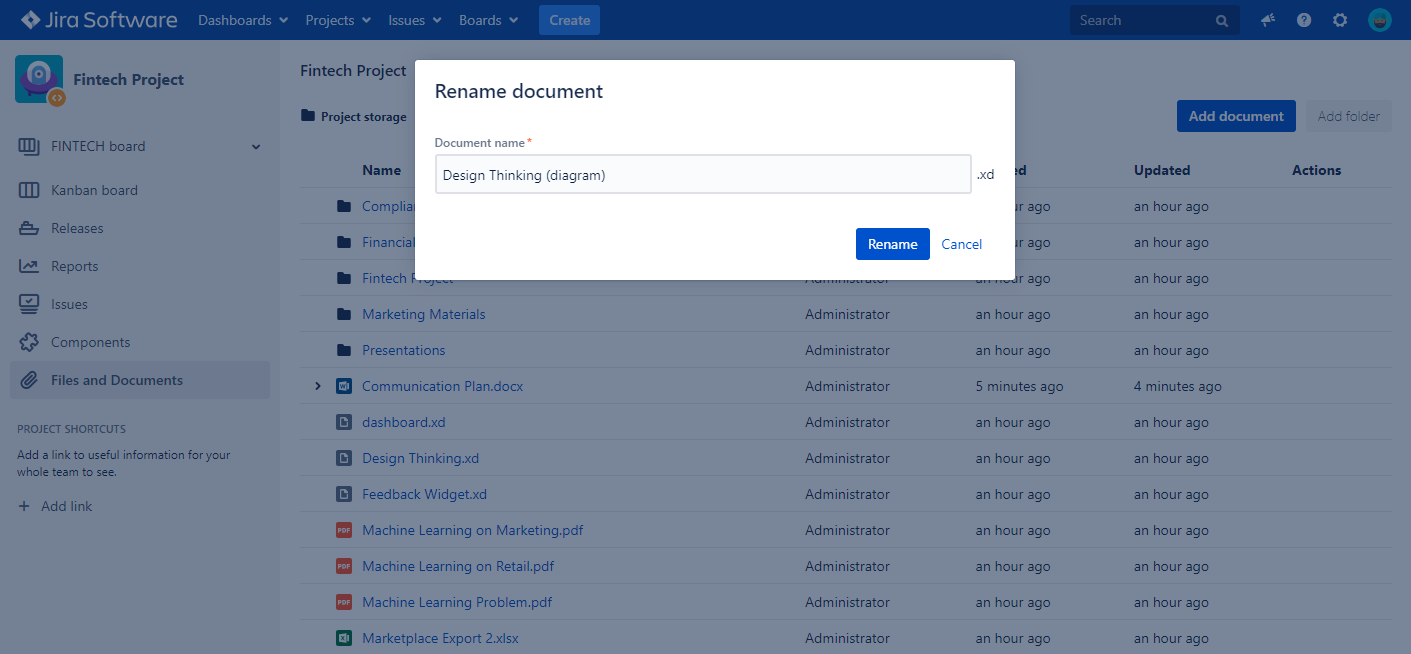
In theRename document form, update the document name.
ClickRename.
If the document is invalid, the app will prompt the hint with the problem.
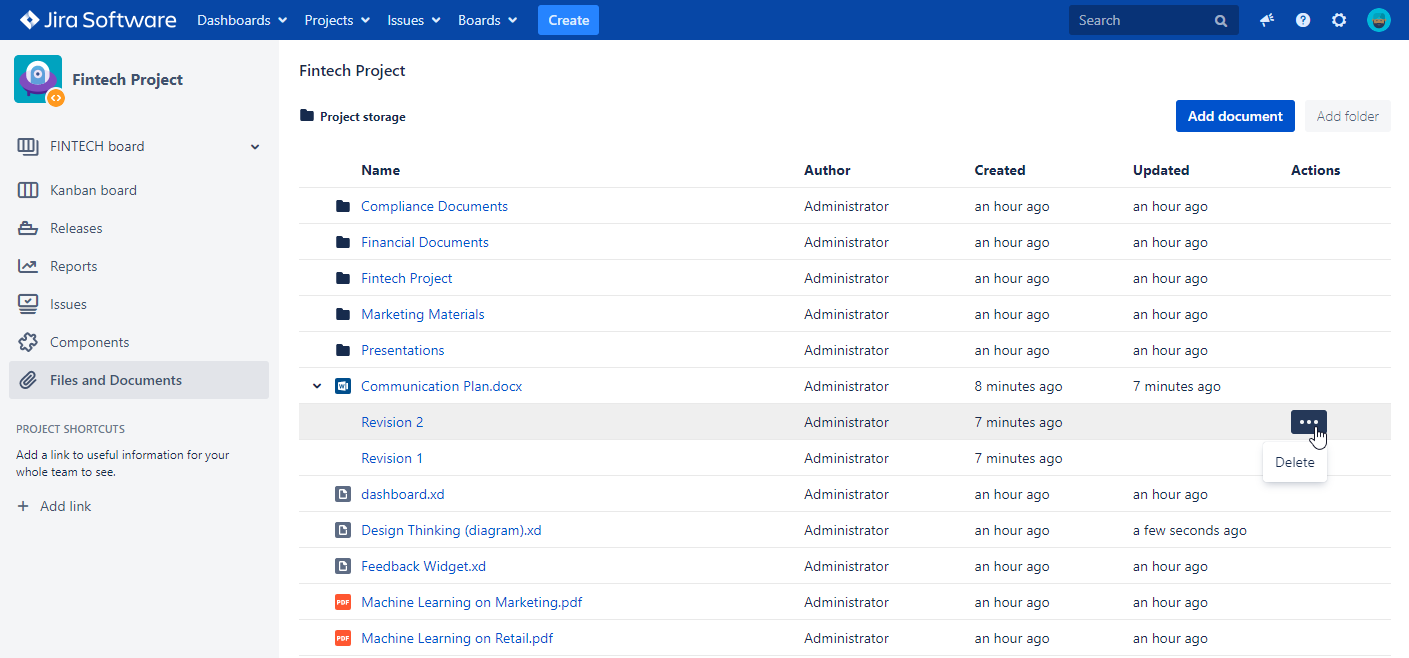
Managing document revisions
The app groups files having identical names into document revisions automatically.
Drop files into the folder.
Click theExpand revisions > icon.
Locate the appropriate document revision.
To delete the document revision:
Hover over the document revision.
Click the [...] button.
Select Delete.
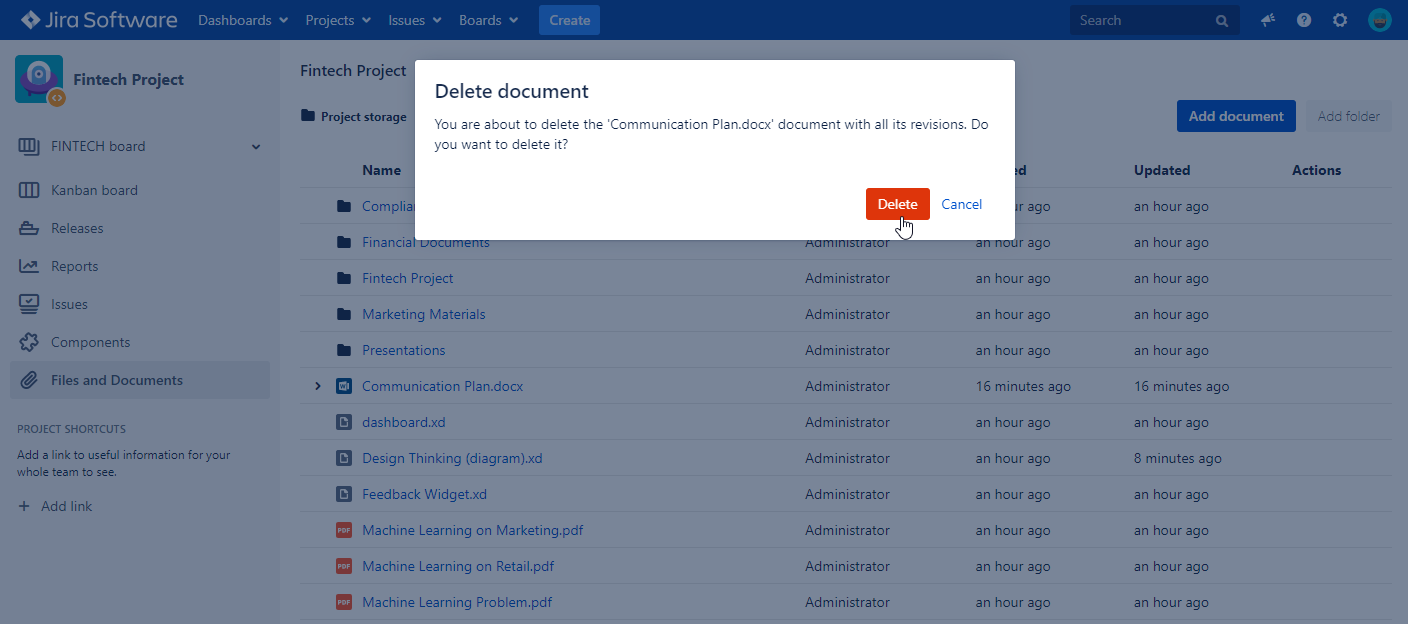
Deleting the document
On the list with documents, locate the document you want to delete.
Hover over the document.
Click the [...] button.
Select Delete.
Confirm the deletion of the document.
The document will be deleted with all its revisions.
Cookie Notice
This website uses cookies for analytics, personalization and advertising. By continuing to browse, you agree to our use of cookies. Learn more