Download PDF
Download page Performing Bulk Operations.
Performing Bulk Operations
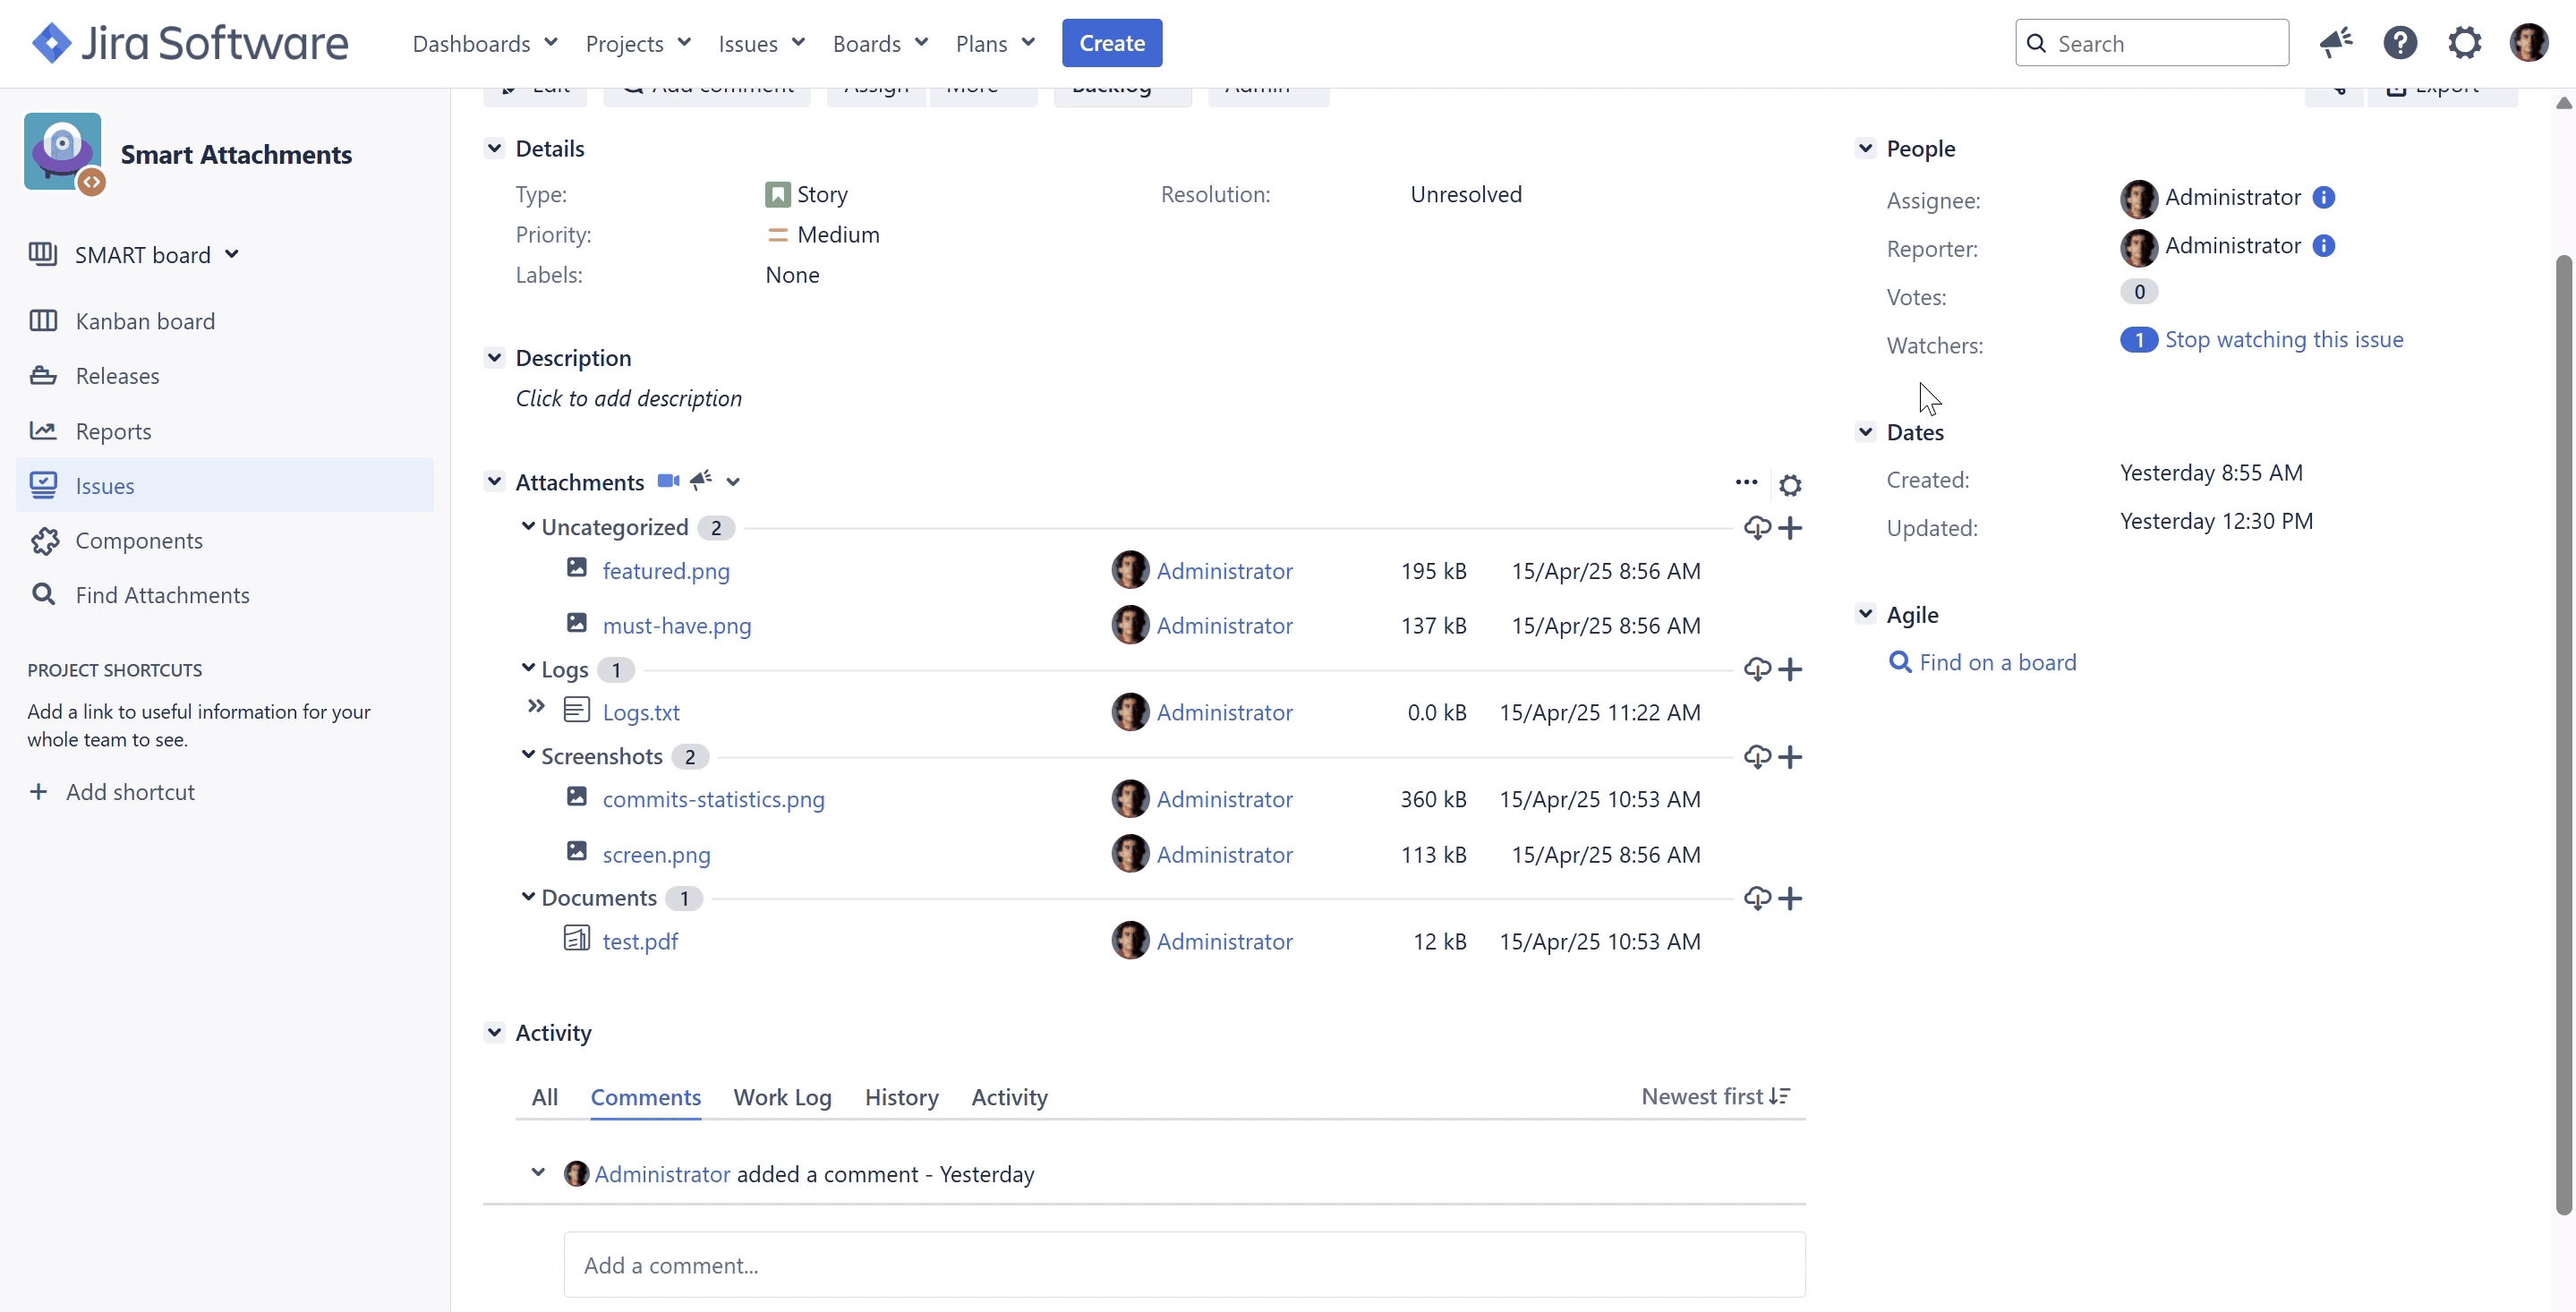
The add-on allows you to perform bulk operations on attachments, as follows:
- delete a bulk of selected attachments
- download the archive with selected attachments
- move a bulk of attachments to another category
- send the selected attachments to required email addresses
- archive the selected attachments to the appropriate category
If you select the Move Attachments to Category action, you will be also prompted to select the category for moving files to.
- Click
 to the right of the Attachments, select the Perform bulk operation action form the context menu.
 - Select the appropriate attachments or categories with attachments, which the bulk operation will be performed on. To select individual attachments, click the file on the list or its thumbnail.
- From the drop-down list, select the appropriate action to perform.
- Click Confirm.
The correct operation of the add-on requires the following permissions for user accounts:
- Edit Issues
- Create Attachments
- Delete All Attachments or Delete Own Attachments
For the details on management of project permissions, refer to Managing Project Permissions.
User accounts or user groups with the permissions to delete own attachments will not be able to delete attachments uploaded by other users or user groups.
Bulk actions on attachments, such as removal of attachments and moving to another category, are not available when the issue is closed.
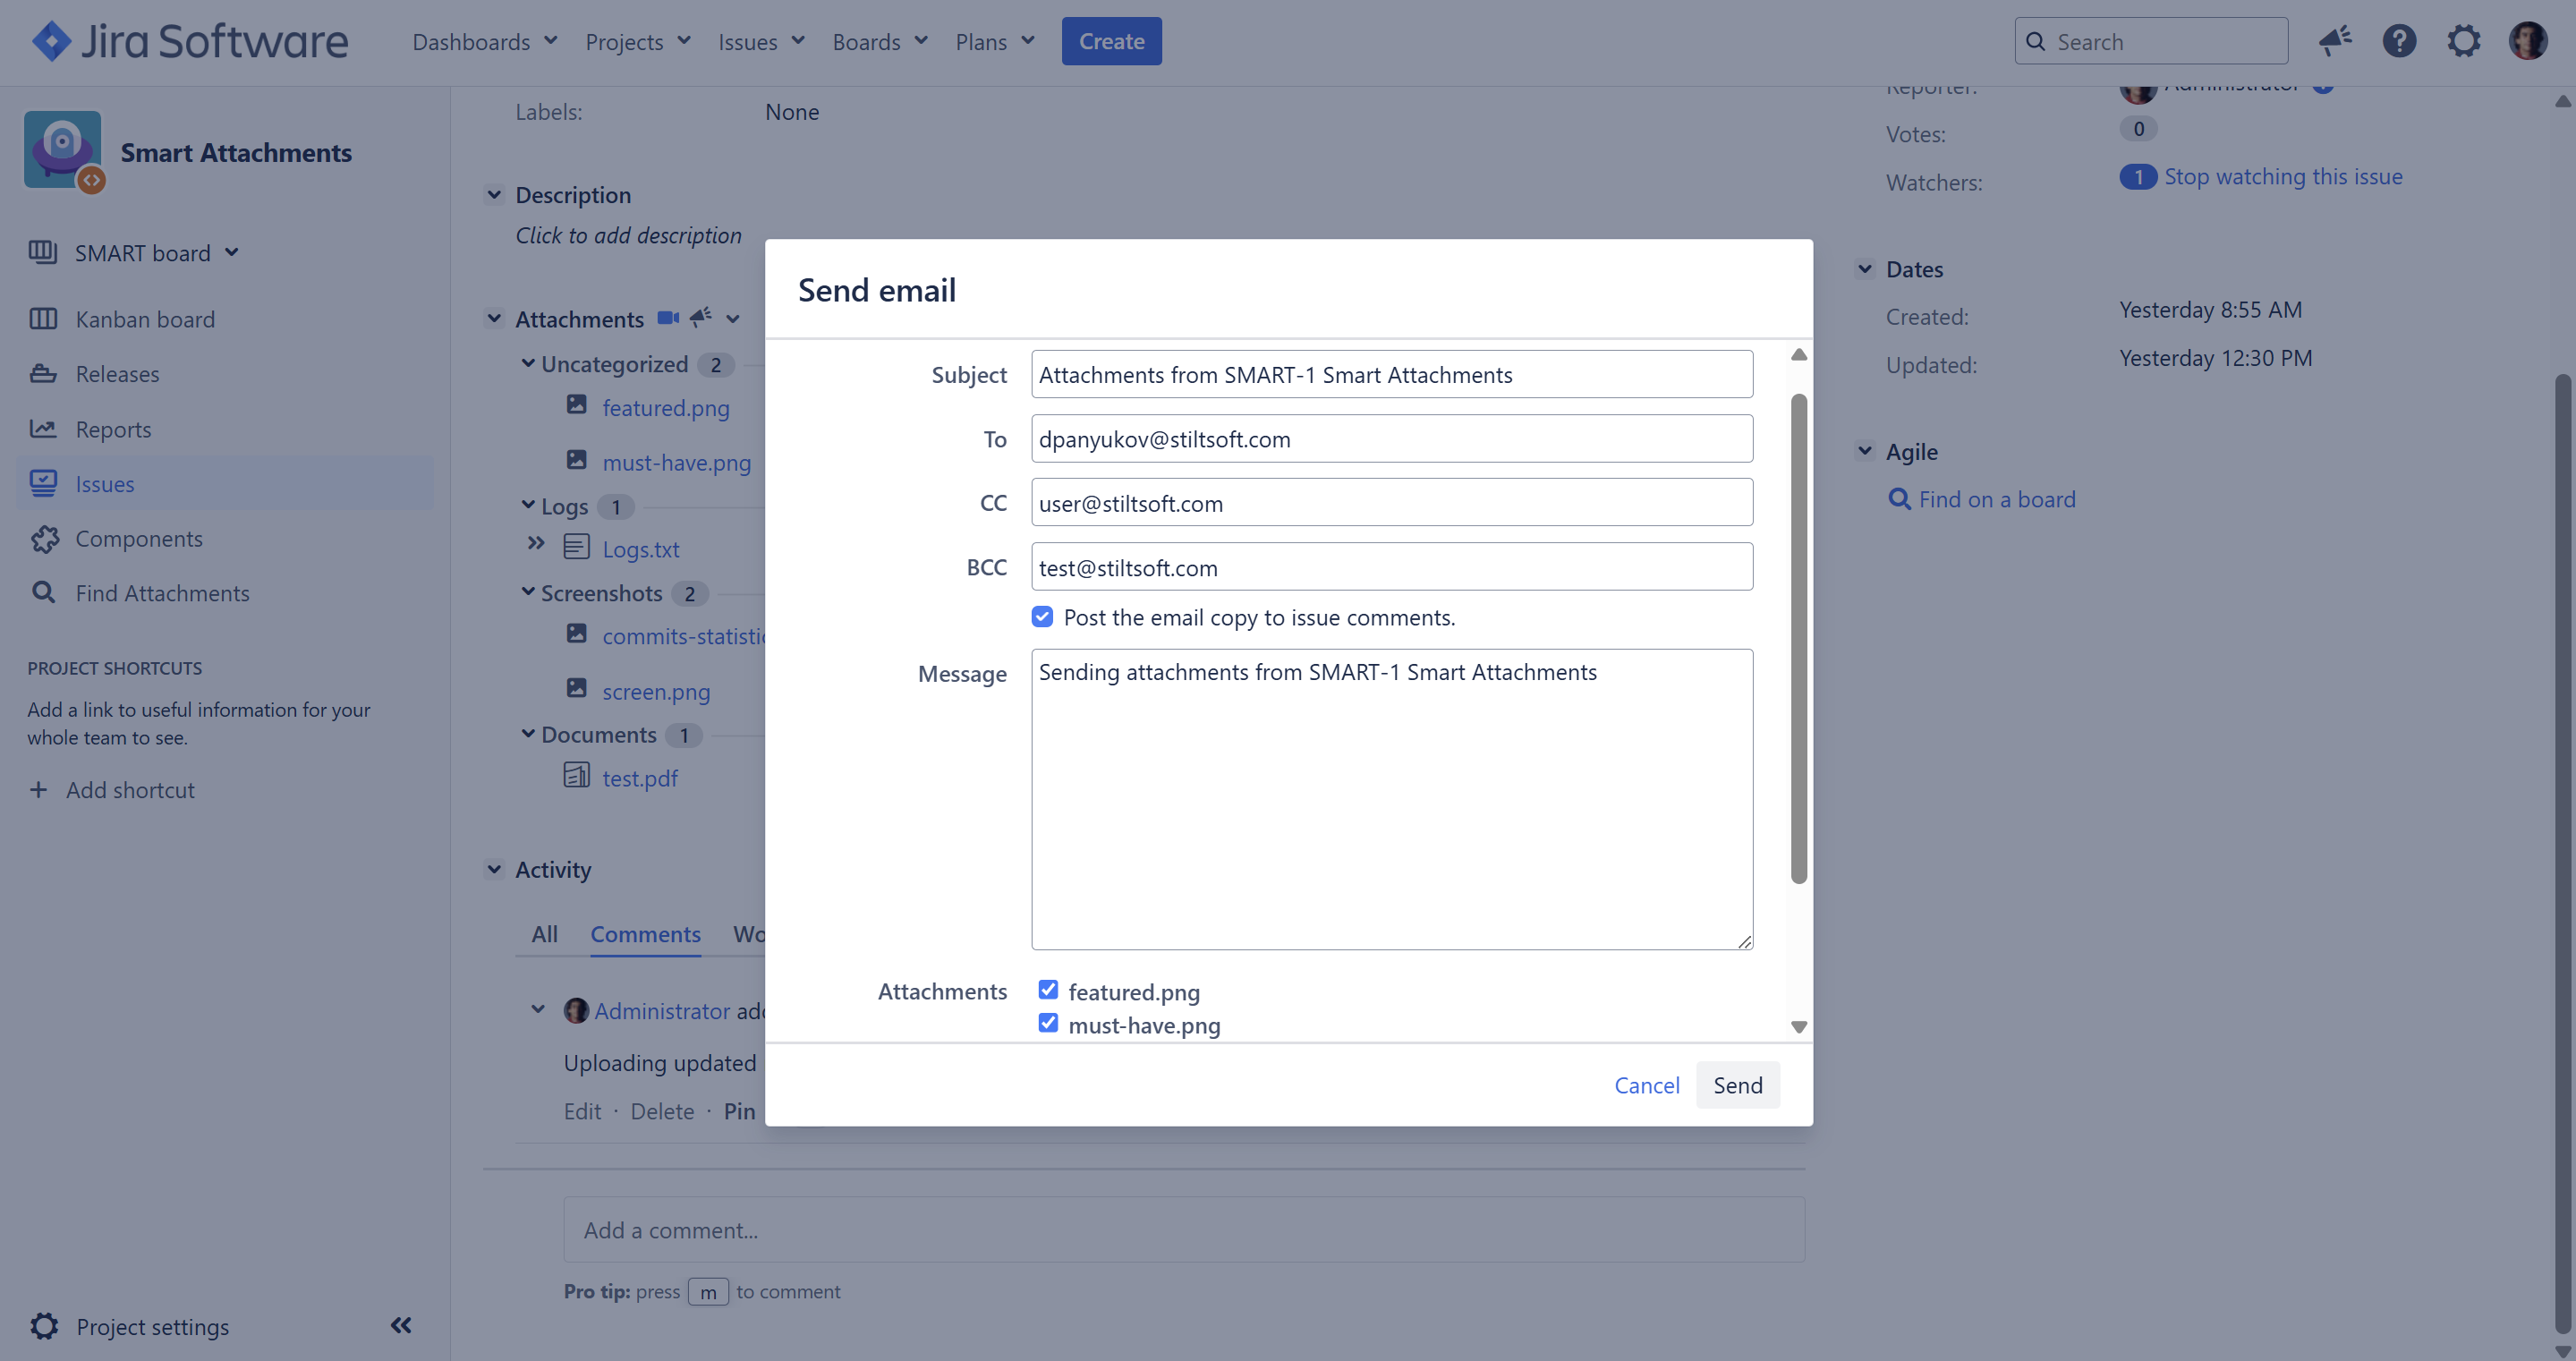
Sending Multiple Attachments to Email
You can also hide emails of some addressees with BCC (Blind Carbon Copy). Just enter the appropriate emails into the BCC field and conceal emails of some recipients from the others.
Smart Attachments add-on allows you to send the selected attachments to the required email addresses via the built-in email form.
- Select the appropriate attachments and select the Perform bulk operation action from the context menu.
- Select Send to email.
- Click Confirm.
- In the Send email form, specify email addresses of people you want to send the email with attachments to.
Enter the email message. - To keep the email copy in the issue, select the Post the email copy to issue comments option.
- Click Send.
The add-on remembers up to 50 email addresses for each JIRA user.
Autocompletion of email addresses is available for all JIRA users. This feature requires the Browse Users permission.
If the addresses of the outgoing and incoming mail servers are identical the app will automatically use this address as the Reply To address. In other situations, the address of the sender will be used.
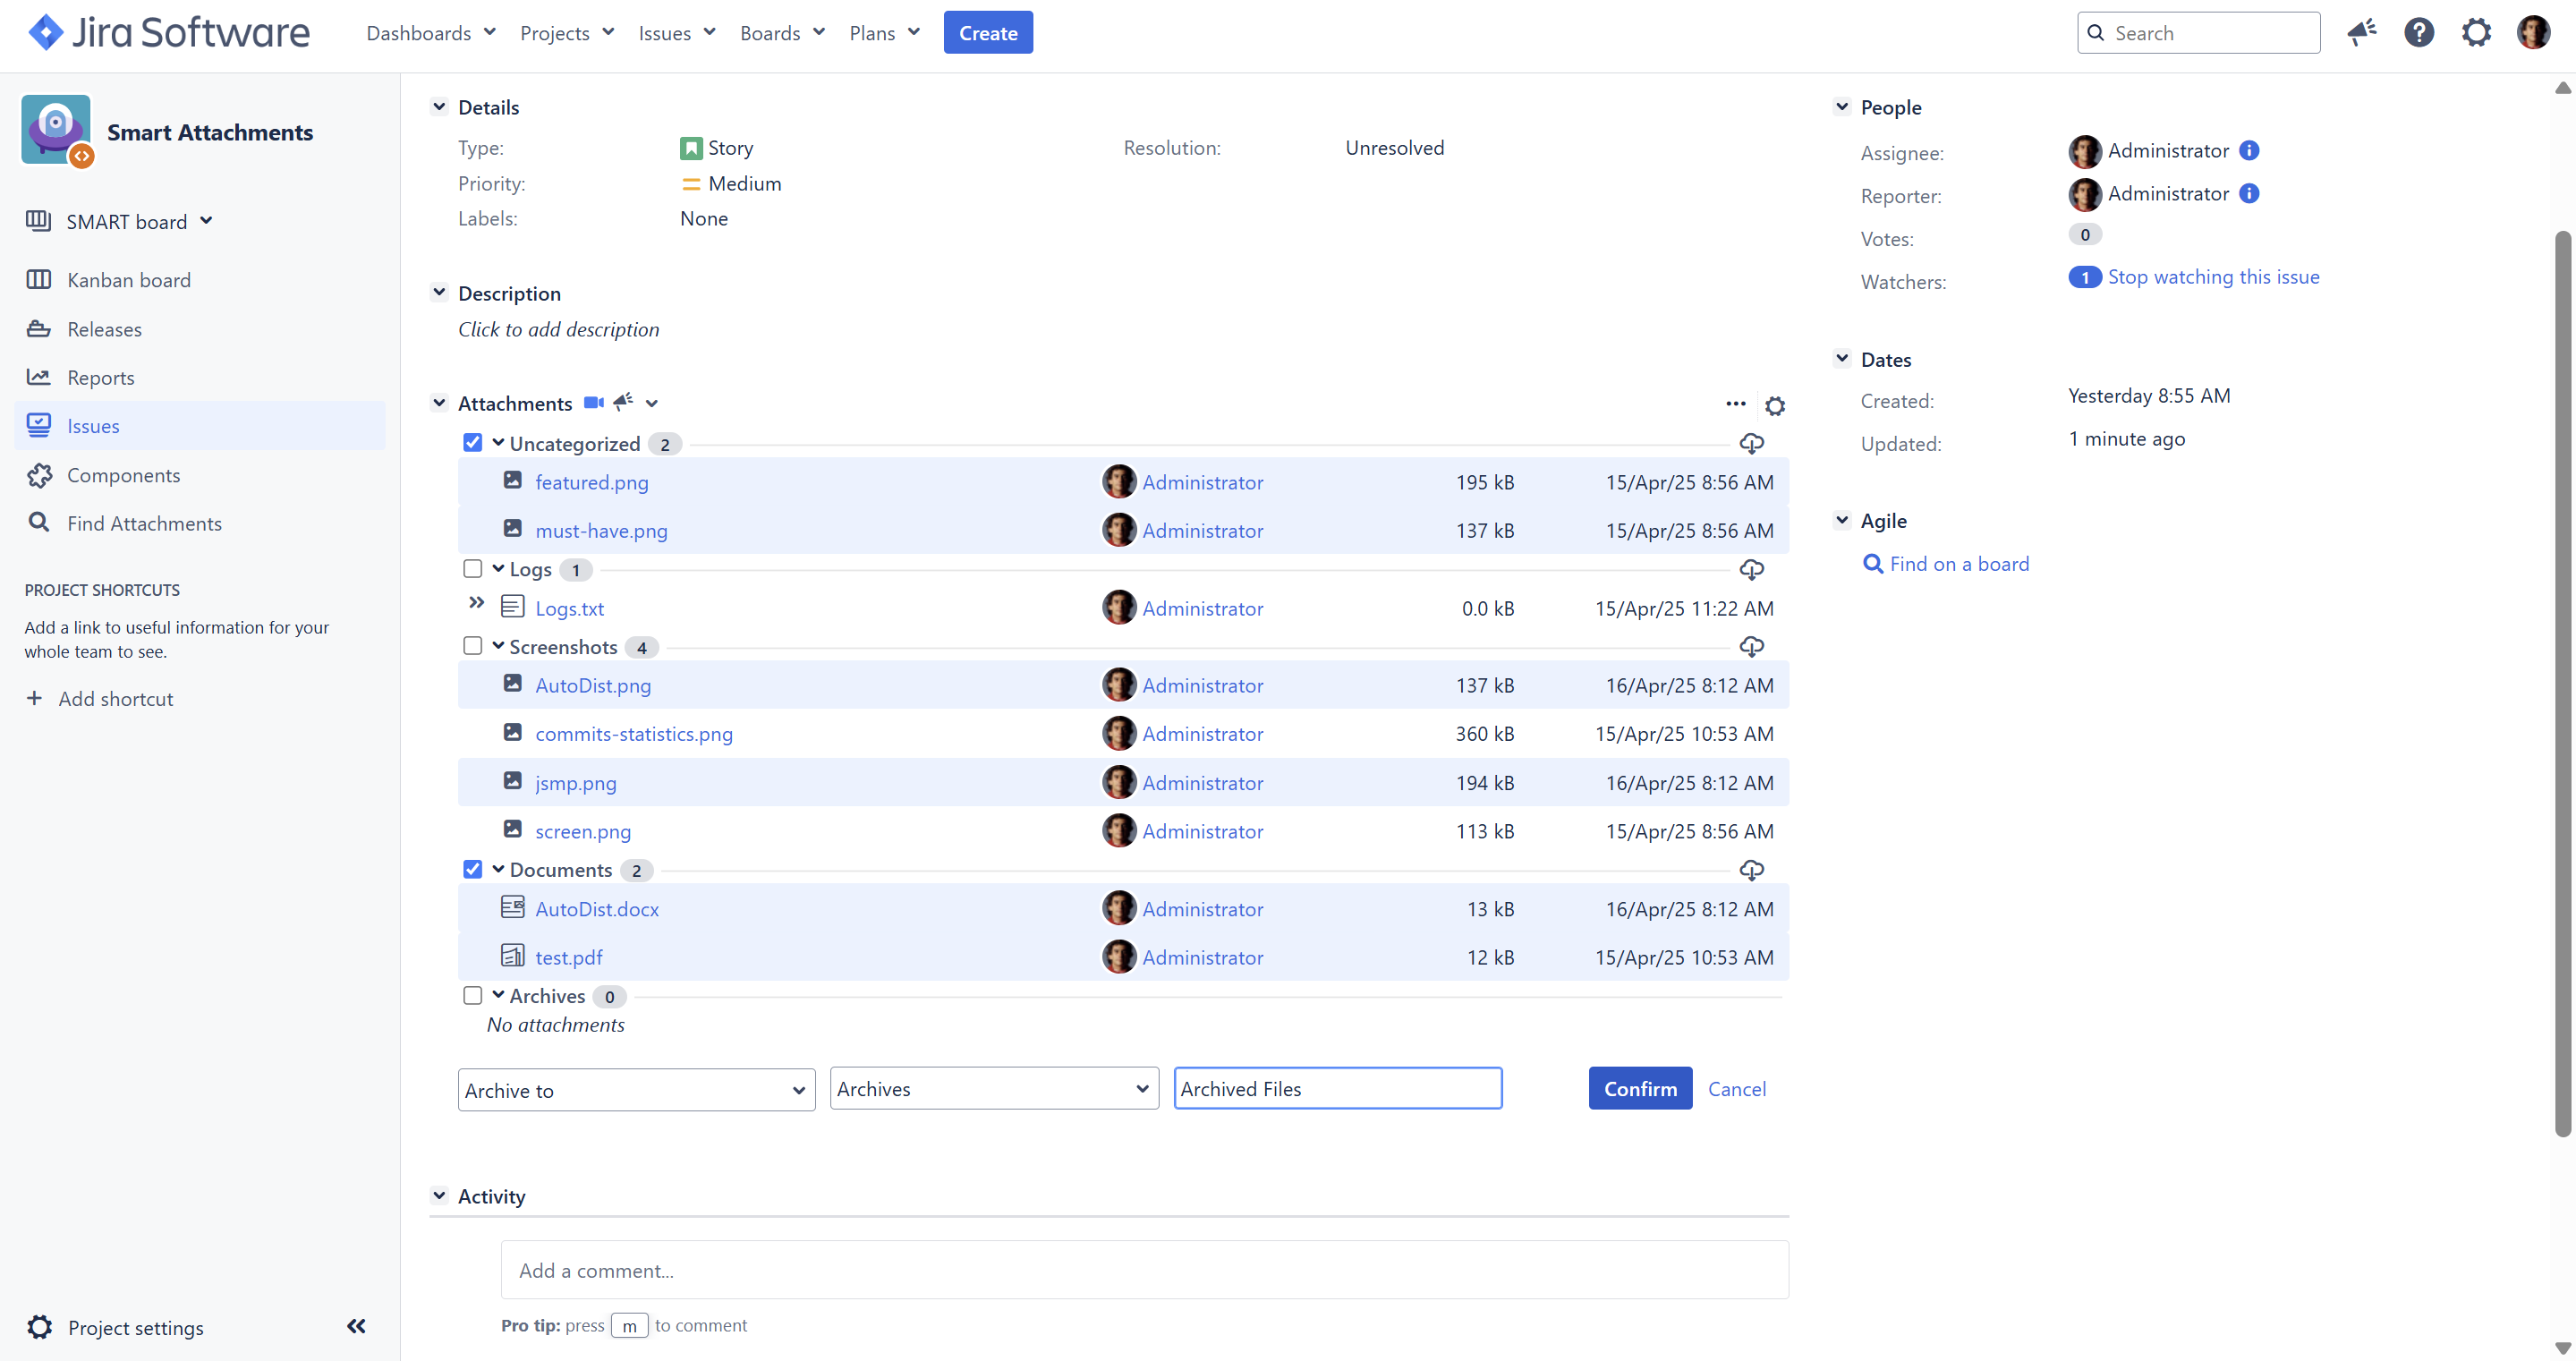
Archiving Attachments
Smart Attachments add-on allows you to archive the selected attachments and store them as a single archive in some category.
- Select the appropriate attachments and select the Perform bulk operation action from the context menu.
- Select Archive to.
- Select the appropriate folder for storing the archive with attachments.
- Enter name of the archive. If you do not enter any name, the default name 'archive.zip' will be used.
- Click Confirm. After archival all the selected attachments will be removed from the source category and moved within the archive to the selected category.
Try our Smart Attachments for Confluence app. Store your project documents, artifacts, and media assets in the shareable space storage in Confluence. See the app in action.