This feature is available for Jira Server only.
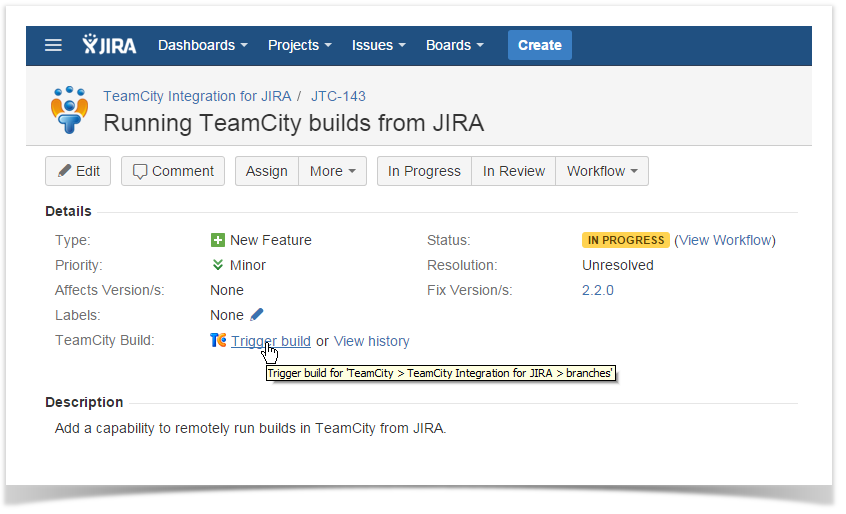
Starting from version 2.2.0, you can run builds in TeamCity right from Jira.This can be achieved with the custom field that is added into the necessary screens of Jira. This custom field also stores the history of builds that were run from it.
Your administrator should configure the TeamCity Build Runner custom field for the specific Jira project.
As an alternative, you can use the Run a Build post function that can remotely trigger builds in TeamCity from Jira.
Running Builds
- Open the Jira issue.
- Locate the Trigger build link and click it.
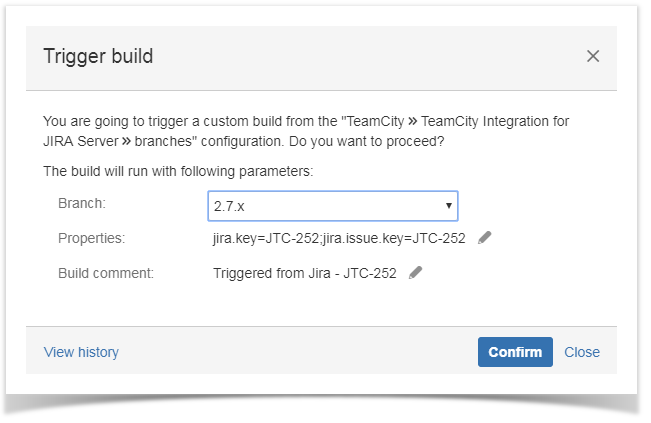
- In the Trigger build form, define parameters for running a new build, as follows:
- Branch - select the branch which a new build is triggered in.
- Properties - click the Pencil icon and enter additional properties for running a new build. This field may be hidden if the administrator does not allow its editing by users.
- Build comment - enter the comment that will be appended to the build. This field may be hidden if the administrator does not allow its editing by users.
- To run the build in TeamCity, click Confirm.
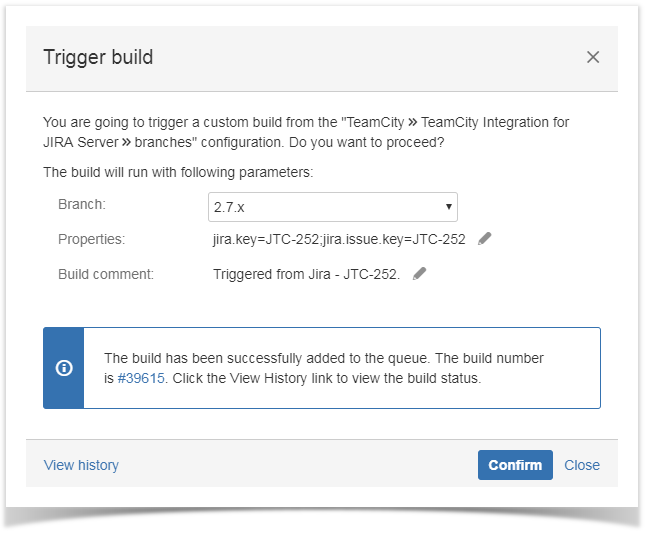
- Once you have run the build, the notification will be displayed in the form.
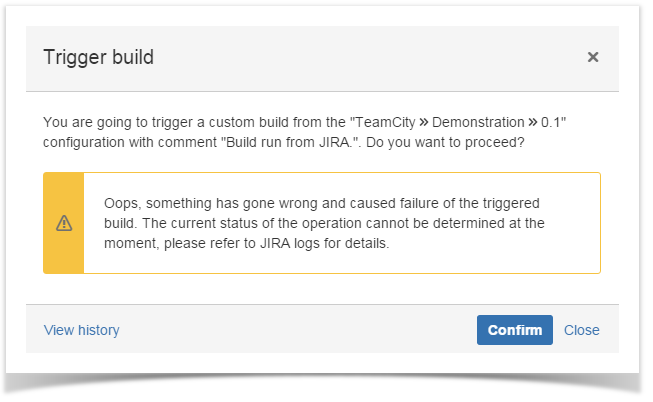
- In case of any unexpected error, the corresponding notification will be displayed in the form too.
Viewing Build History
- You can view the build history while viewing the Jira issue or when triggering a build.
- Open the Jira issue.
- Click the View history link. Alternatively, you can open the Trigger build form and click View history link.
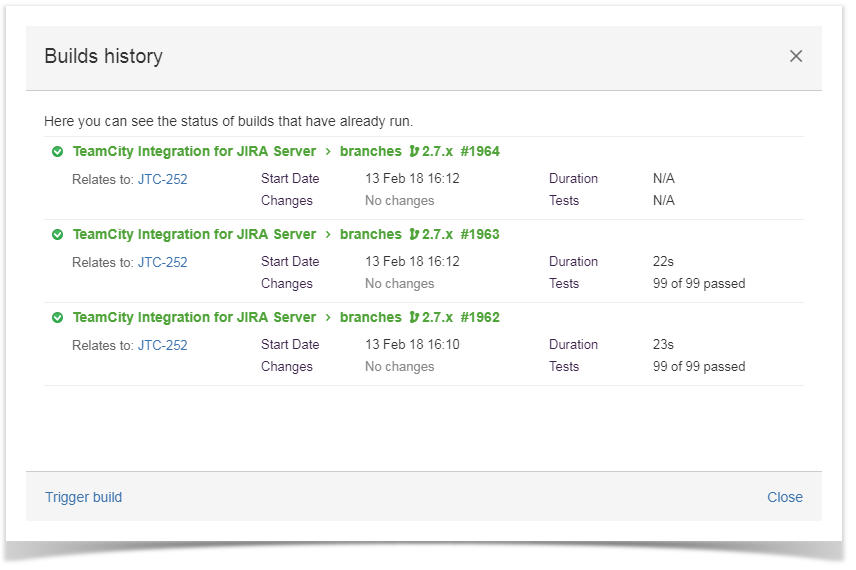
- In the opened Builds history form, you can view the following information about the build:
- Branch - TeamCity branch which the build relates to.
- Build Number - build number within the project.
- Start Date - time and date when the build was run.
- Changes - description of changes specified by the developer.
- Duration - duration of the build procedure.
- Tests - number of passed tests.
- Click Close when complete.
