Download PDF
Download page Migration of Handy Macros data.
Migration of Handy Macros data
Please go through our step-by-step instructions to migrate the Handy Macros app's data to Confluence Cloud. Please address your questions or issues to our support.
Please note that the migration progress update may be stuck for a while, with no percentage change.
The expected migration duration depends on the following factors:
- amount of migrated data
- load on the Handy Macros Cloud app
Checking pre-requisites
Before proceeding to the migration of the Handy Macros app from Confluence Server/Data Center to Confluence Cloud, please check our Pre-Migration Assessment Checklist.
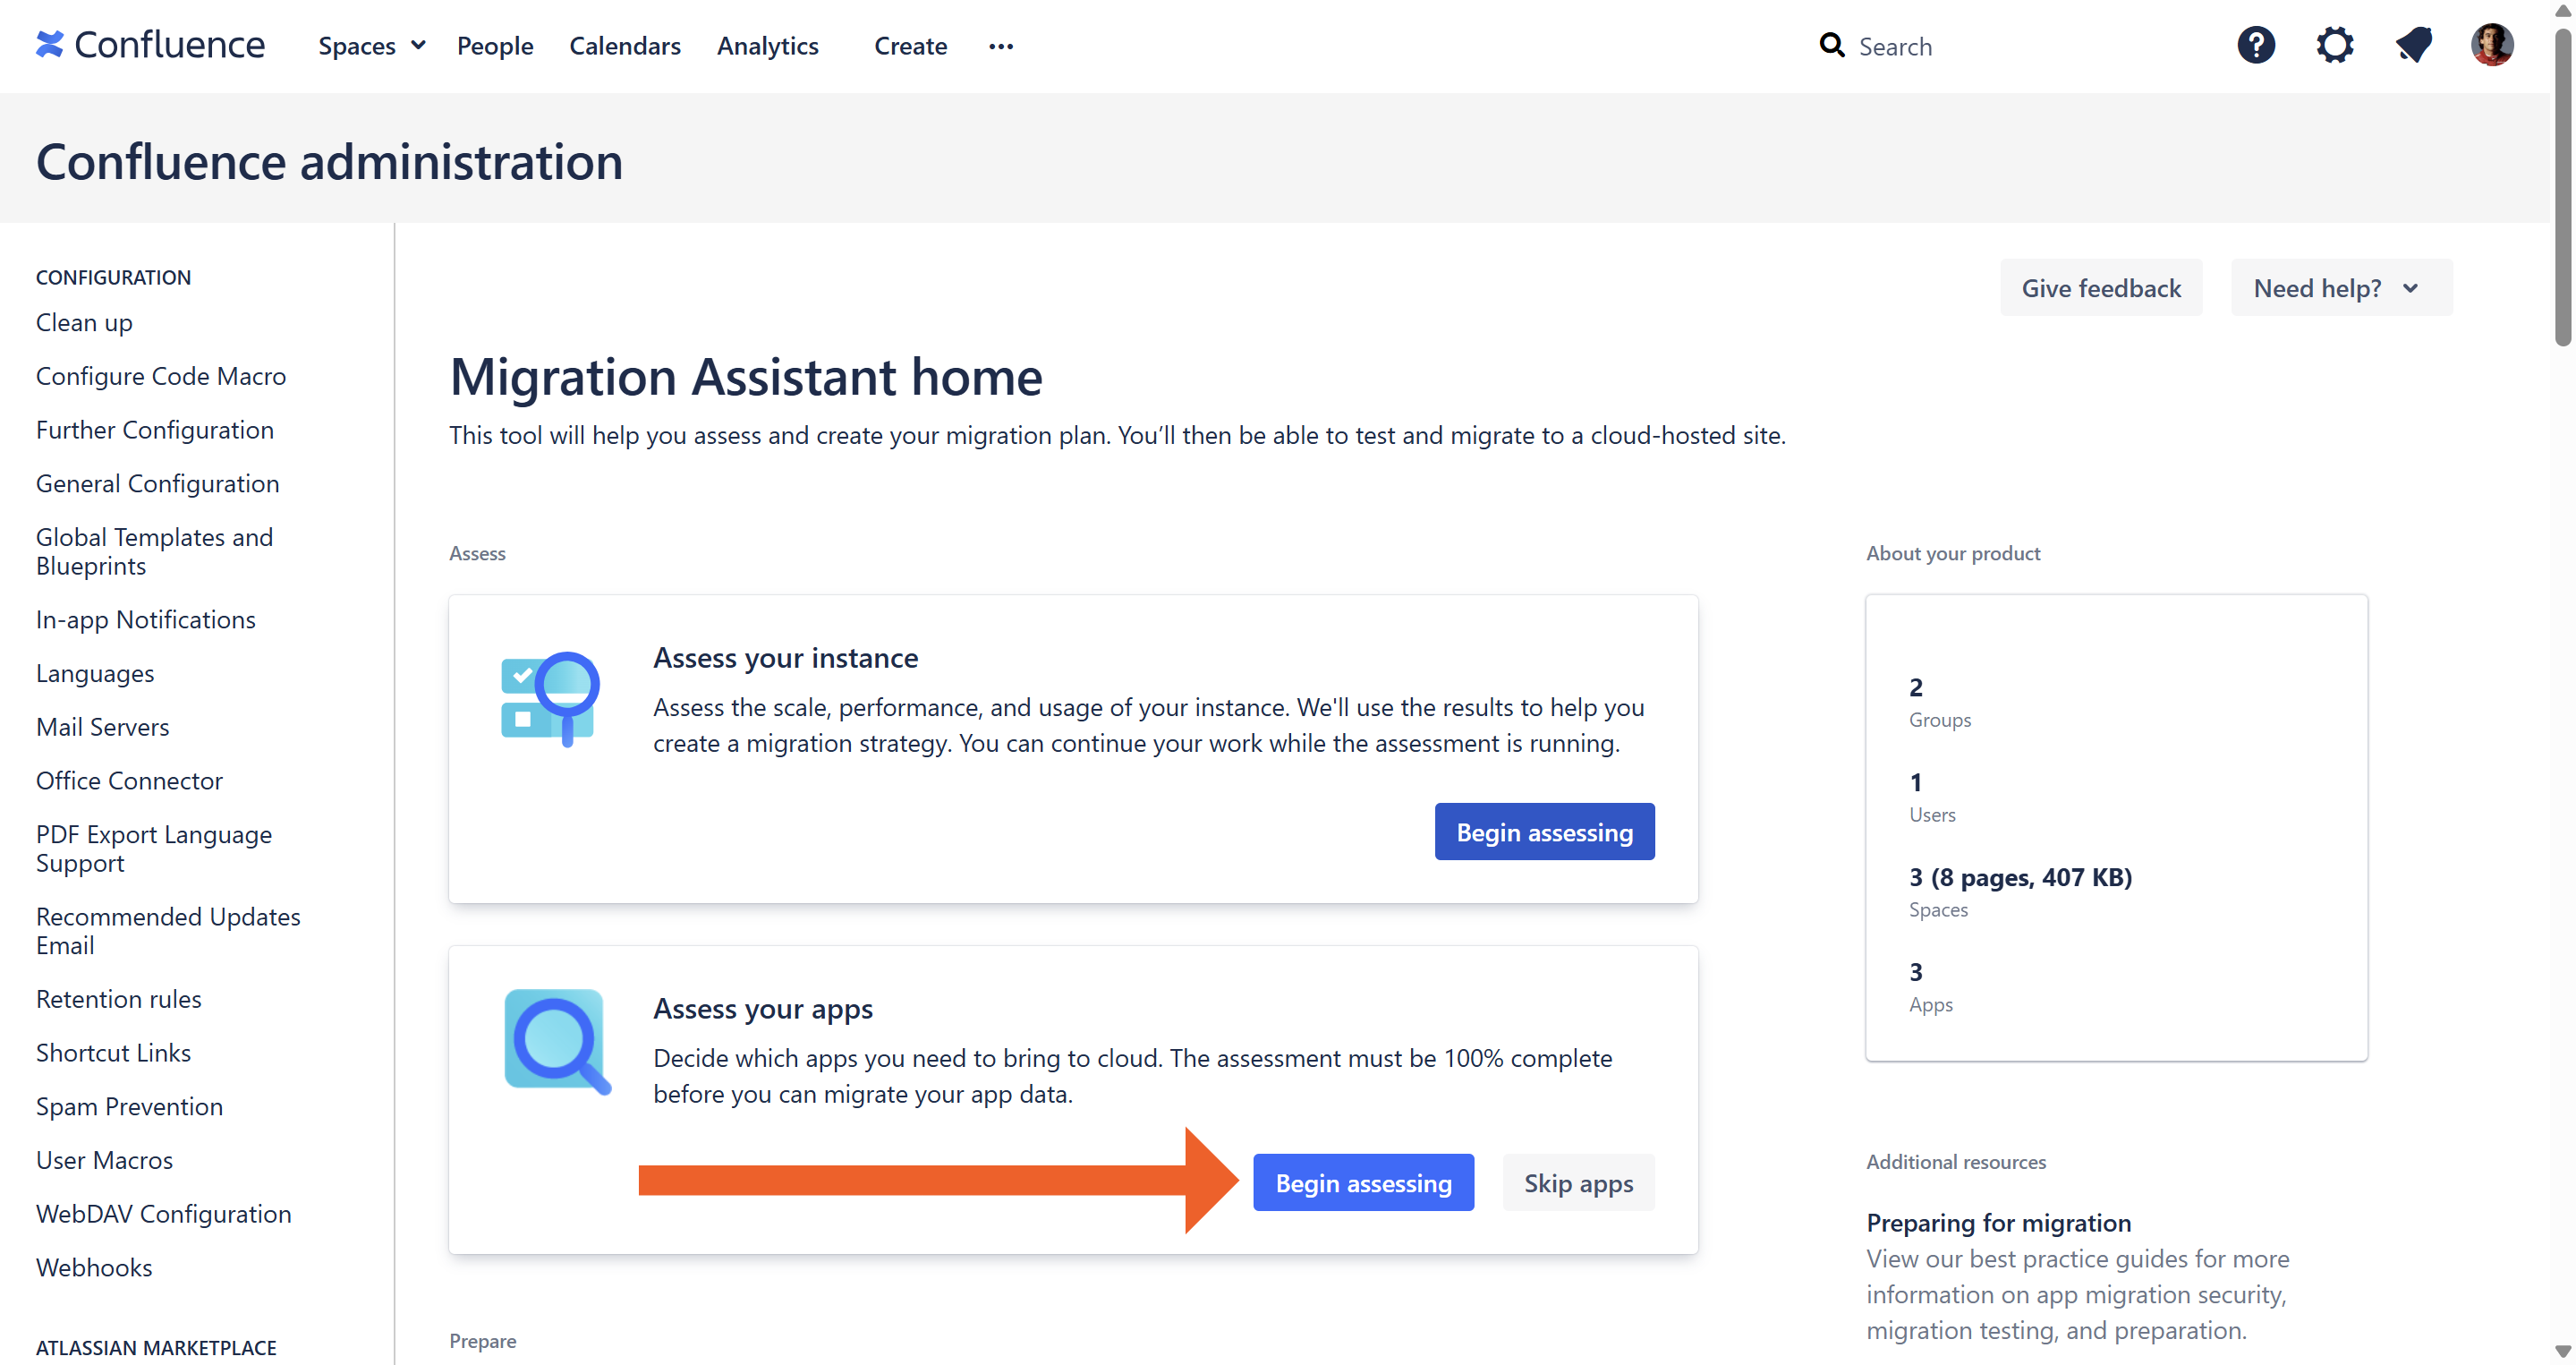
Assessing the app for Cloud migration
- Navigate to the Confluence administration console.
- On the navigation sidebar, select Migration Assistant.
- On the opened page, in the Assess your apps box, click Begin assessing.
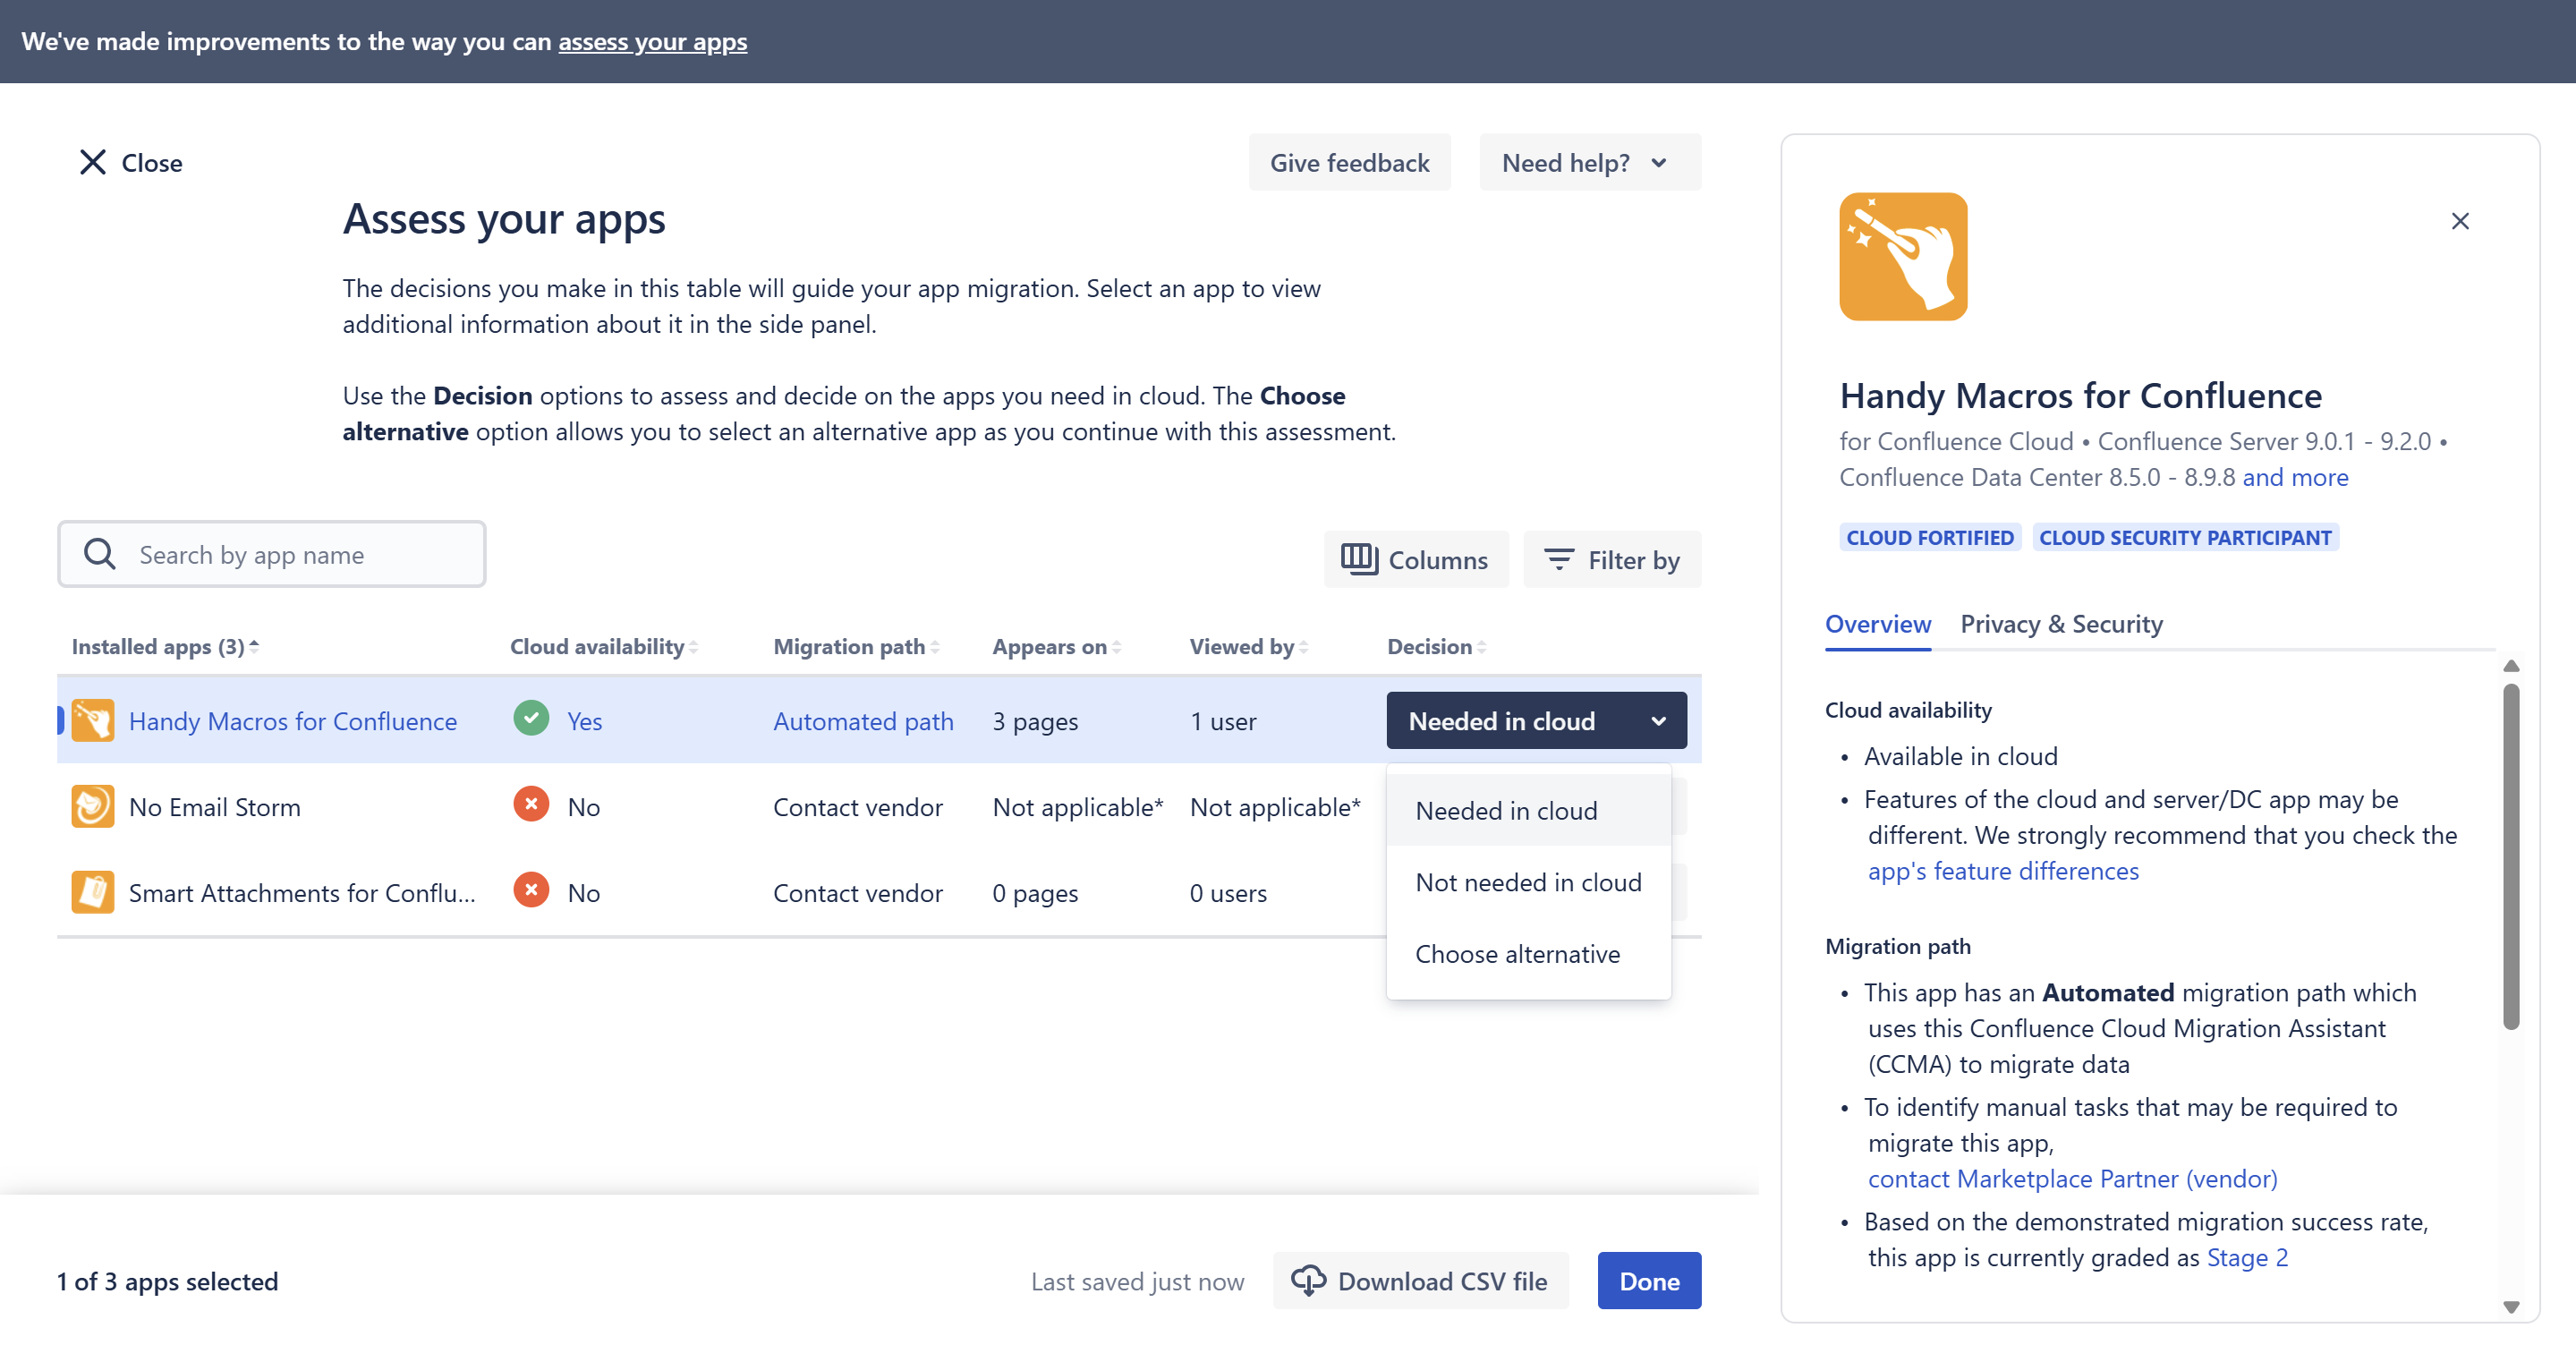
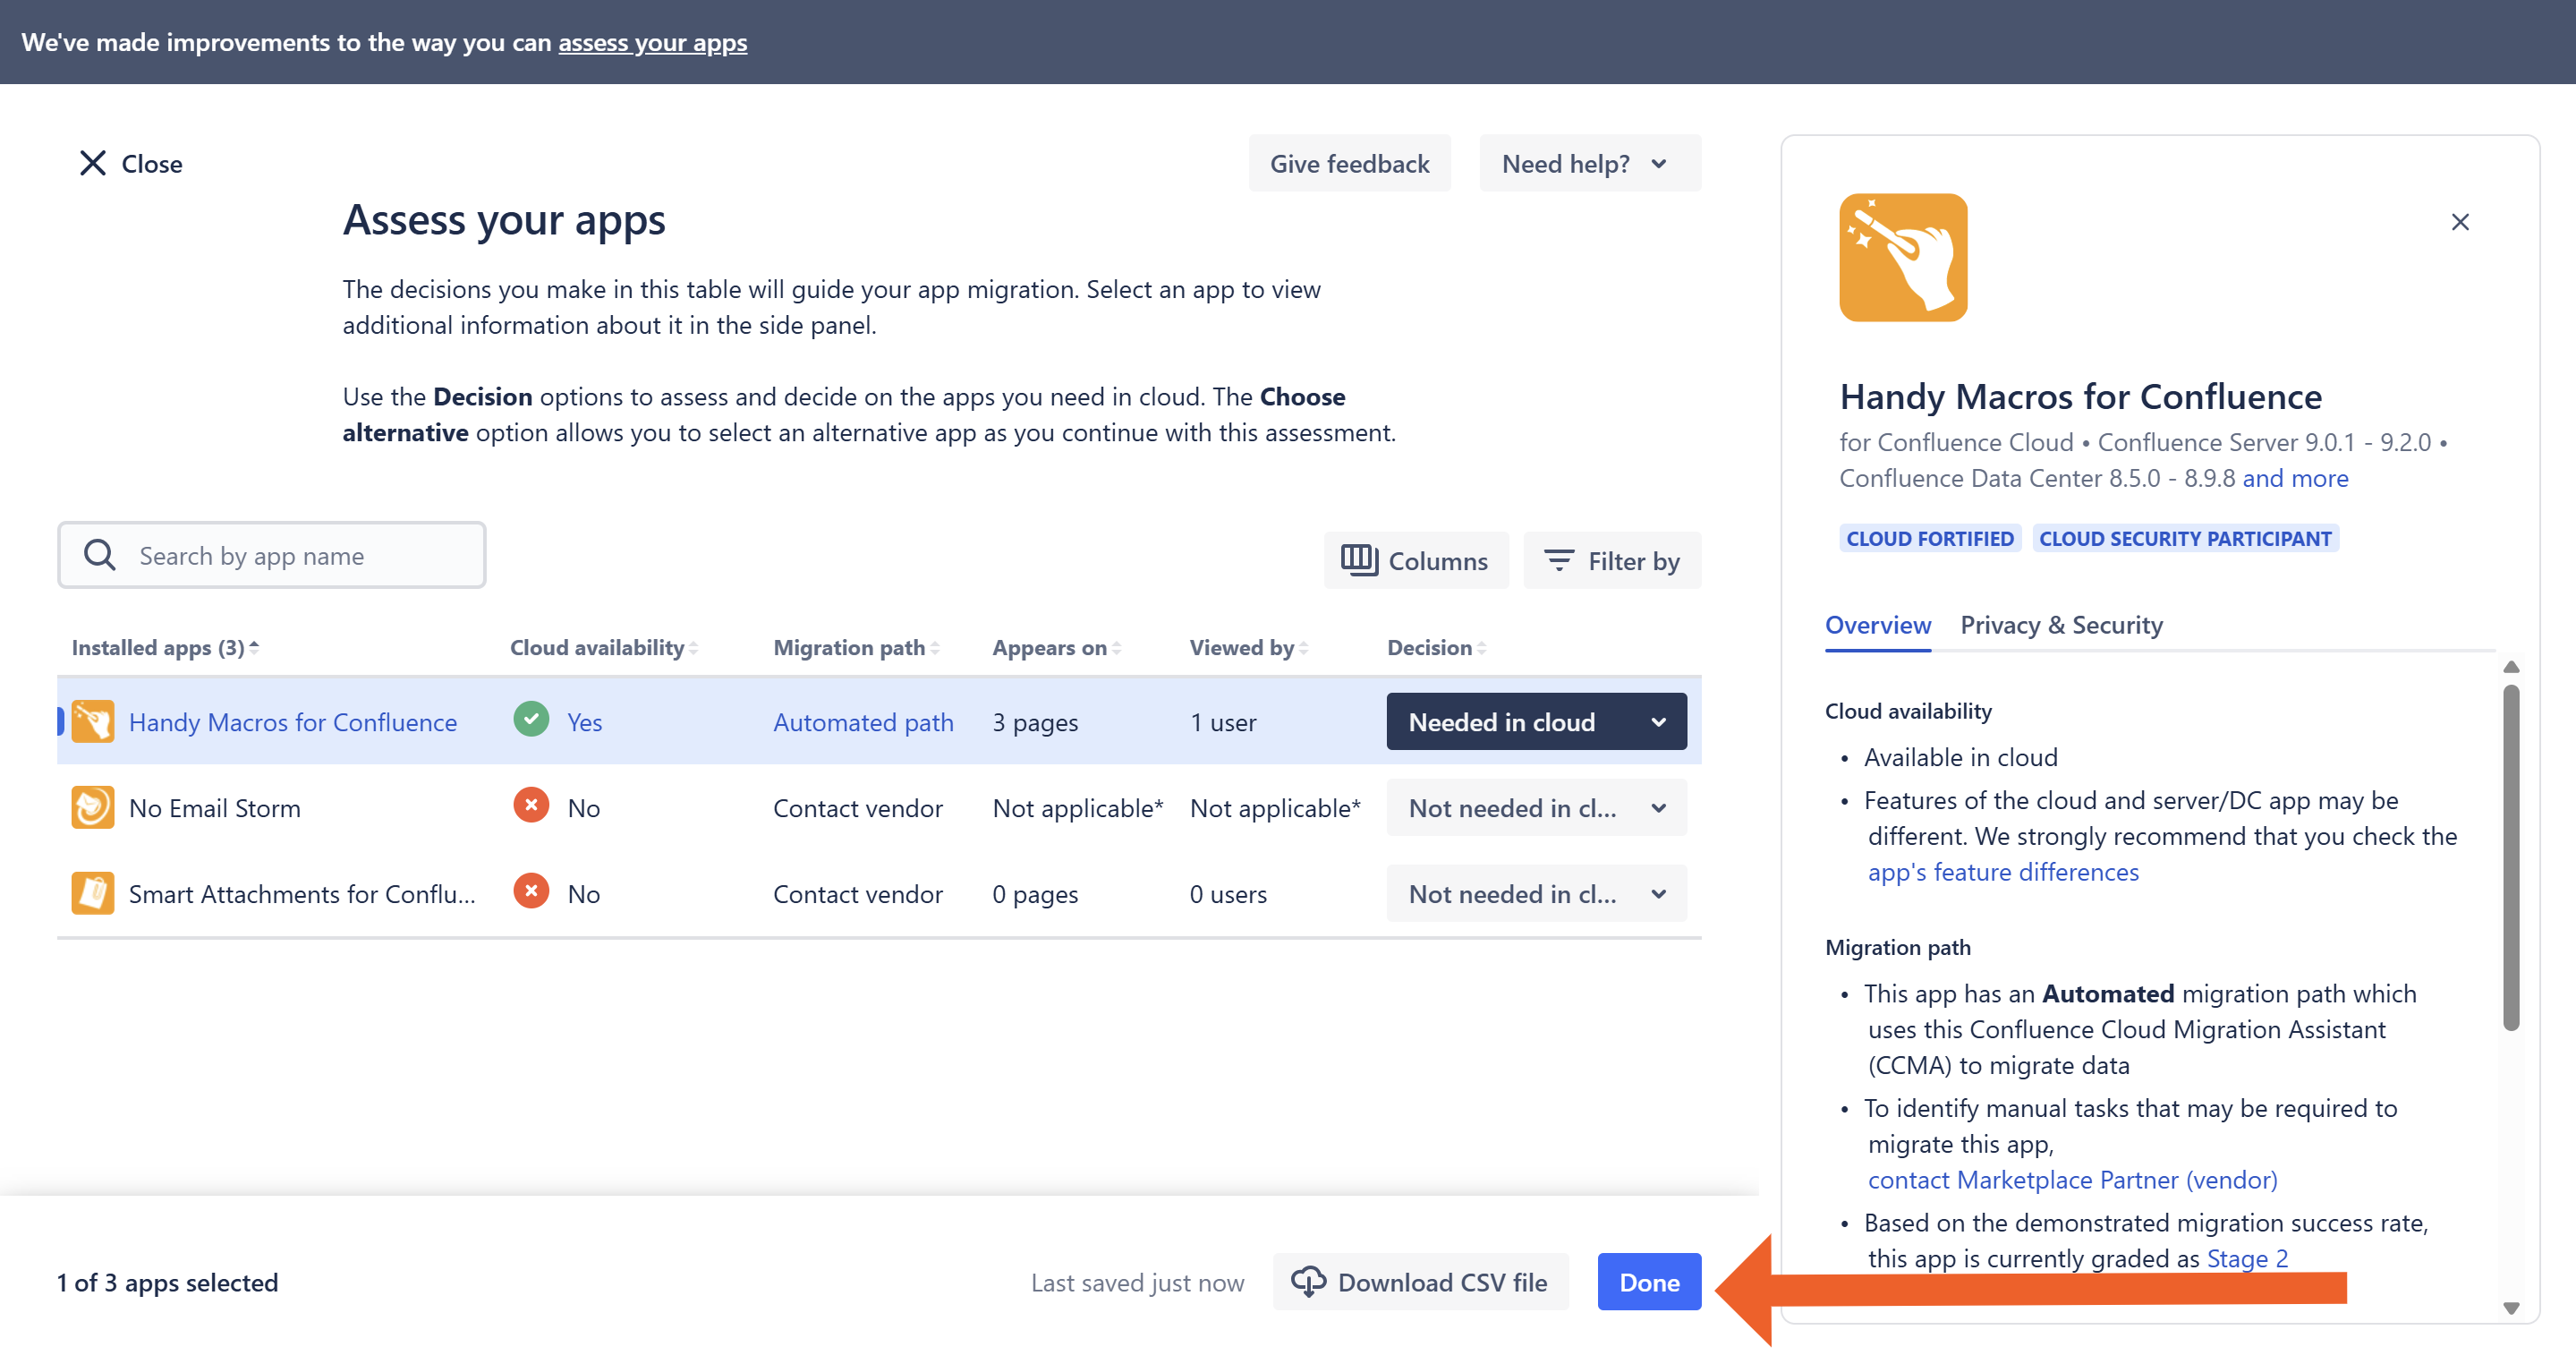
- On the Assess your apps page, select Needed in cloud for the Handy Macros app. Choose the status for the rest of the apps if you plan to migrate multiple apps.
- Click Done.
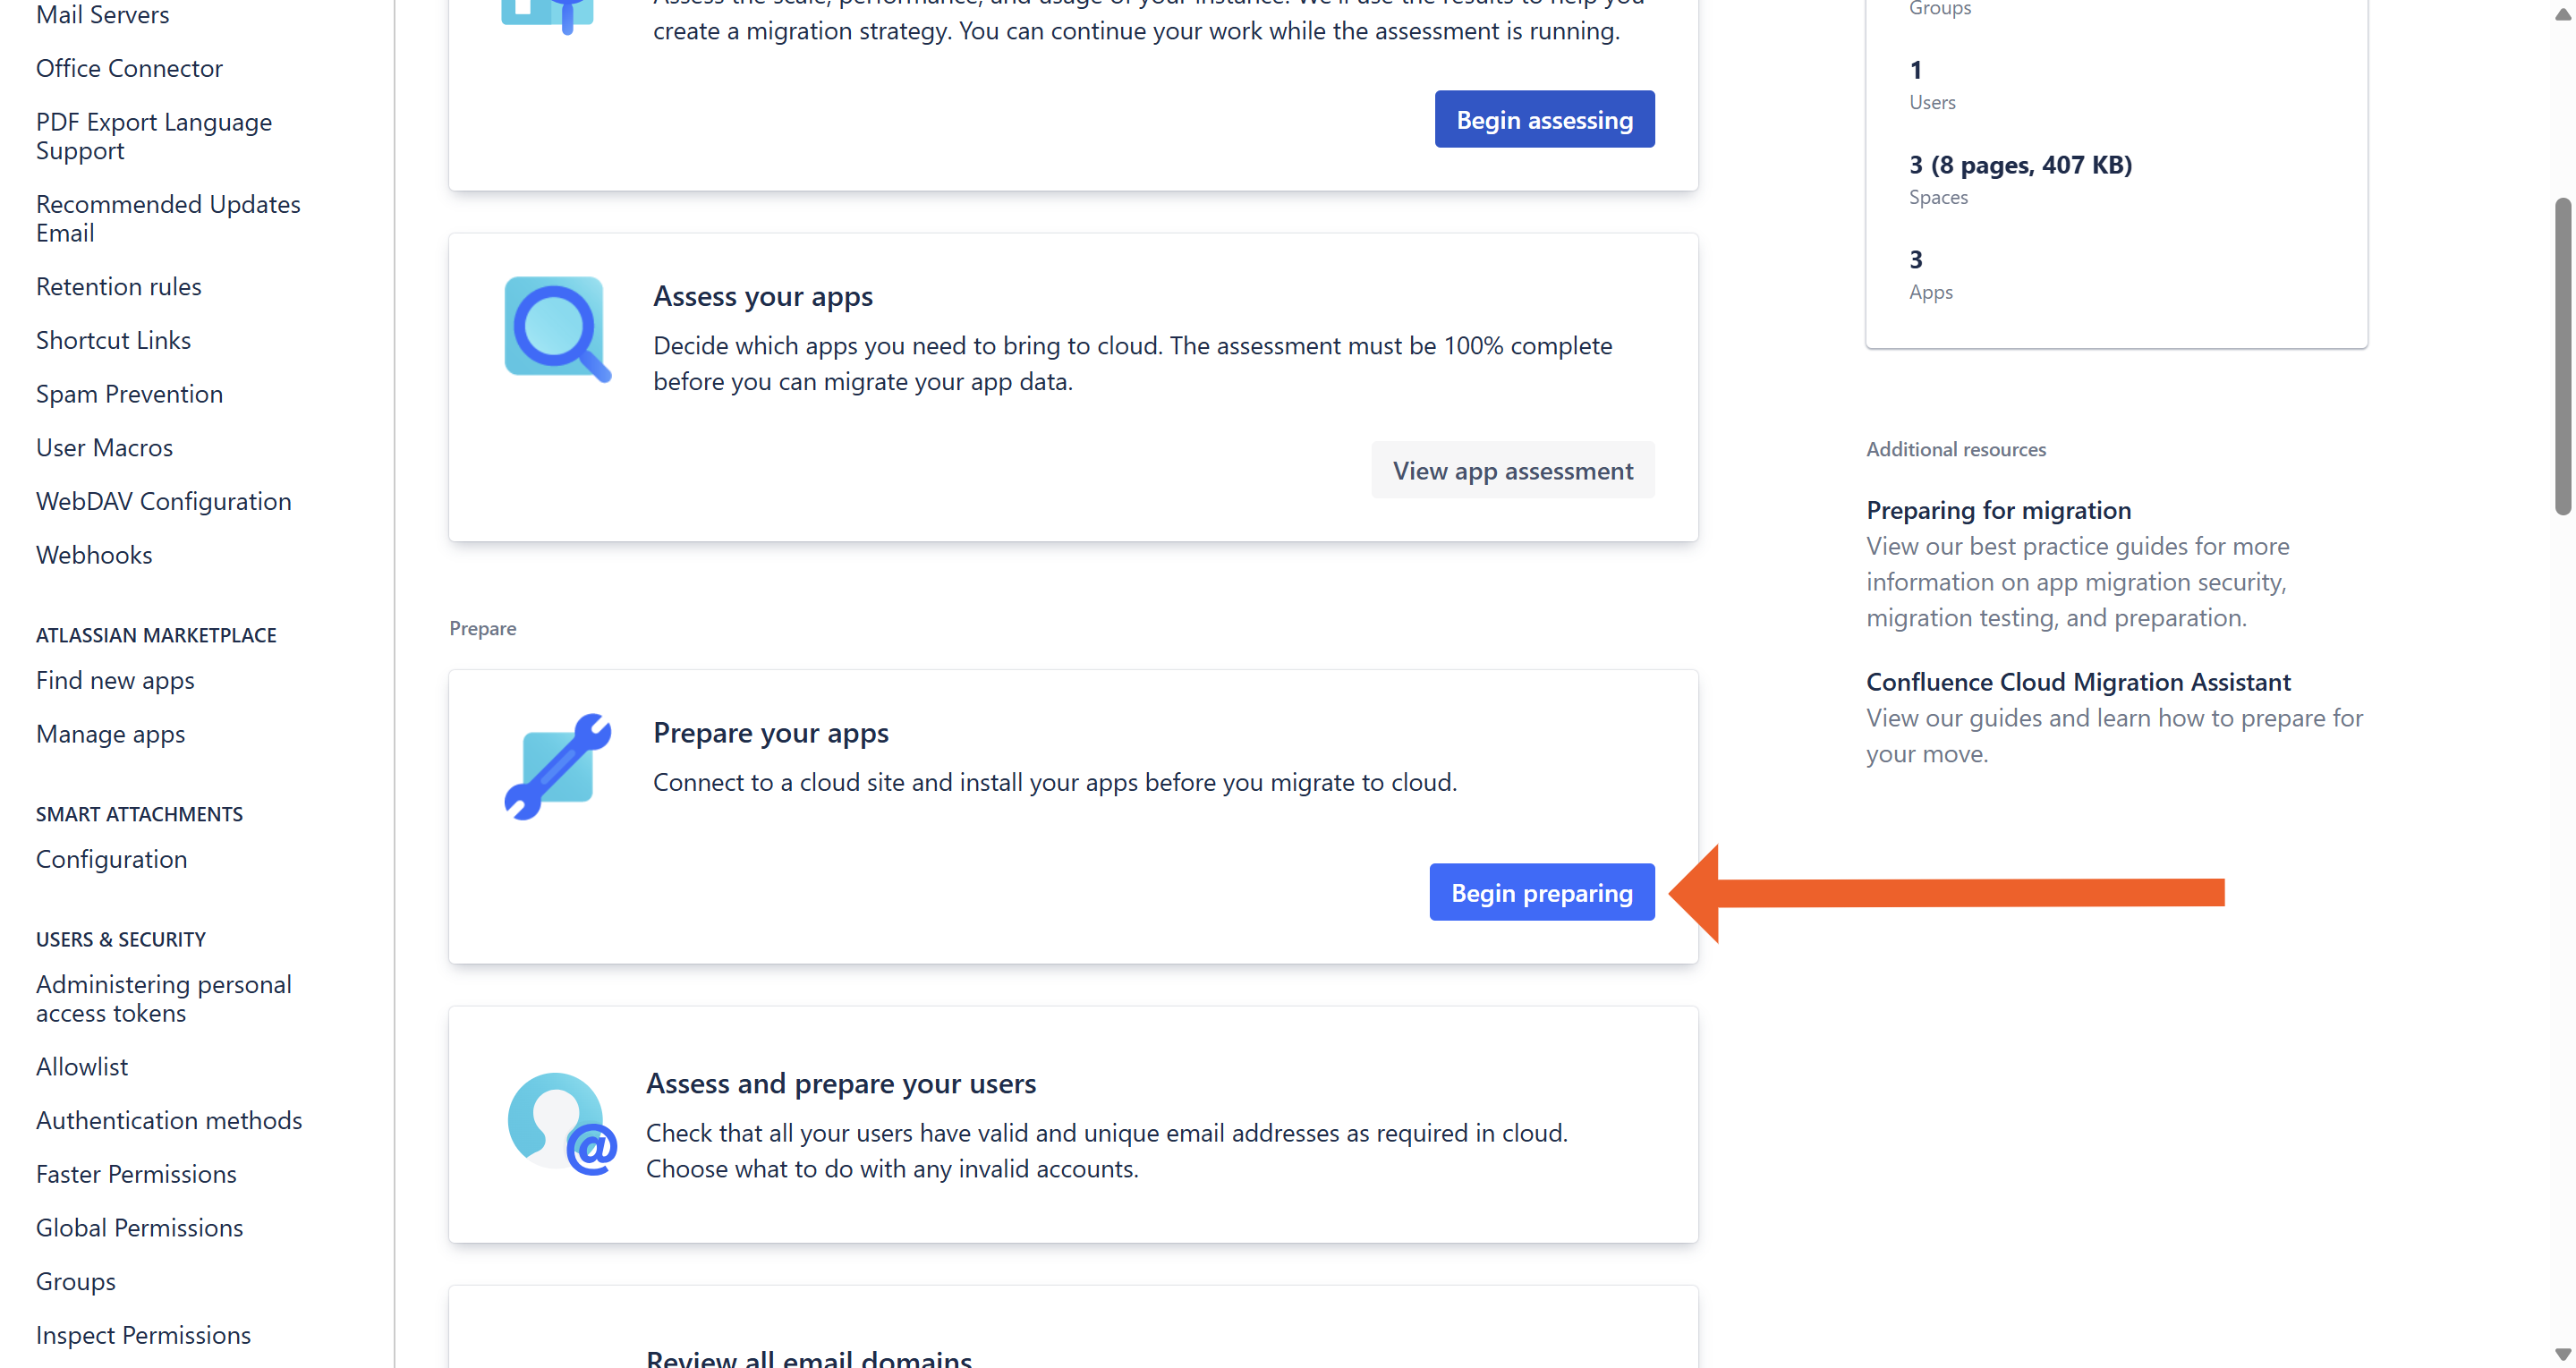
Prepare the app for Cloud migration
- Navigate to the Confluence administration console.
- On the navigation sidebar, select Migration Assistant.
- On the opened page, in the Prepare your apps box, click Begin preparing.
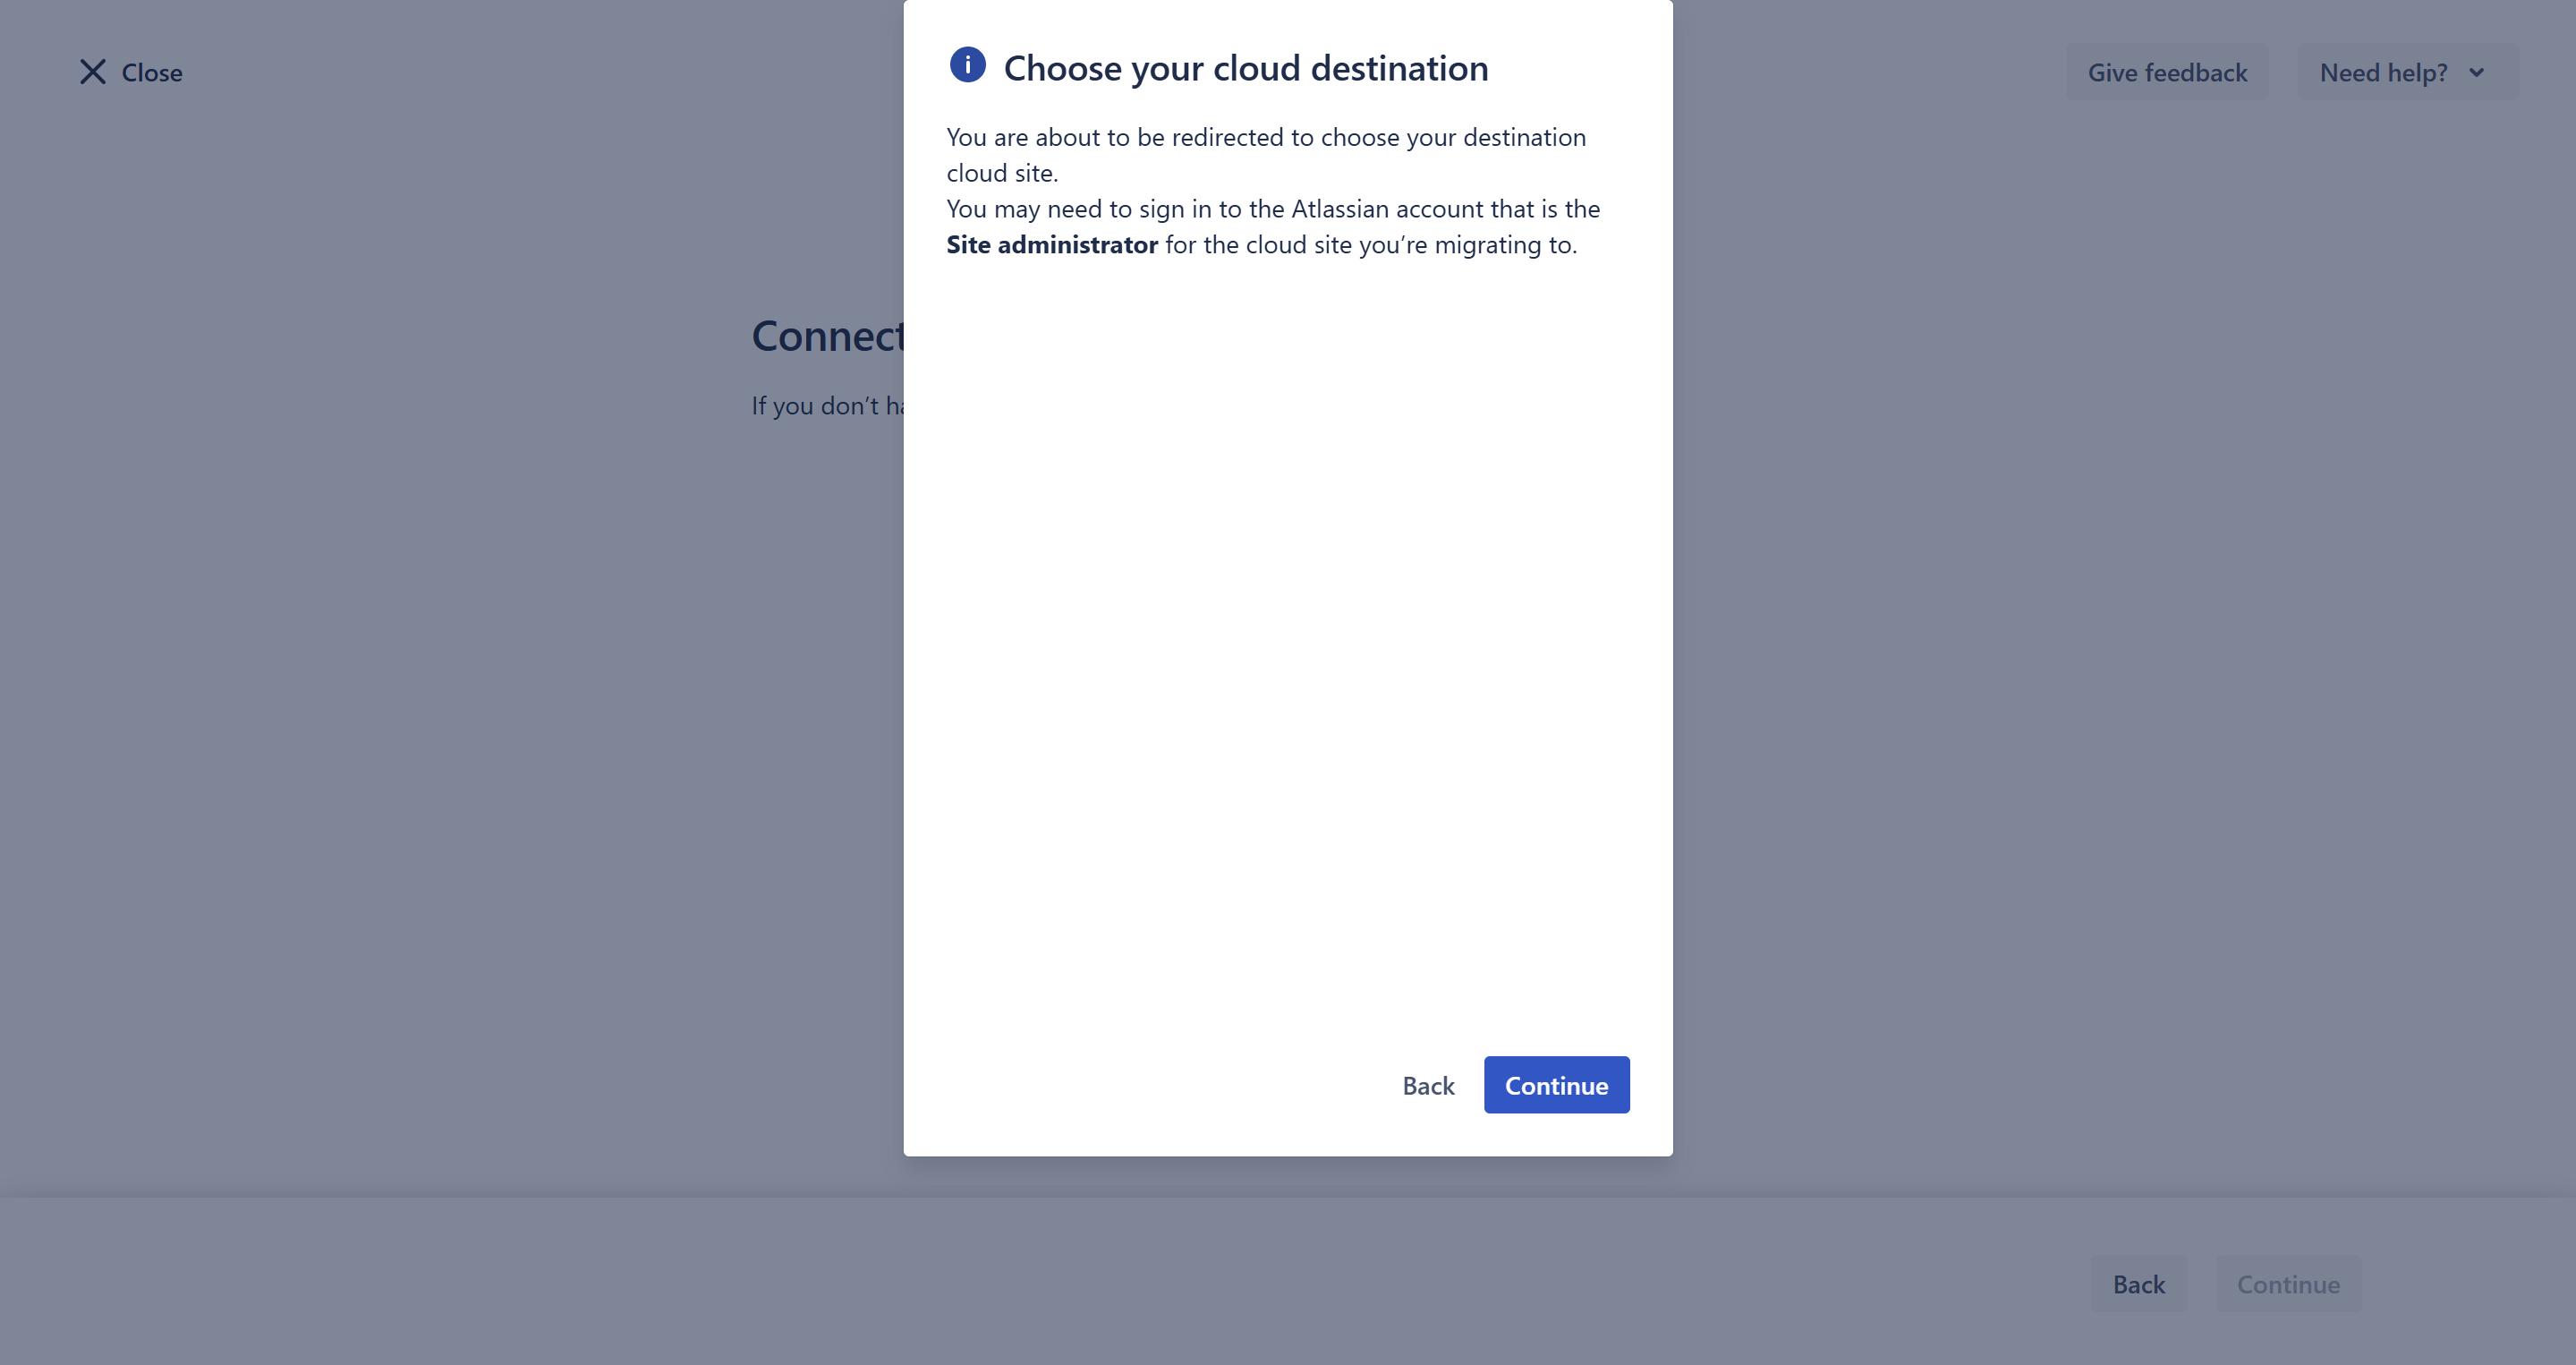
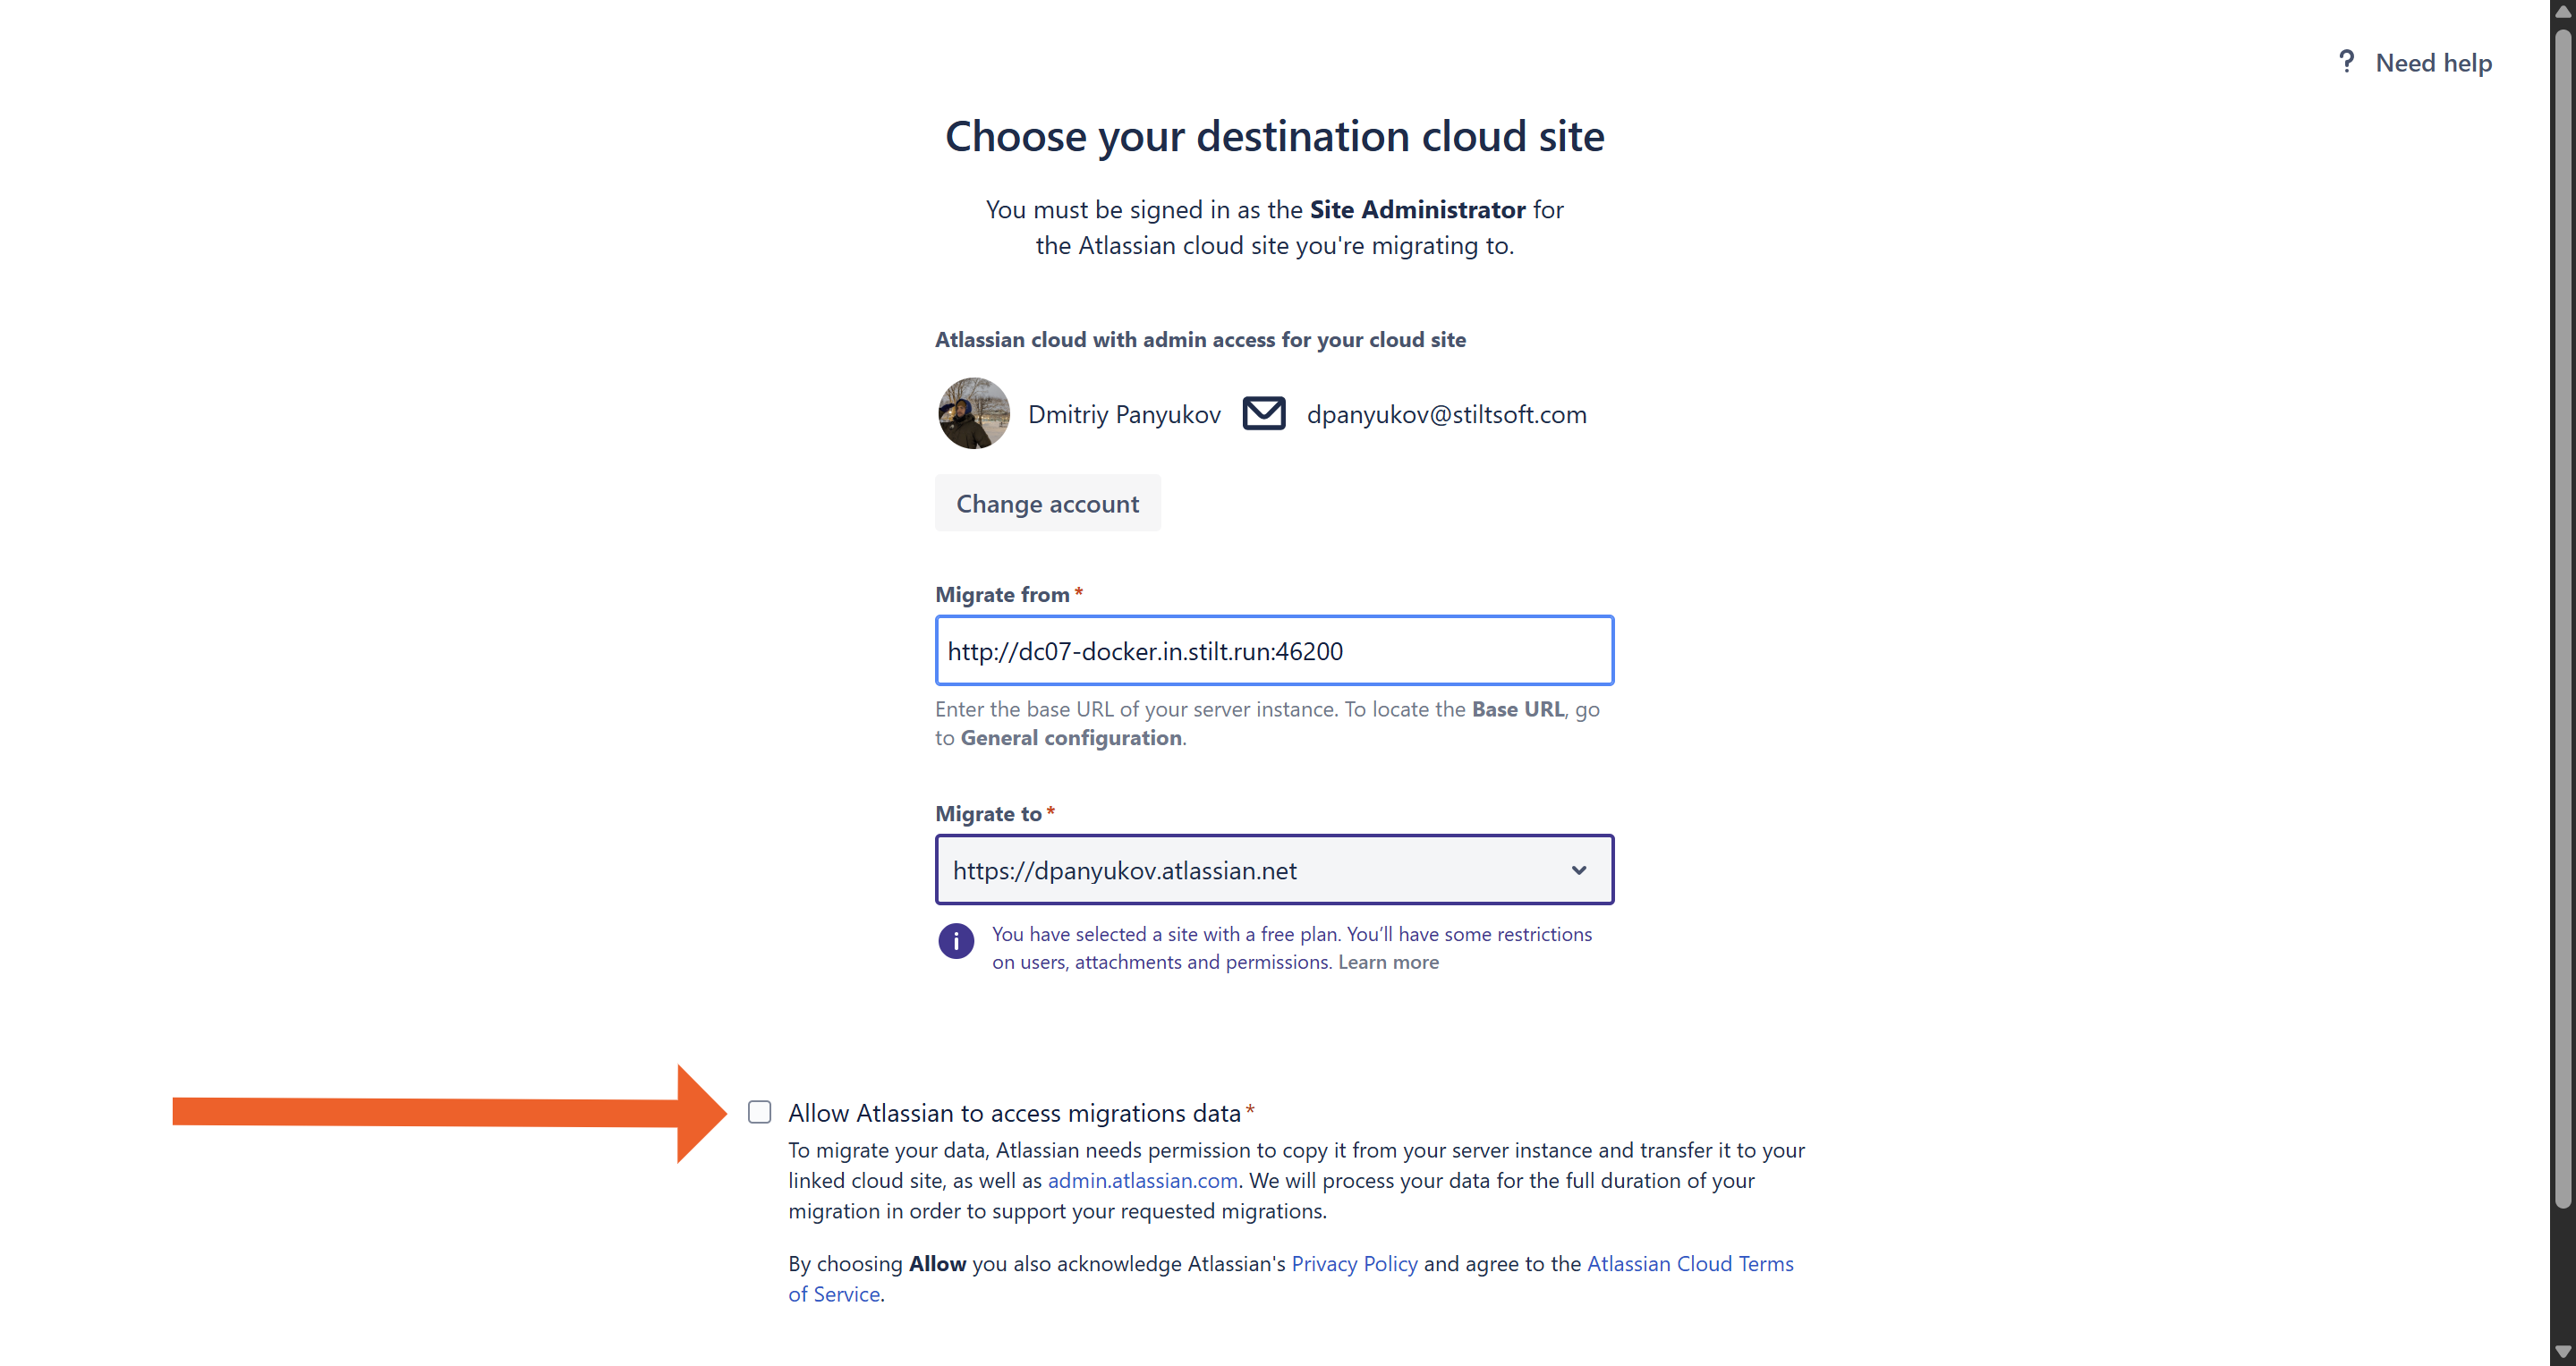
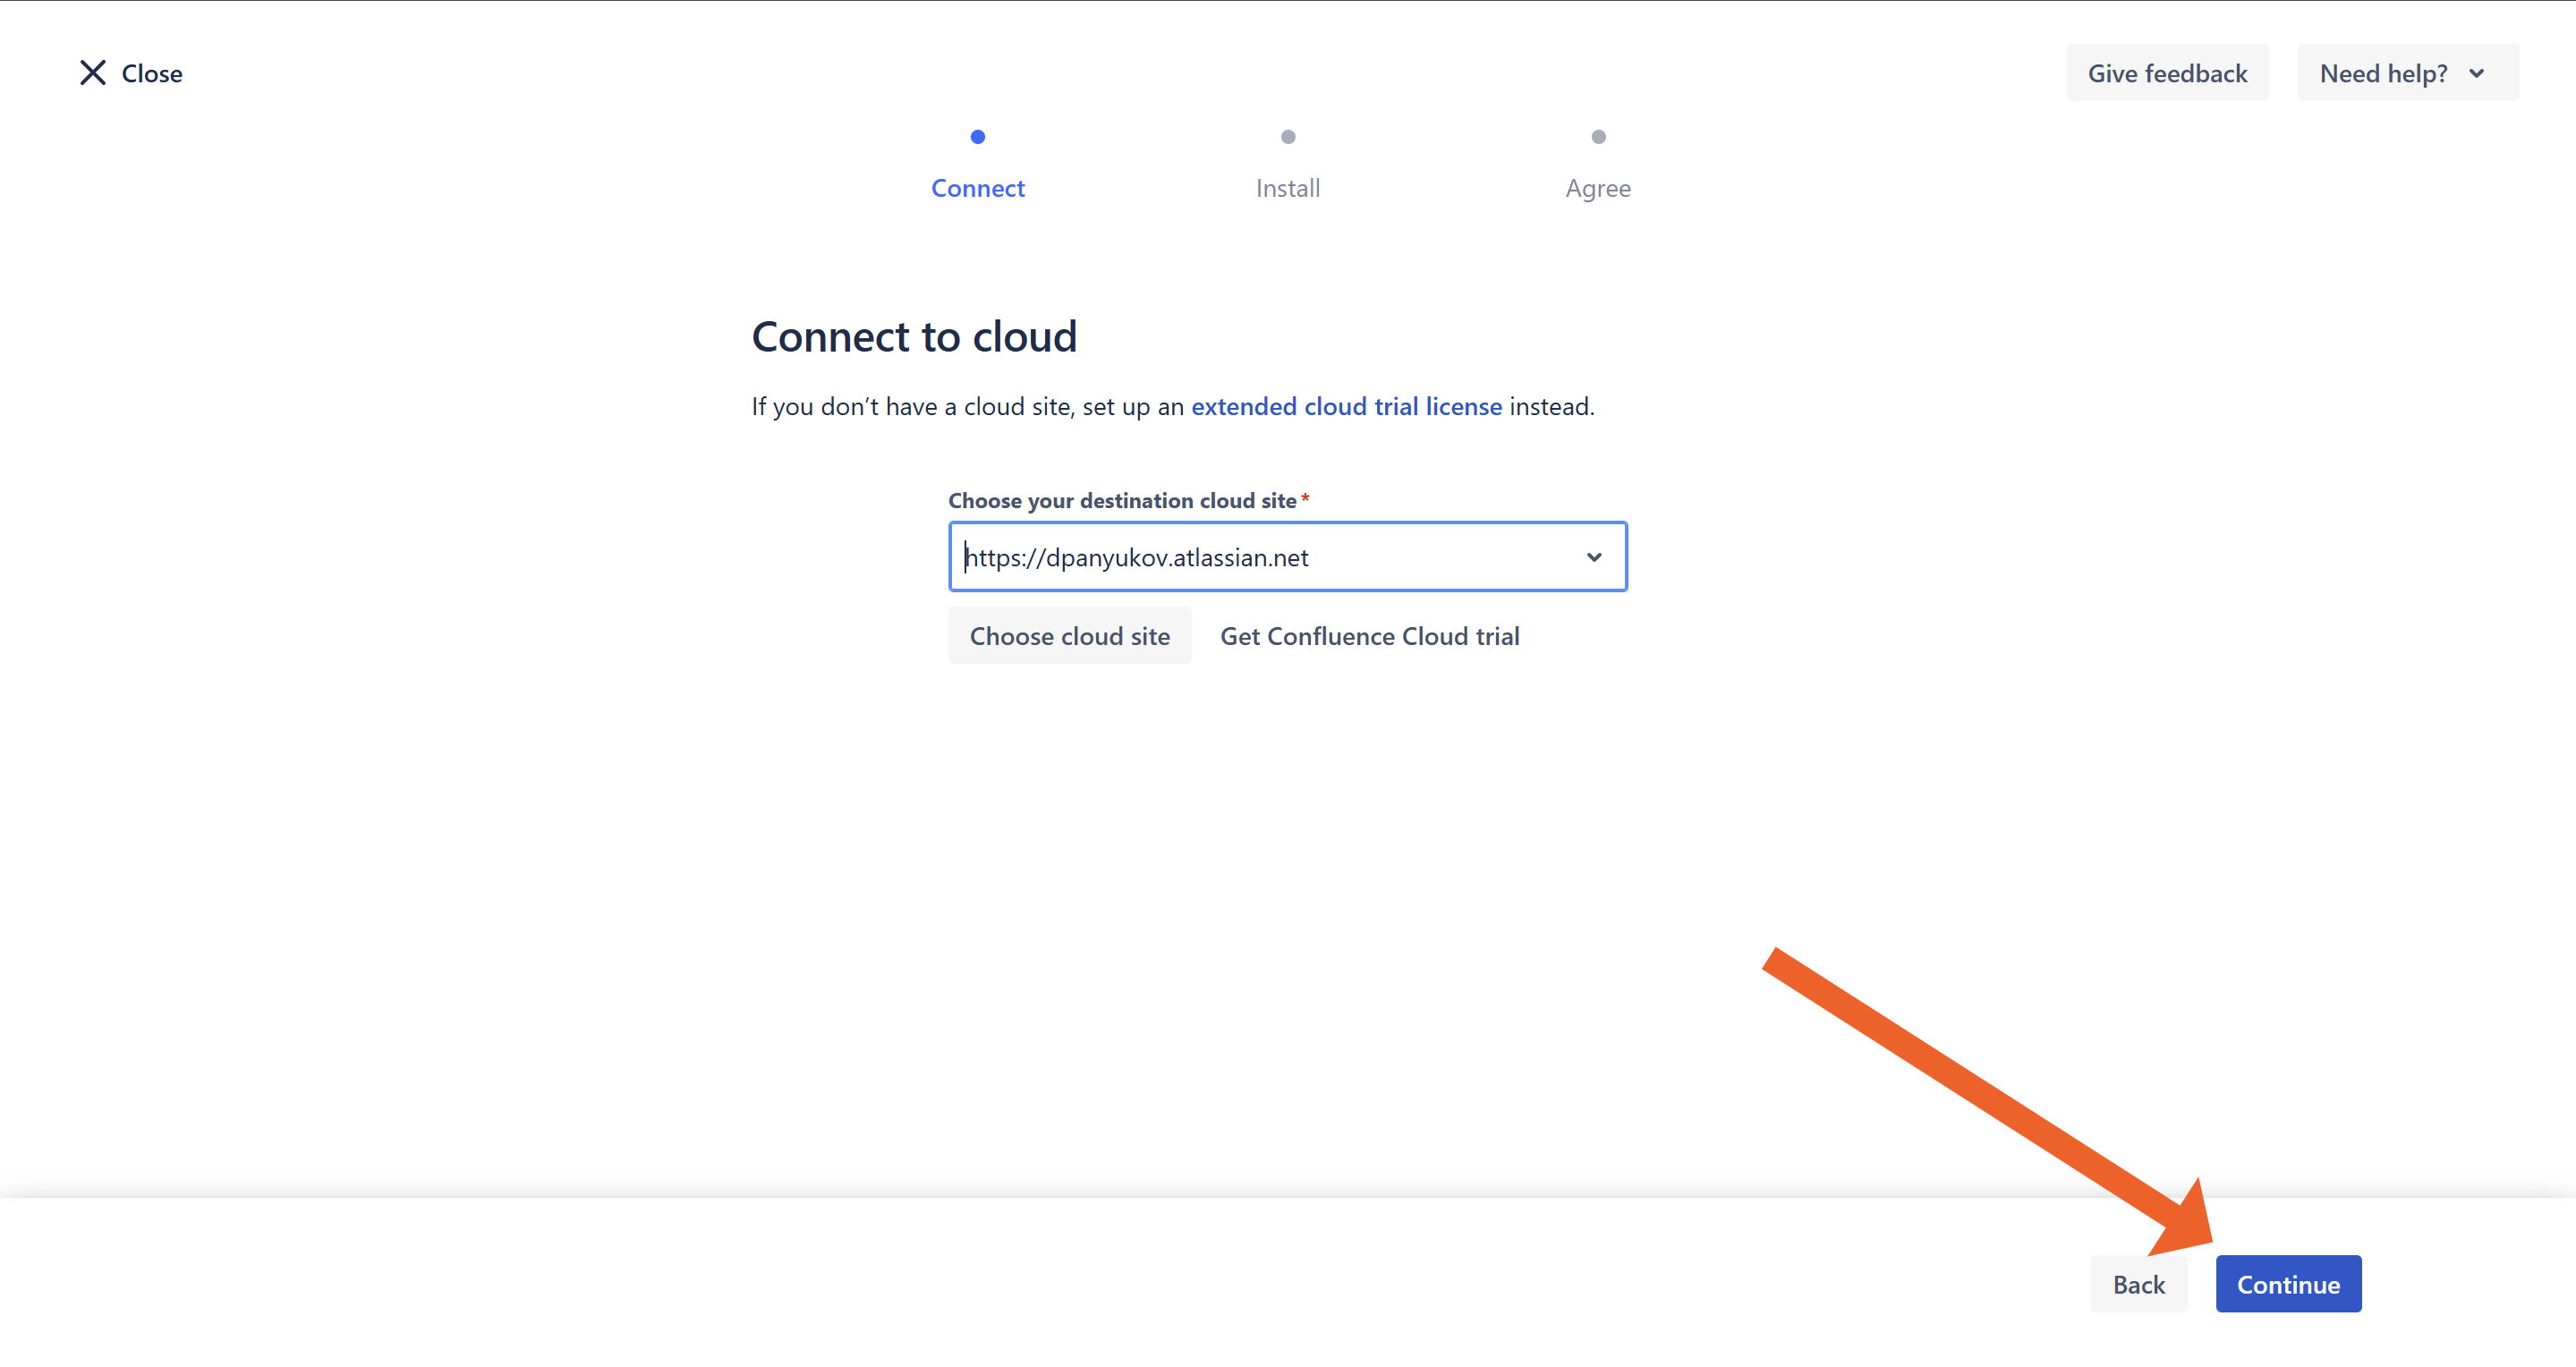
- In the Connect to cloud window, click Choose cloud site.
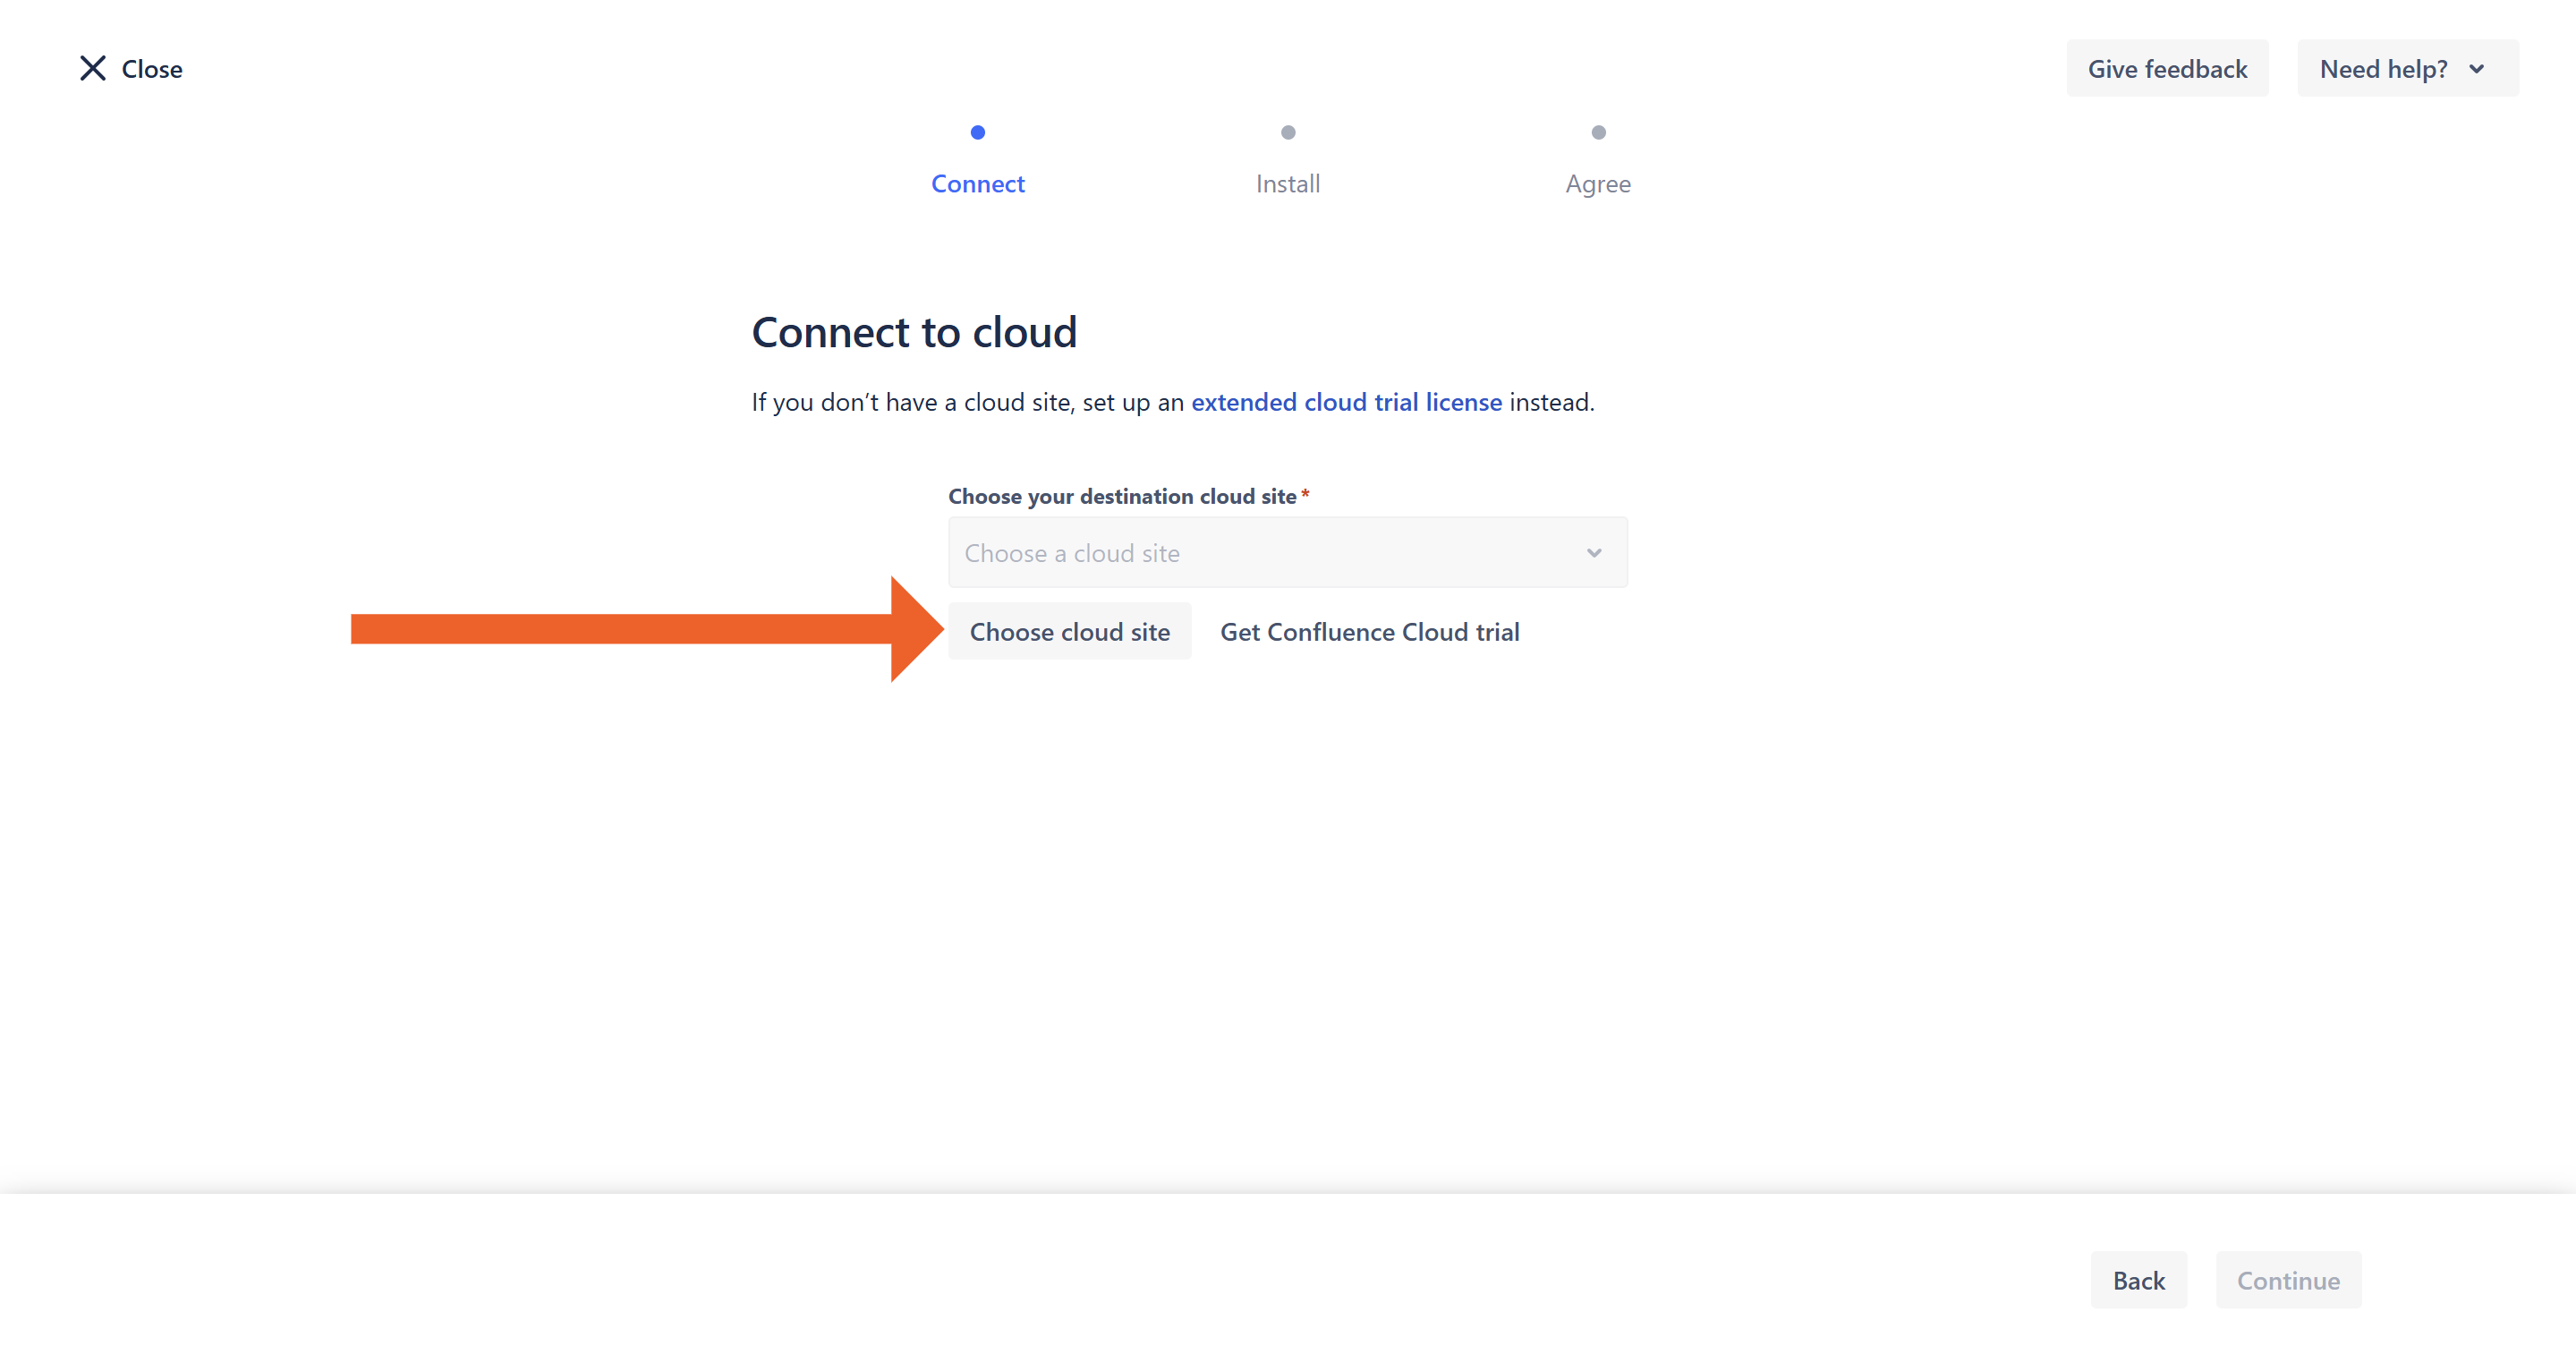
- In the pop-up window, click Continue.
- In the Migrate from field, enter the base URL of your Server/Data Center instance.
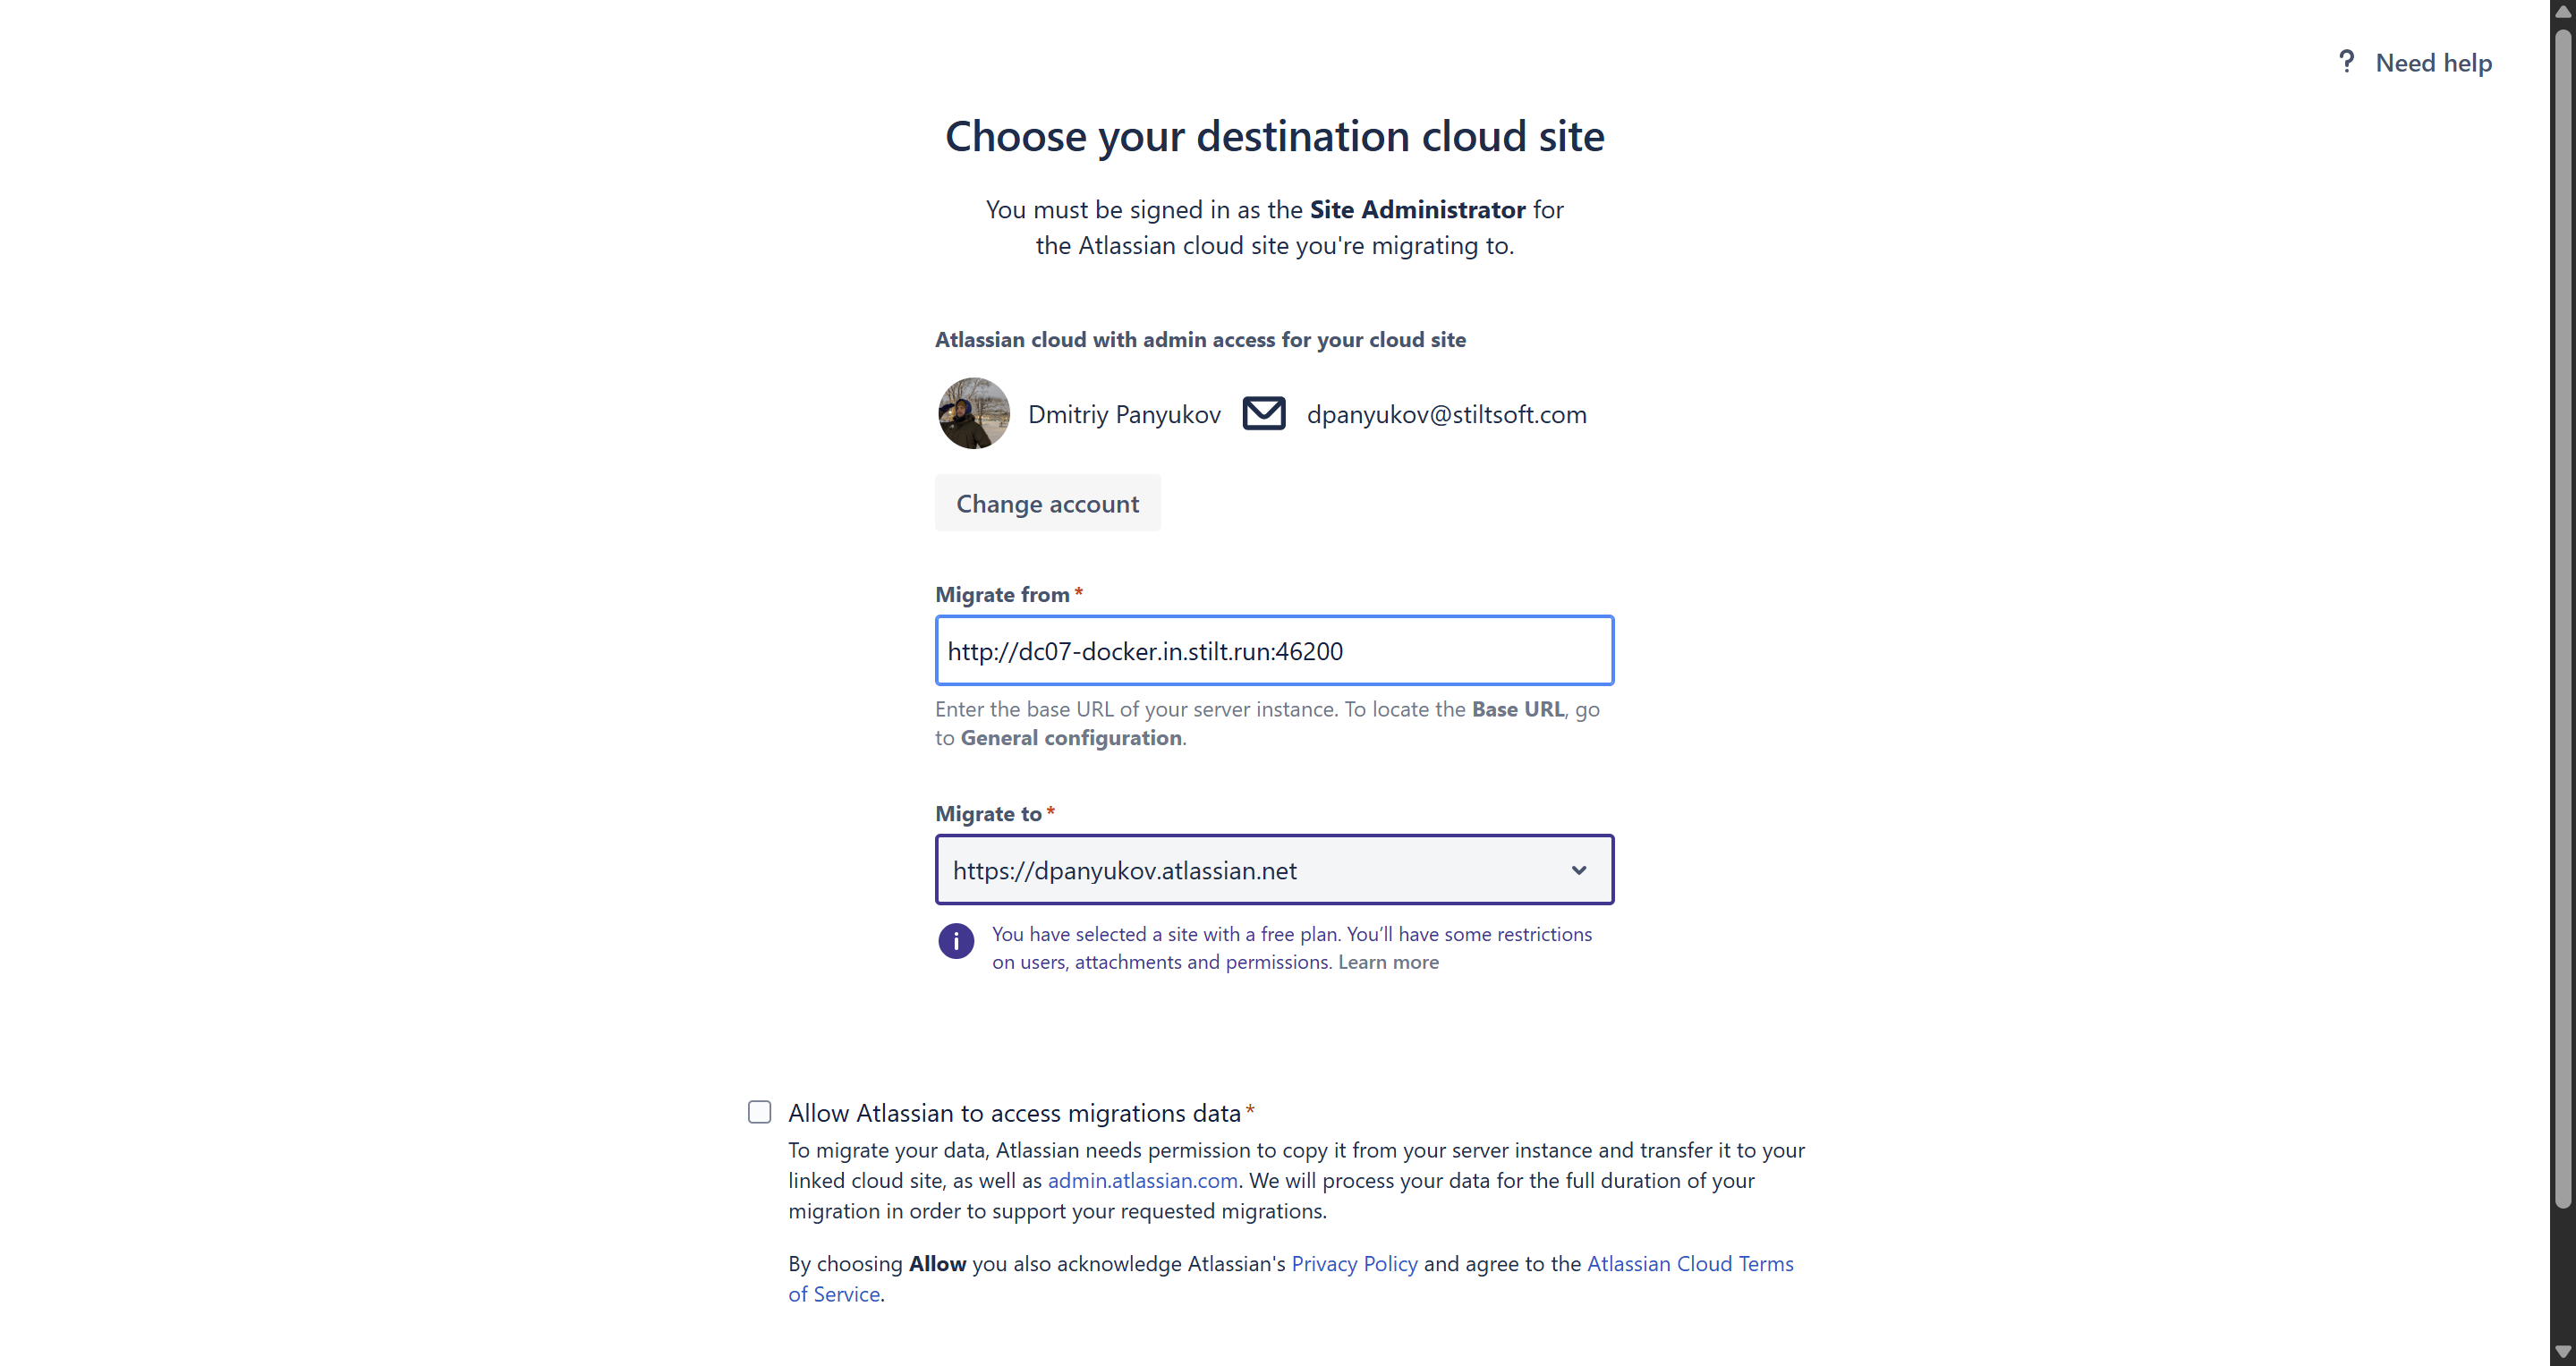
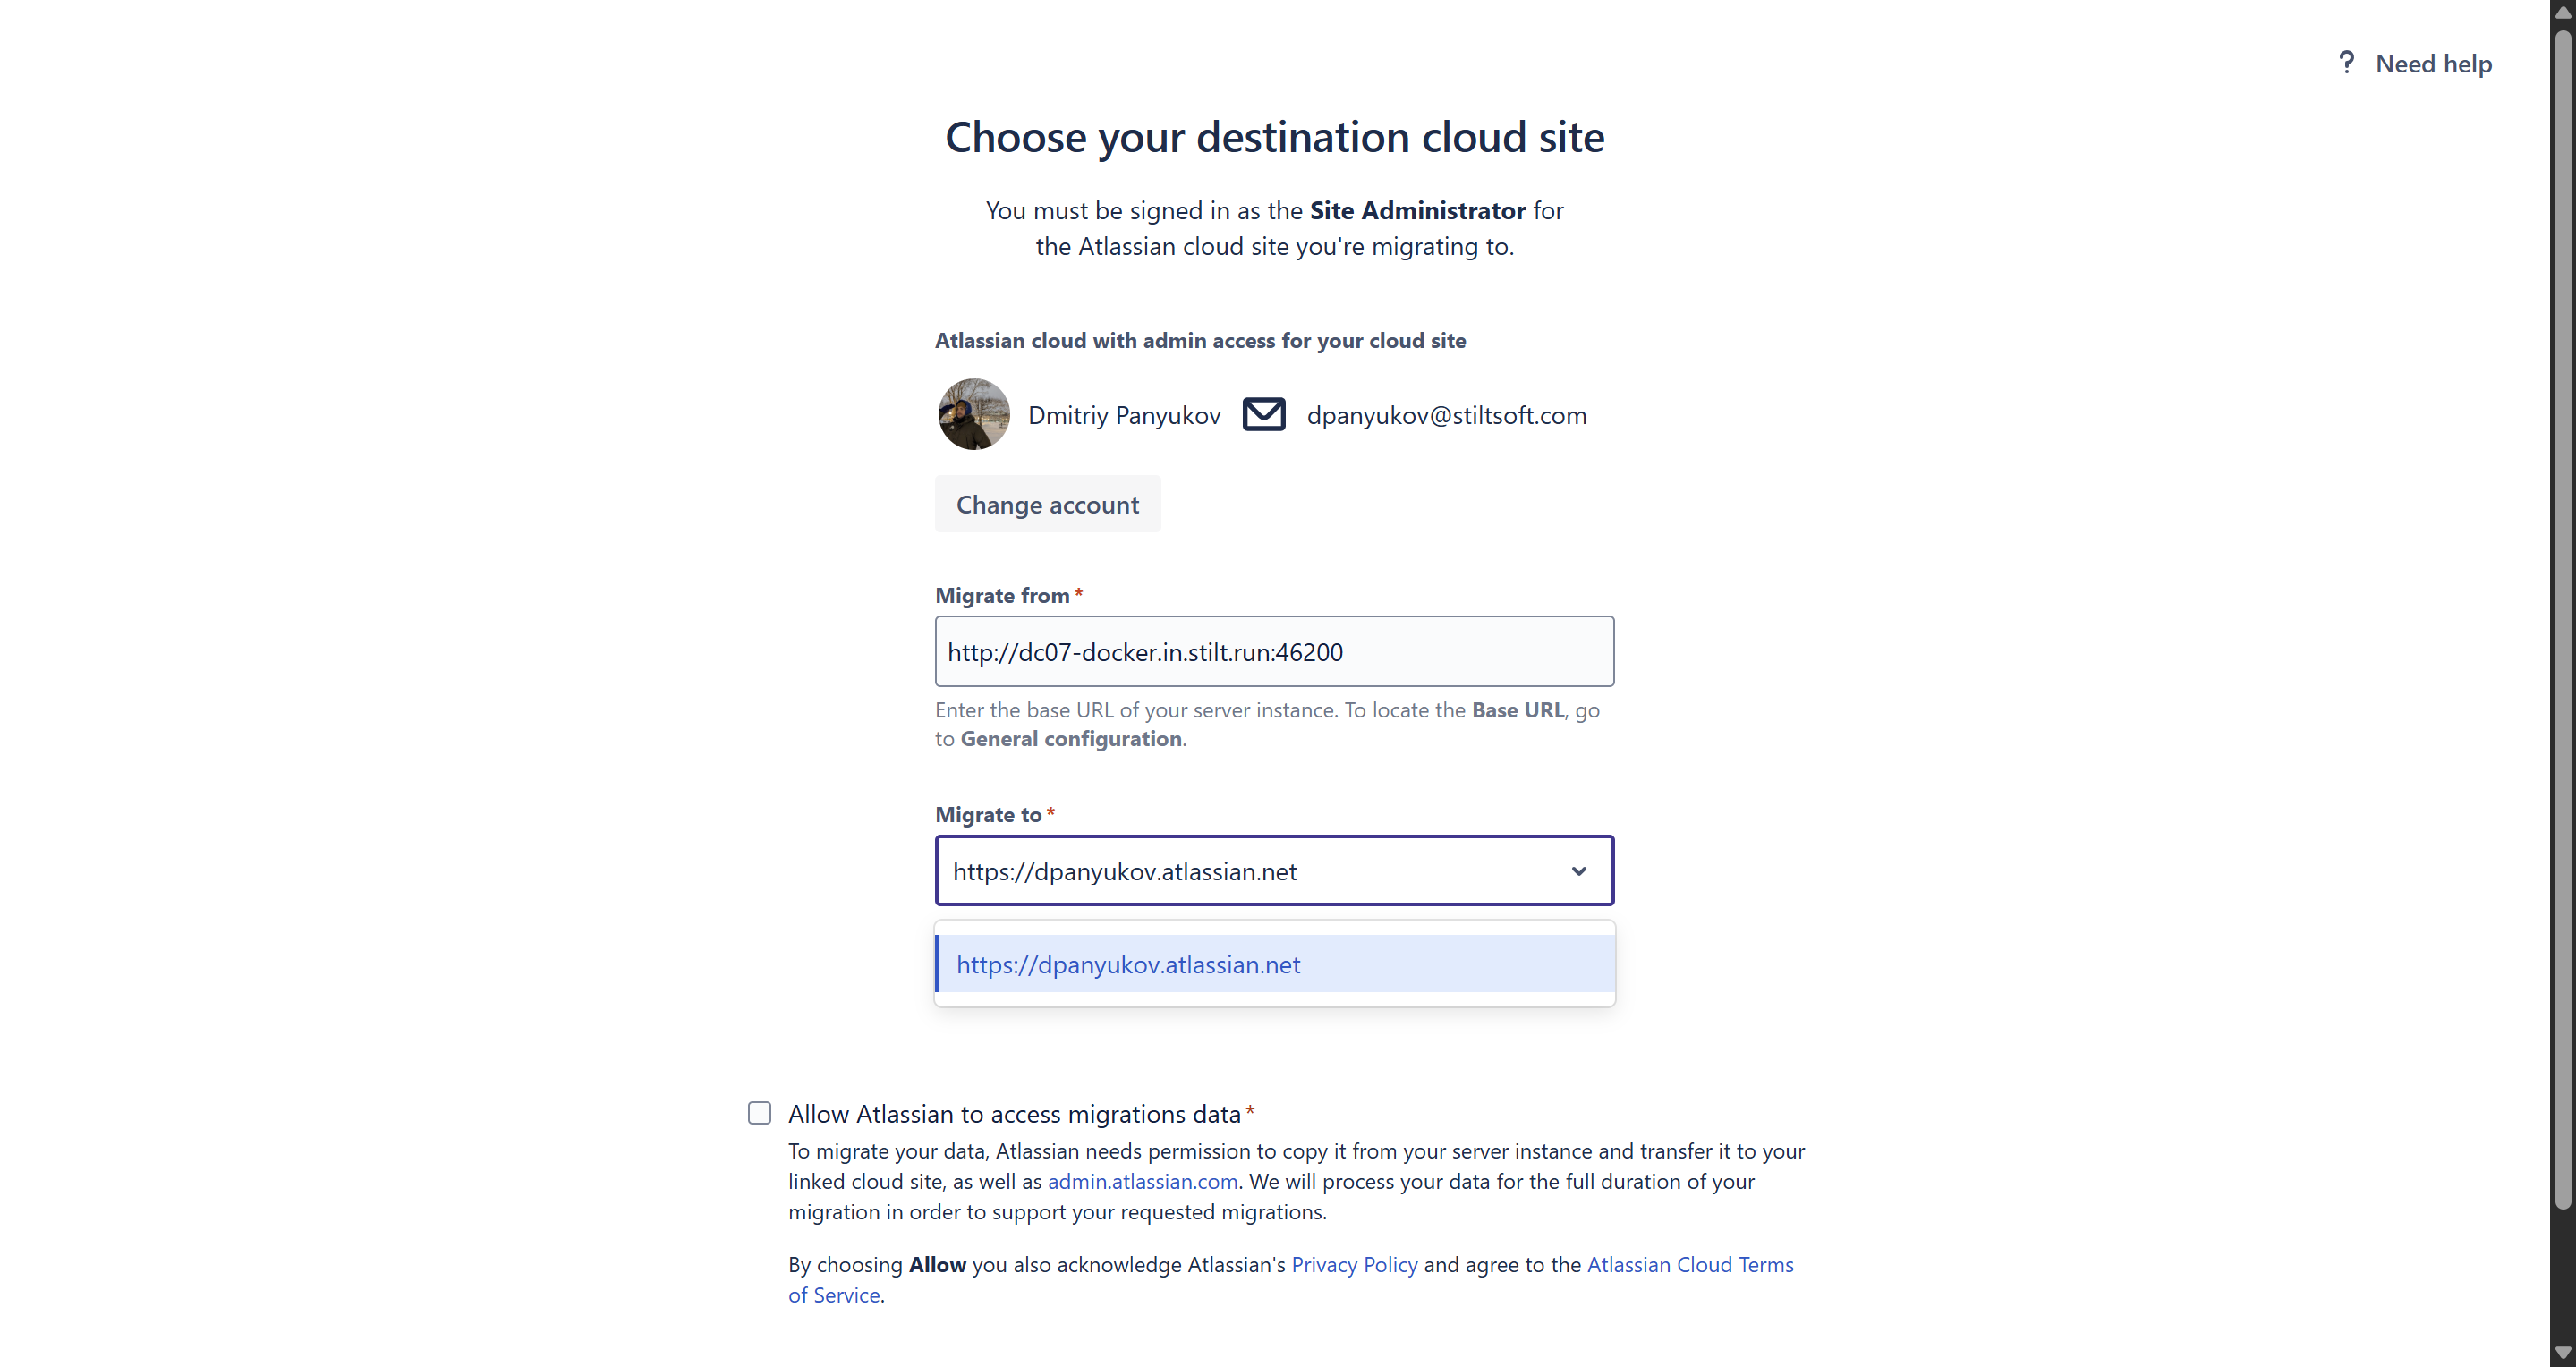
- In the Migrate to field, choose from the dropdown menu the Cloud site to which you want to migrate.
- Tick the Allow Atlassian to access migrations data and click Confirm.
- You will be redirected back to the Connect to cloud page. Click Continue.
- If you have not yet installed the app, click Install the app.
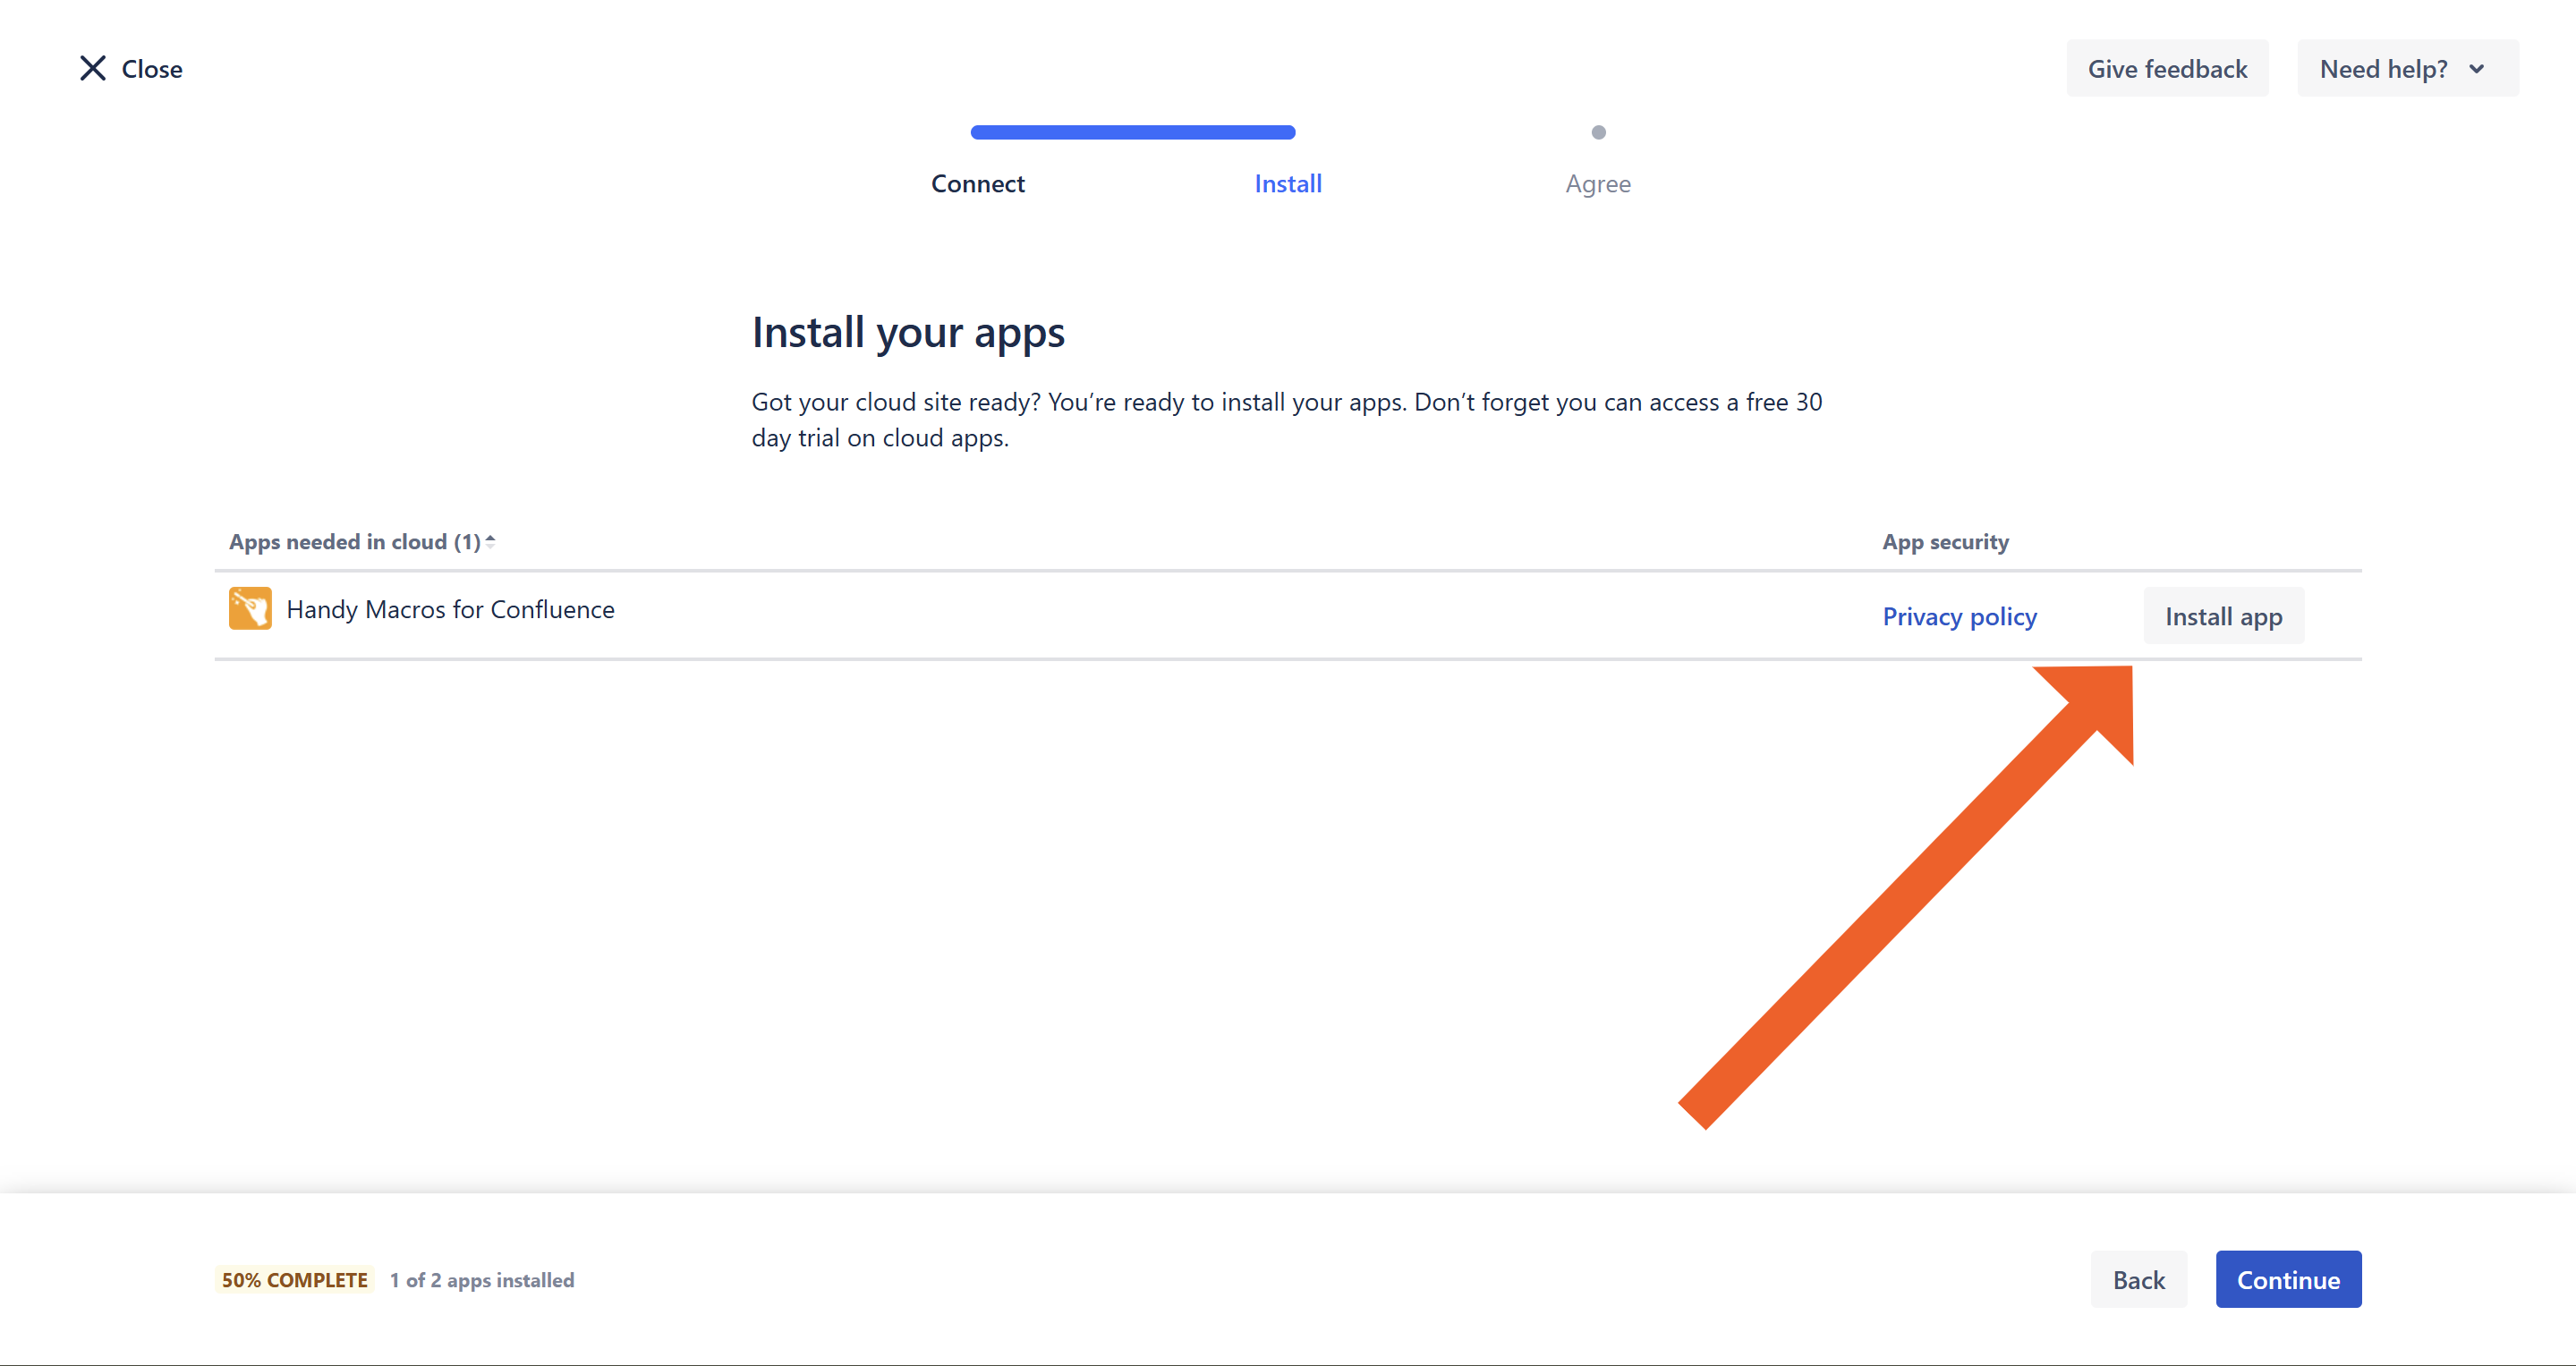
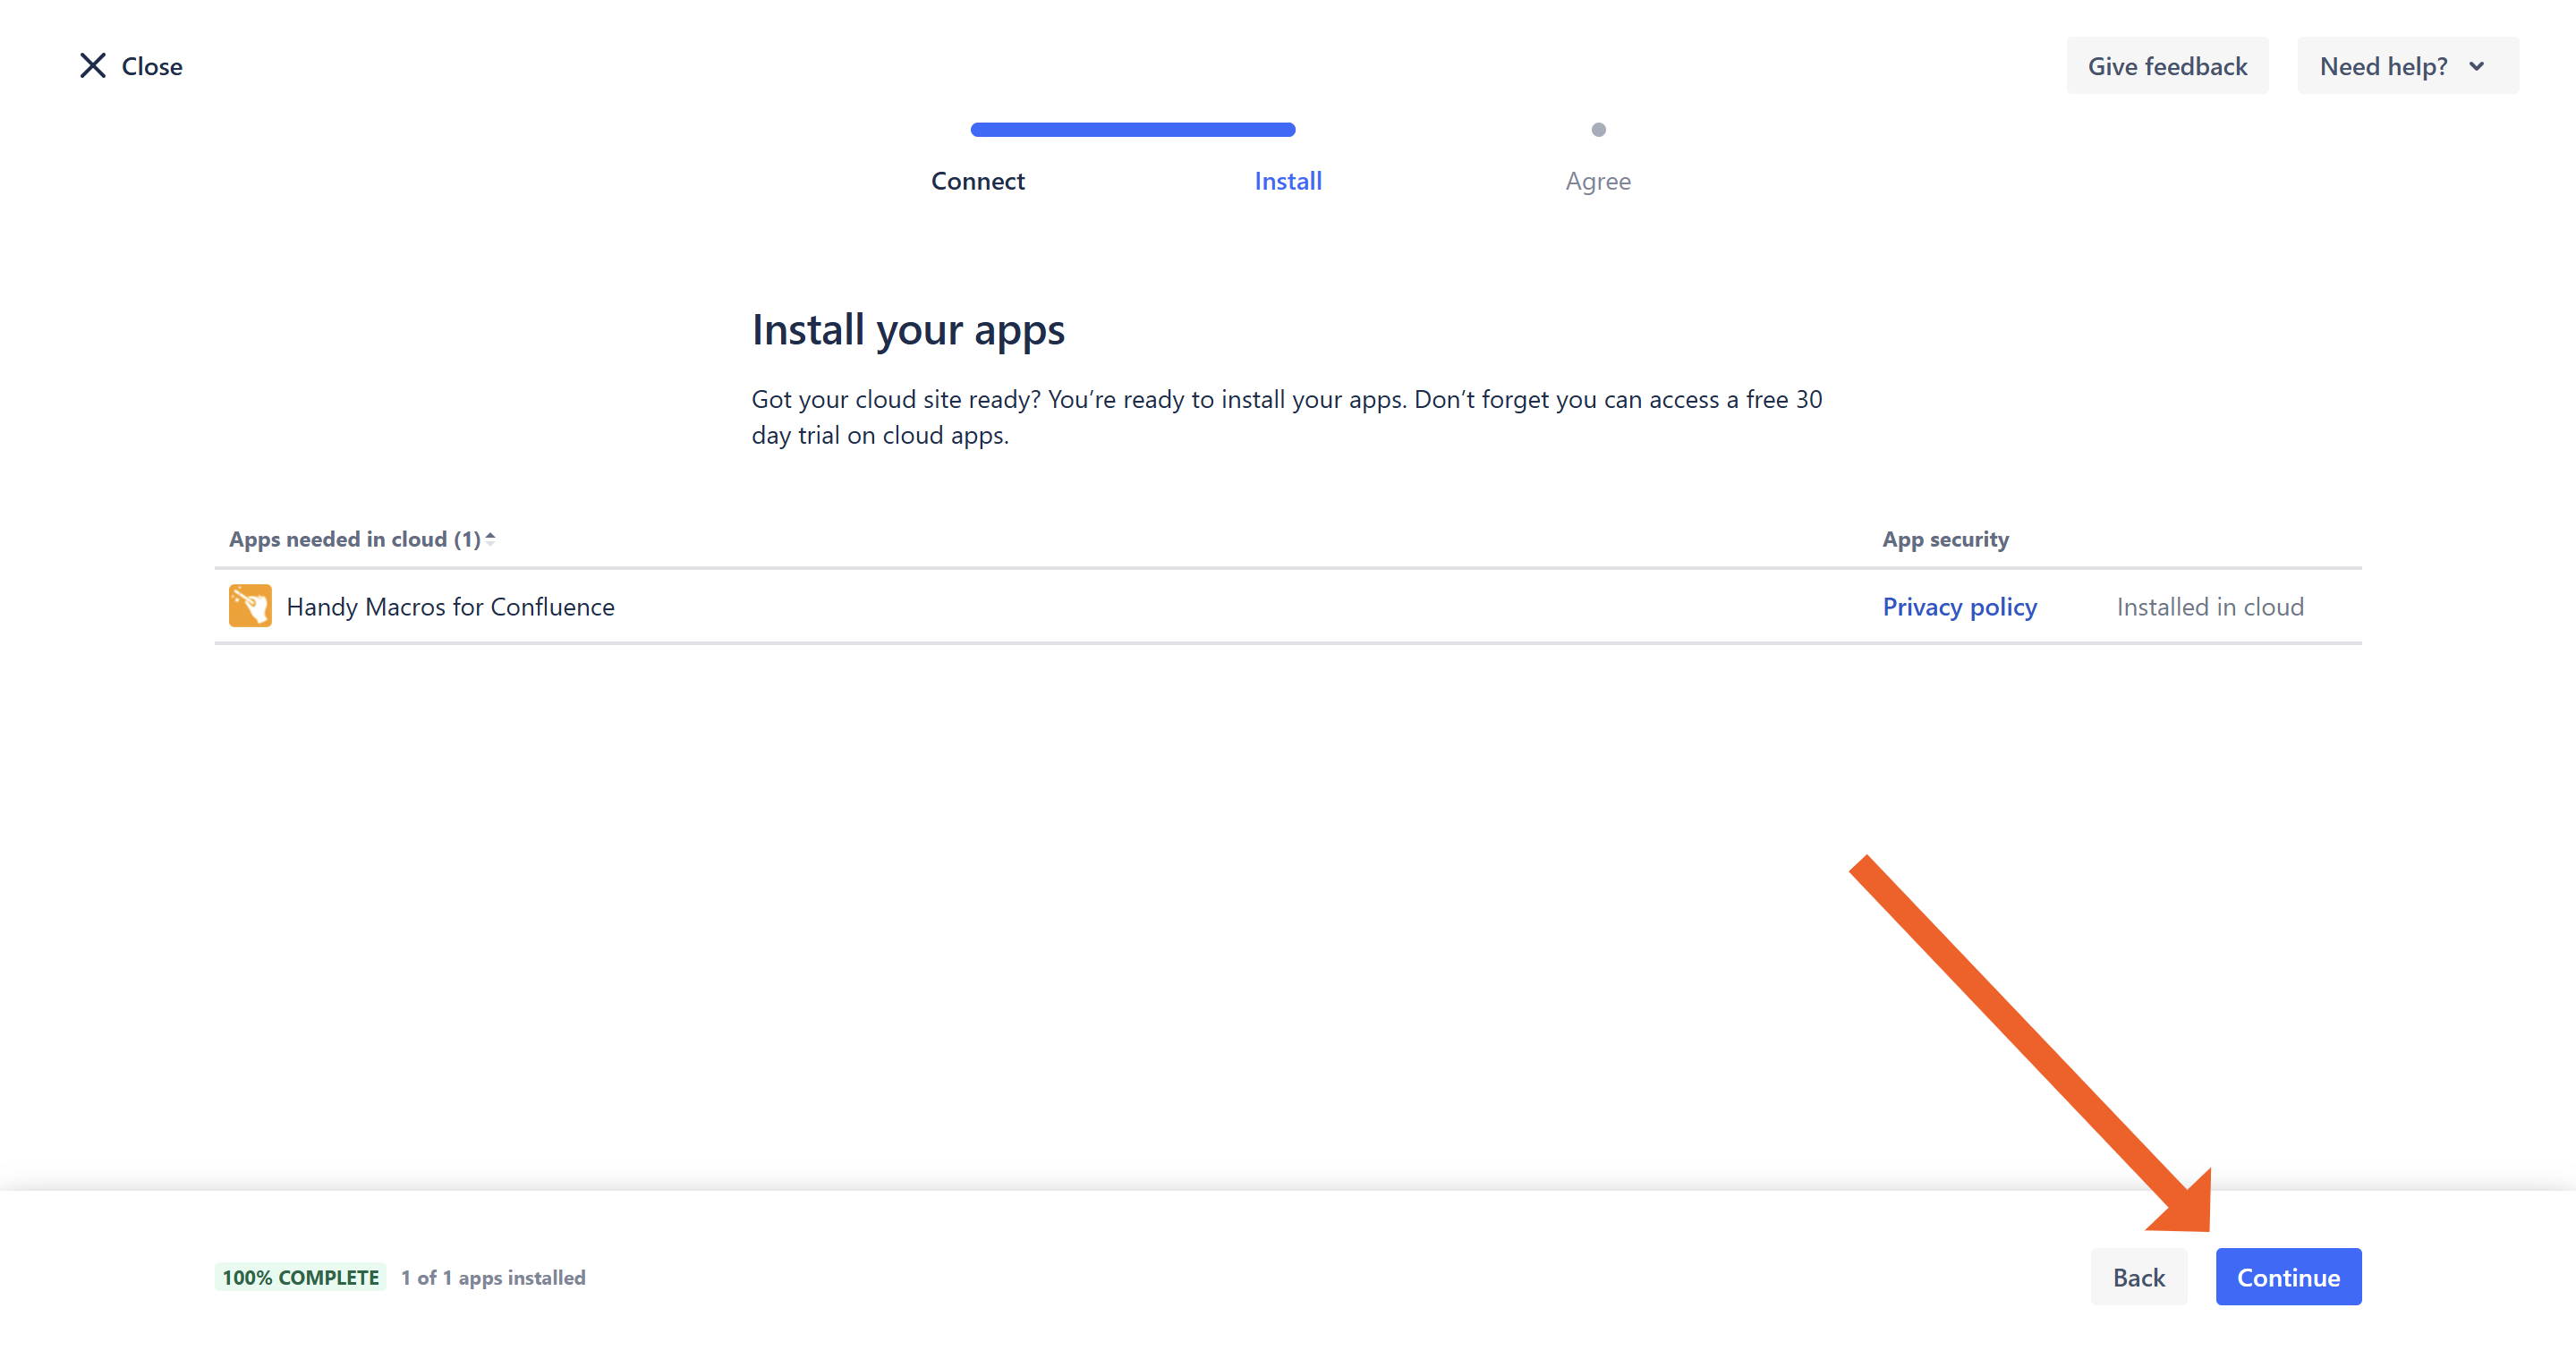
- Once the app is installed, click Continue.
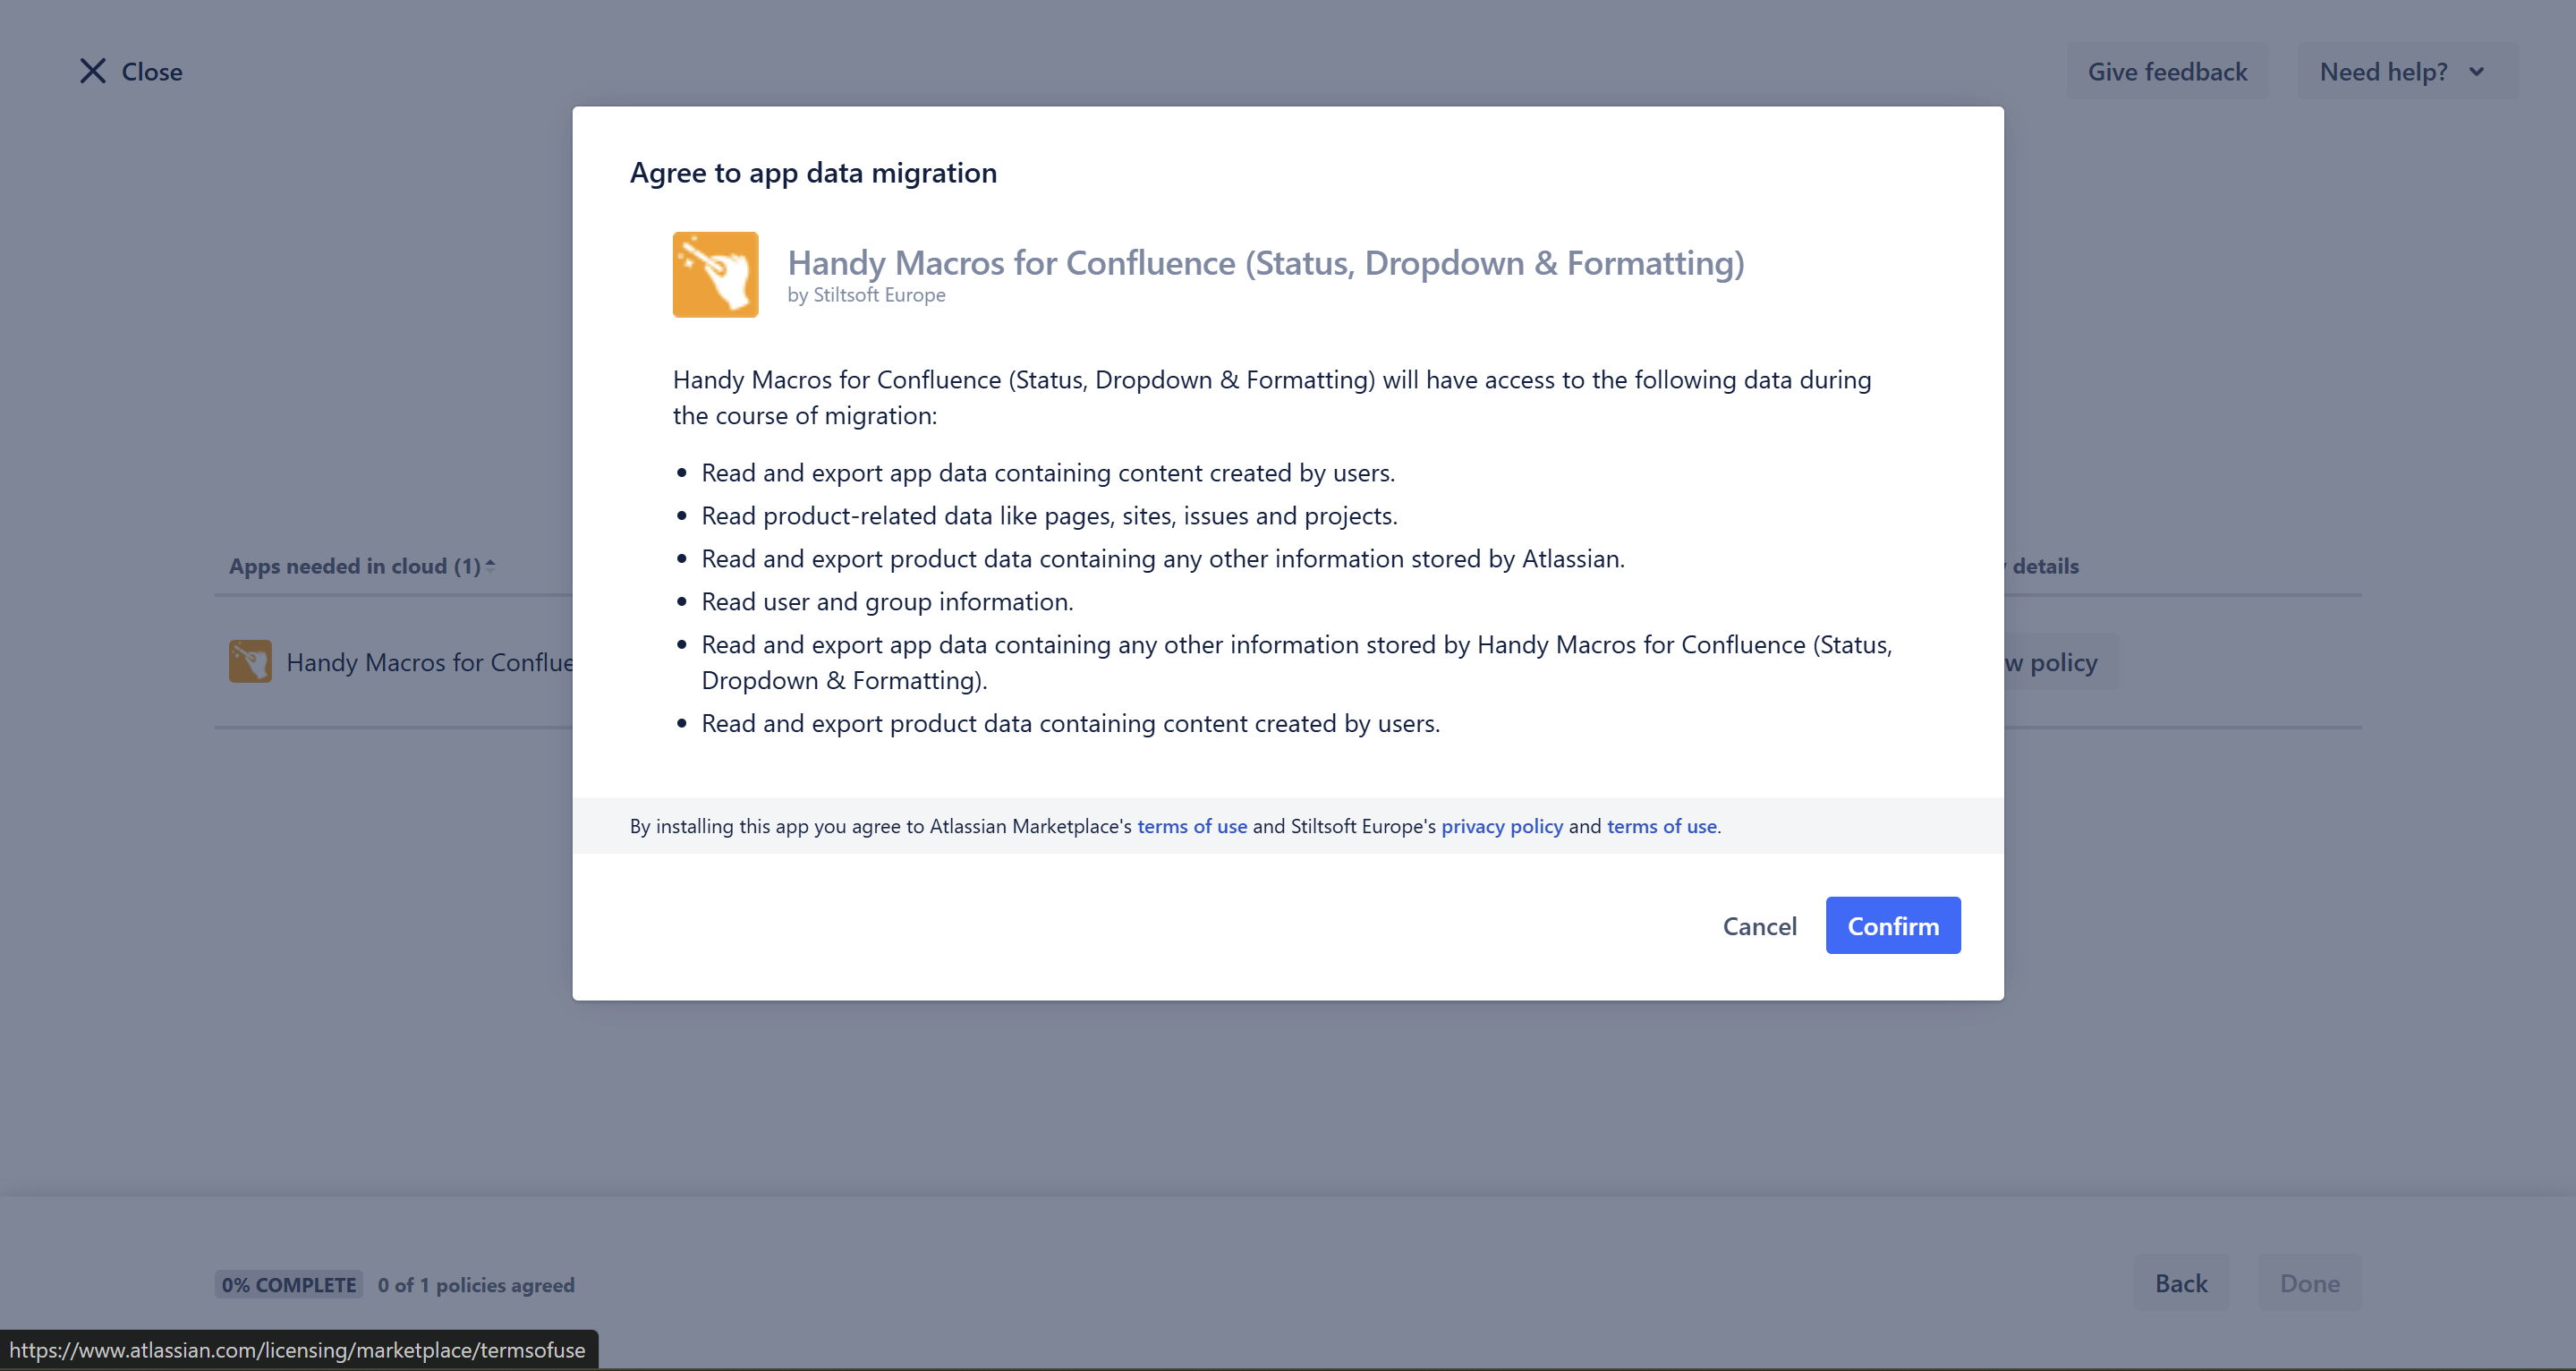
- Click View policy.
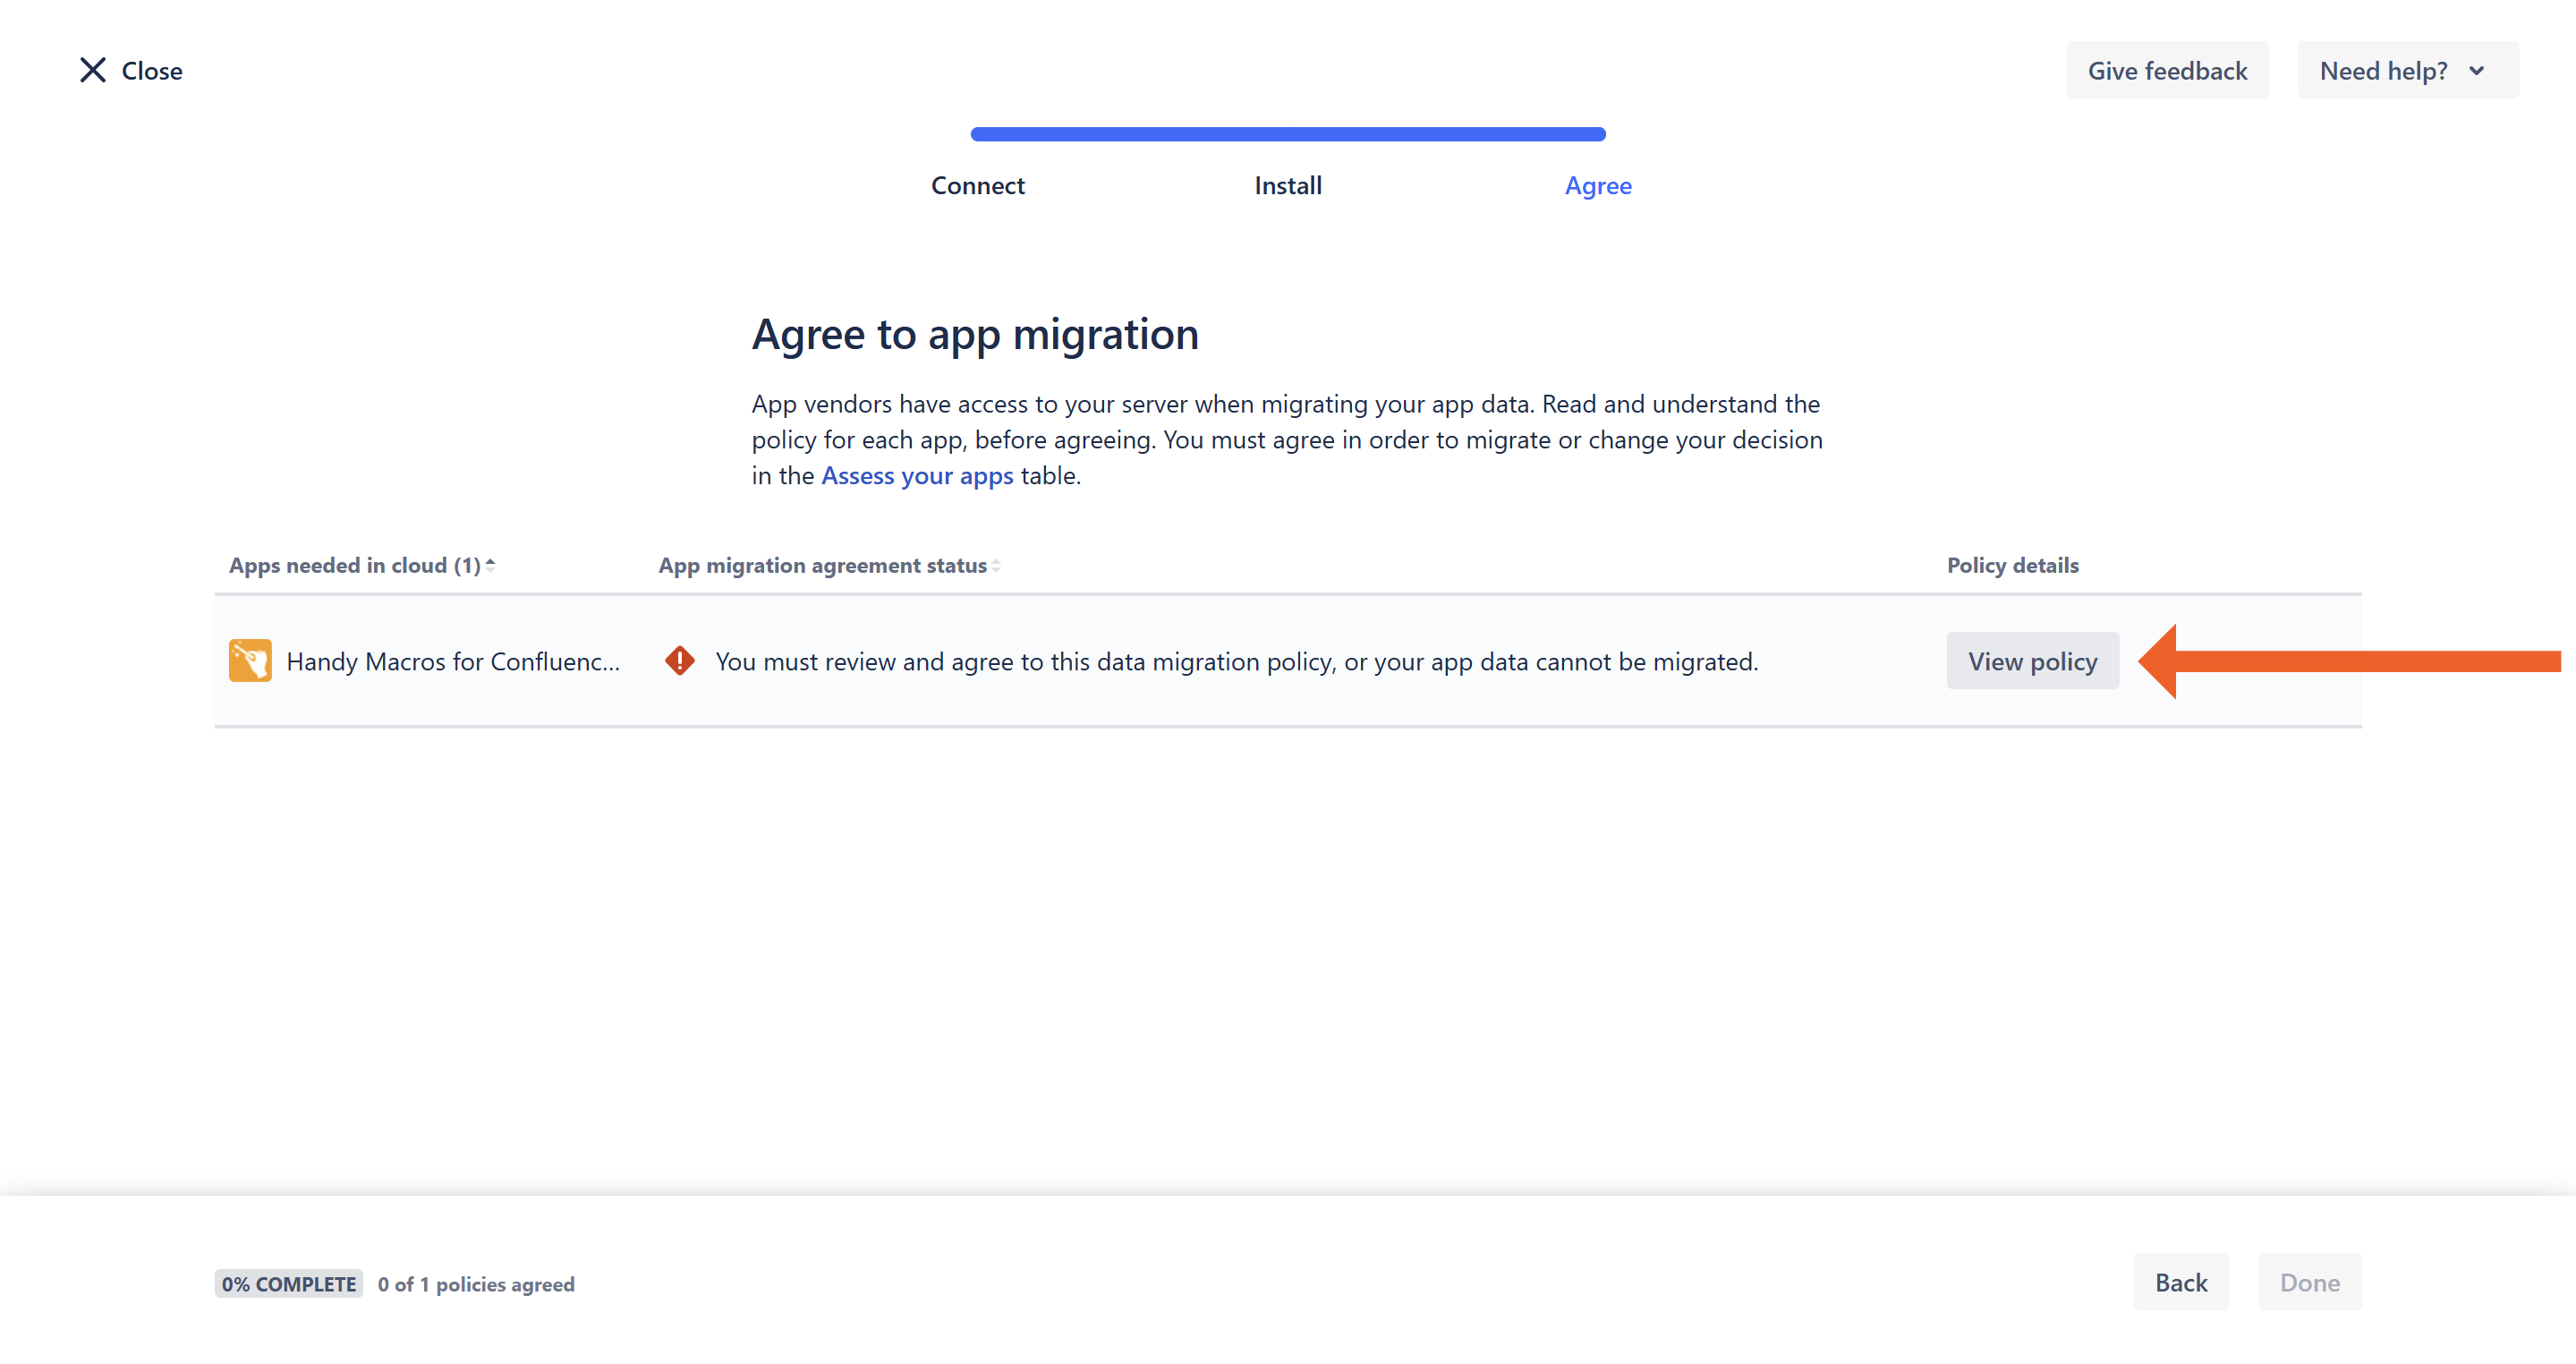
- Review the policy and click Confirm.
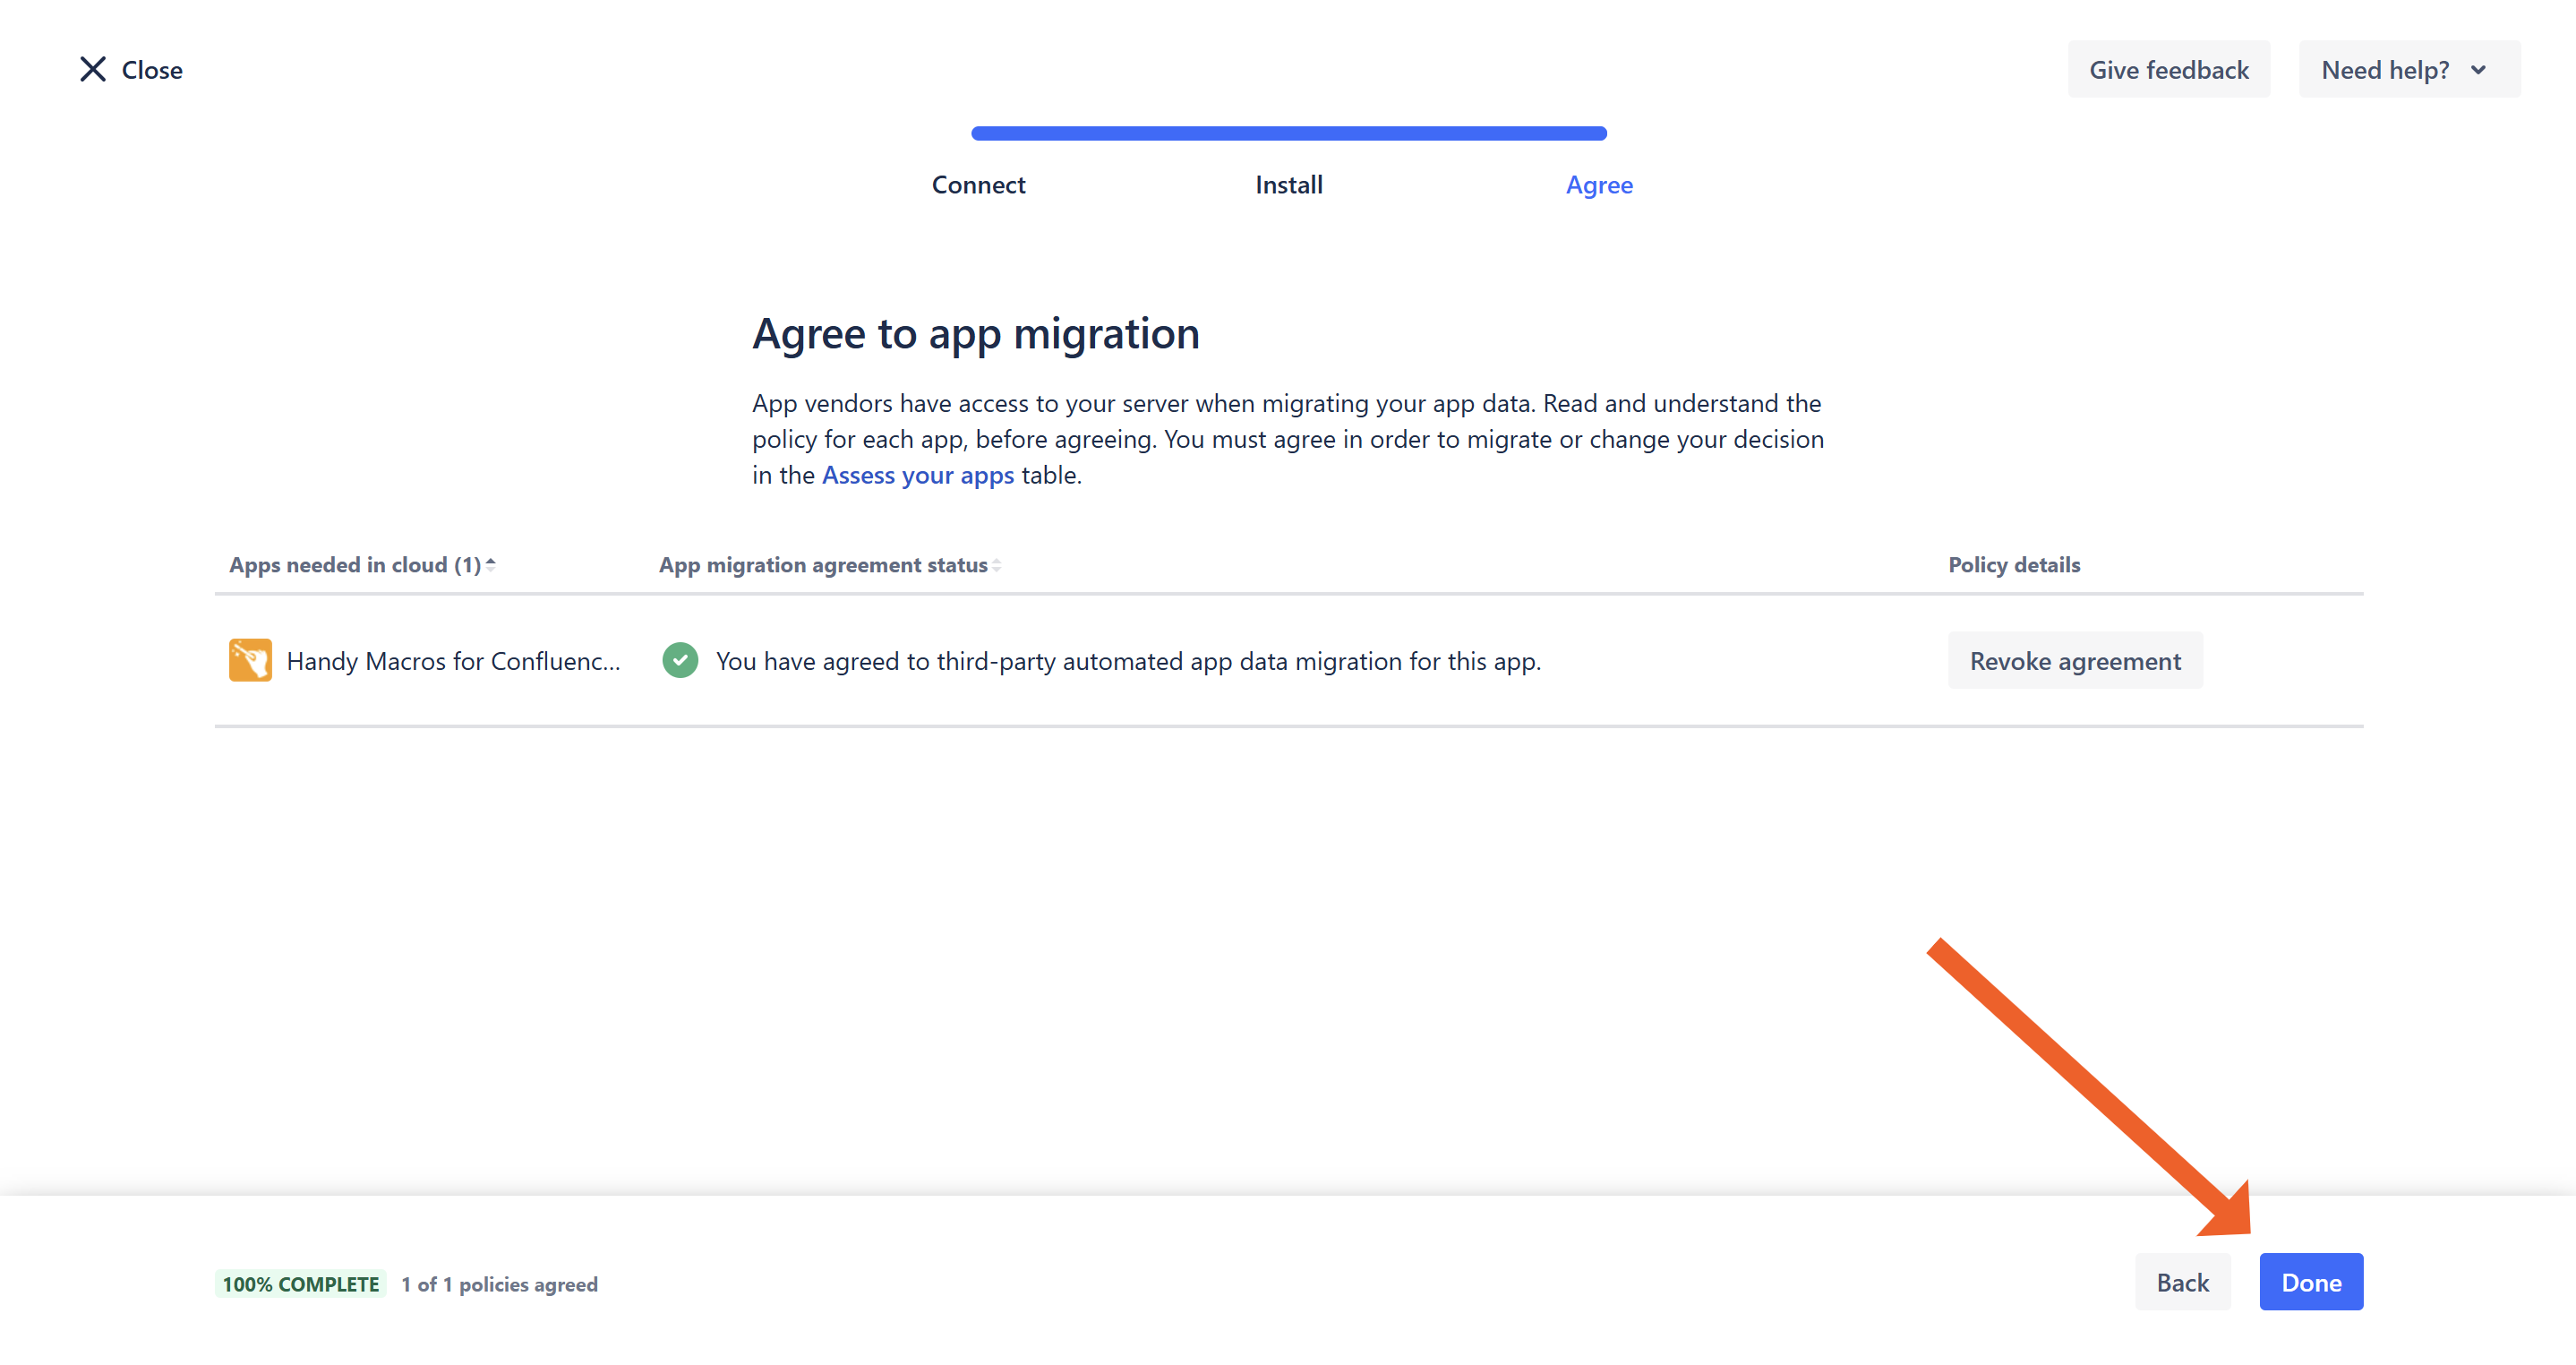
- Click Done.
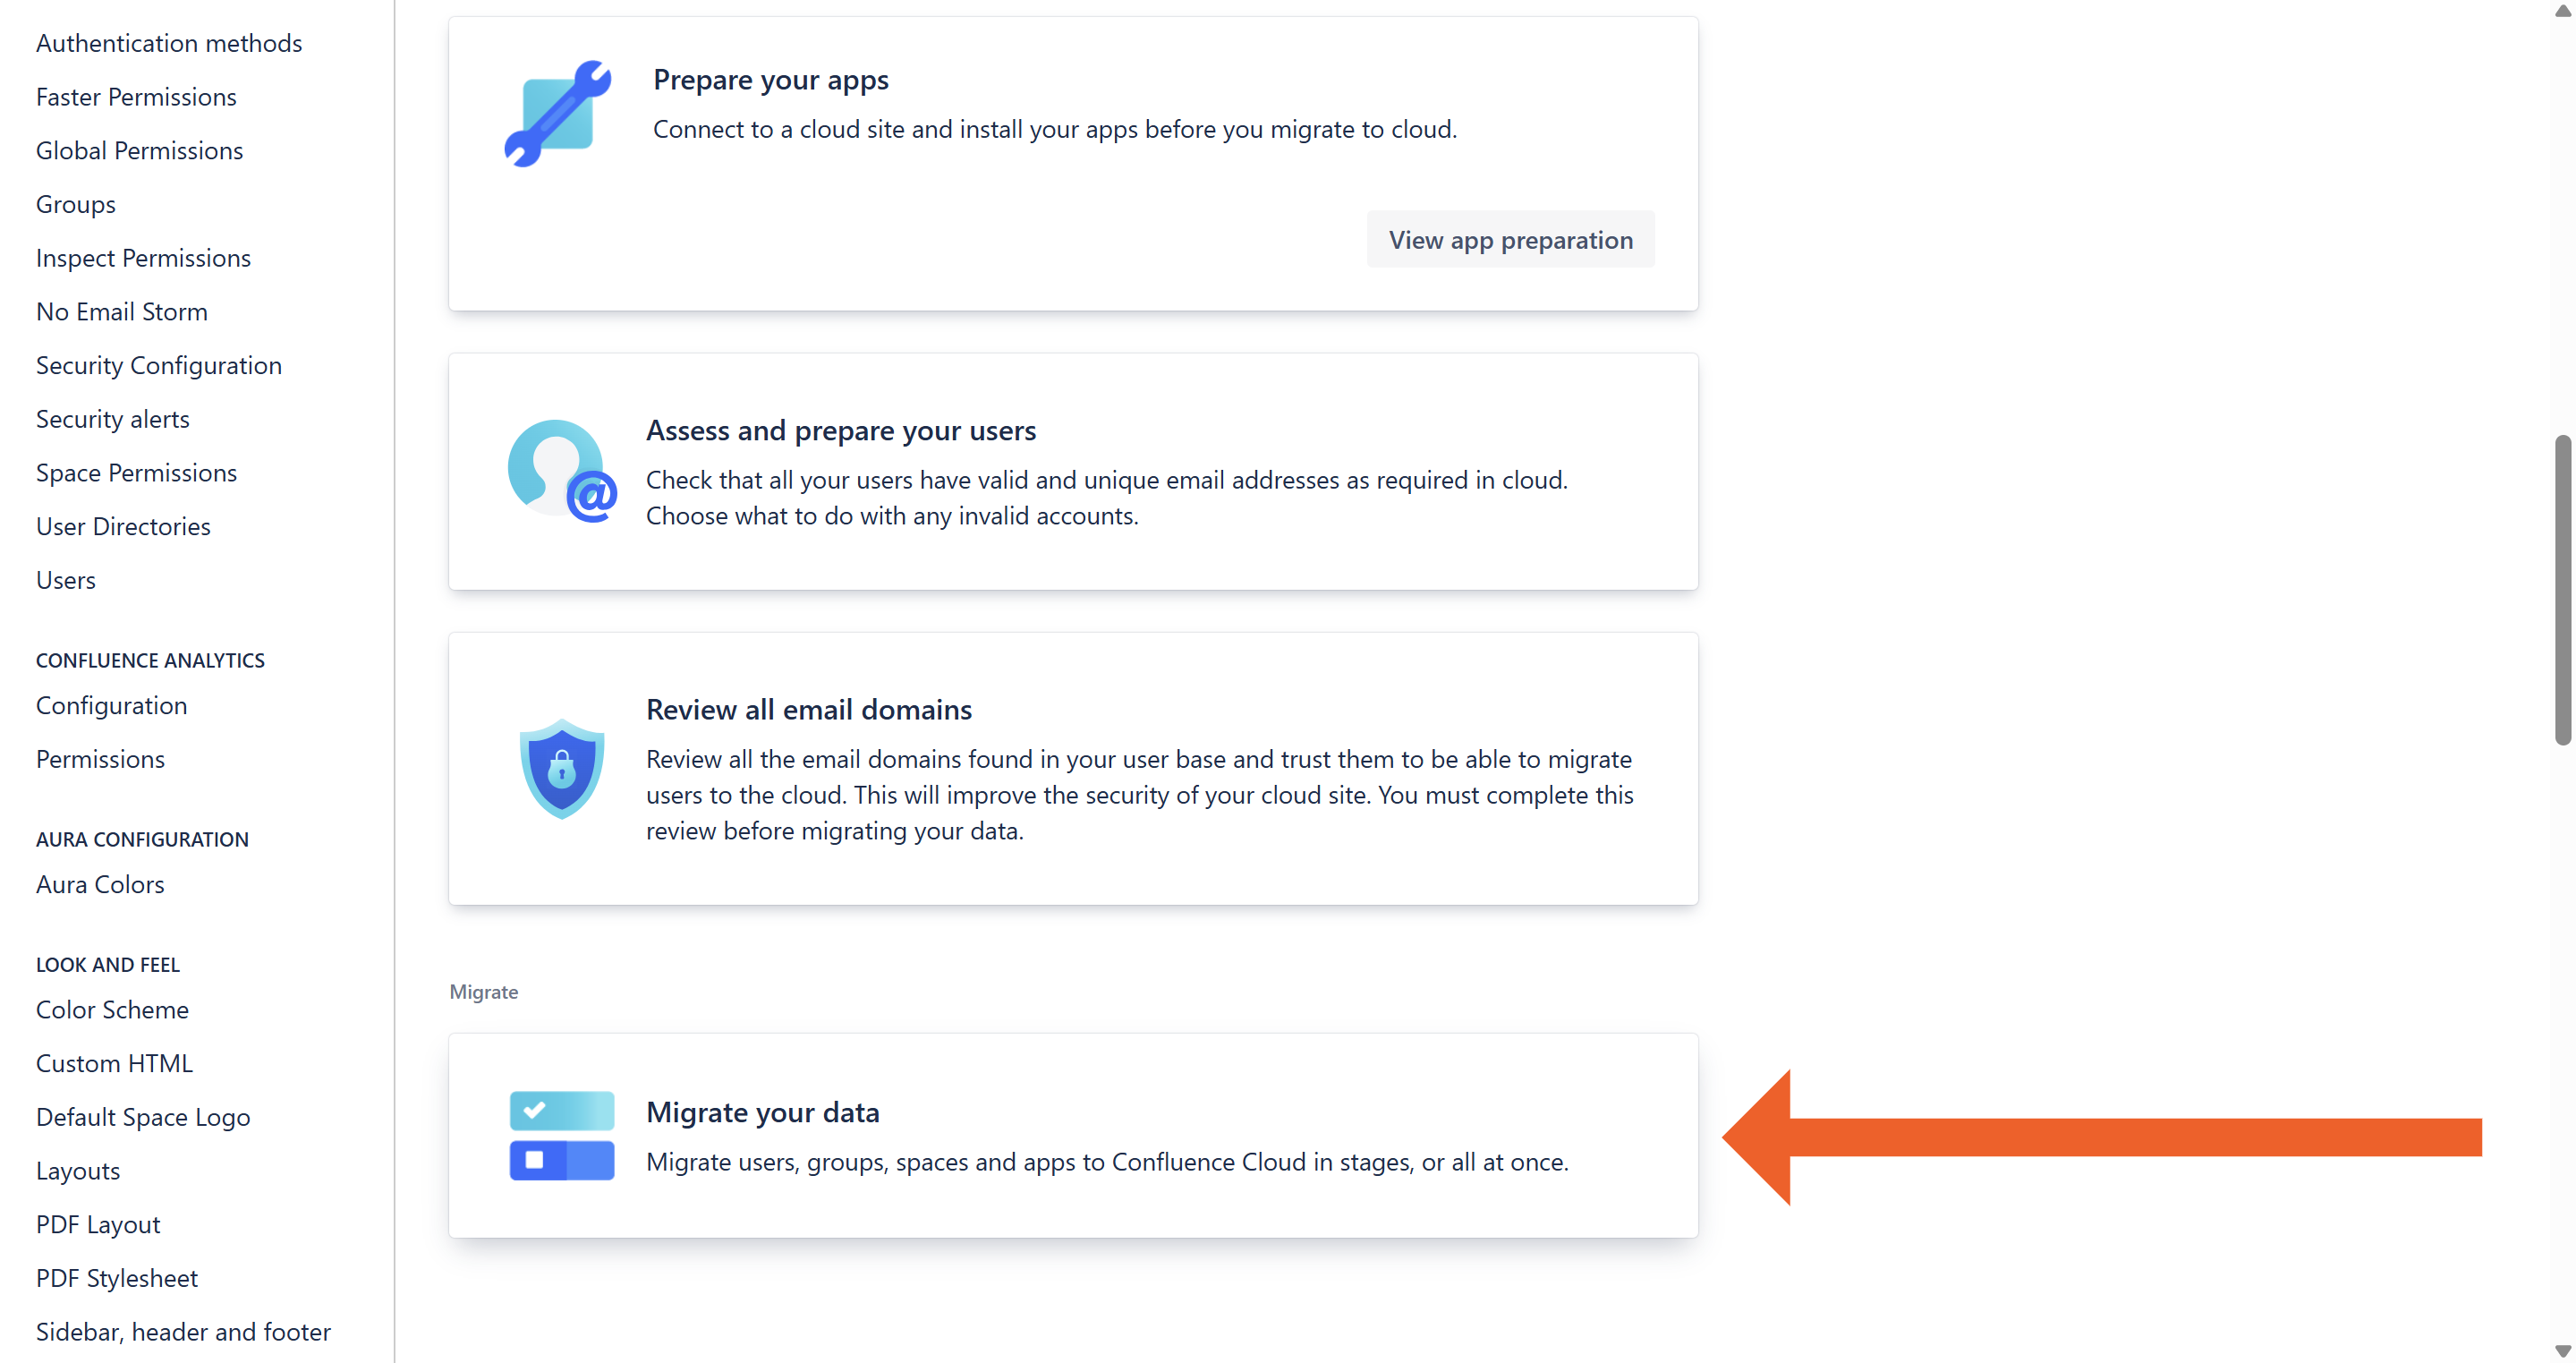
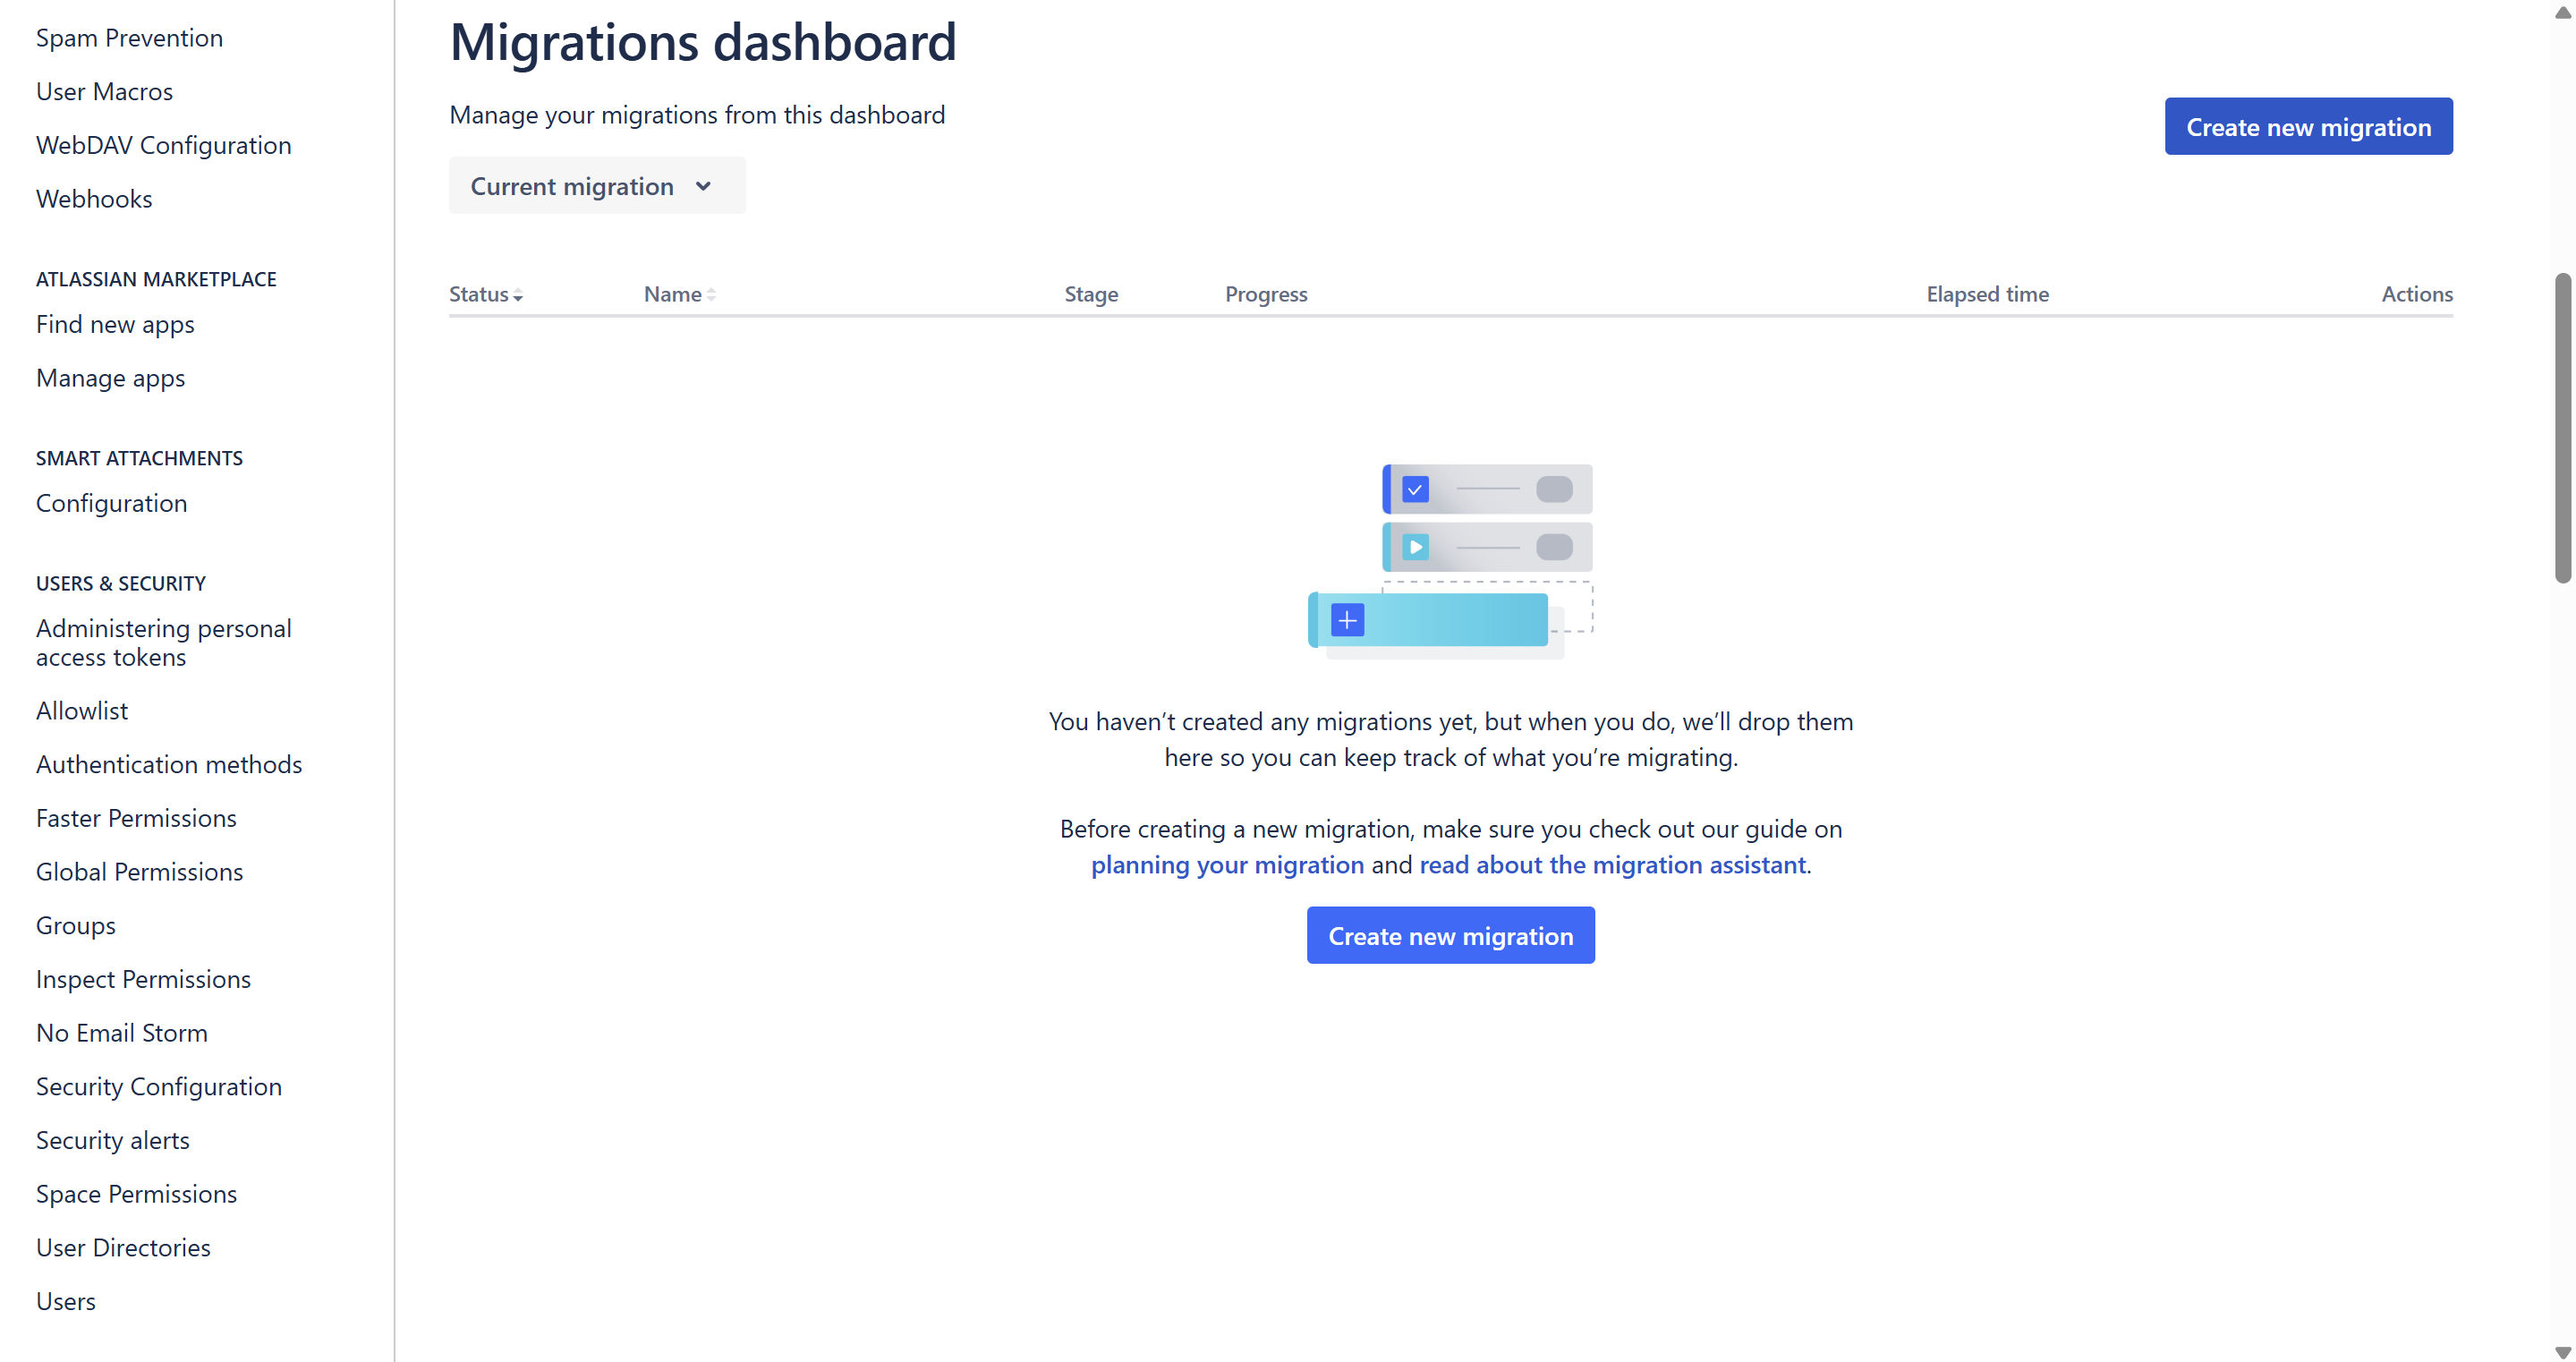
Migrate your data
- Navigate to the Confluence administration console.
- On the navigation sidebar, select Migration Assistant.
- On the opened page, click on the Migrate your data box.
- Click Create new migration.
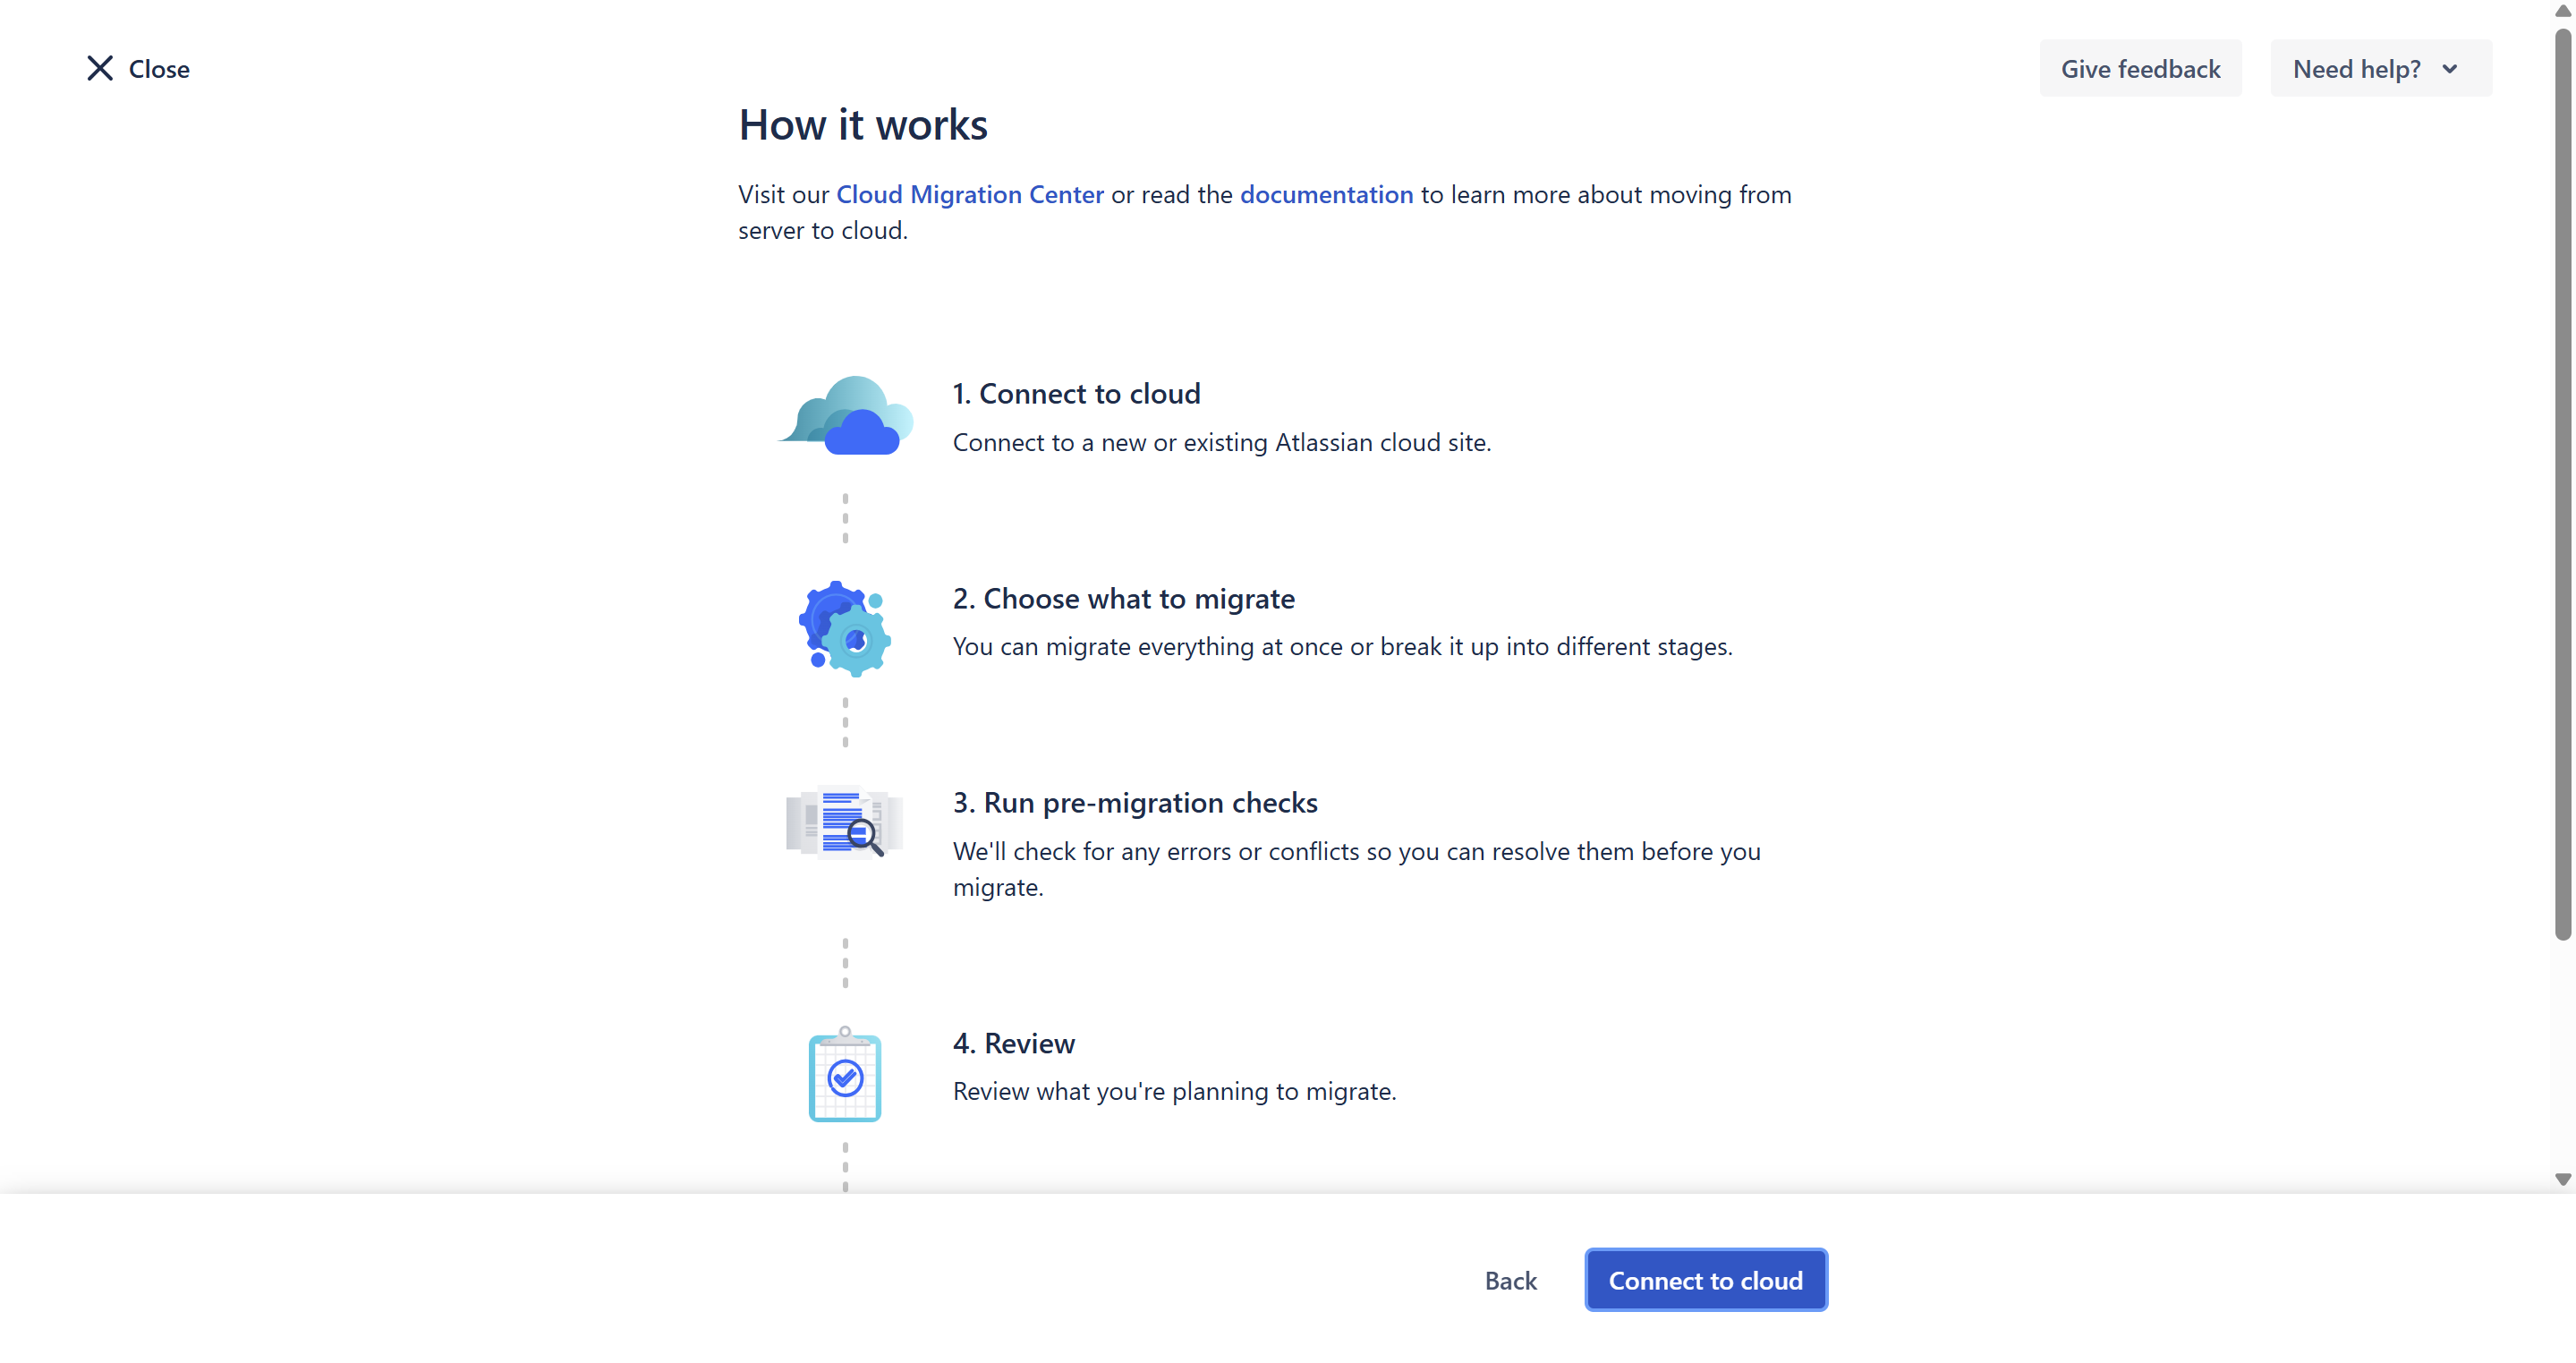
- Click Connect to cloud.
- Name your migration.
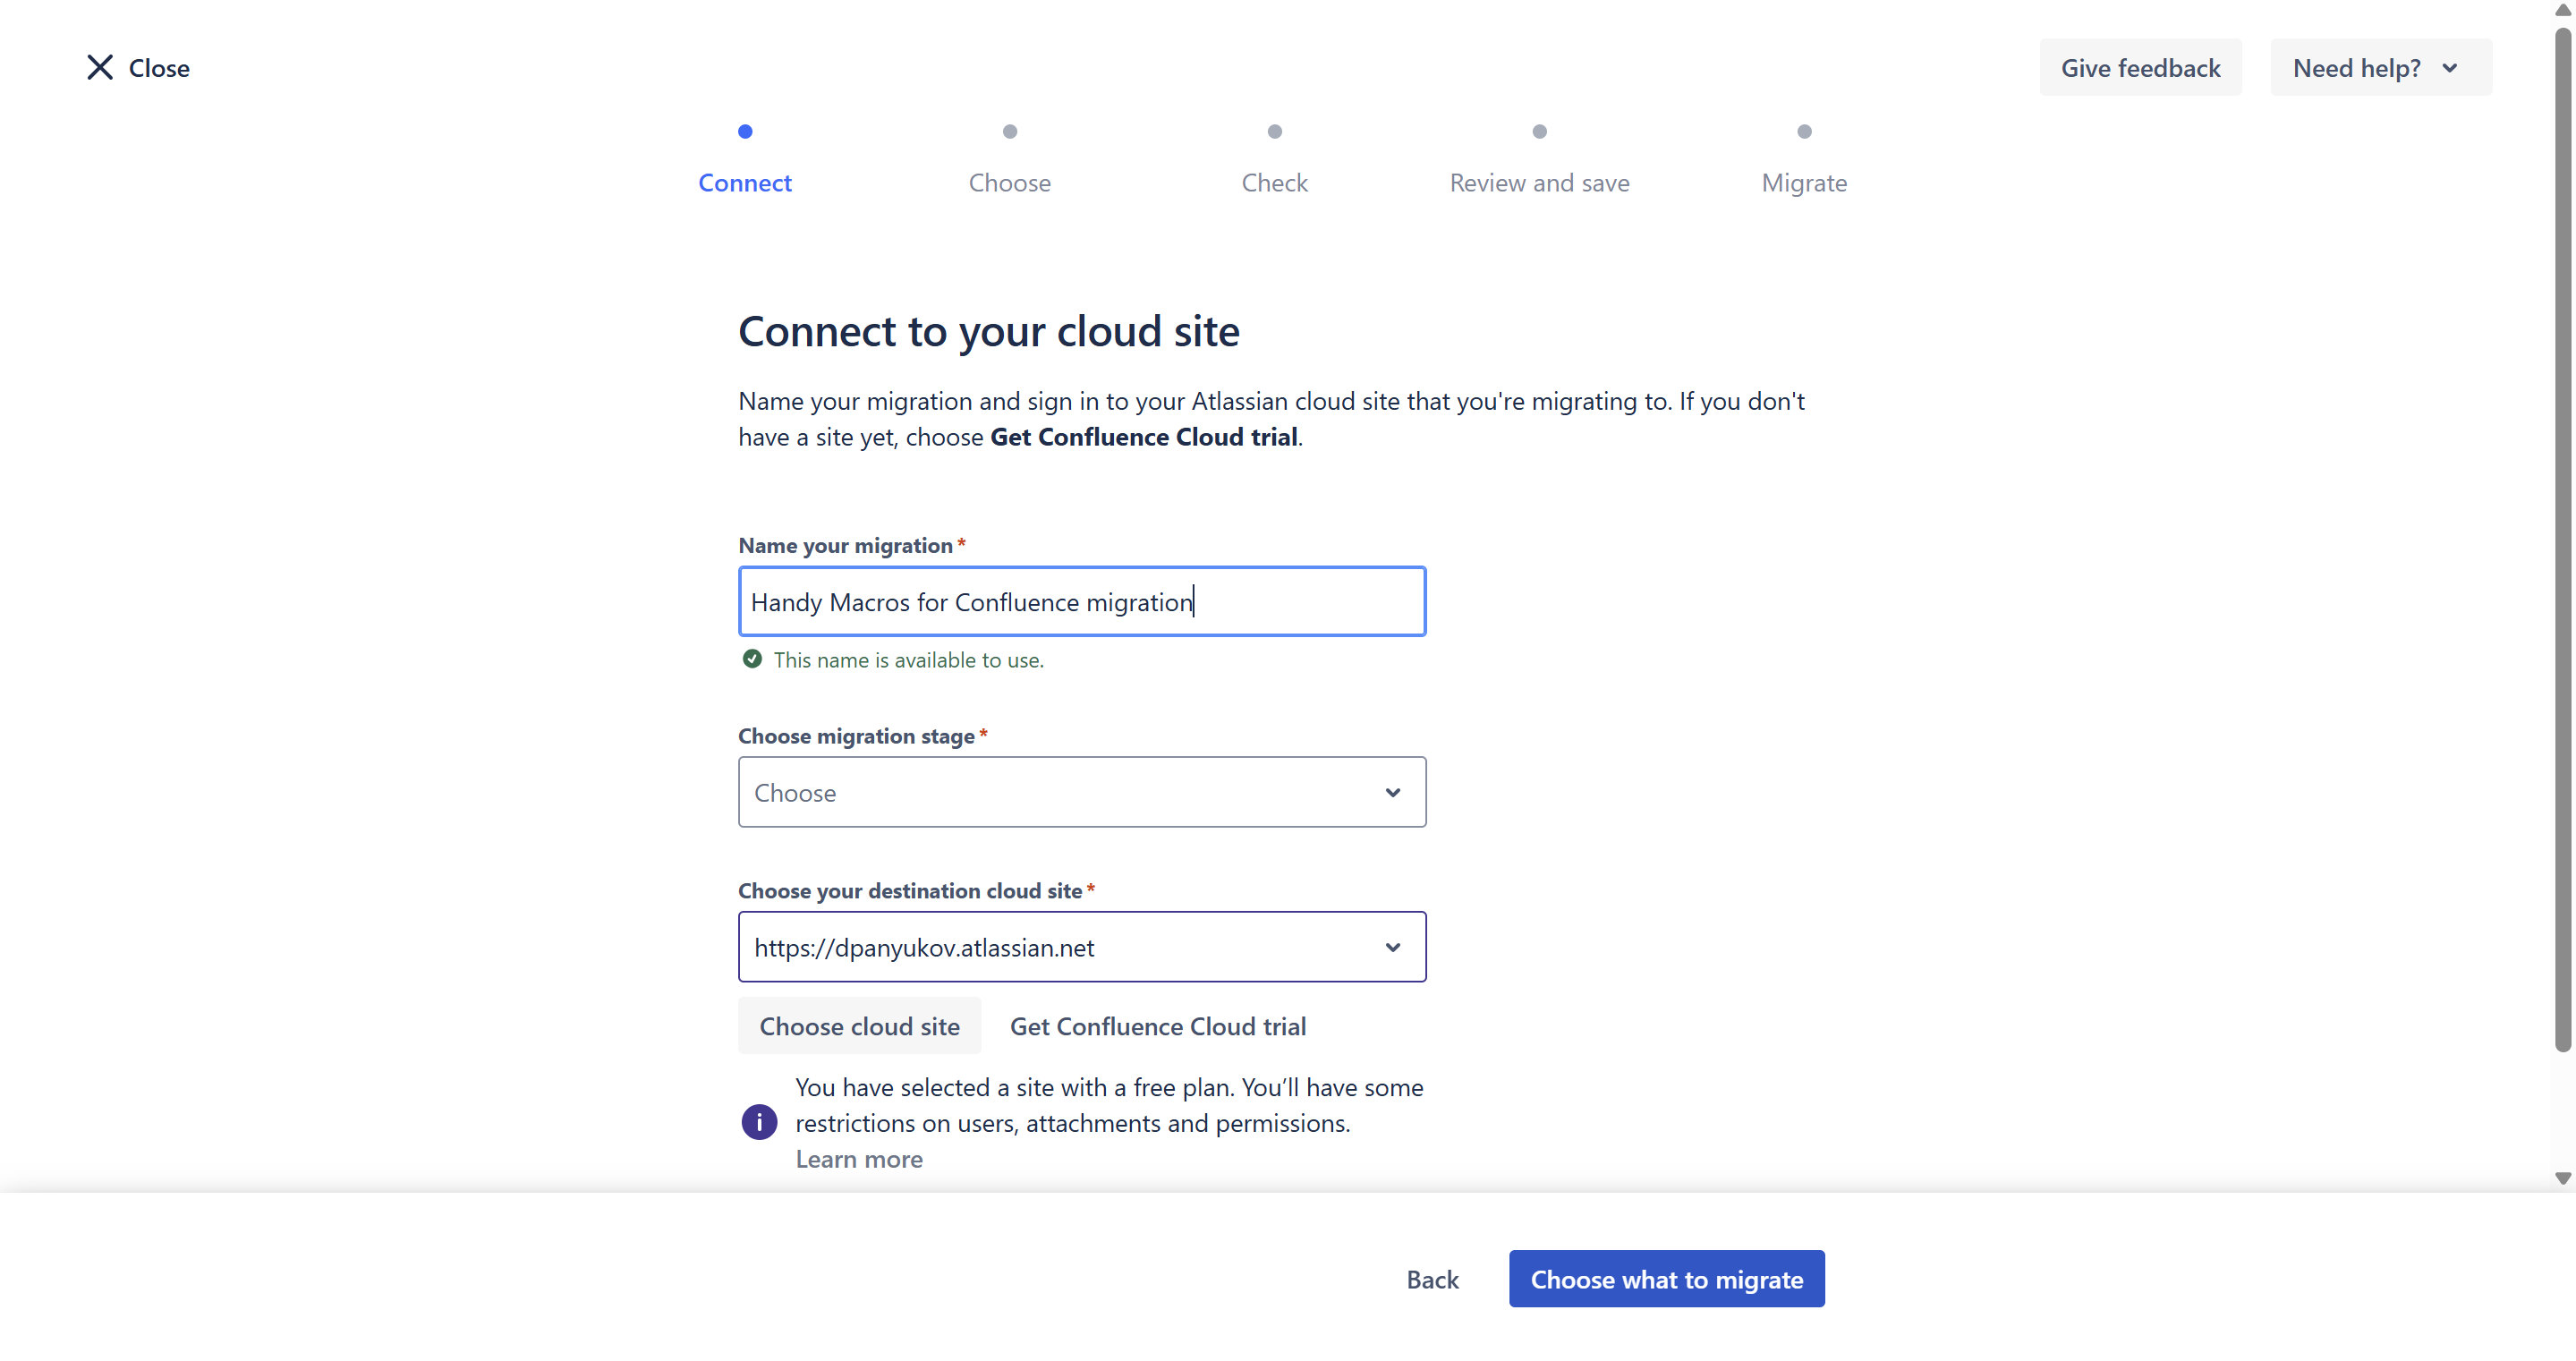
- Choose the migration stage from the dropdown menu.
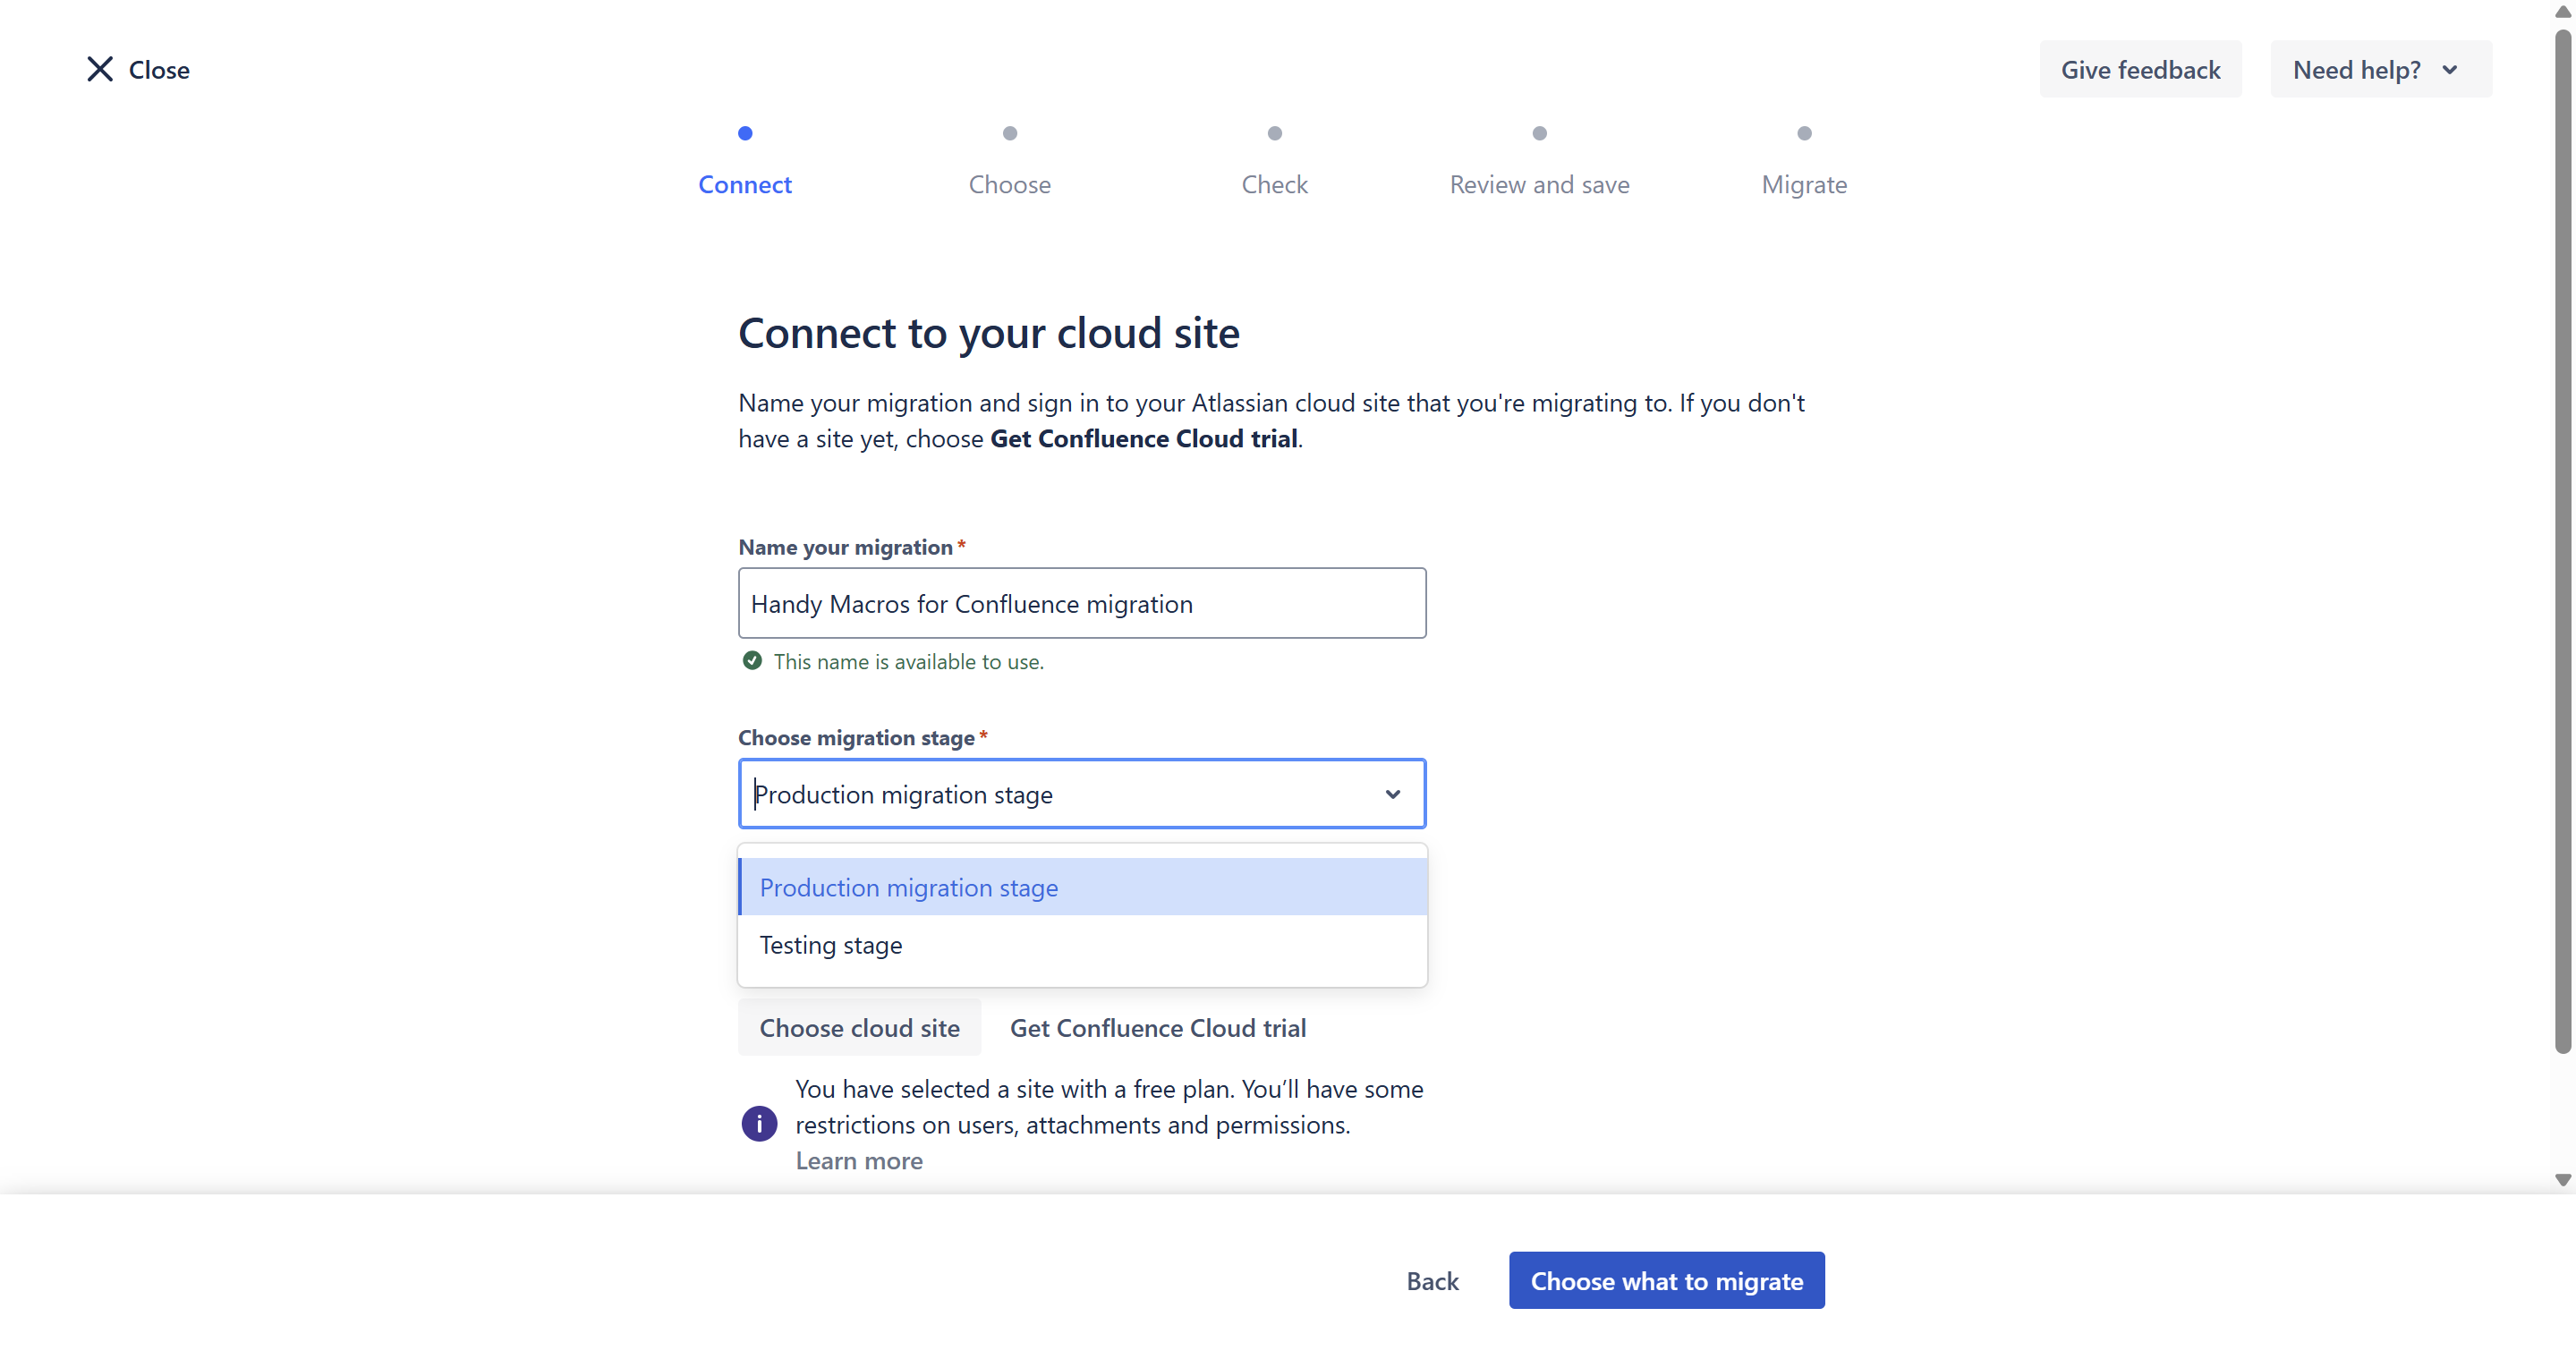
- Choose your destination cloud site from the dropdown menu.
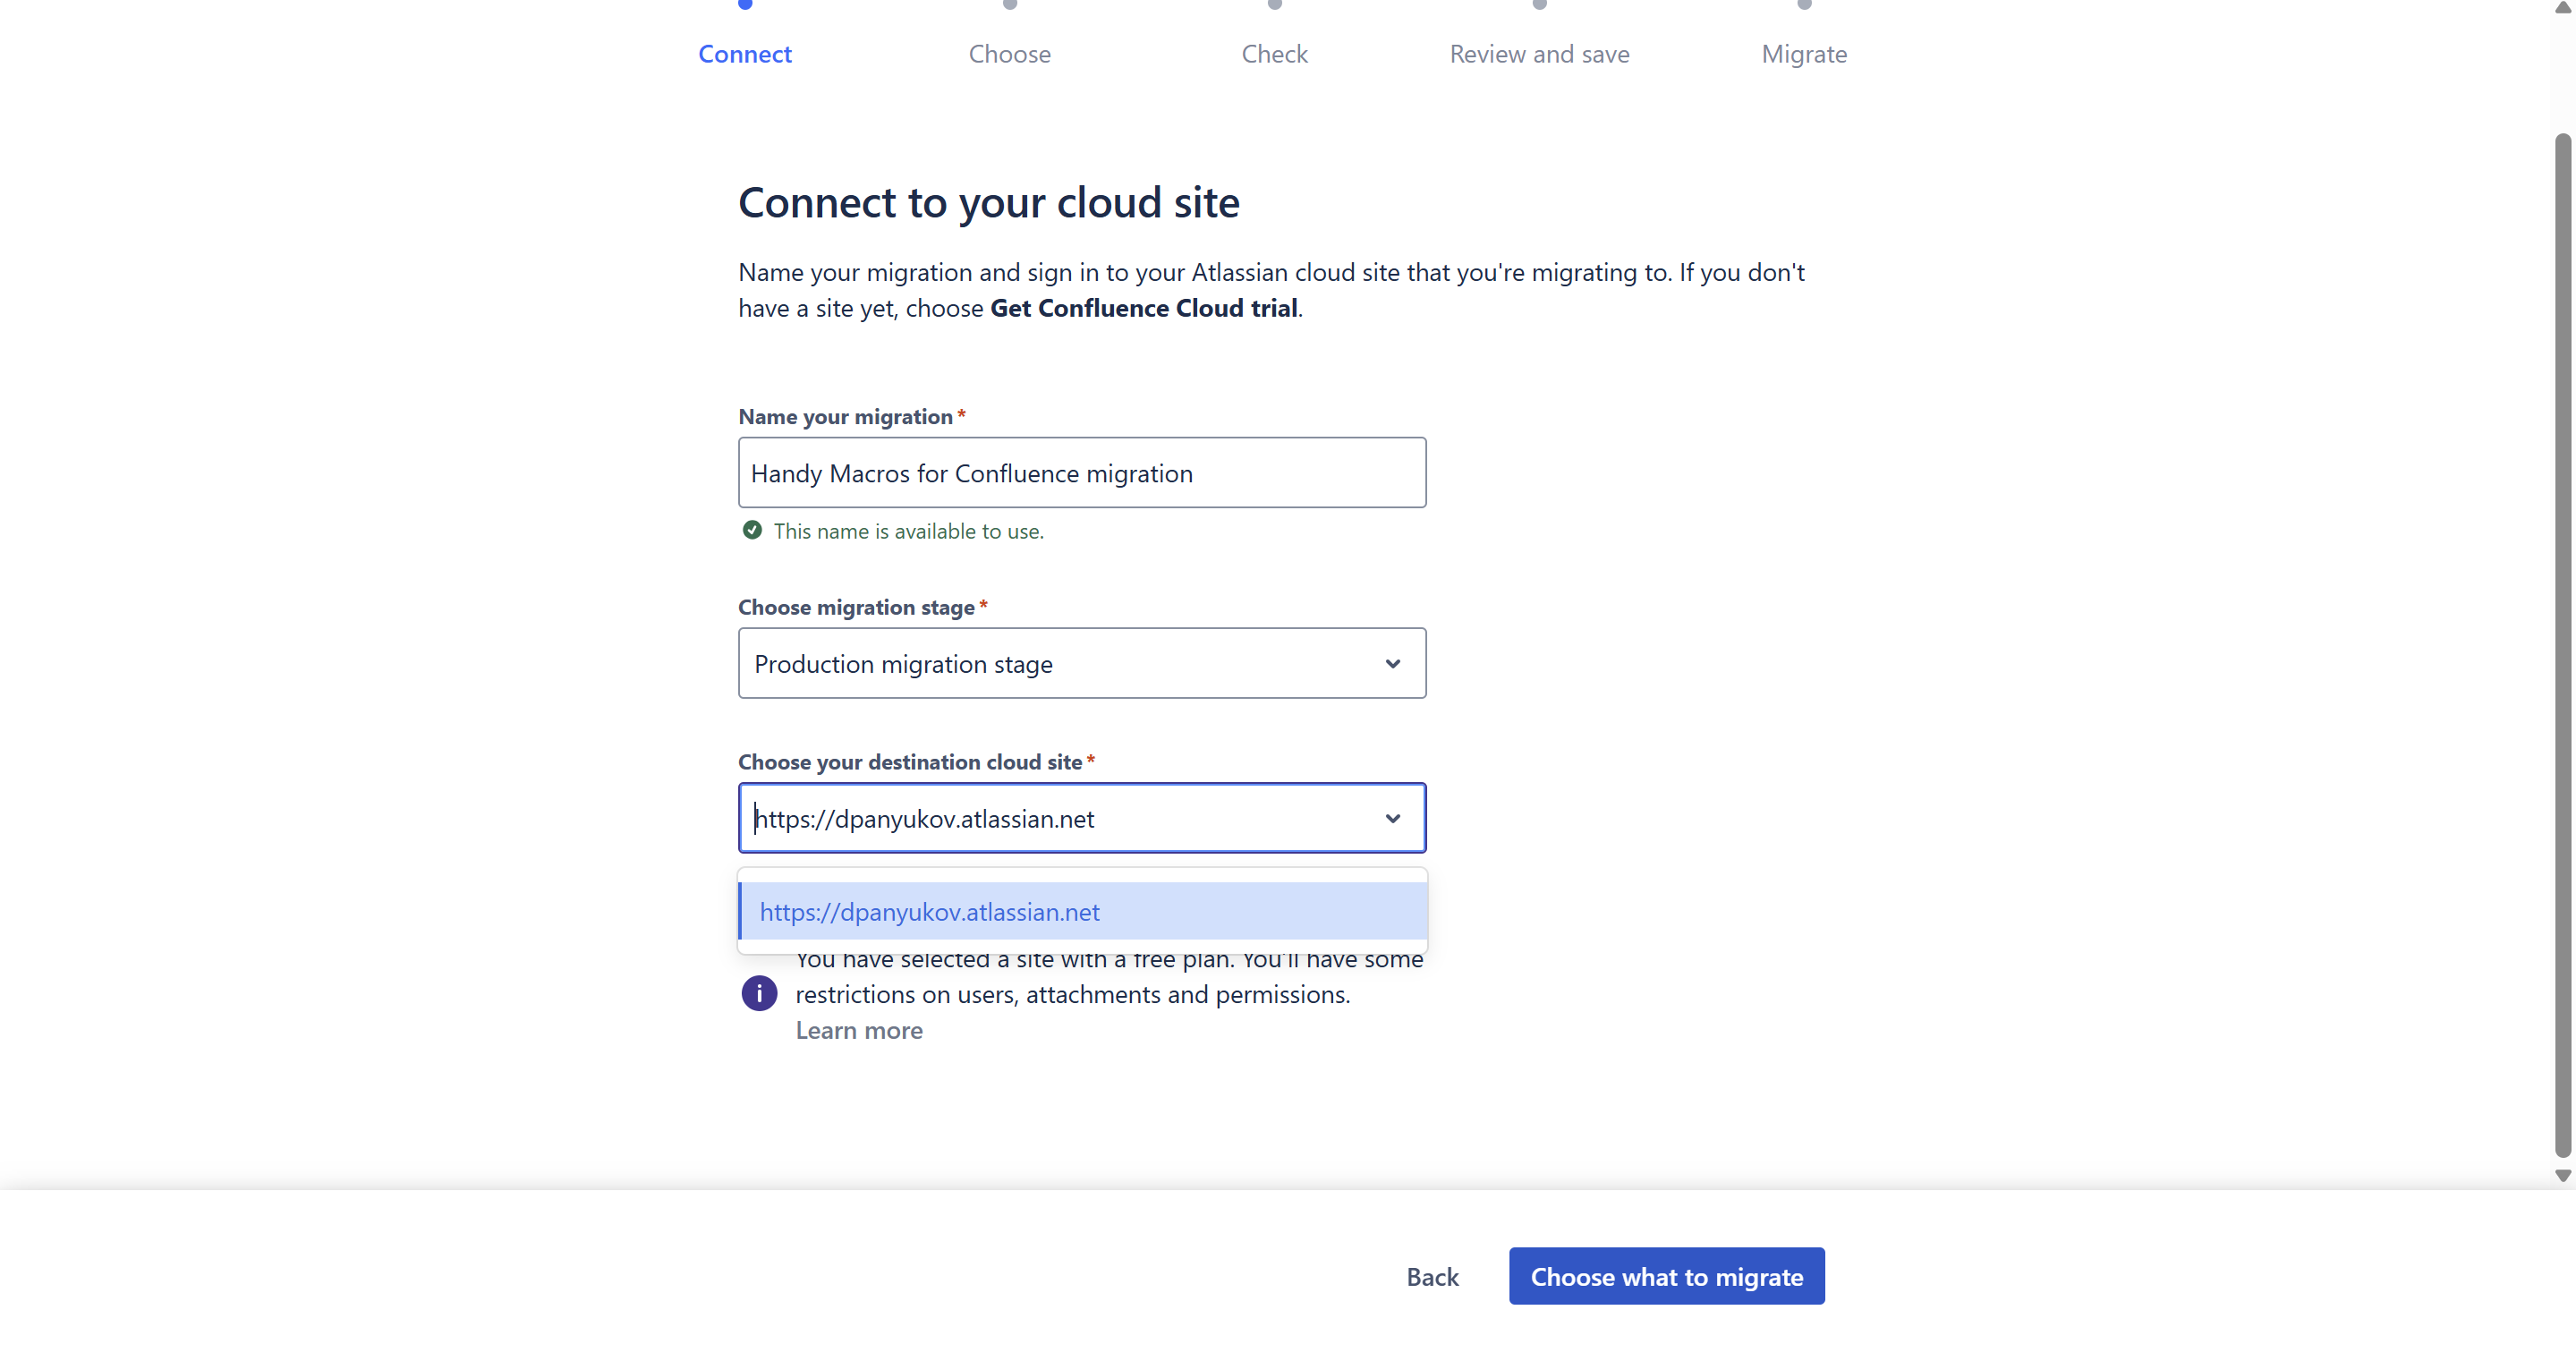
- Click Choose what to migrate.

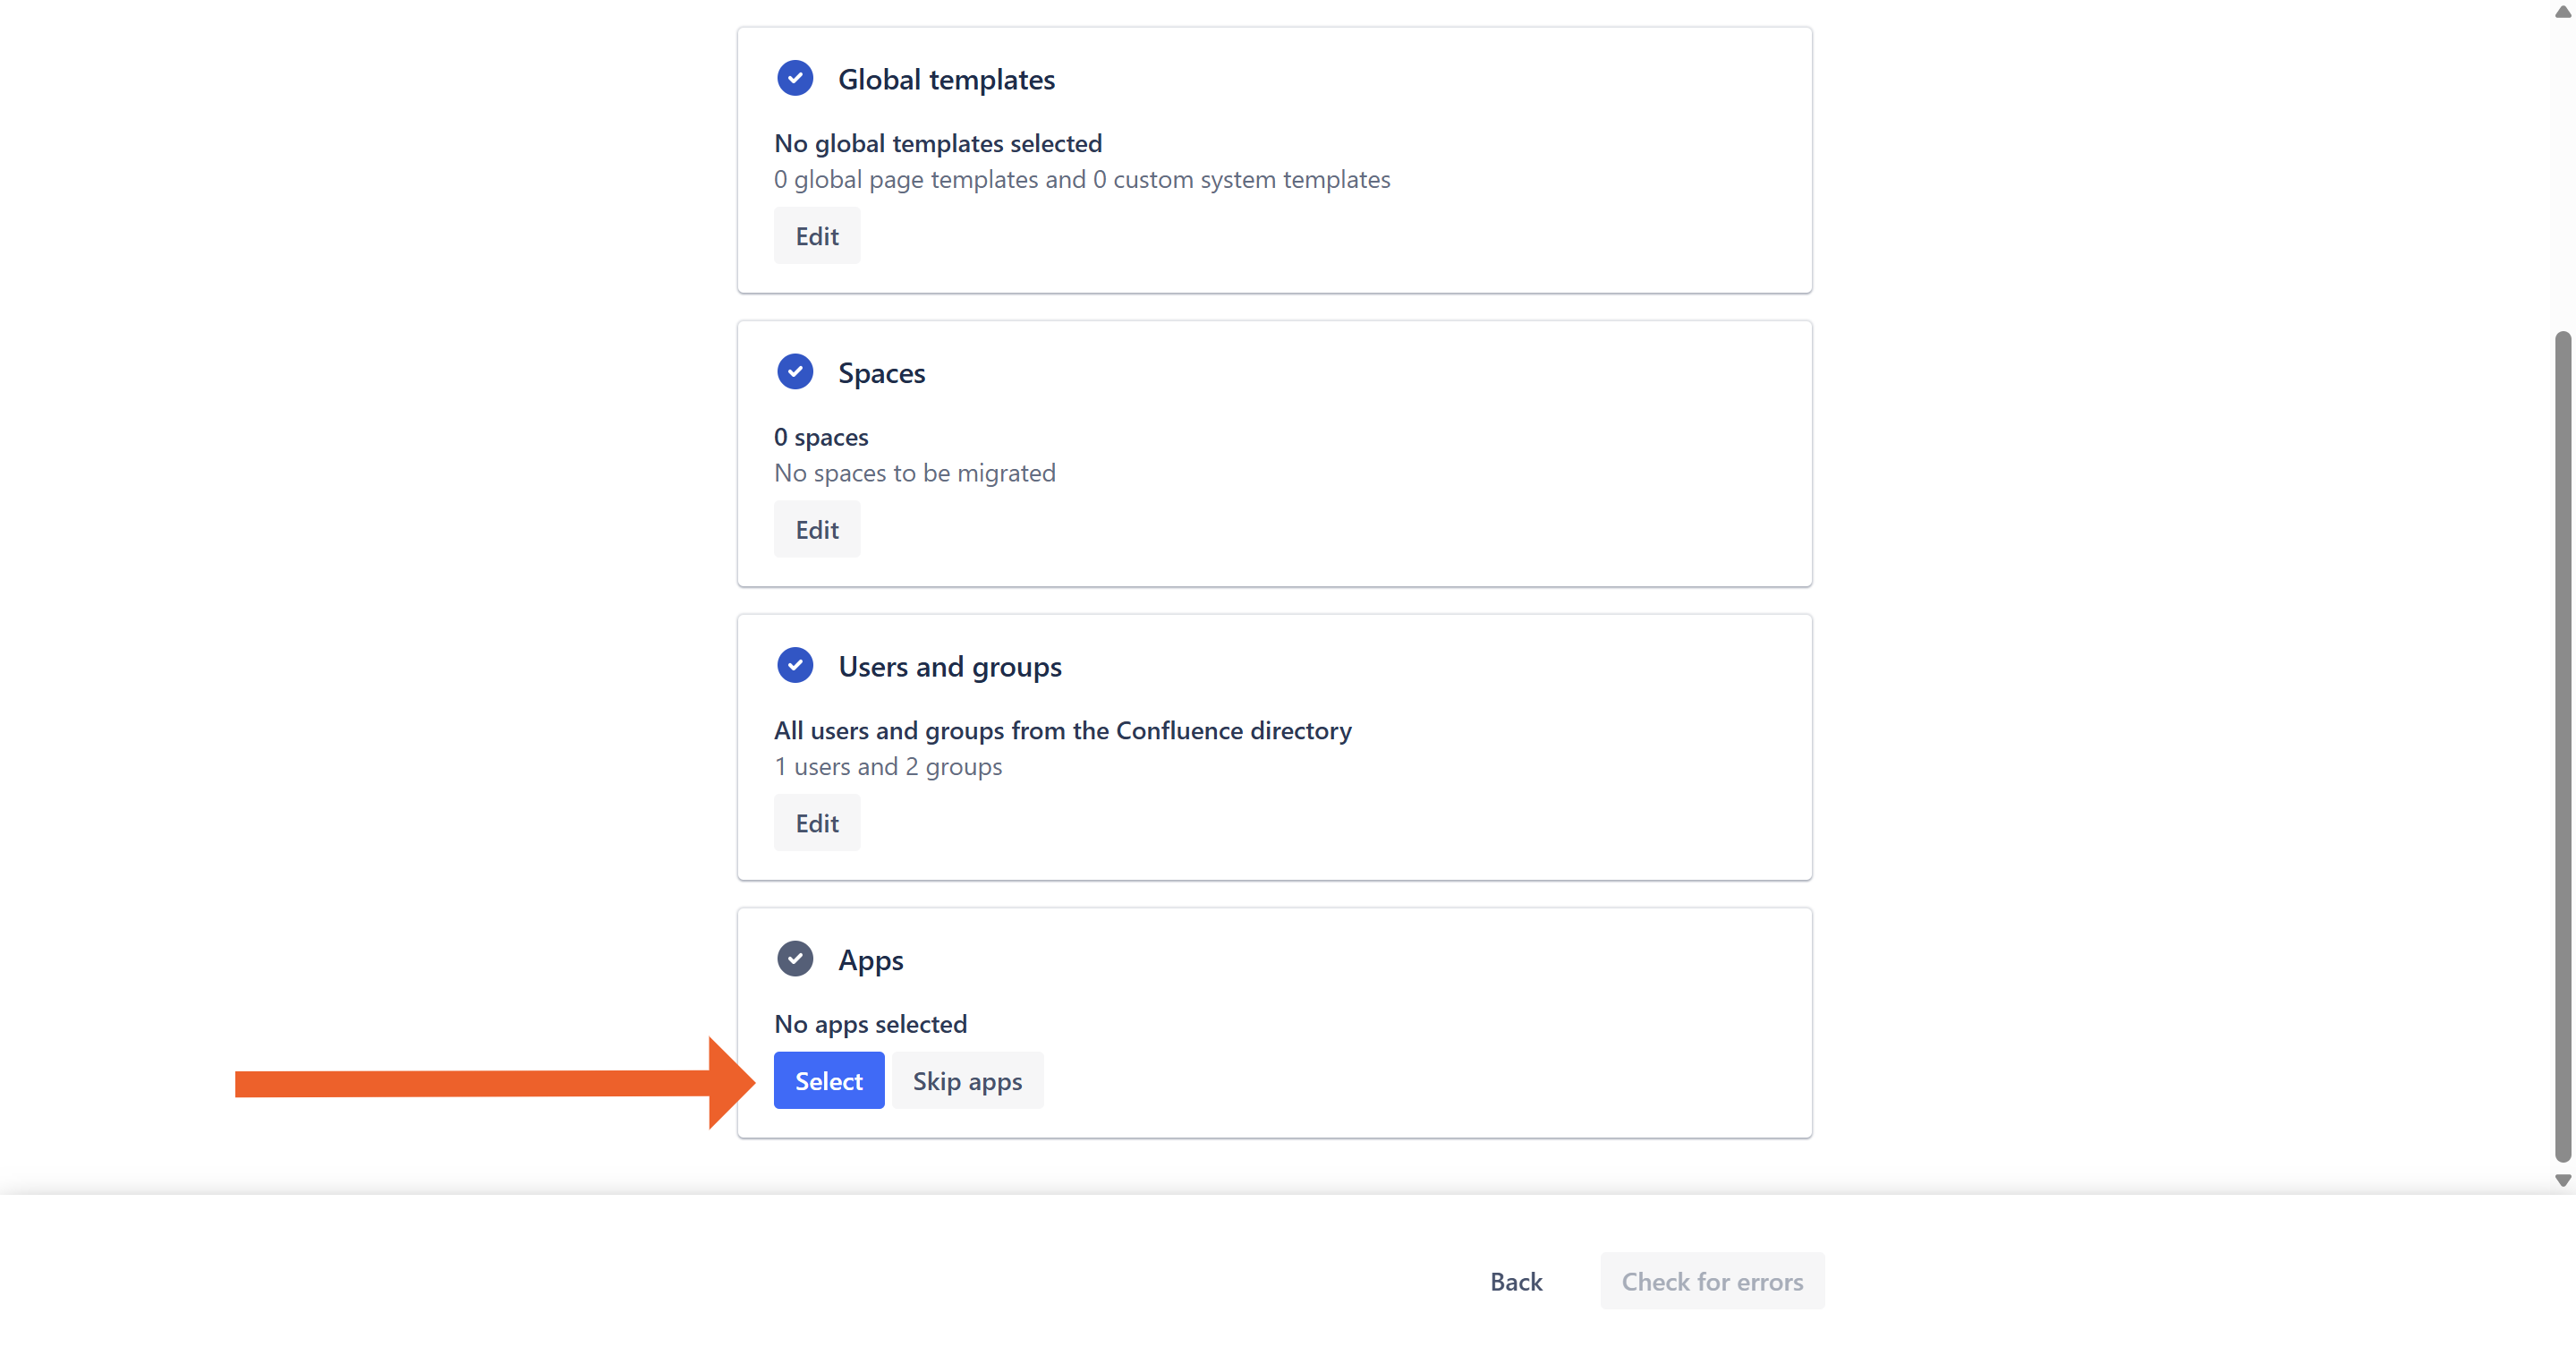
- In the Apps box, click Select after selecting Global templates, Spaces, Users and groups.
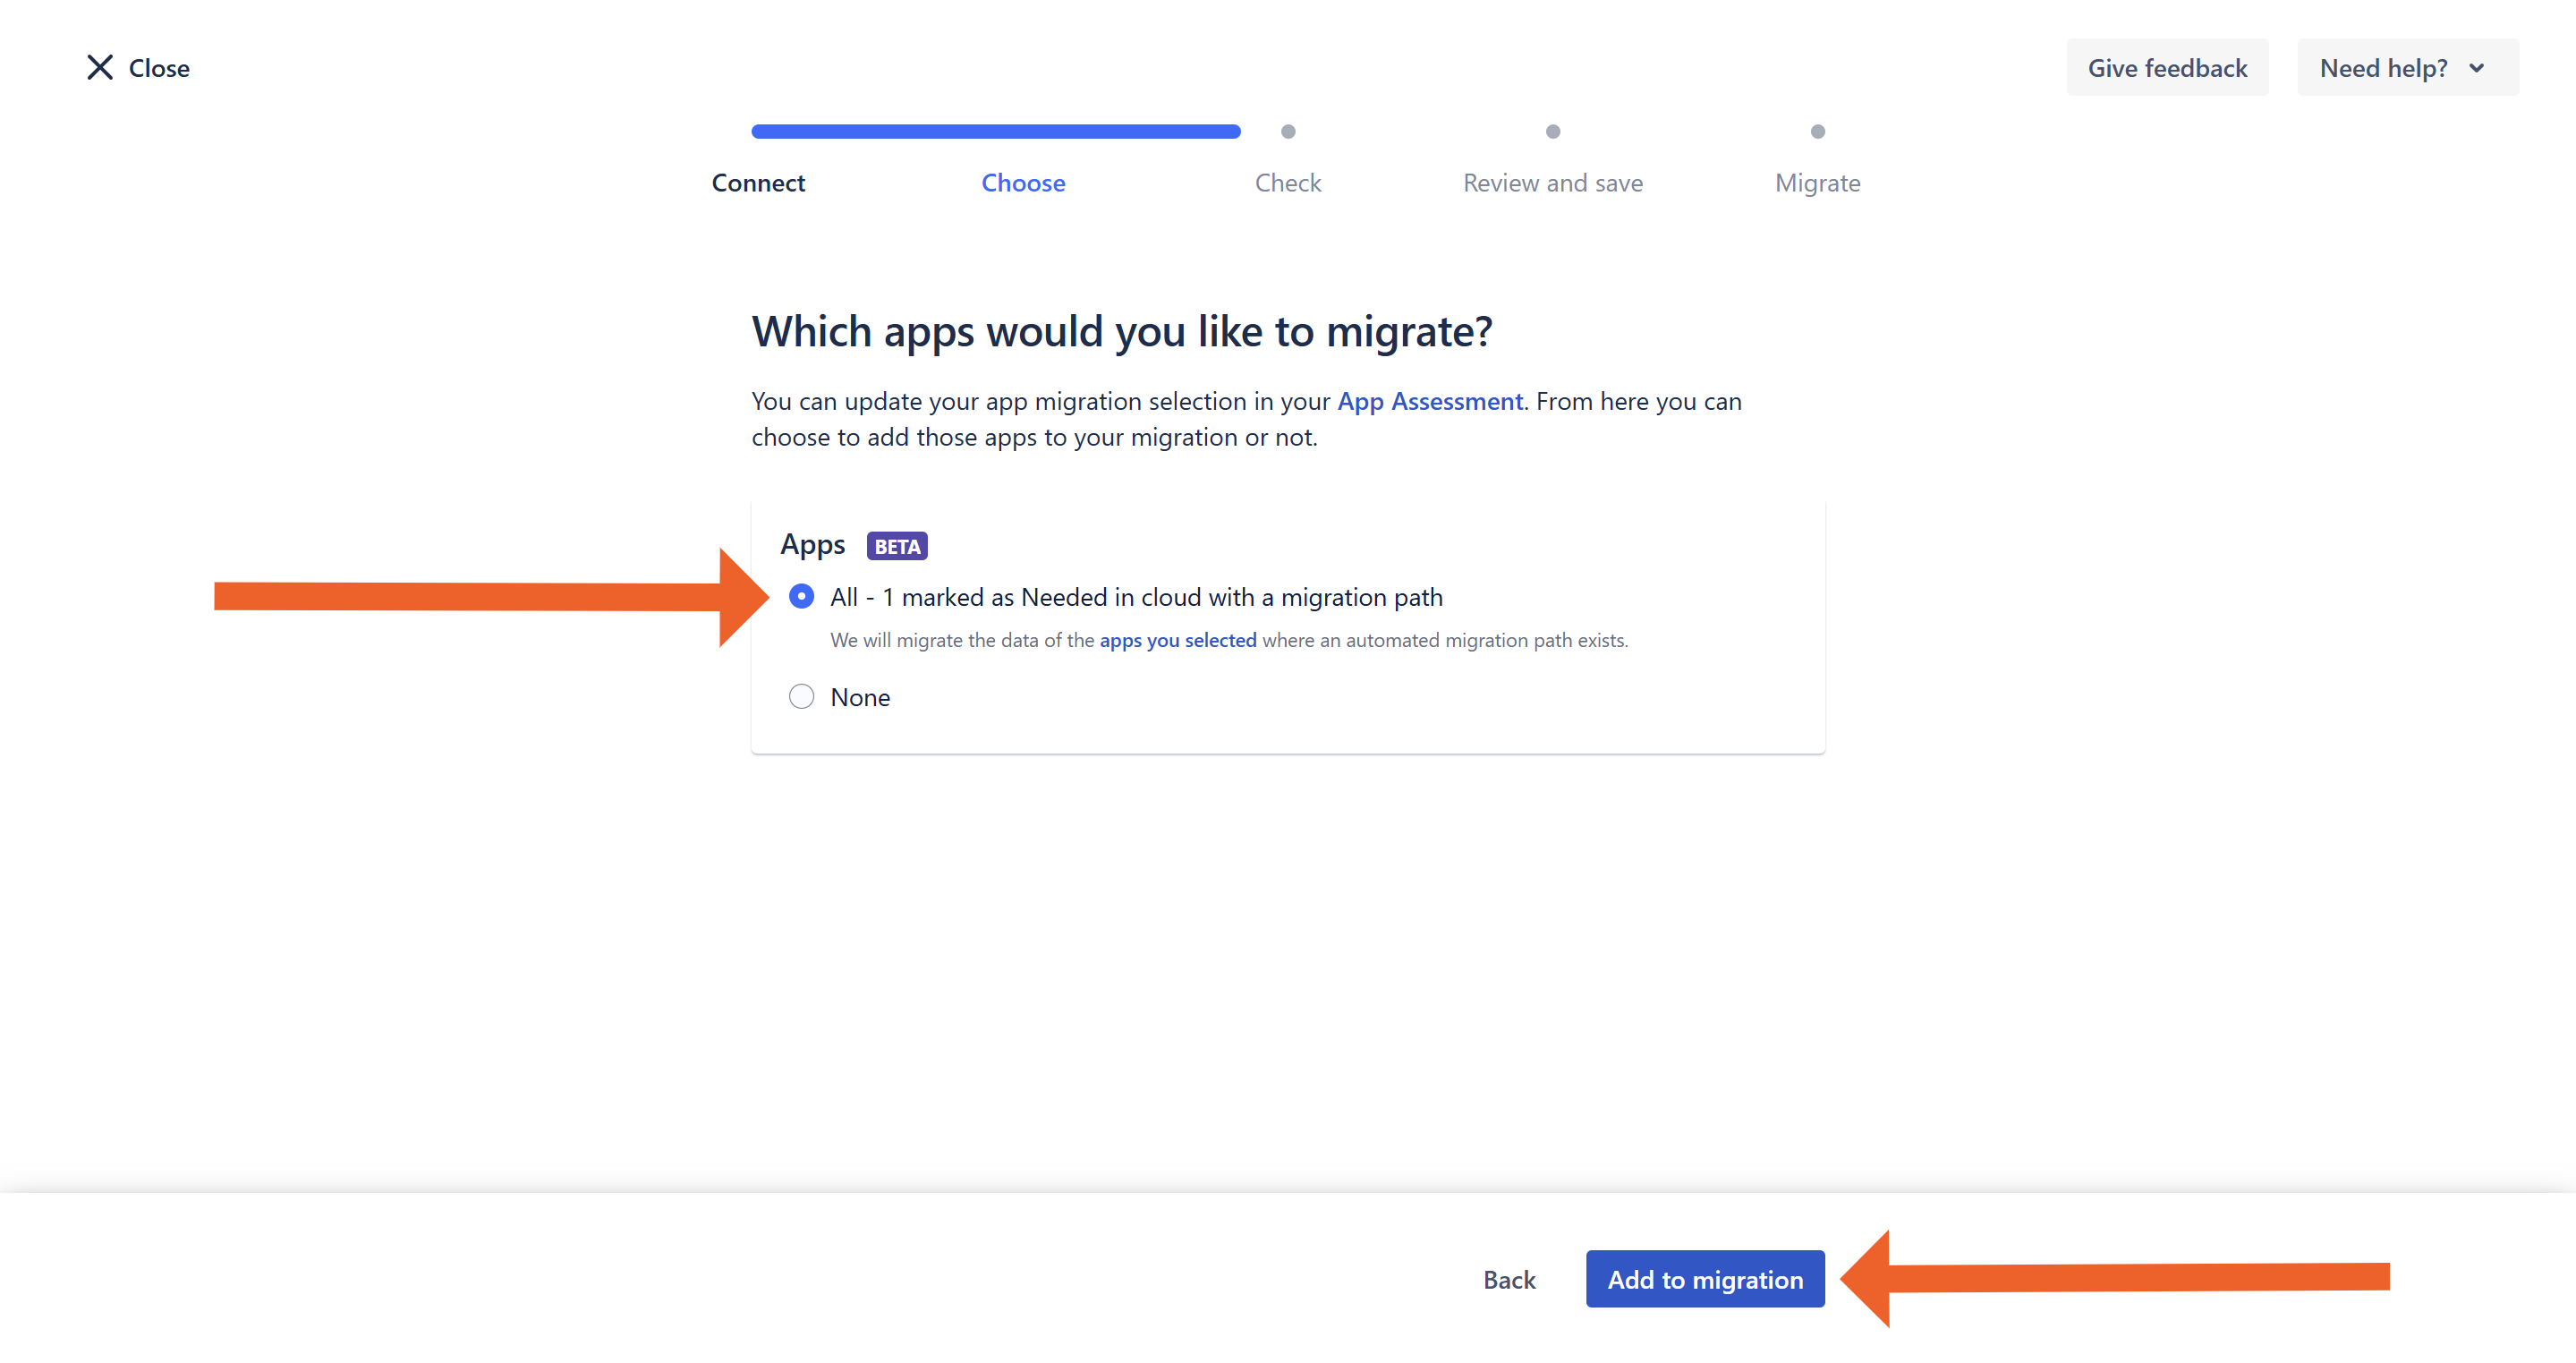
- Select All and click Add to migration.
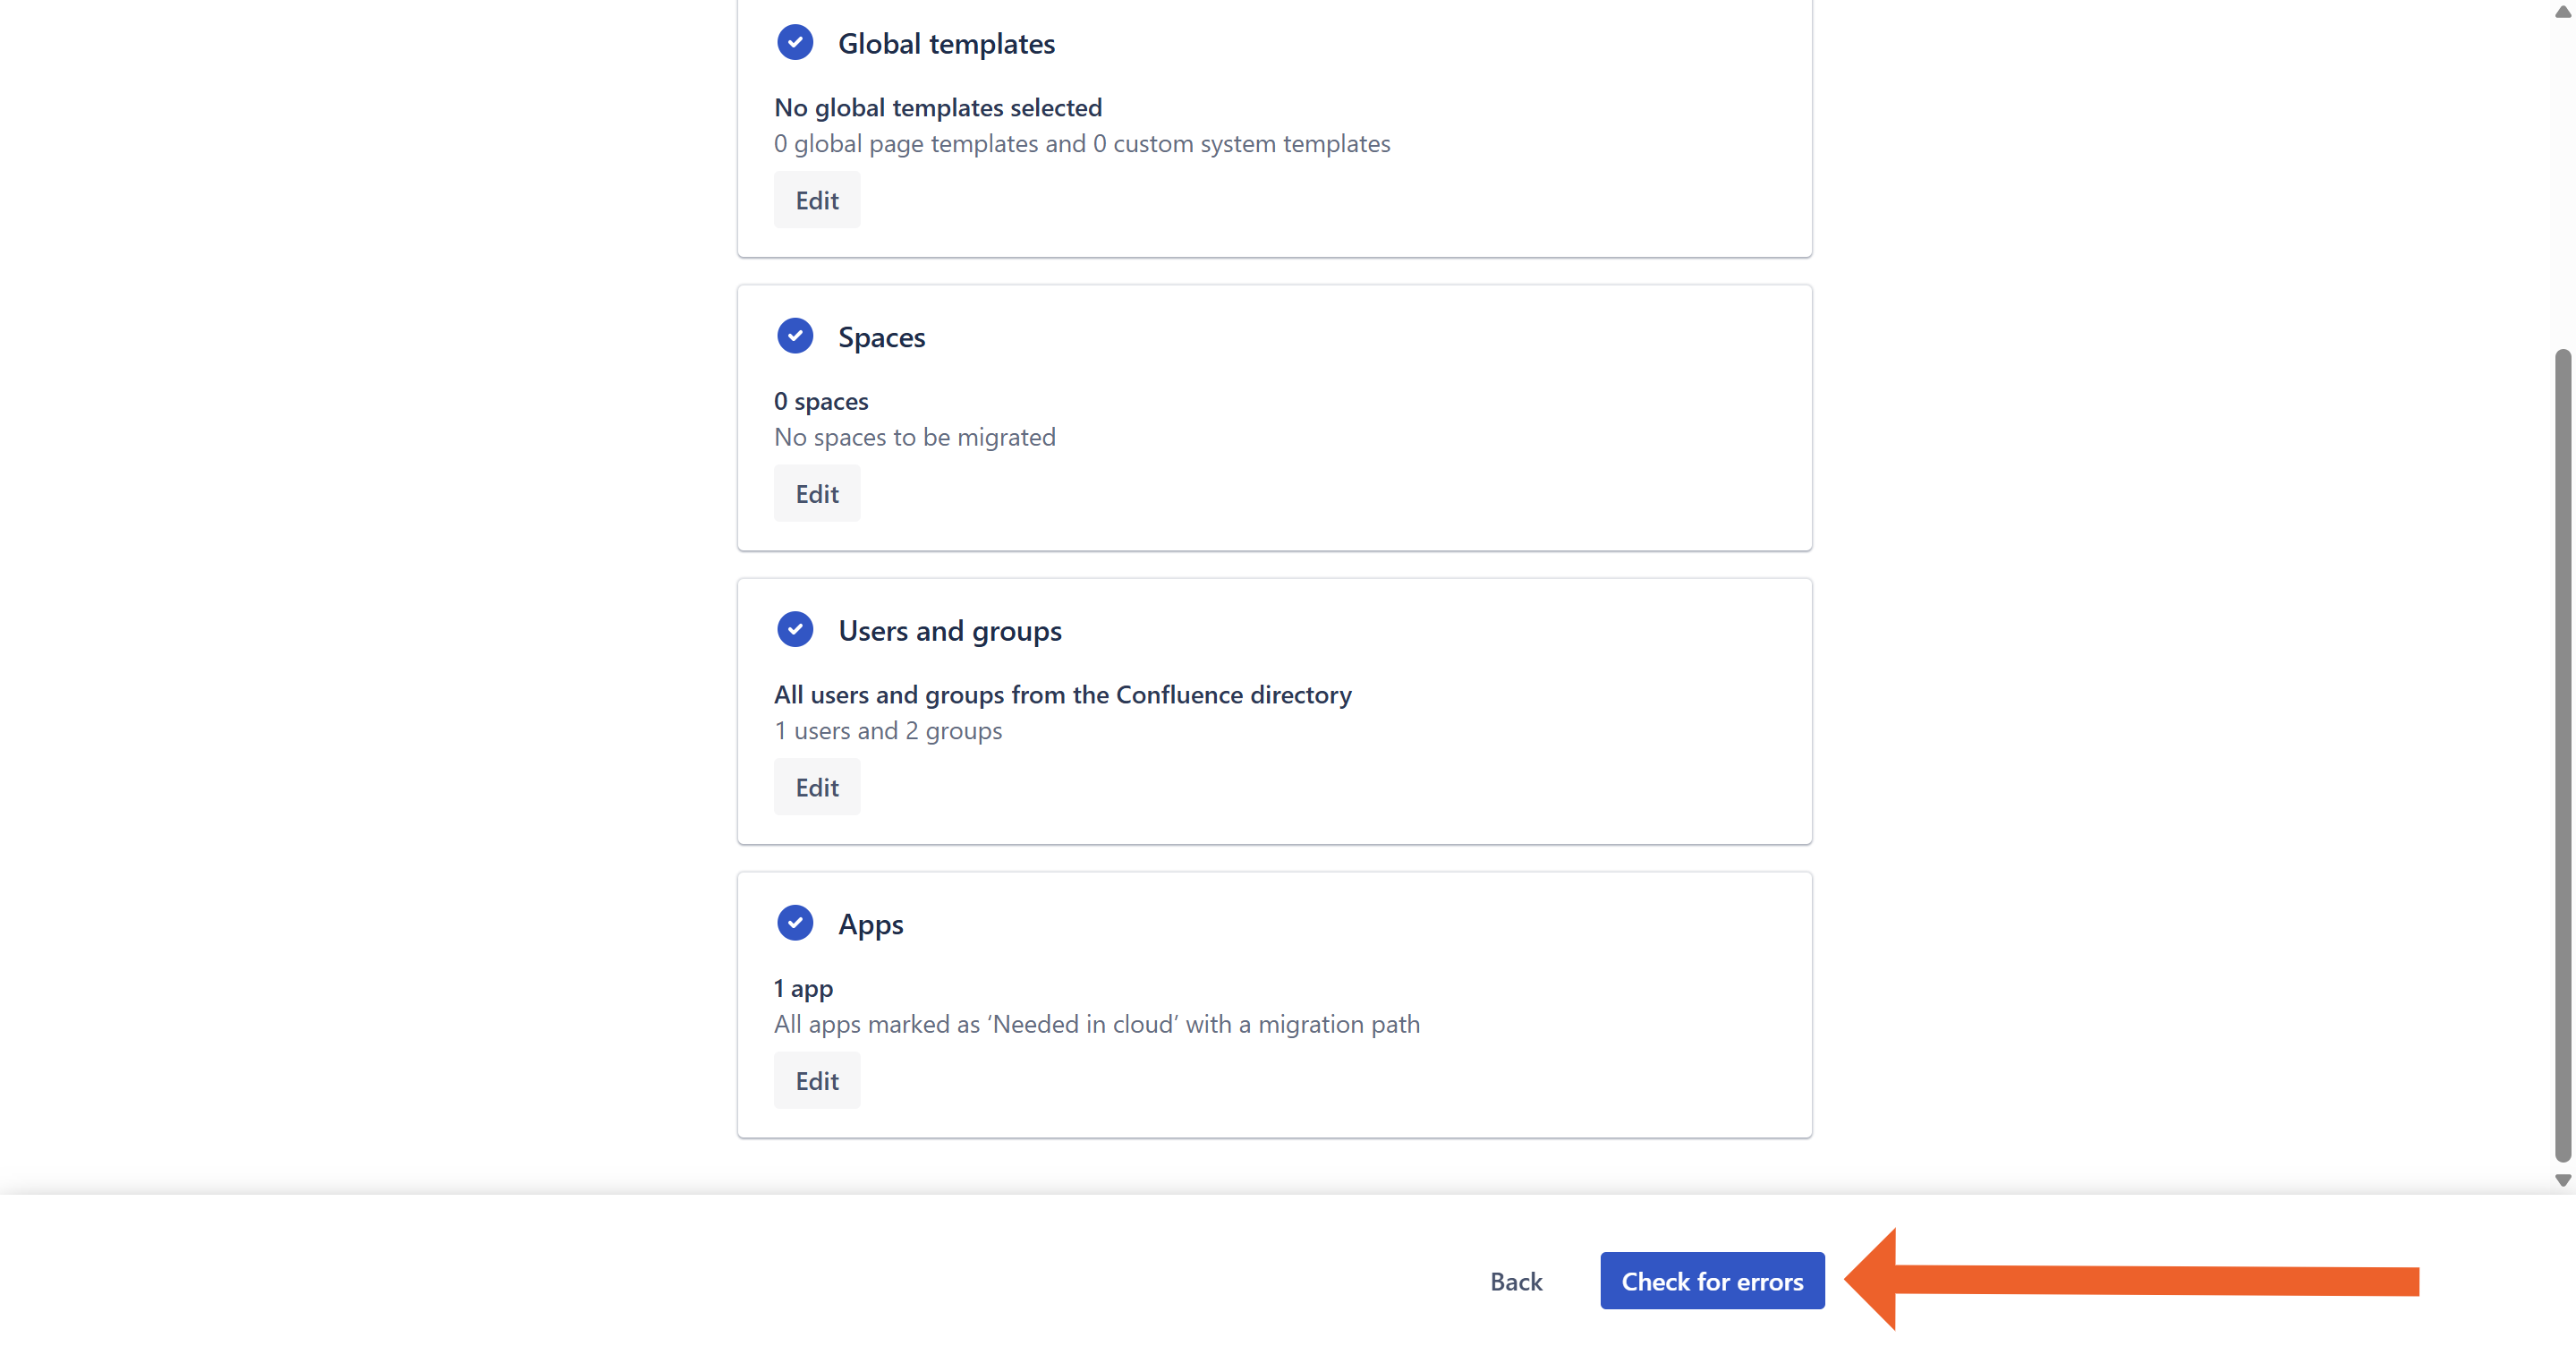
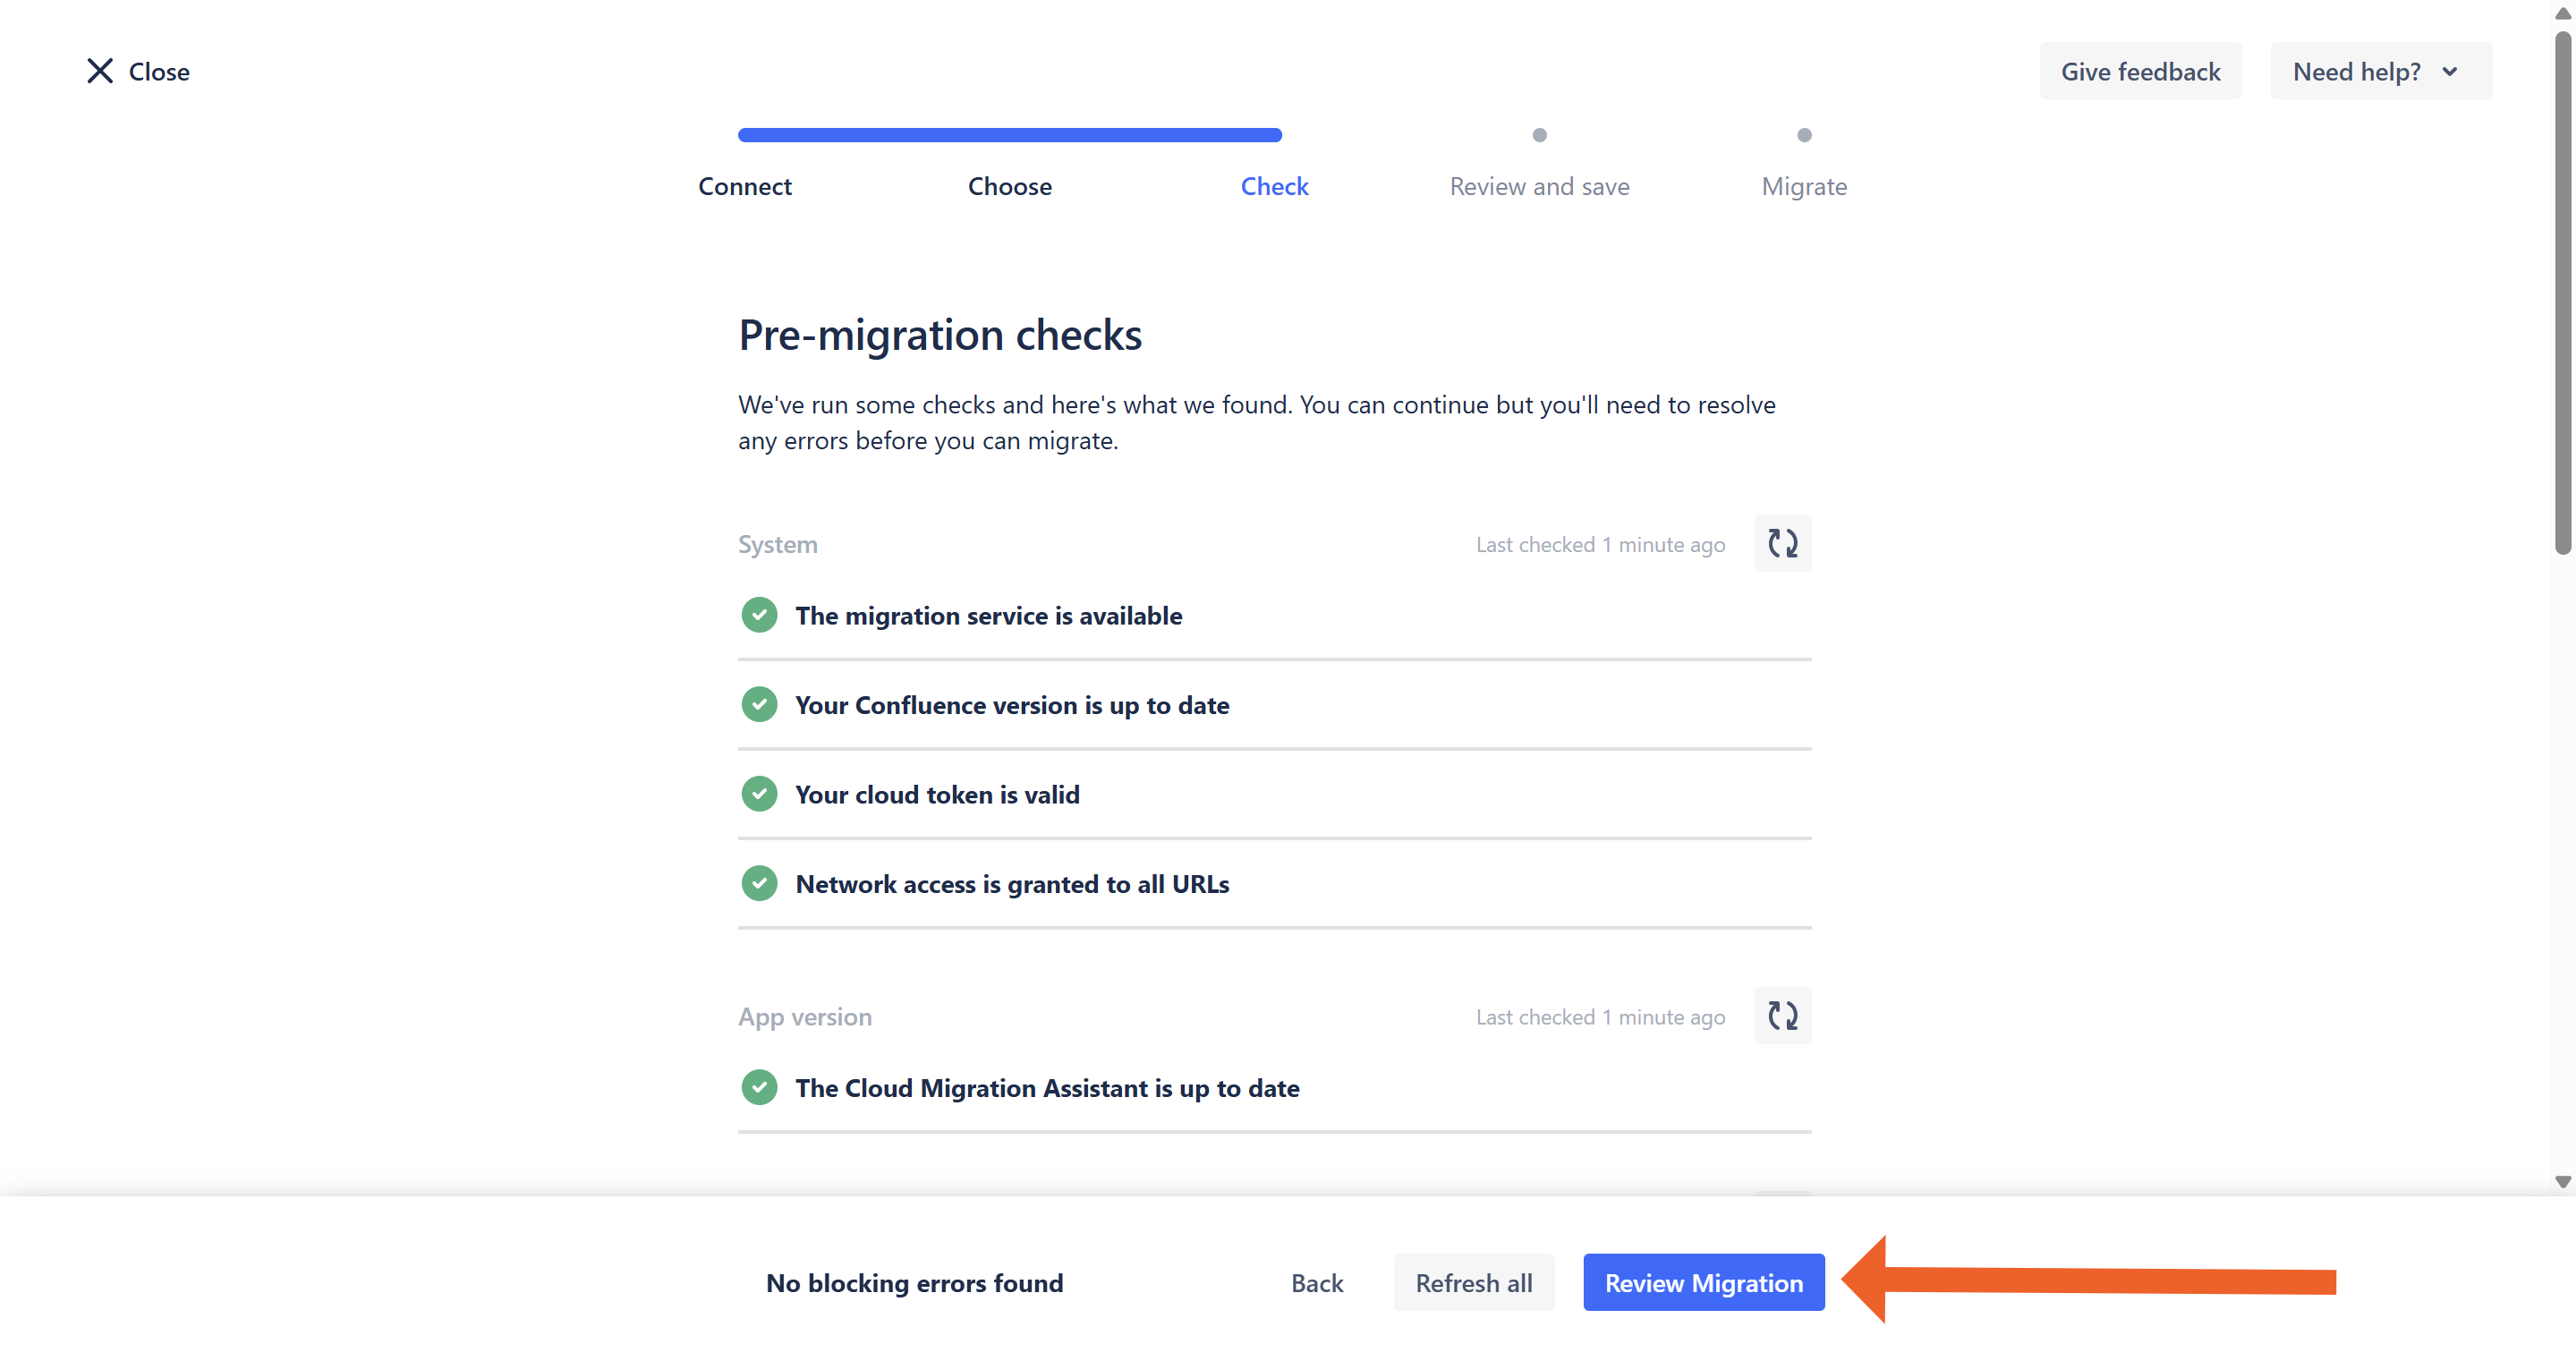
- Click Check for errors.
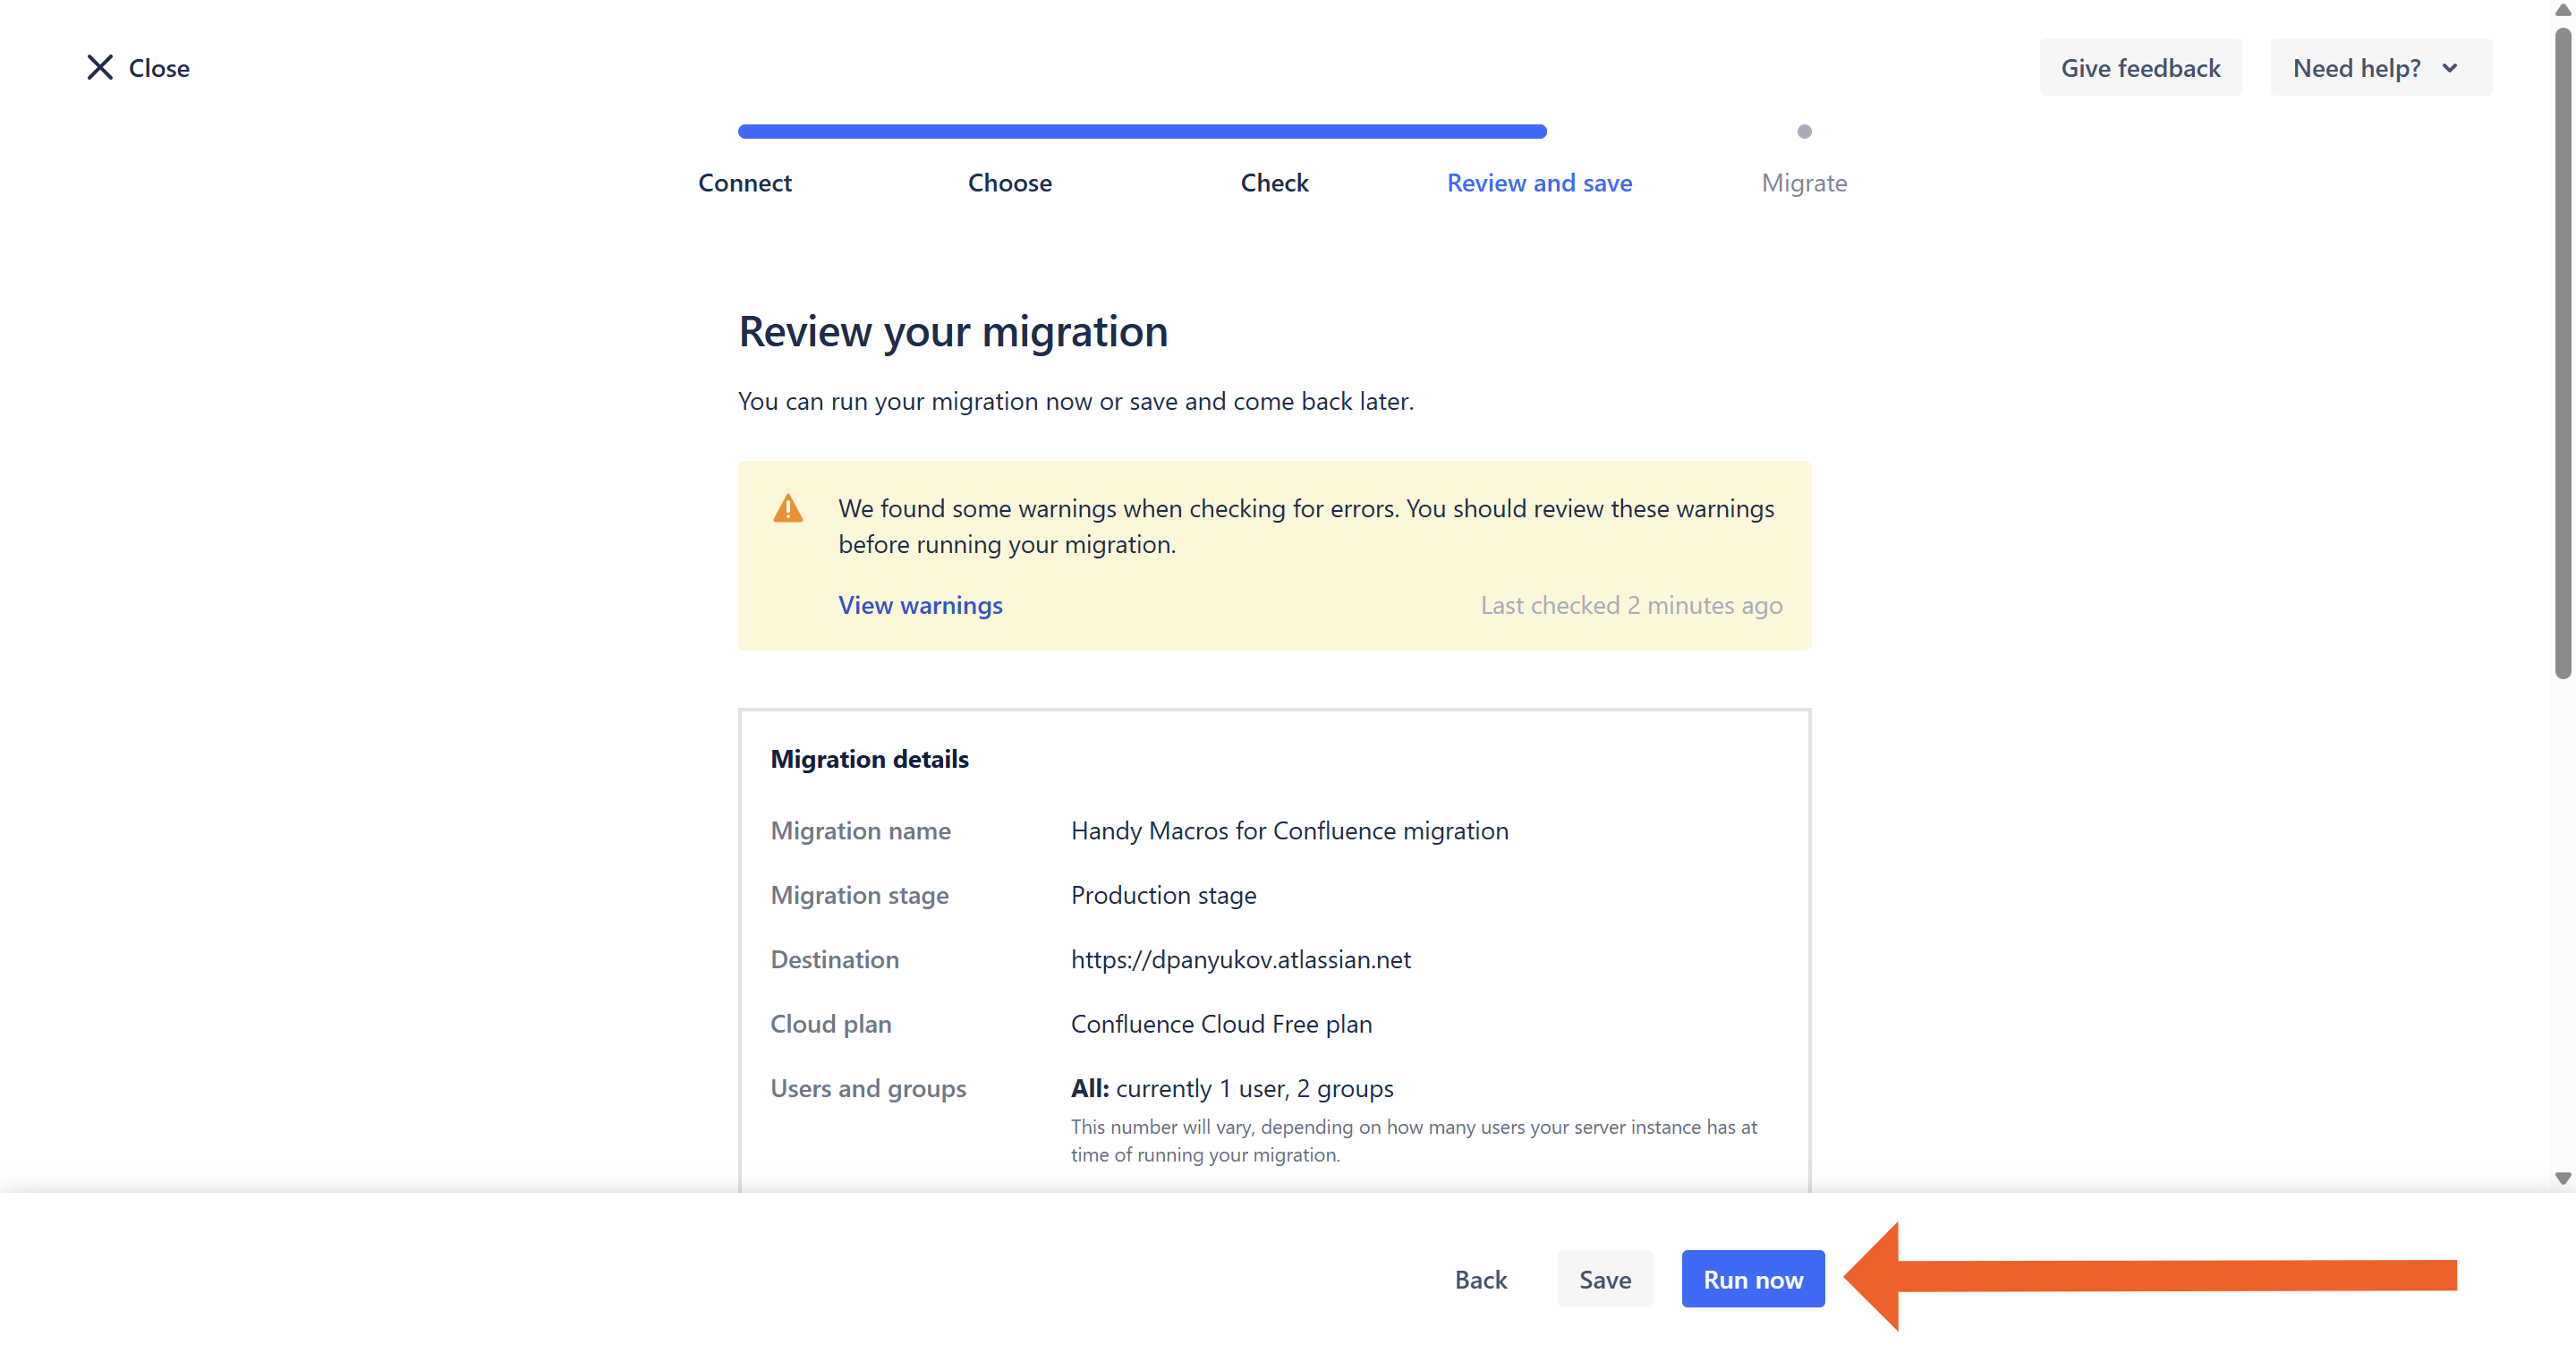
- Evaluate errors and warnings. If everything looks good, click Review Migration.
- Click Run now.
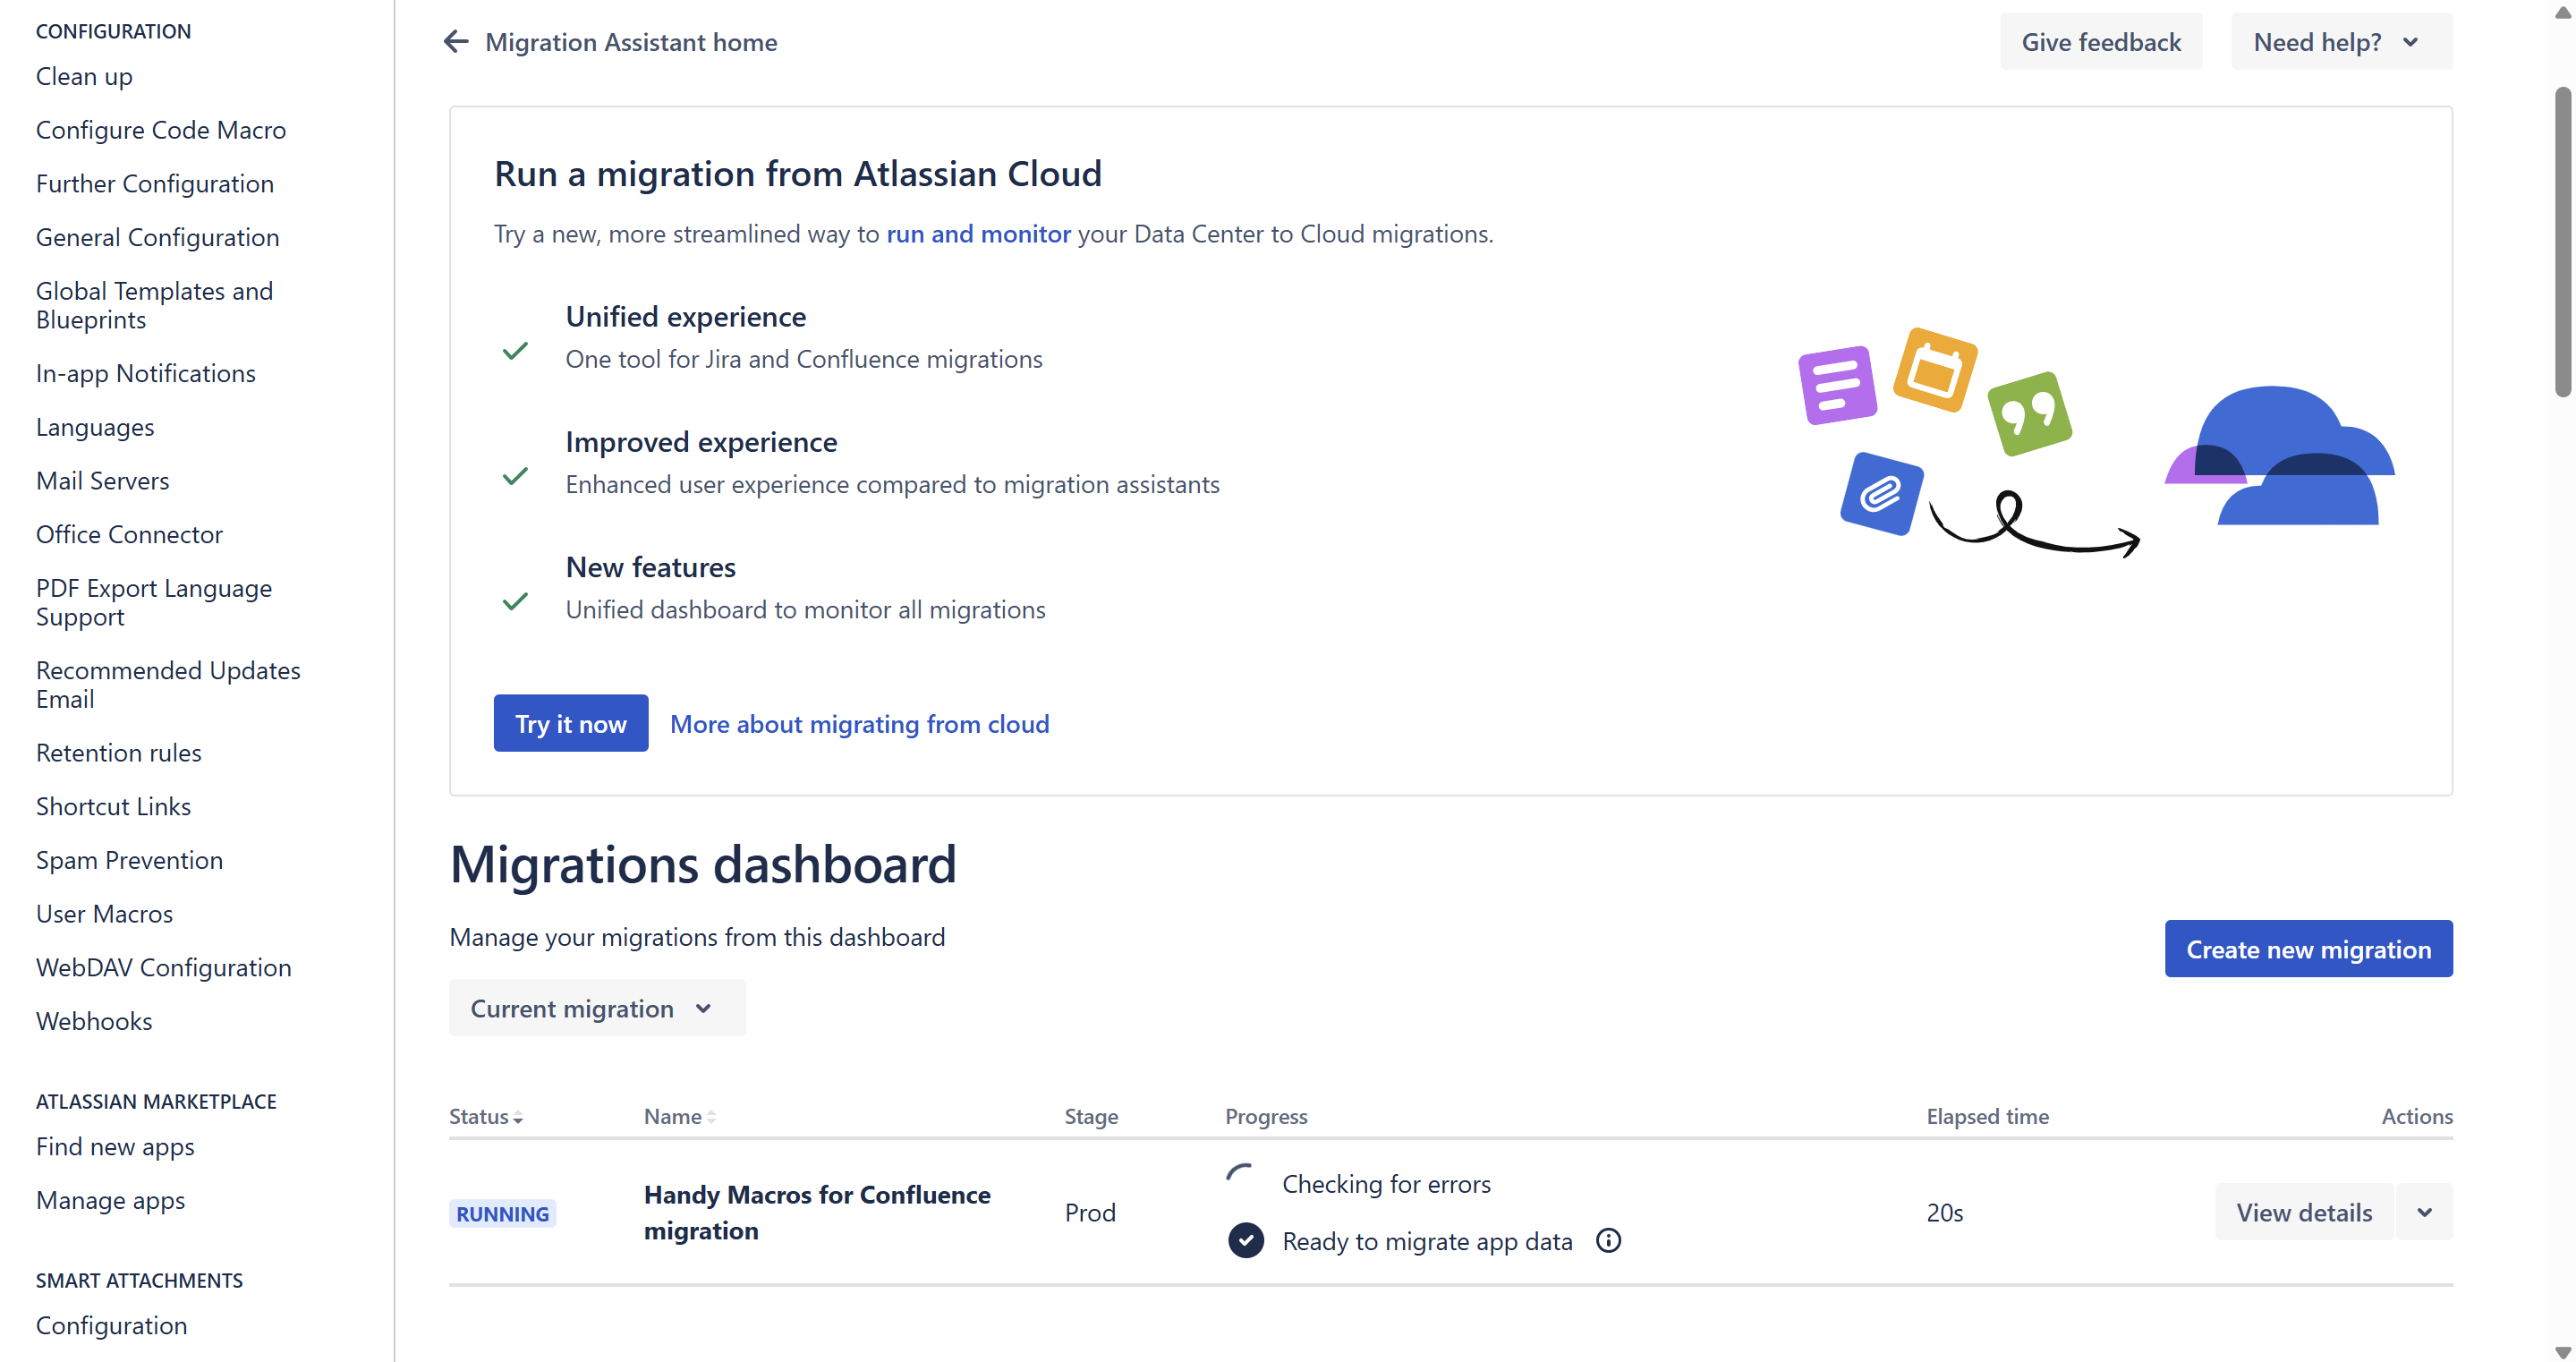
- Wait for the migration to end.
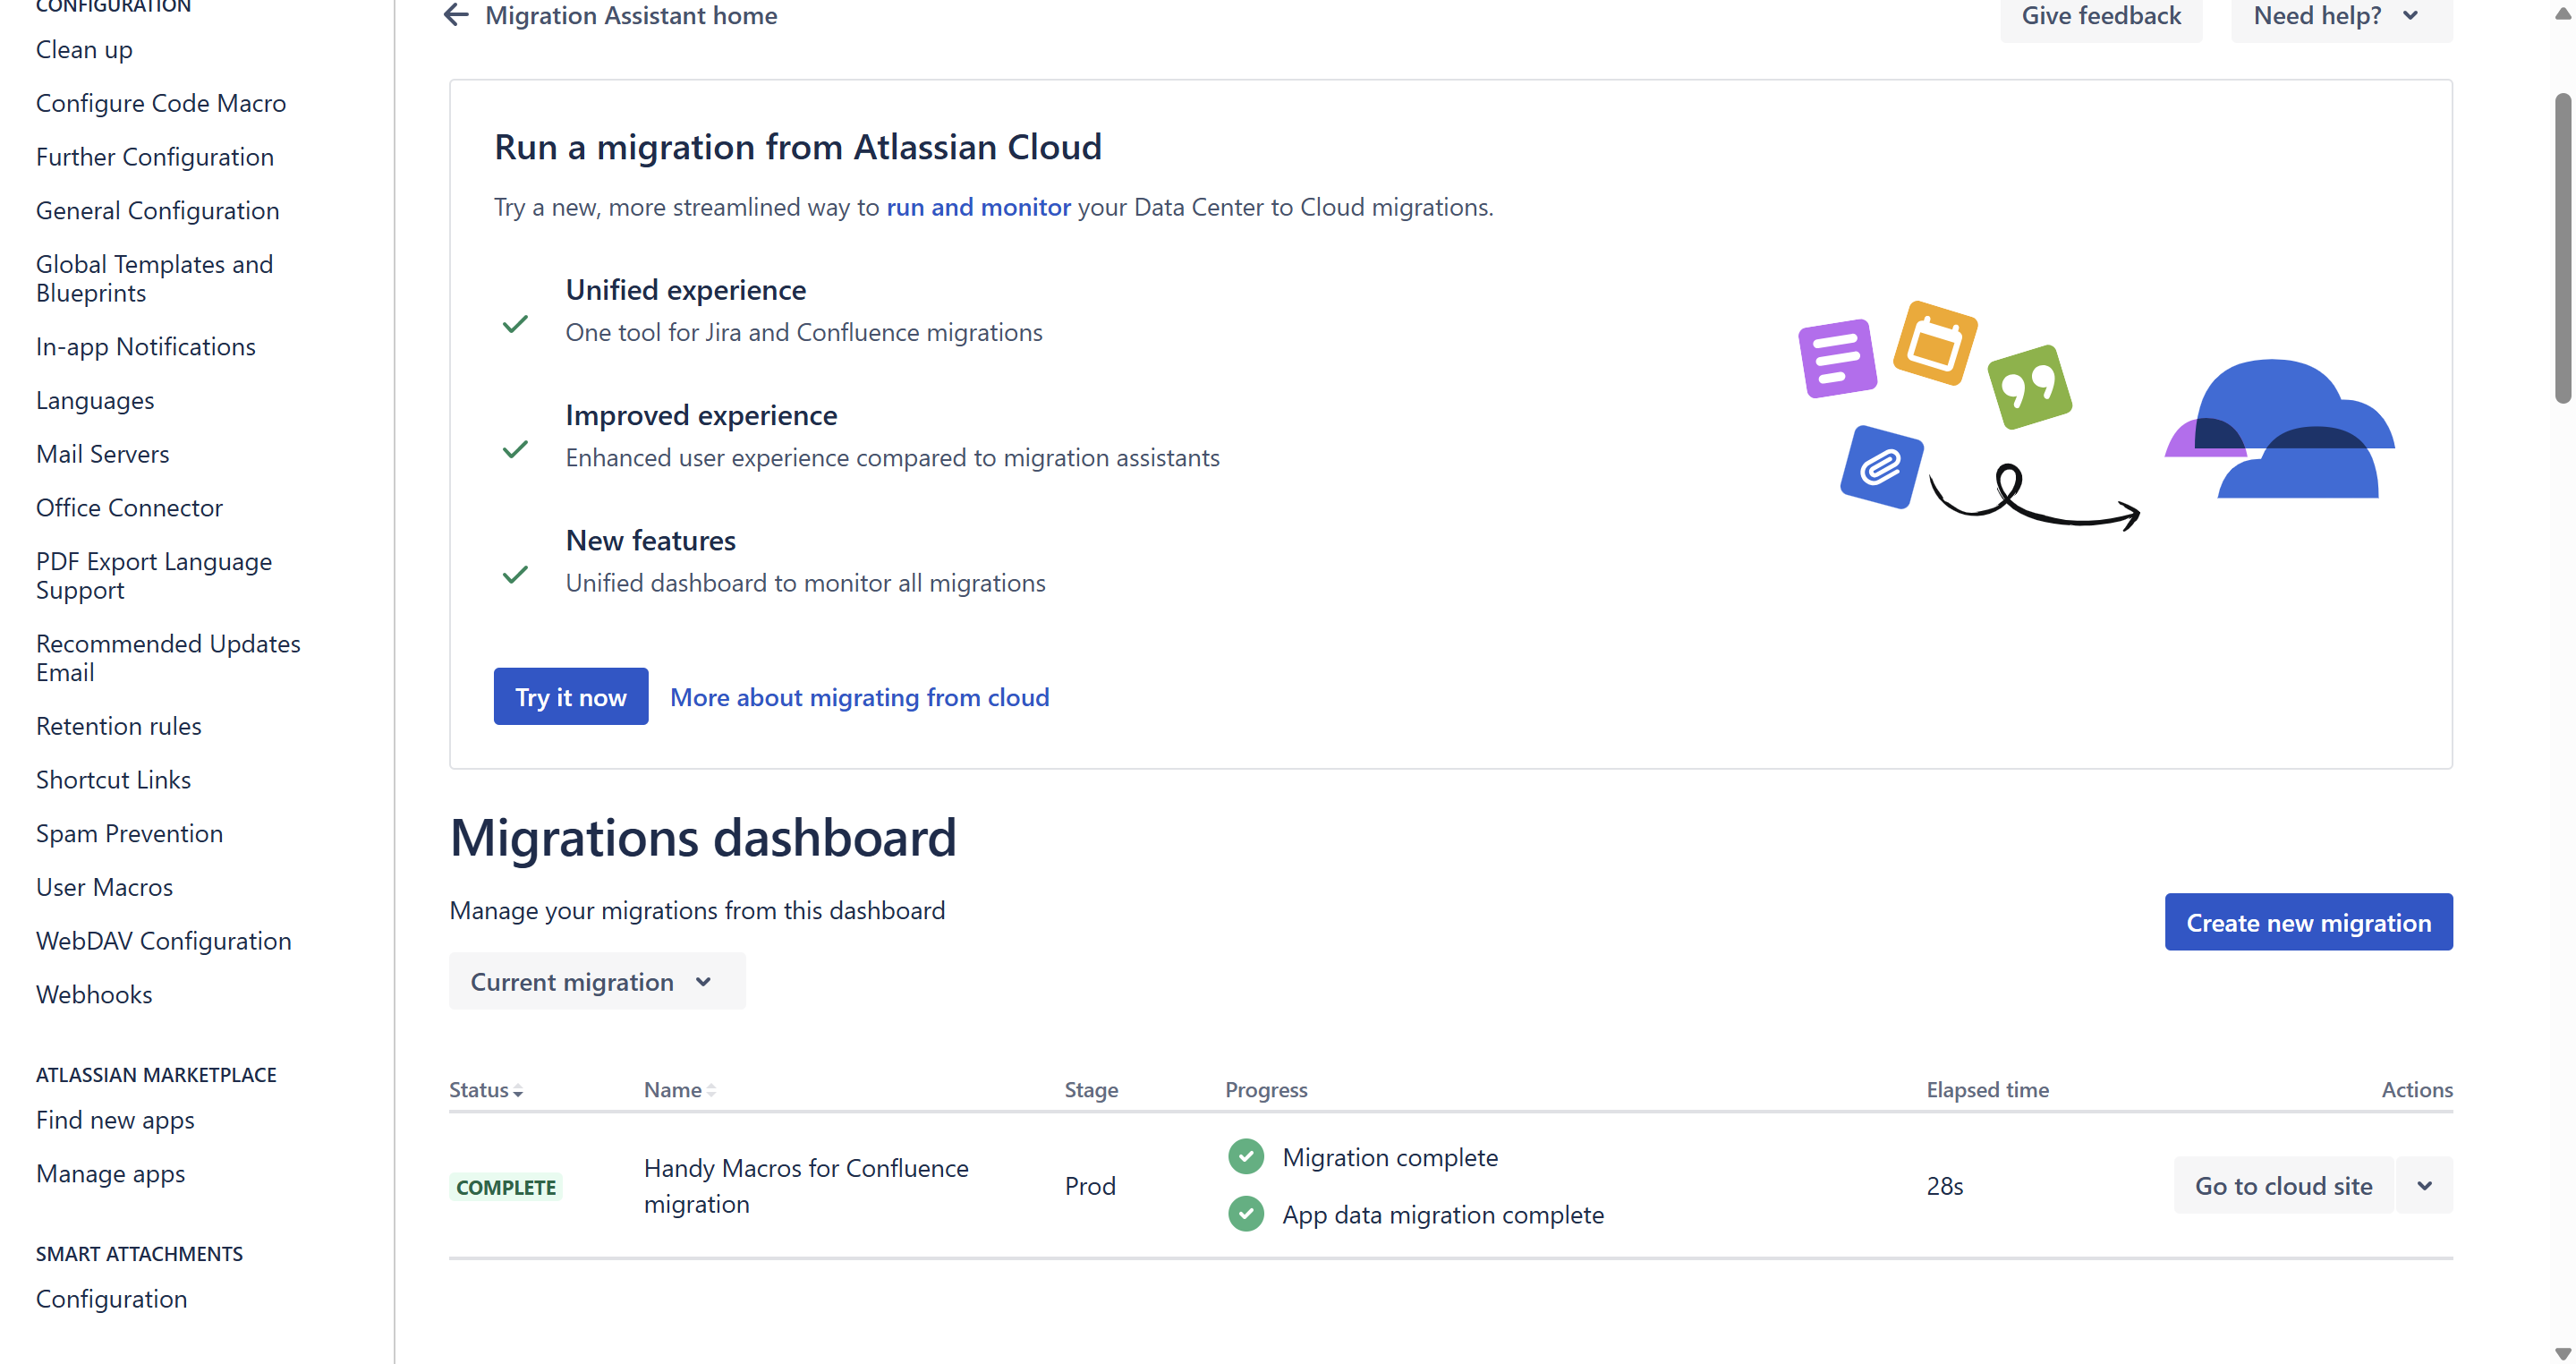
- Migration is complete.
You can run only one migration at a time. Running multiple migrations simultaneously across different spaces causes the system to cancel the extra processes. As a result, some data may not be transferred, leading to non-clickable statuses on pages.
Migrated status sets in Confluence Cloud
Note that Handy Status in Cloud doesn't have the distribution between individual, space, and global sets. That means that after successful migration, all your statuses will be visible and editable on Confluence pages, but they will all appear at the same level. You can see their level indication in Handy Status under Server/DC, in the names they receive after migration. The naming rules are the following:
global sets will retain their name as in Server/DC
space sets will be named after the "SET_NAME space(SPACE_KEY)" pattern
individual sets will be named after the"SET_NAME personal (ATLASSIAN_USER_ACCOUNT_ID)" pattern.
If you copied status sets from the space or global level to the personal level before migration, these status sets would appear with global: or personal: prefix. You can get an error in the log for when CCMA is migrating Handy Macros to the Cloud site similar to the one below:
[handy.macros.migration.LocalCloudMigrationListener] lambda$null$15 HANDY MACROS - MIGRATION. Could not get CONFLUENCE user BY USERKEY key=confluence.userkey/2c94a8c75bd6da67015bd6dbc8640007, selectorUserKey=confluence.userkey/The migrated status will appear in your Handy Status admin section with a notice about an unknown accountID.
There's no need to worry about the unknown accountID. The Server app could not find a user with a particular key at your Confluence Cloud instance while performing the migration. There is no impact. It's just a name. We implemented this approach to separate different status sets and help users find their status sets. You can always change the status set name as you wish to avoid users' distraction.
If you have any doubts or questions about migration, contact us. We're always happy to help you.
Additionally, we have the FAQ section that can be helpful.