Smart Attachments for Confluence allows you to manage documents and store them in the appropriate folders in Atlassian Confluence depending on their contents, objective or format.
| Table of Contents |
|---|
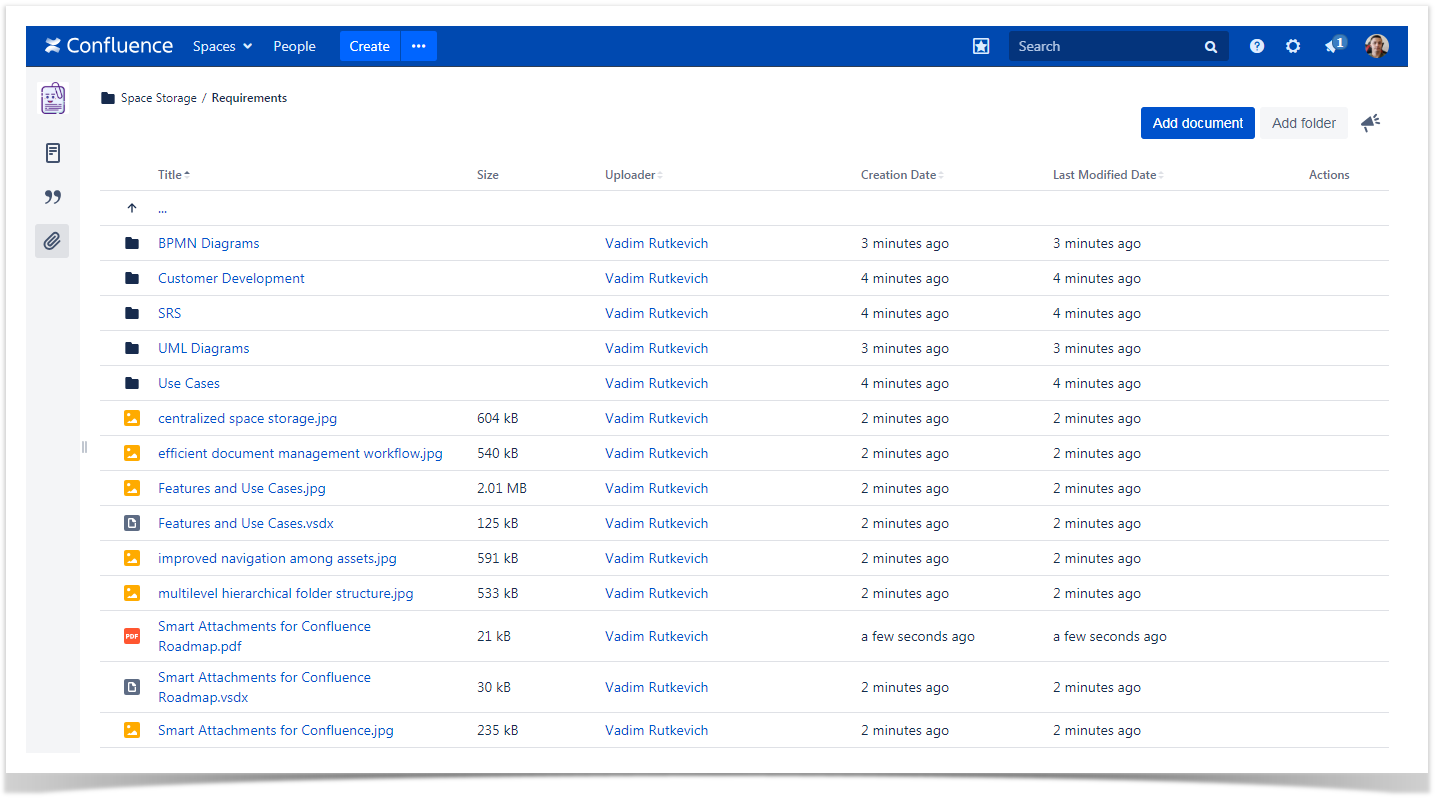
Viewing documents
- Open the space storage.
- Open the document where the documents are stored.
- For each document, the following information is displayed:
- Name - name of the document.
- Size - size of the document
- Uploader - last uploader of the document / creator of the folder.
- Creation Date - date when the document was uploaded into the folder or the folder was created.
- Last Modified Date - date when the document or folder was modified (title updated).
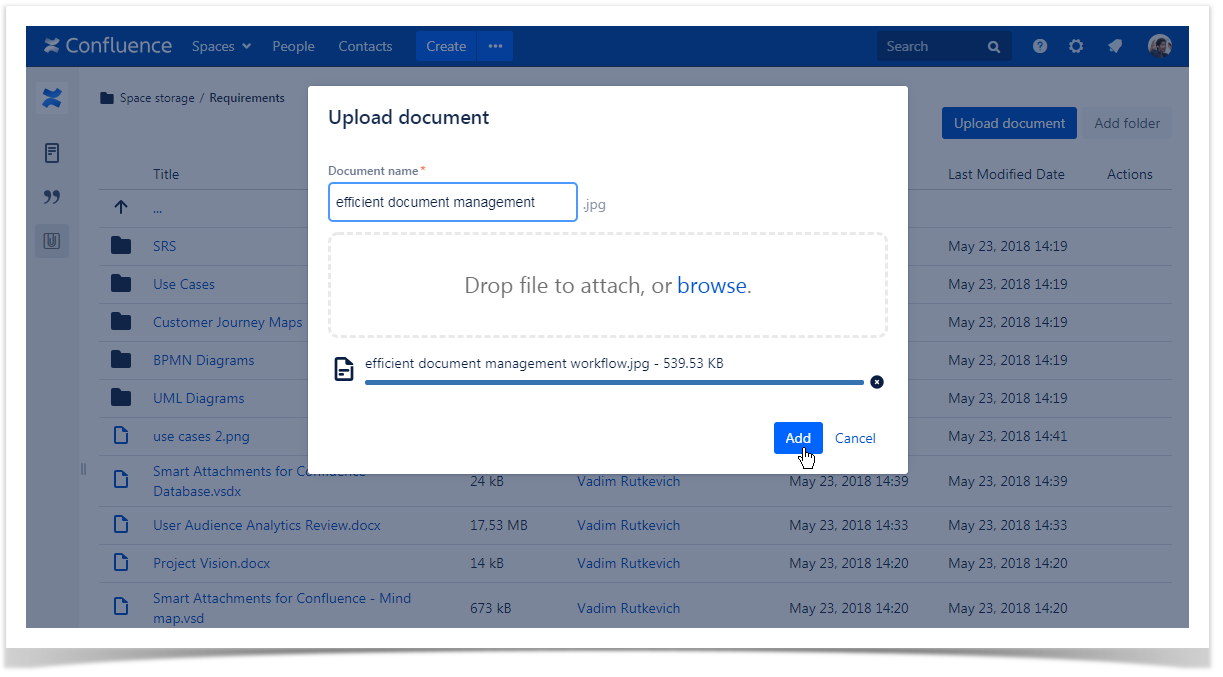
Uploading new documents
- Open the folder which you want to upload a new document to.
- Click Upload document.
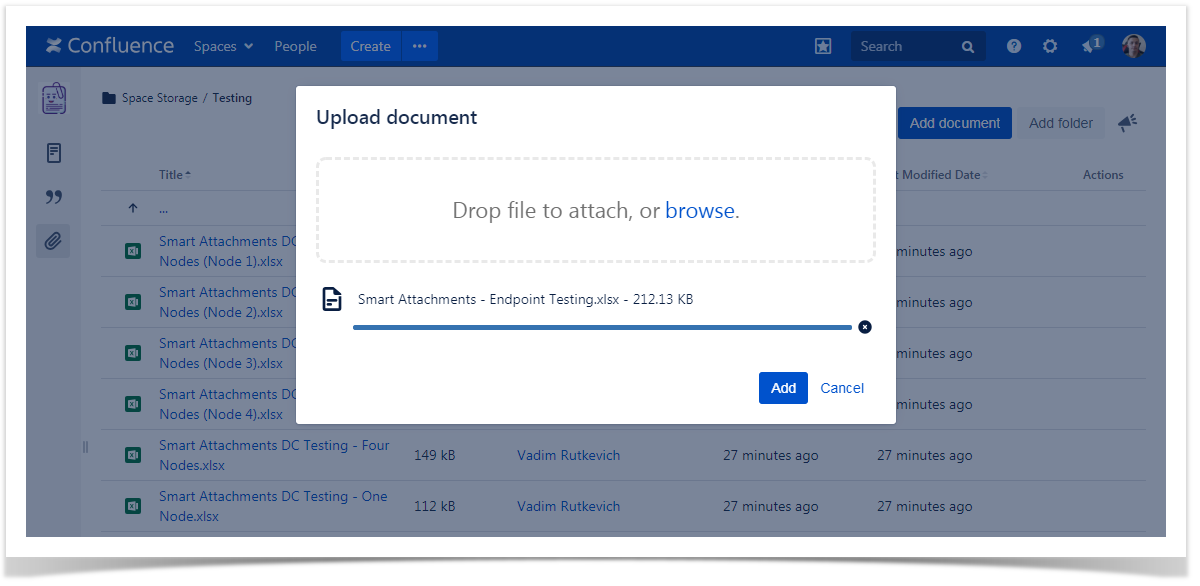
- In the Upload document form, click Browse and select the file on your local computer. You can also directly drop the file to the form.
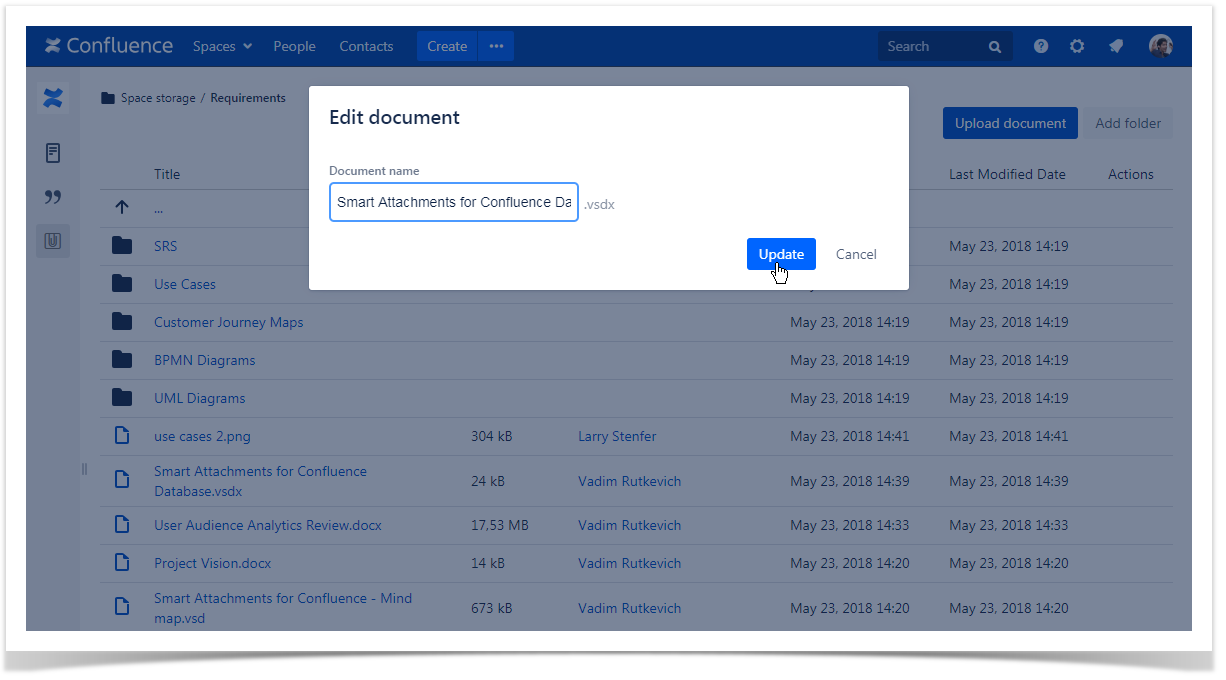
- Update the document name (if needed) before saving.
- Click Add.
To upload multiple files into the folder, just drop them into the folder area.
To delete the currently selected fileattached document
Click the ![]() icon.
icon.
| Info |
|---|
You can modify the name of the document, by hovering over the document name it and clicking it. |
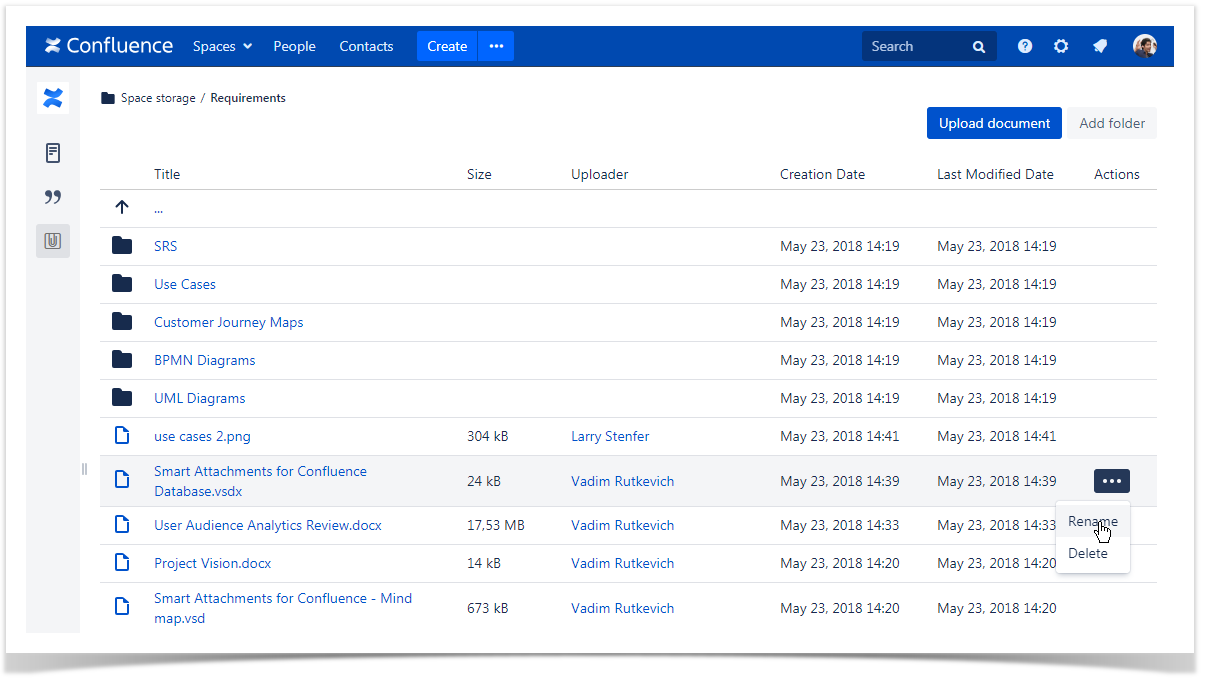
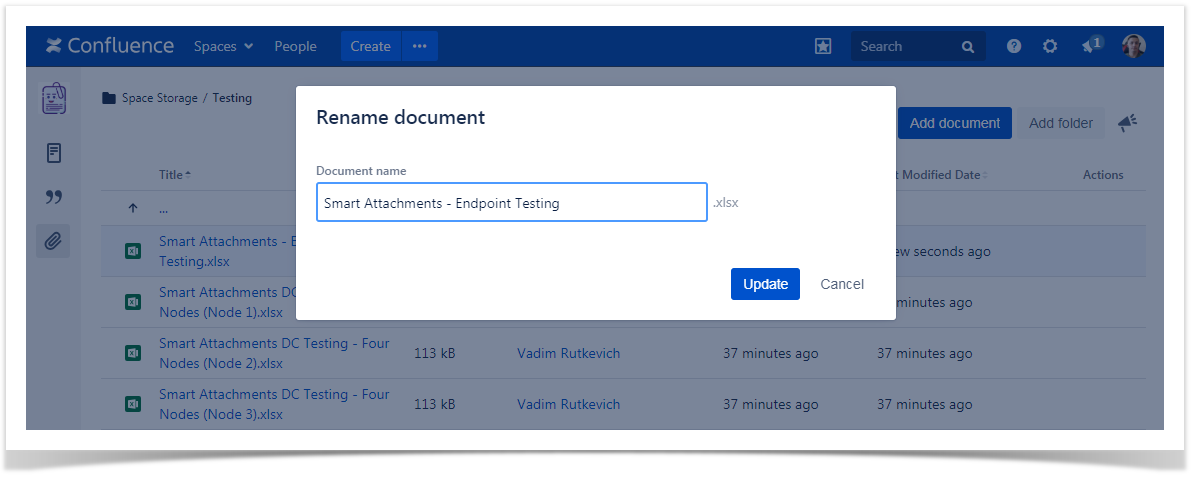
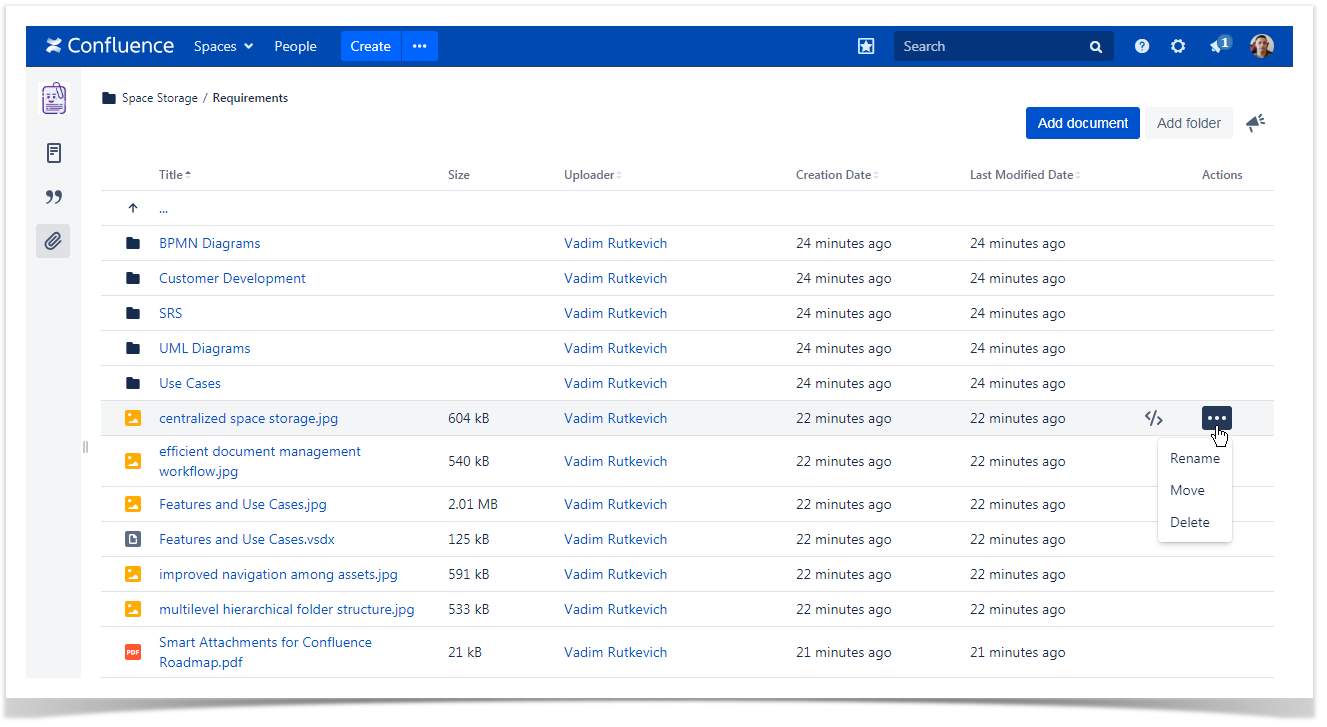
Renaming the document
- On the list with folders, locate the document you want to rename.
- Hover over the document.
- Click the [...] button.
- Select Rename.
- In the Edit document form, update the document name.
- Click Update.
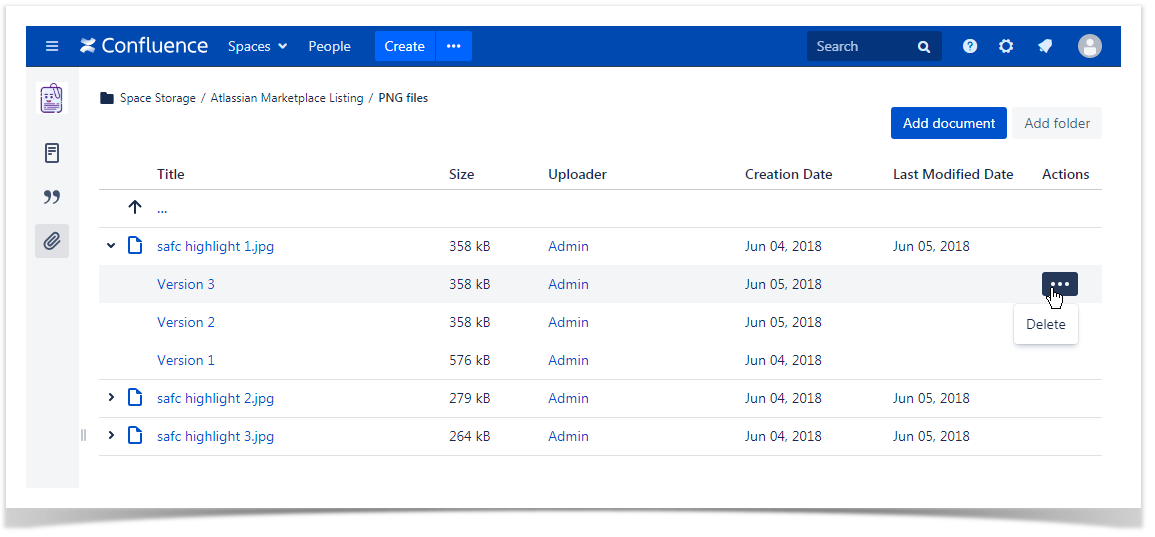
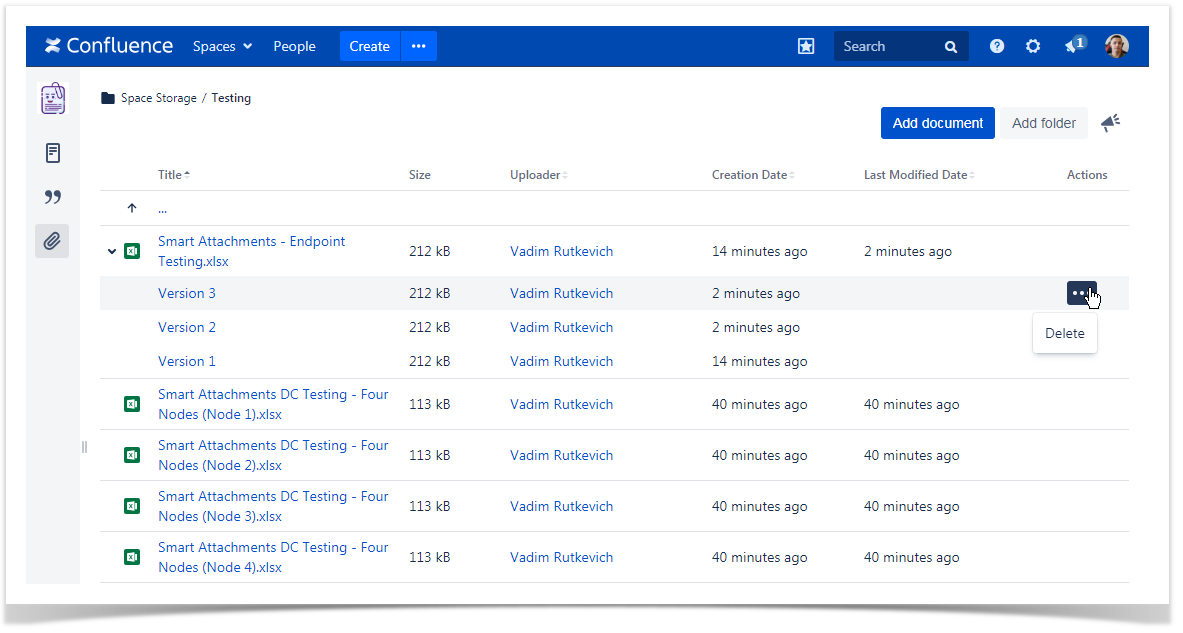
Managing document revisions
Smart Attachments for Confluence groups files having identical names into document revisions automatically.
- Drop files into the folder.
- Click the Expand revisions
 icon> icon.
 - Locate the appropriate document revision.
To delete the document revision:
- Hover over the document revision.
- Click the [...] button.
- Select Delete.
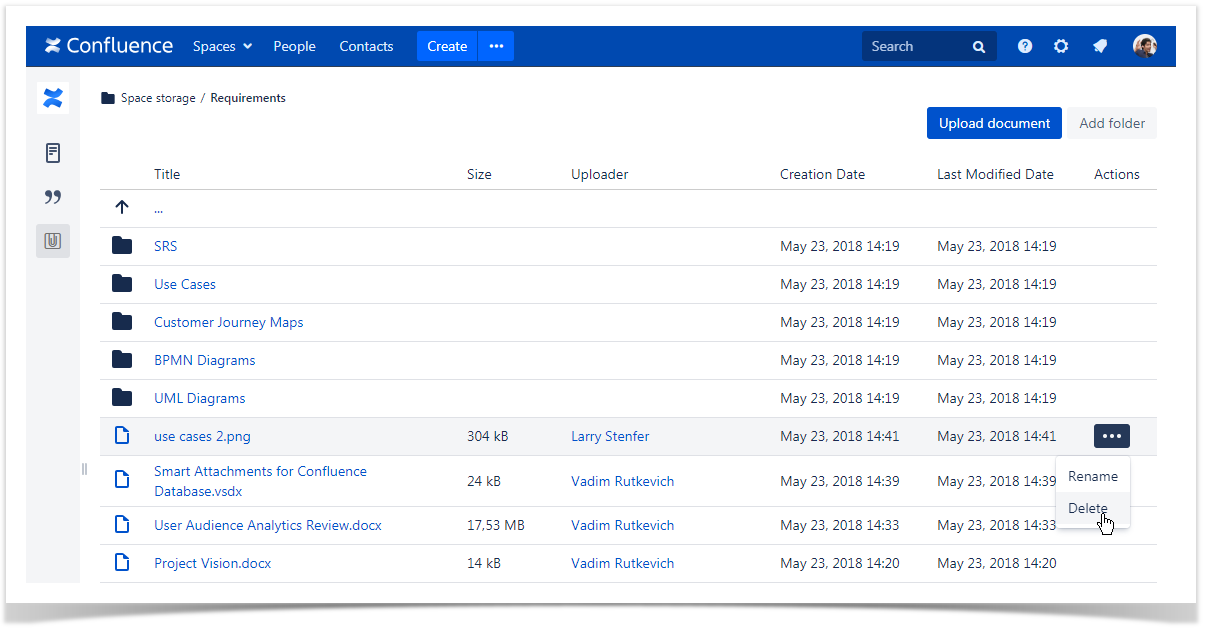
Deleting the document
On the list with documents, locate the document you want to delete.
- Hover over the document.
- Click the [...] button.
- Select Delete.
- Confirm the removal of the document.
| Info |
|---|
The document will be deleted with all its revisions. |
If you have the permission to delete only your |
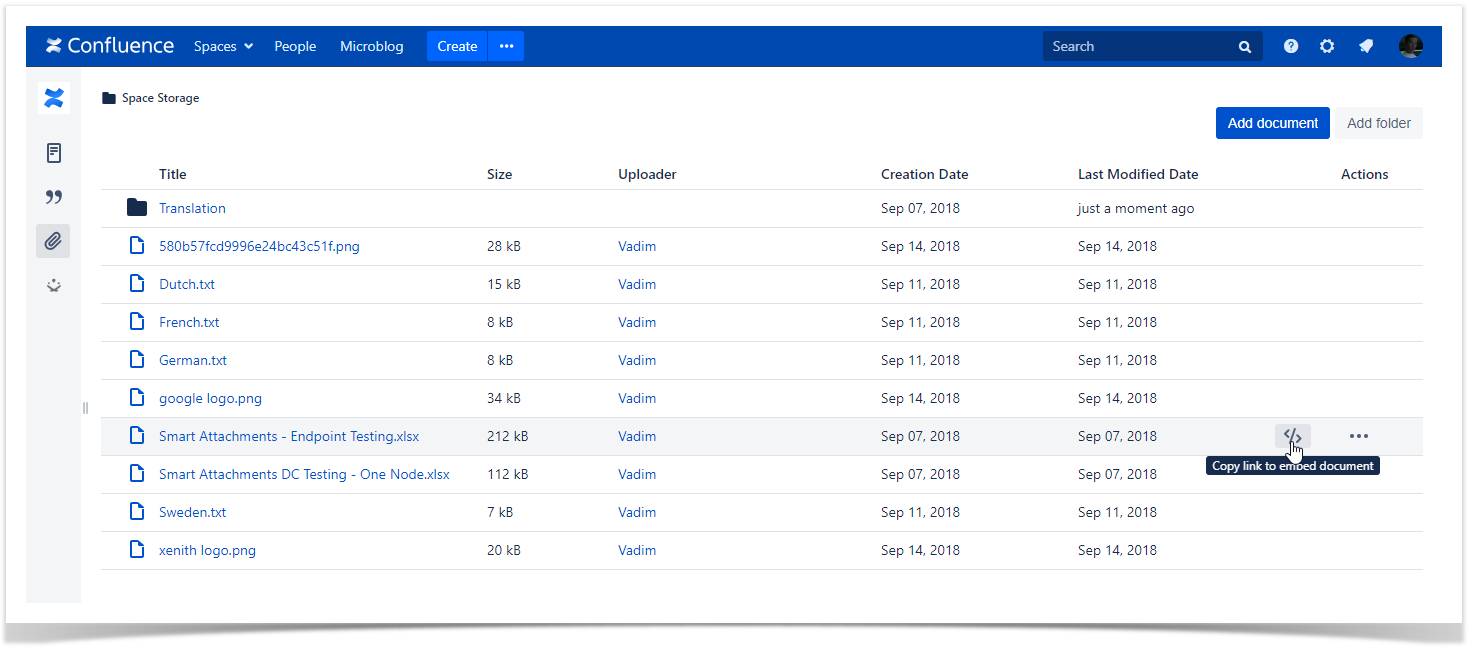
Embedding
Documentsdocuments into Confluence
Pagespages
- On the list with documents, locate the document you want to embed.
- Hover over the document.
- Click the Copy link to embed
 icon.
icon. - Open the page which you want to embed the document into.
- Press Ctrl + V (for Windows/Linux) or Cmd + V (for MacOS).
The link will be converted into the embedded document.

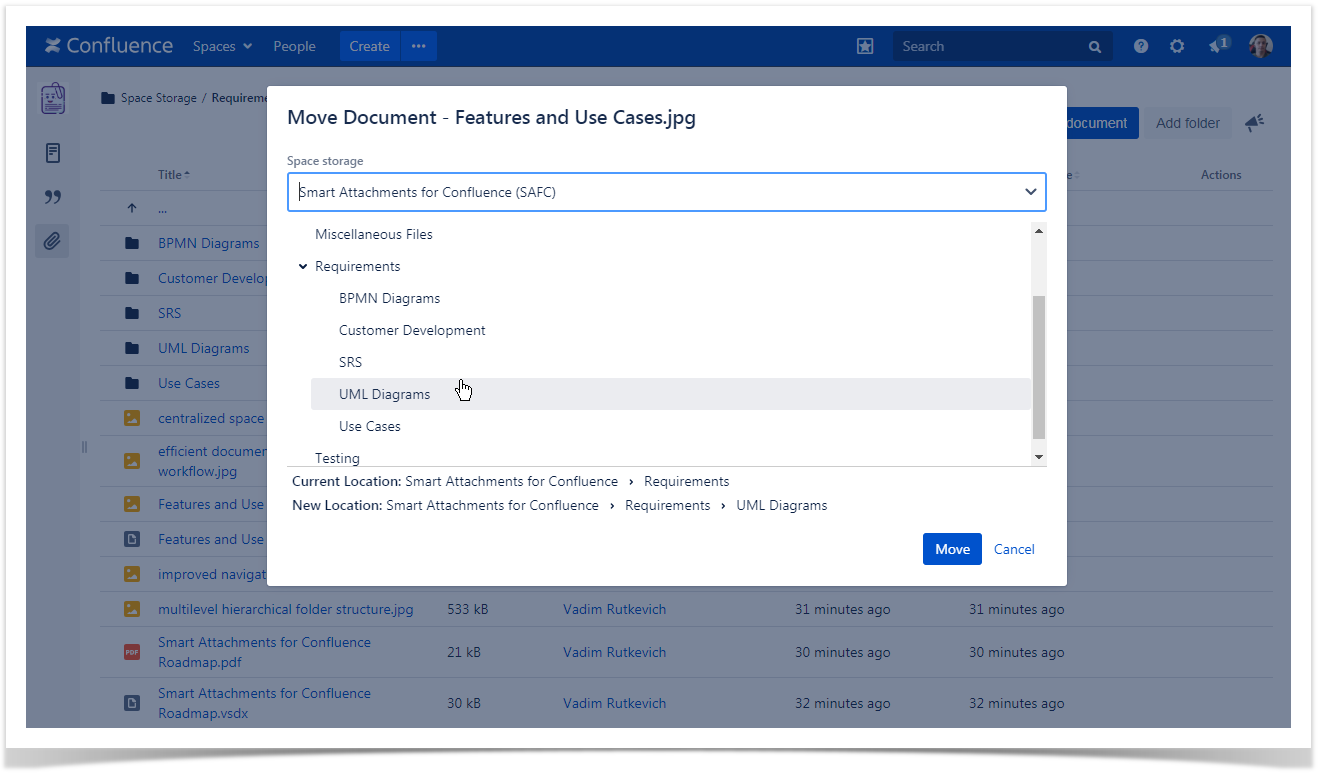
Moving documents to folders
- On the list with documents, locate the document you want to move.
- Hover over the document.
- Click the [...] button.
- Select Move.
- In the Move Document form, select the space storage and folder which you want to move the document to.
- Click Move.
You will automatically transition to the new location of the document.
| HTML |
|---|
<!-- Qualaroo for stiltsoft.com -->
<!-- Paste this code right after the <body> tag on every page of your site. -->
<script type="text/javascript">
  var _kiq = _kiq || [];
  (function(){
    setTimeout(function(){
    var d = document, f = d.getElementsByTagName('script')[0], s = d.createElement('script'); s.type = 'text/javascript';
    s.async = true; s.src = '//s3.amazonaws.com/ki.js/70444/gEX.js'; f.parentNode.insertBefore(s, f);
    }, 1);
  })();
</script> |