...
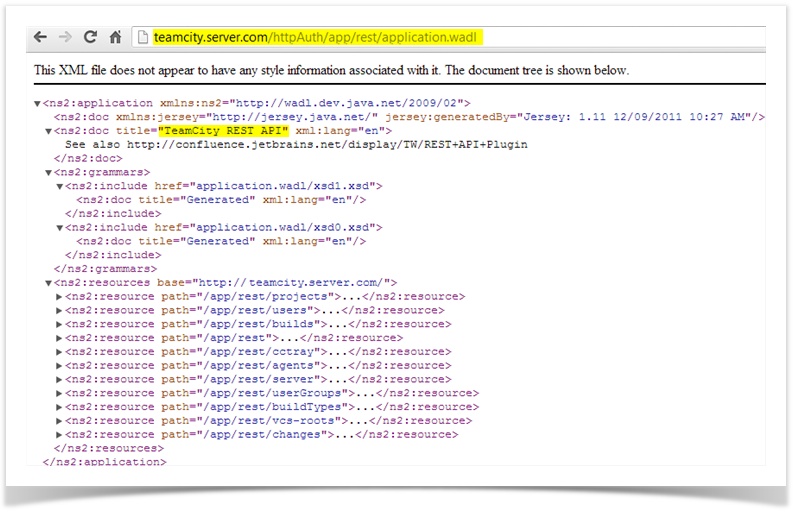
- Make sure that Rest API Plugin is enabled. To do that go to the following URL: <your-teamcity-server>/httpAuth/app/rest/application.wadl. You should see the output as shown below

- Configure integration with JIRA as described here.
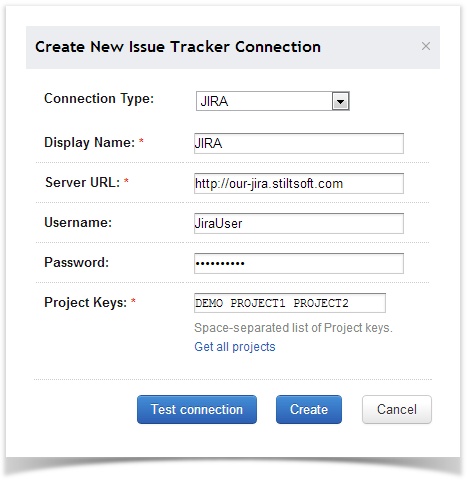
Note: If you want to grant TeamCity access to all JIRA projects, click the Get All Projects link in the window Create New Issue Tracker Connection. Otherwise, specify the projects you want to grant access to in the Project Keys field as shown below. The JIRA user specified in the Username field should have access to relevant JIRA projects.
- Assign the Project Viewer and Agent Manager roles to an existing TeamCity user
or
first create a new user and assign the roles.
...
- Install the plugin with Universal Plugin Manager or manually .
- Install the plugin license:
- Create the TeamCity Application Link as described here.
Note: You don't need to create a link for every project. One Application Link will be enough.
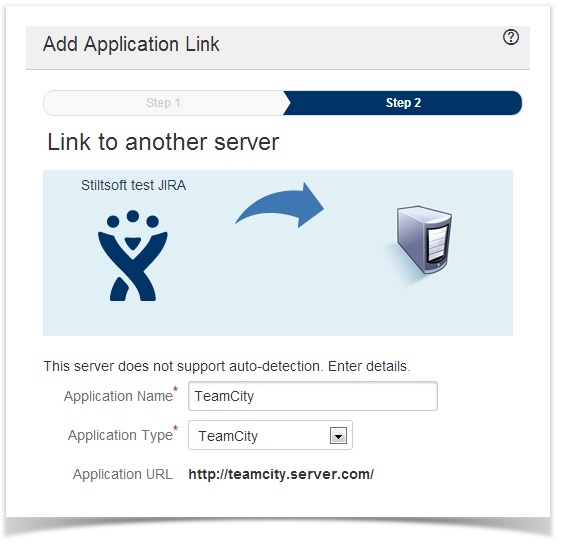
You will see your link in the Application Links list.

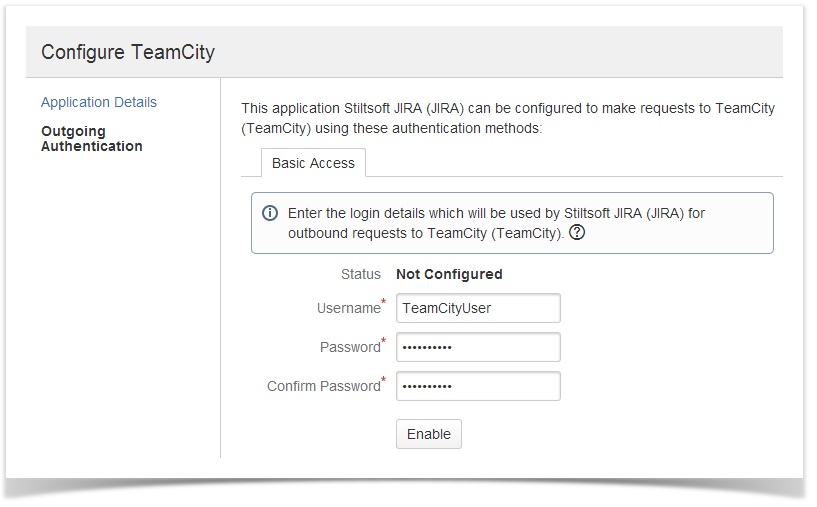
- Configure Basic HTTP Authentication for Outgoing Authentication as described here. Use the credentials of the TeamCity user you configured earlier. These credentials will be used by the Application Link.

How to Get Started
...
While the plugin is analyzing the builds, you will see the the following message on the TeamCity tab.

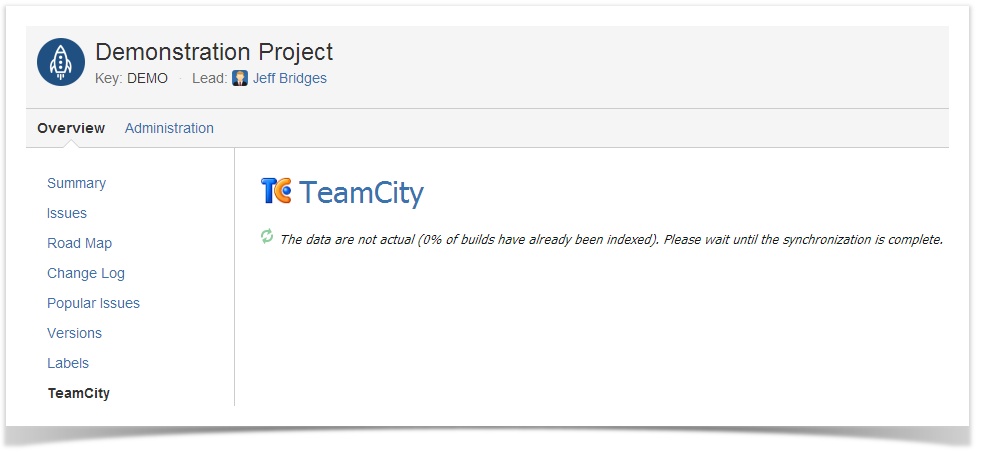
Note: This process may take a while on large instances.
...
The TeamCity tab looks the same for issues, projects and versions. It contains the main build parameters, such as a start date, build duration, commit log, etc., and allows you to switch to TeamCity for detailed information.


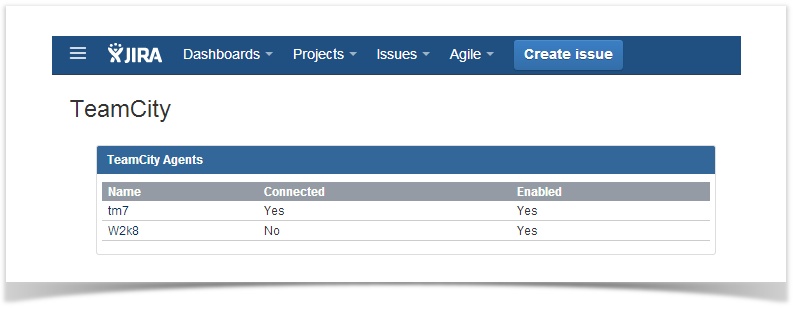
How to Add a TeamCity Agents Gadget
The TeamCity Agents gadget shows whether the TeamCity agents are connected and enabled. You can add this gadget to your JIRA dashboard to have this information handy. If you're using the system dashboard which is displayed by default, you will need to create a custom dashboard and add the TeamCity Agents gadget.

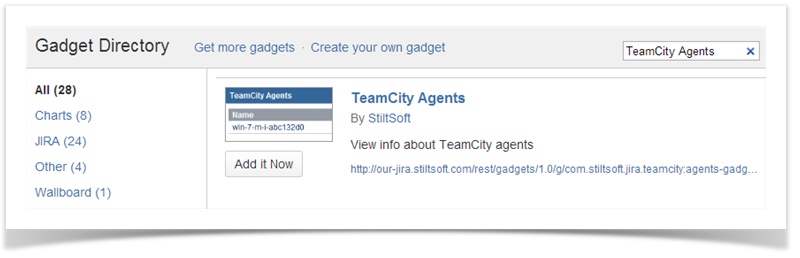
You will see the gadget on your dashboard as shown below.