With the Checklist for Jira Cloud app, you can build and save custom templates that can be reused across multiple issues. This guide explains three different ways to create new templates.
Create a new template from a Jira work item
To create a new checklist template:
1. Open any Jira work item in the project for which you'd like to create a new template.
2. Click on the app menu and select Checklists.
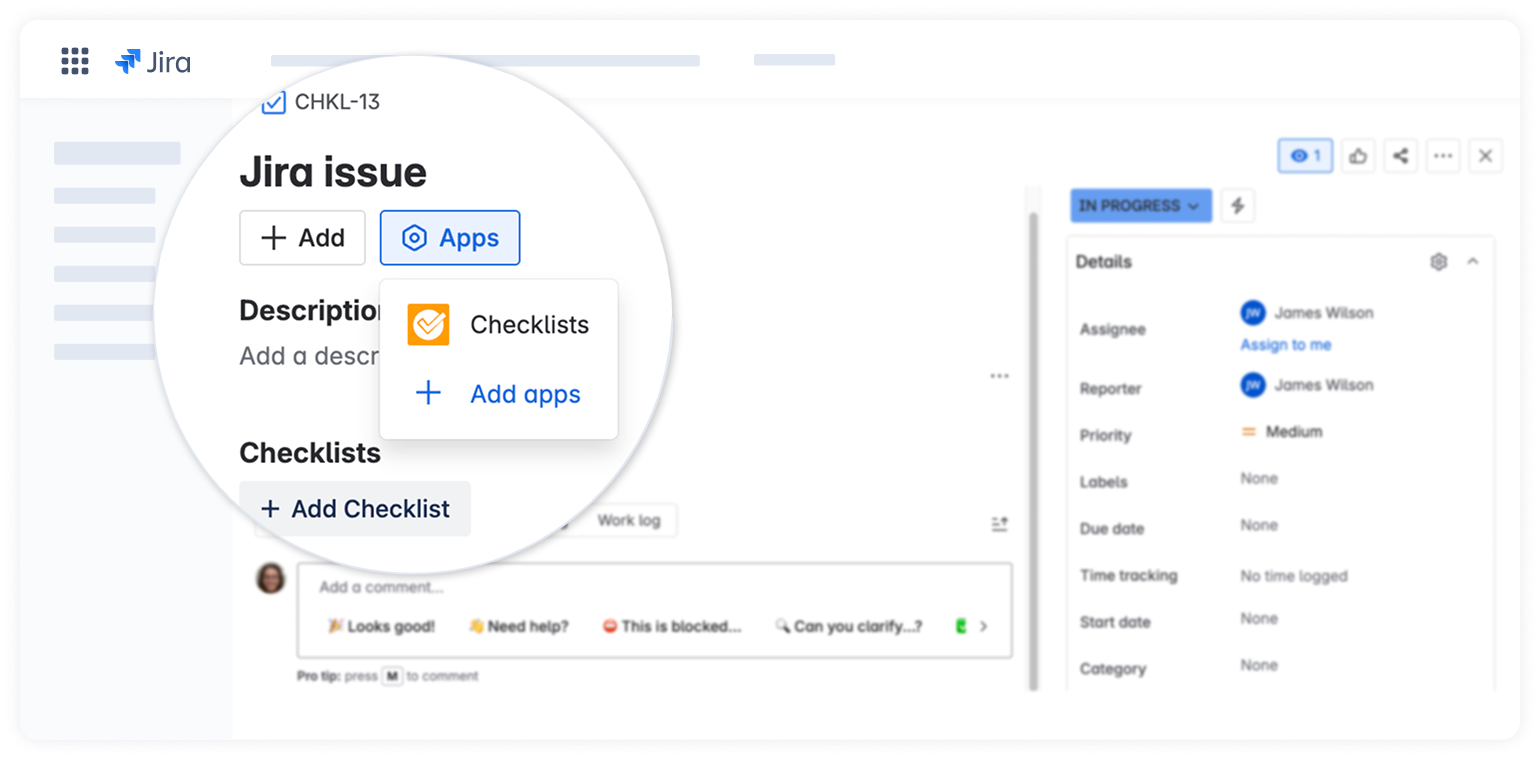
3. Once the checklist panel appears in the Jira issue, click on the Use Checklist button.
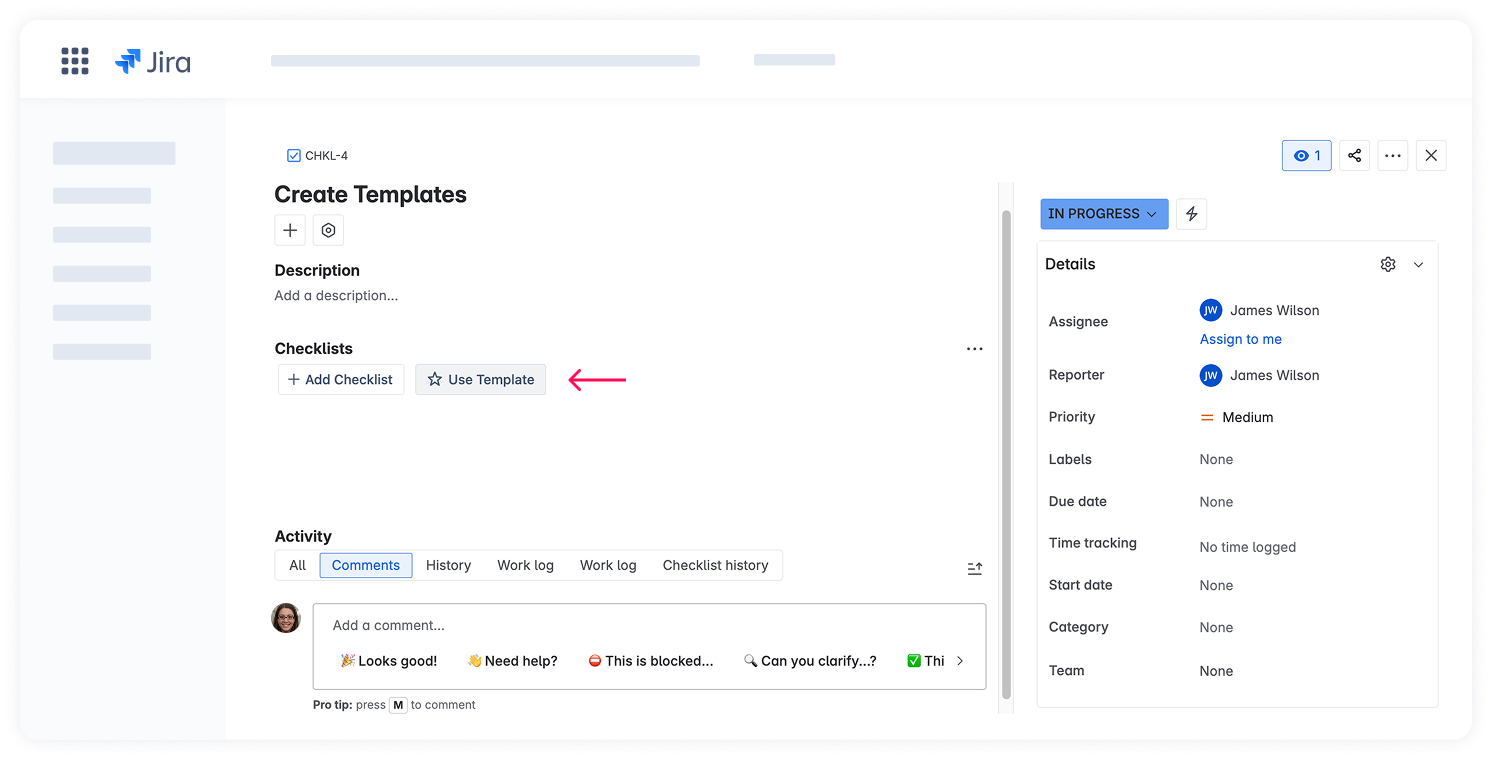
4. In the Templates view, click Create template.
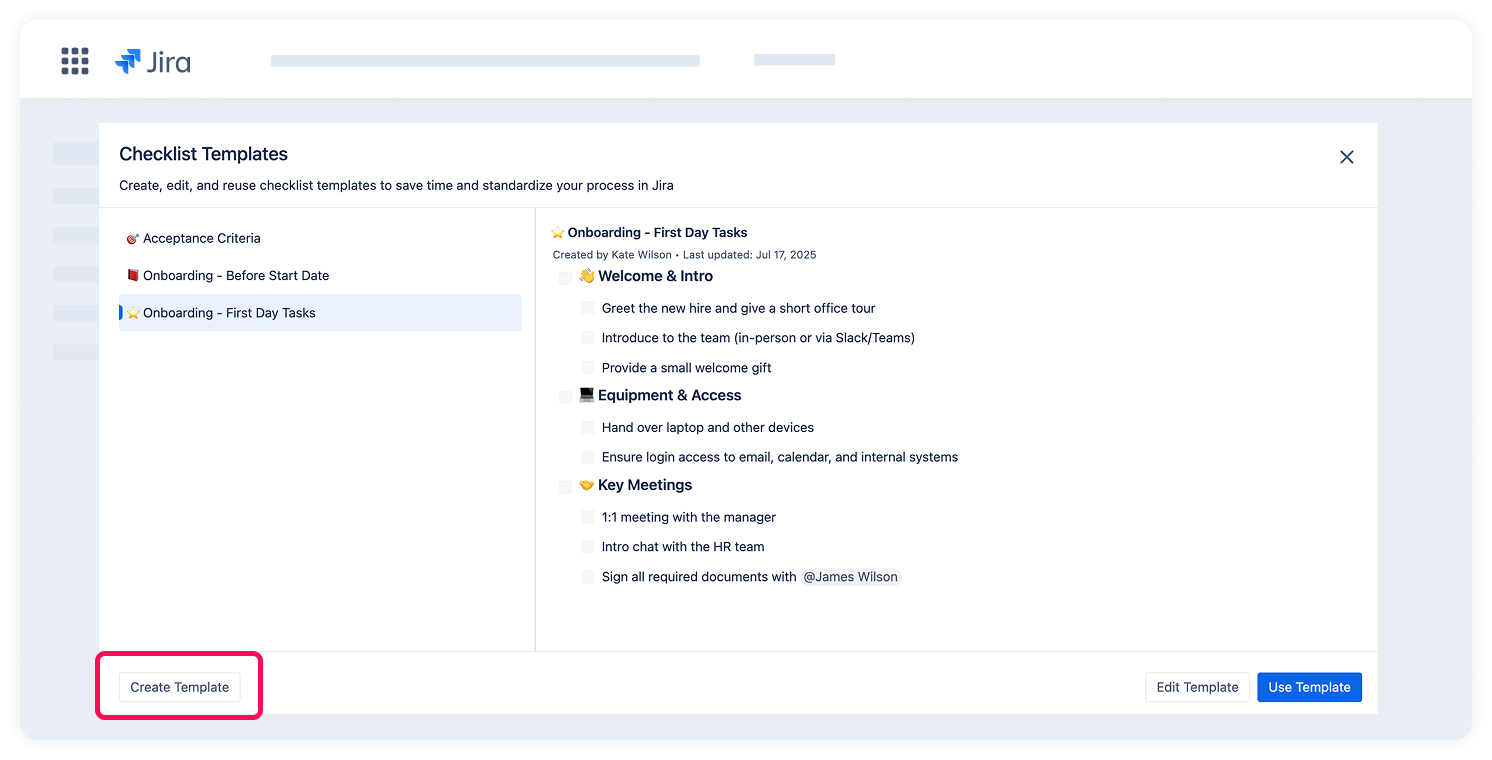
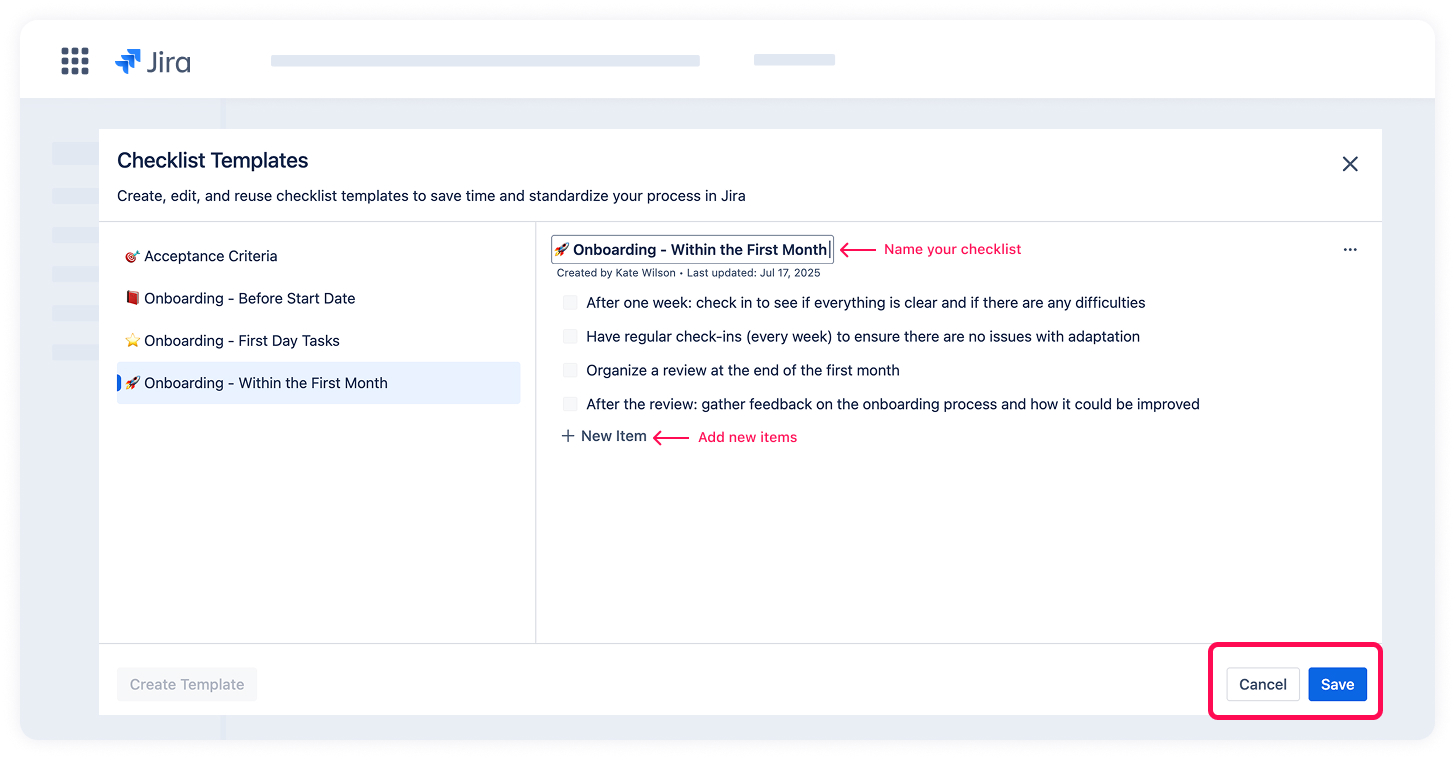
5. Add checklist items. You can use formatting, nesting, and all available checklist features.
6. Add a Template name.
7. Click Save to store the template.
Once you save, your new template will be available to all users who have access to this Jira project.
If a checklist is already added to a Jira issue, you can also create a template directly from the checklist:
1. Open a Jira issue that already contains a checklist.
2. Click the ⋯ icon in the top-right corner of the checklist.
3. Select Manage templates from the dropdown menu.
4. In the Templates dialog, click Create template.
5. Enter a name for your template.
6. Fill in the checklist items you want to include.
7. Click Save to add the new template.
Once you save, you can instantly add this template to your Jira work item by clicking on the Use Template button.
Save a checklist as a template
You can quickly save an existing checklist from a Jira issue as a reusable template.
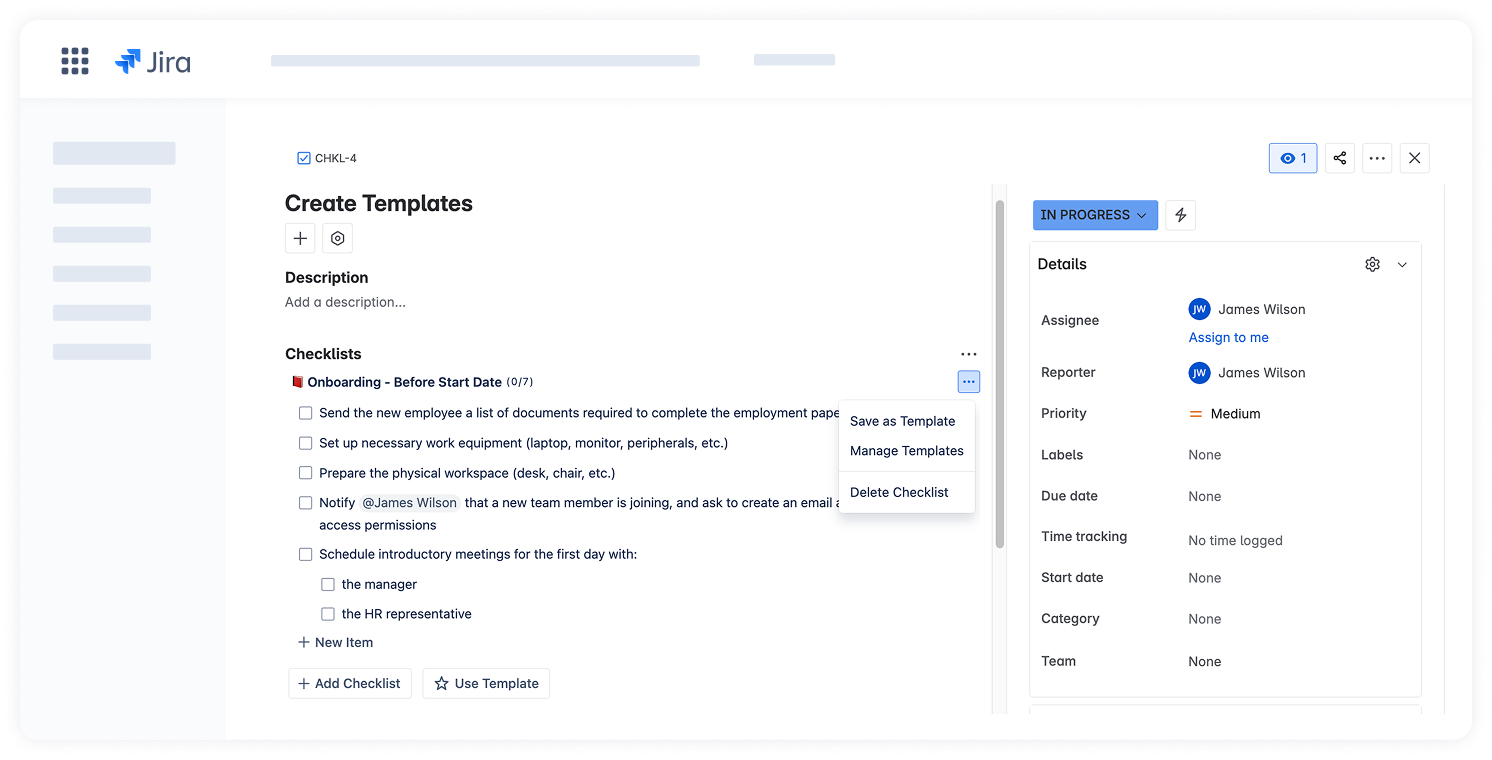
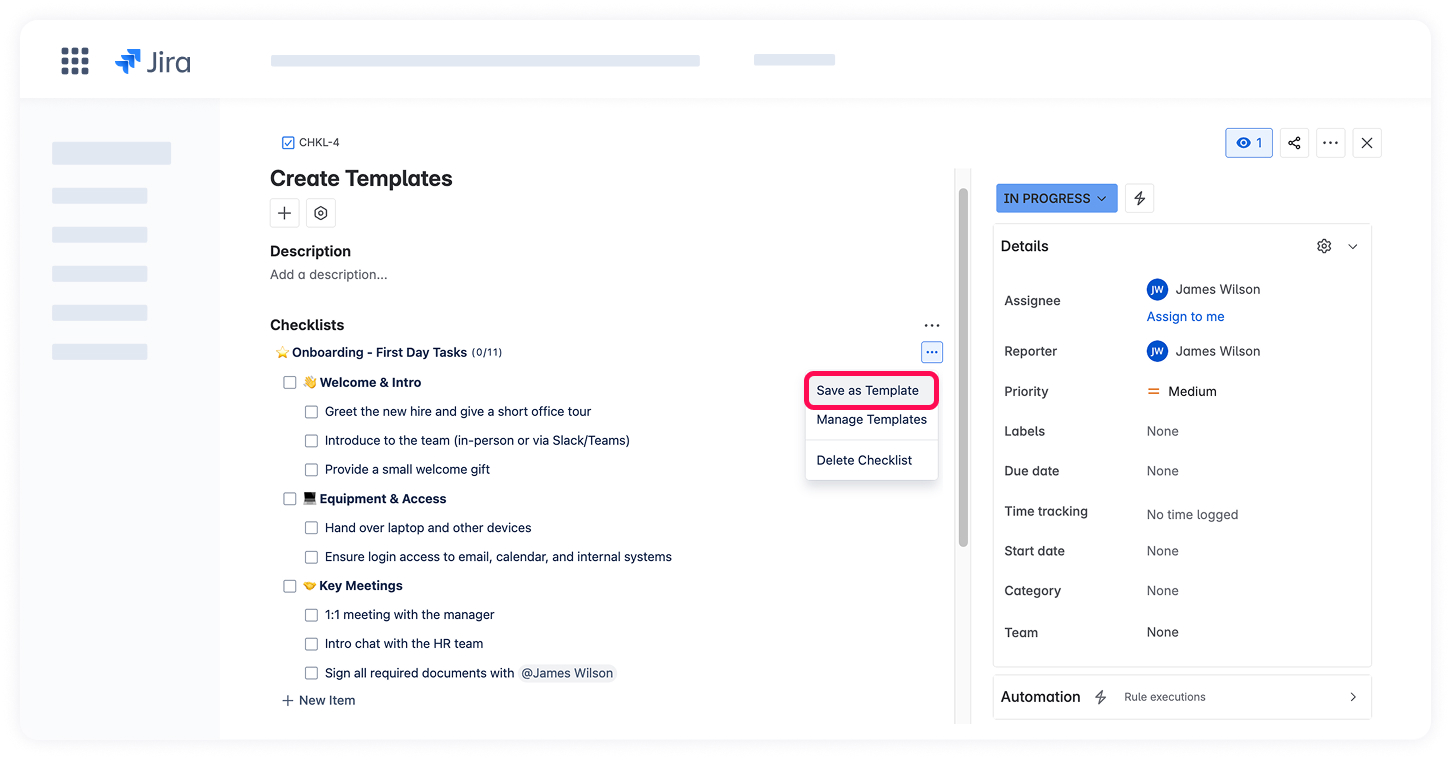
1. Click the ⋯ icon in the top-right corner of the checklist.
2. From the dropdown menu, select Save as Template.
3. You'll see a message confirming that your checklist was saved as a template.
Your new template will now be available under Manage templates, where you can view, edit, or delete it as needed.