Download PDF
Download page How to set the date format and worklog settings.
How to set the date format and worklog settings
Set the date format
You may need to set the date format that will be used to read date values in the source table:
- to use the Date Range filters
- to aggregate data by date periods in pivot tables
- to build Time line (area) and Gantt chart types
- to use dates in calculations when transforming tables.
The macros may work incorrectly if the incorrect date format is specified.
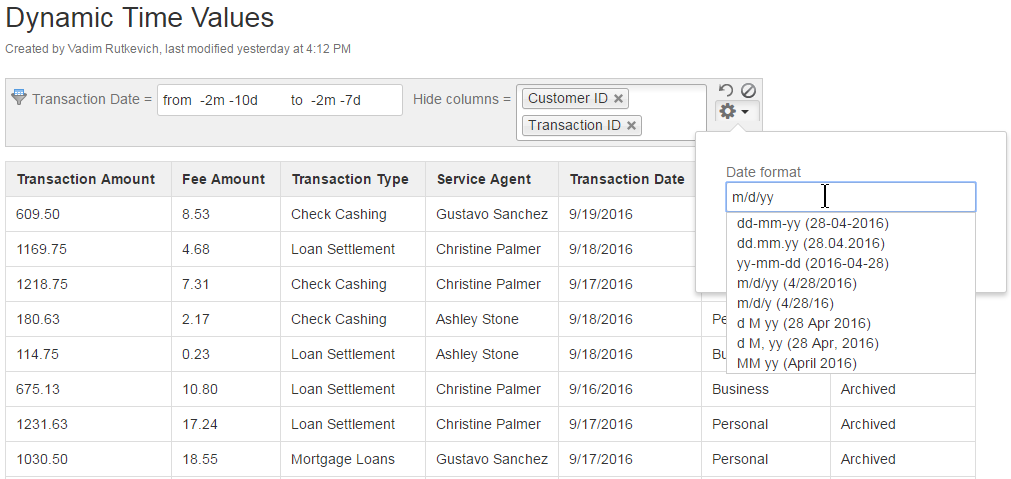
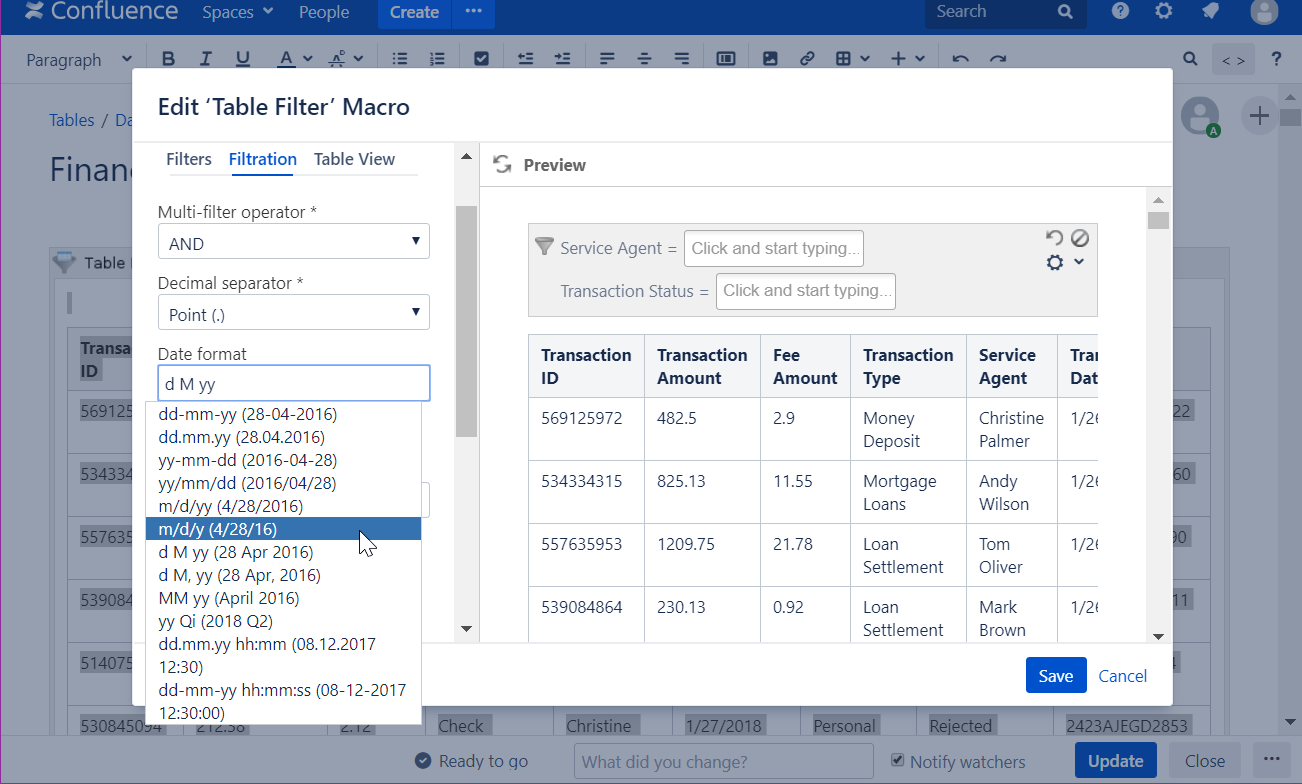
Supported date formats
You can select the date format from the list of predefined date formats or specify it as a string value. See the next table for details:
String Value | Example |
|---|---|
d - day of month (no leading zero) | 1 |
| dd - day of month (two digits) | 01 |
| D - day of week | Mon |
| w - week of year (no leading zero) | 1 |
| ww - week of year (two digits) | 01 |
| m - month of year (no leading zero) | 1 |
| mm - month of year (two digits) | 01 |
M - month name short | Jan |
| MM - month name long | January |
| y - year (two digits) | 19 |
| yy - year (four digits) | 2019 |
| Qi - quarter (Q+digit) | Q1 |
| hh - hour (two digits) when using a 24-hour time format | 01 |
| HH - hour (two digits) when using a 12-hour time format | 01 |
| mm - minute (two digits) | 01 |
| ss - second (two digits) | 01 |
o - day of the year (no leading zeros) | 1 |
| oo - day of the year (three digits) | 001 |
If you use the string value for setting the date format, you can combine and customize them to your needs, as follows:
- mm/dd/yy - 12/31/2014 or 05/07/2019
- m/d/yy - 5/7/2019
- dd M, yy - 15 Jun, 2019
- dd MM, yy - 27 August, 2019
- mm-dd-yy - 12-31-2019 and others.
- yy-mm-dd hh:mm:ss - 2019-12-20 10:27:30
- yy-mm-dd HH:mm:ss - 2019-12-20 10:27:30 AM
- yy Qi - 2019 Q1
How to set the date format
Table Filter
In the page view mode
- On the filtration pane, locate the cogwheel icon and click it.
- Select Modify settings.
- Select the correct date and time format from the list or manually specify the needed format.
- Click Update.
- Save changes if needed.
If needed to filter and edit the table on the go, switch to the page edit mode, select the macro and click Show filter. All the options of the filtration pane are available in the page edit mode.
In the macro browser
- Switch the page to the edit mode.
- Select the macro and click Edit.
- Switch to the Filtration tab.
- Locate the Date format box.
- Select the correct date format from the list or manually specify the needed format.
- Save the macro and the page.
Pivot Table
- Switch the page to the edit mode.
- Select the macro and click Edit.
- Switch to the Options tab.
- Locate the Date format box.
Select the correct date format from the list or manually specify it. This format will be used to read date values in the source table.
Save the macro and the page.
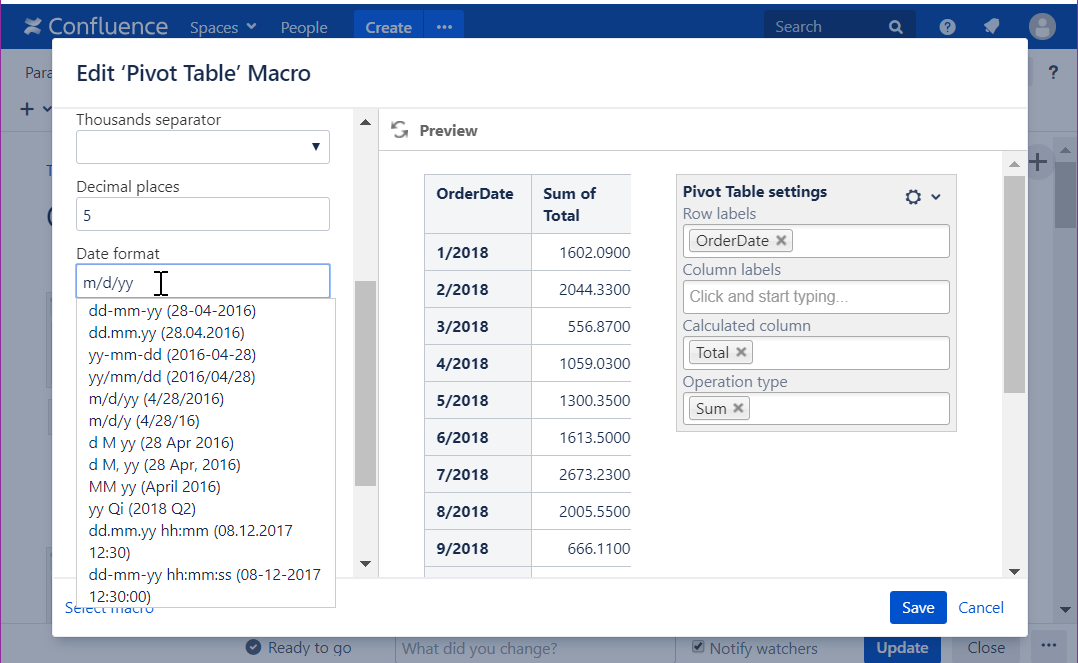
Chart from Table
- Switch the page to the edit mode.
- Select the macro and click Edit.
- Switch to the Adjustments tab.
- Locate the Date format option.
- Specify the correct date format for date values in the source table.
- Save the macro and the page.
If the app detects the incorrect date format in the page view mode it presents you with the note panel where you can enter the correct date format. It is saved automatically if it is treated as the correct date format.
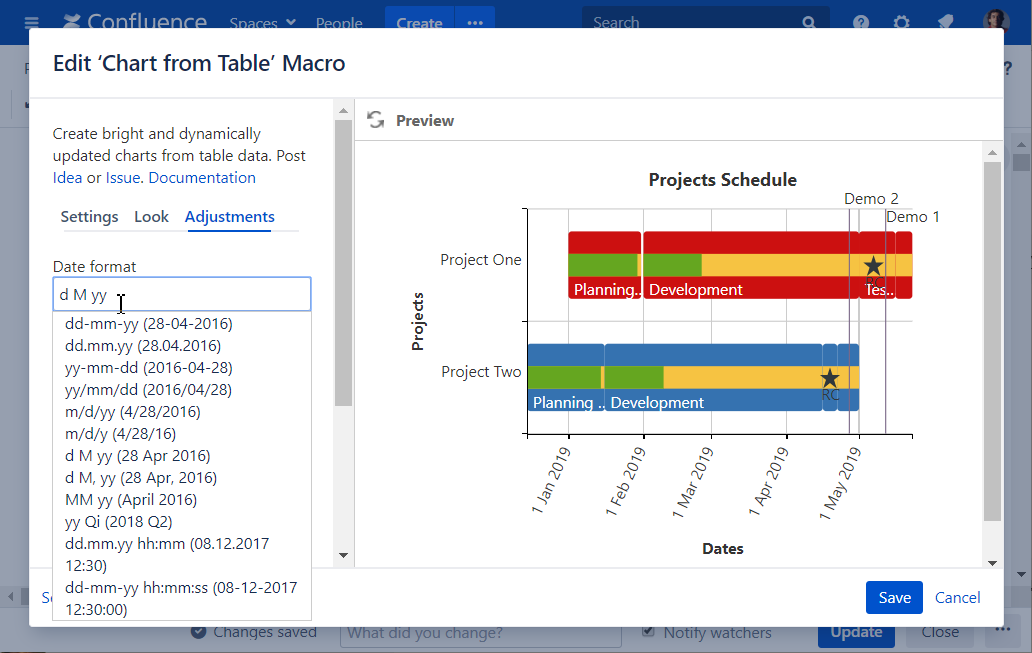
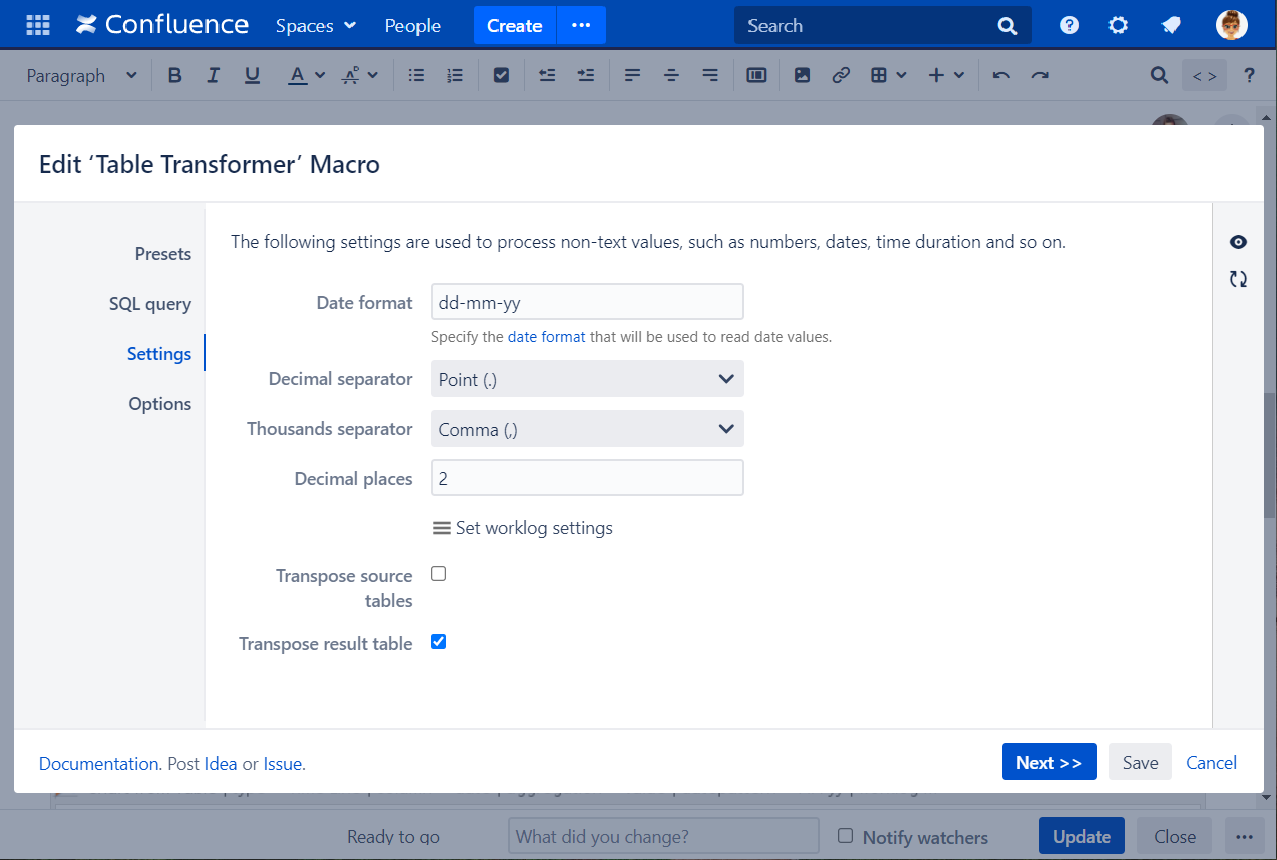
Table Transformer
- Select the macro and click Edit.
- Switch to the Settings tab.
- Select the correct date format from the list or manually specify the needed format.
- Save the macro and the page.
Set the worklog settings
Please ensure that the worklog parameters set in the macro are identical to parameters configured in Atlassian JIRA.
- Switch the page to edit mode.
- Select the macro and click Edit.
- Switch to the Filtration (Table Filter) / Options (Pivot Table) / Adjustments (Chart from Table) / Settings (Table Transformer) tab.
- Click the Set worklog settings button.
- In the opened form, define the worklog parameters, as follows:
- Days in week - enter the number of business days in a week.
- Hours in day - enter the number of working hours in one business day.
- Time format - select the used time format in worklog values.
- Week shortening - enter the shortening for the week time unit if you use any language different from English.
- Day shortening - enter the shortening for the day time unit if you use any language different from English.
- Hour shortening - enter the shortening for the hour time unit if you use any language different from English.
- Minute shortening - enter the shortening for the minute time unit if you use any language different from English.
- Click Save.
- Save the macro and the page.
Worklog time units in different languages are denoted with different shortenings. Please adjust them according to your JIRA localization settings.
When working with worklogs in the Table Filter macro:
- Use the correct format for entering worklogs:
- Xw - for weeks (for example, '2w').
- Xd - for days (for example, '3d').
- Xh - for hours (for example, '5h').
- Xm - for minutes (for example, '45m').
- Use the correct time format ('hh:mm:ss') for setting time intervals.

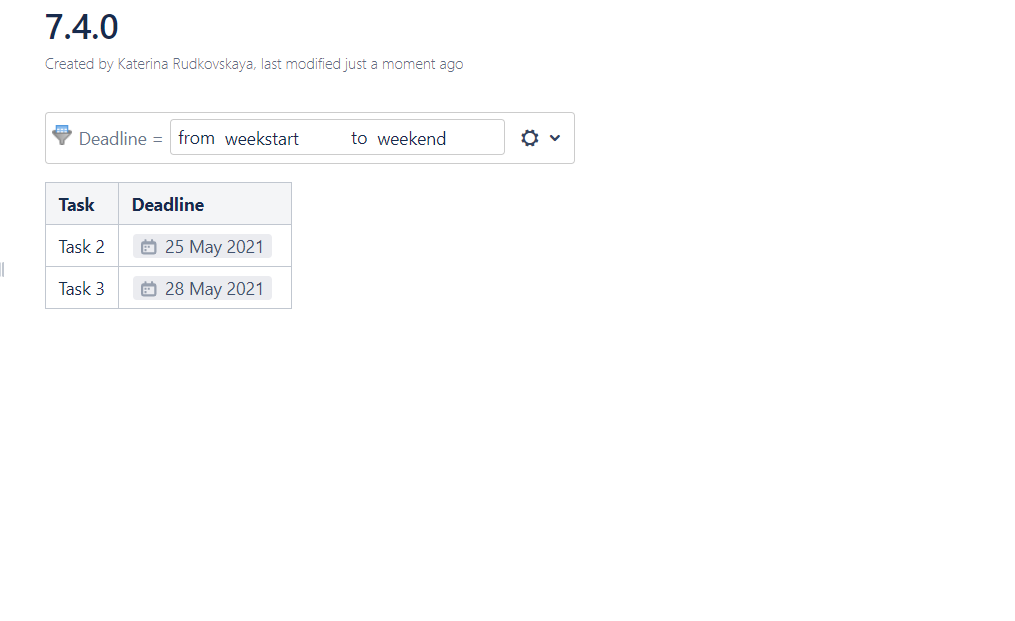
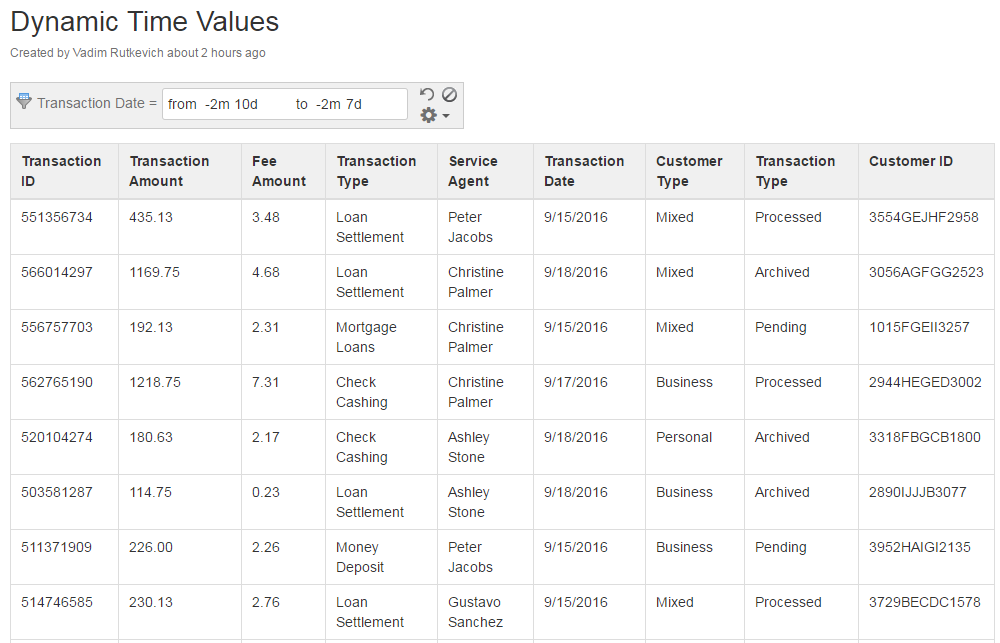
Set the dynamic time intervals
You can set the dynamic time intervals in the date picker in the Table Filter macro in the following format:
- today - for filtering until today or starting from today.
- weekstart - for filtering until the current beginning of the week or starting from the current beginning of the week
- weekend - for filtering until the current weekend or starting from the current weekend.
- monthstart - for filtering until the current beginning of the month or starting from the current beginning of the month.
- monthend - for filtering until the current end of the month or starting from the current end of the month.
- +/-Xy - for setting yearly intervals in future or in past.
- +/-Xm - for setting monthly intervals in future or in past.
- +/-Xw - for setting weekly intervals in future or in past.
- +/-Xd - for setting the daily intervals in future or in past.
If you need to set some complex interval, enter it as a single string, like: -2m 3w 5d. The current browser date is used as a starting date for data filtration according to the specified time intervals.
- Open the page with the table for filtration.
- On the filtration pane, locate the date range filters and position the mouse pointer within the appropriate one.
- Enter the appropriate date interval in the correct date format.