In version 5.10.0, we disabled the Commit graph in favor of Bitbucket's standard graph. To see the standard graph, please find the feature.commit.graph parameter in bitbucket.properties file, set it to true and restart the instance. You can find more details in the documentation.
Commit Graph extends the Bitbucket Commits page and creates a structured representation of the commit history. Use it to:
- Visualize development flows (branches, merges, commits) of your Git repositories.
- See the merge history and the relationships between commits.
- Make sense of your branch history.
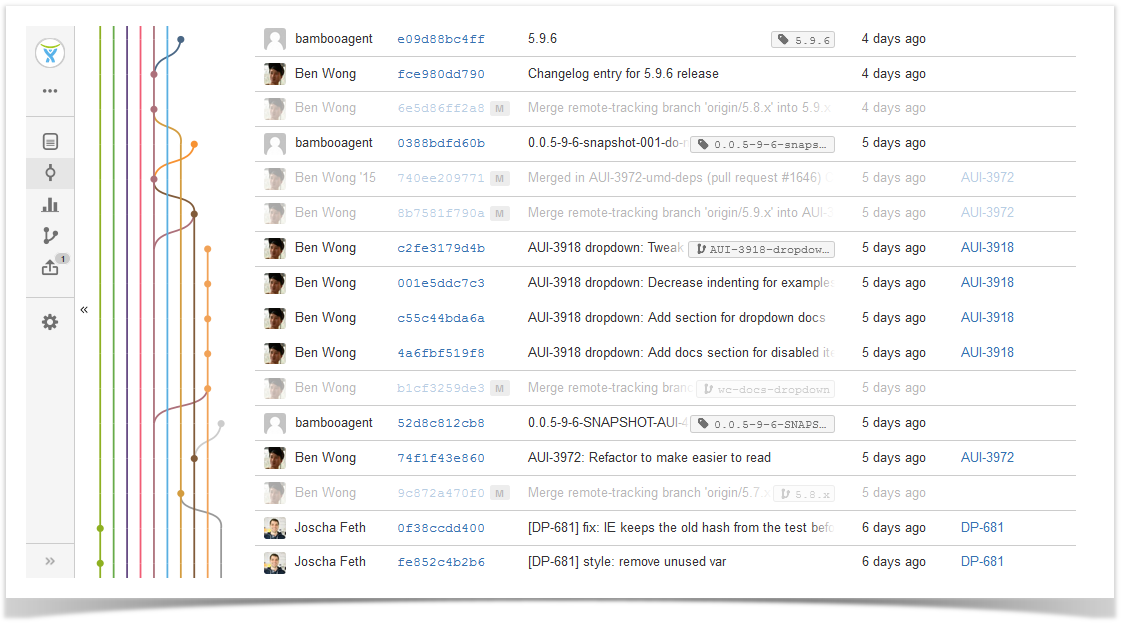
Below on the page, you'll find:
- instructions on how to view Commit Graph for repositories and branches
- description of the Commit Graph features
For easier navigation, use the Table of Contents at the top-right of the page.
How to view Commit Graph
To view Commit Graph of the current repository, navigate to the Commits section on the sidebar. Commit Graph appears to the left of the Author column.

Viewing Commit Graph of all branches
When you select a branch or a tag in the drop-down list on the Commits page, the page is updated and you can see Commit Graph and commits of that branch or tag.
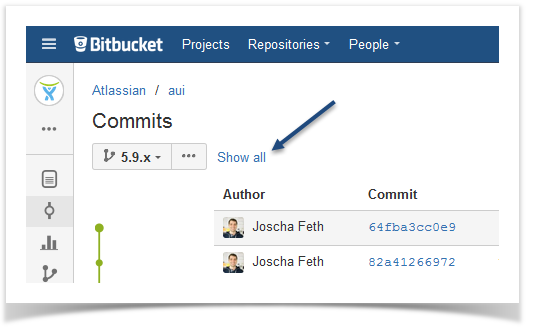
You can also view commits of all branches with Commit Graph by clicking the Show all link.
Labels with branches
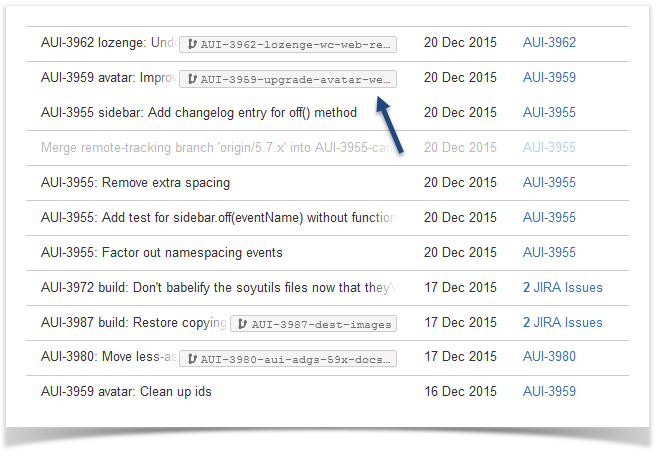
Awesome Graphs adds the branch labels that can be seen in commits messages. As you click a tag or branch label, the Commits page is updated, and commits and Commit Graph of that tag or branch are displayed.
Highlighting ancestors of a changeset
By default, all changesets are highlighted. You can click a point to highlight the ancestors of a certain changeset and see where it comes from.
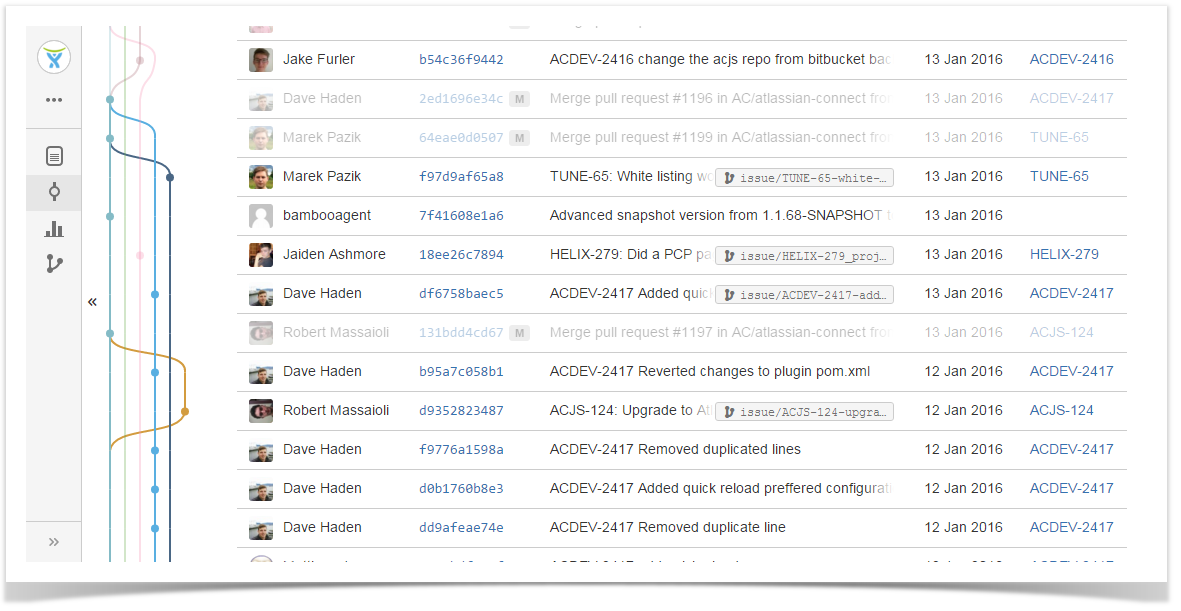
To have all changesets highlighted again, click the graph anywhere outside the points.
Collapsing and expanding Commit Graph
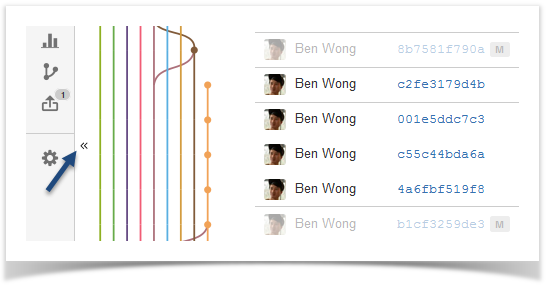
It's possible to collapse and expand Commit Graph by clicking the << button to the left of Commit Graph to hide it or >> to expand and view it again.
If you have any feedback or requests concerning this feature, let us know.