Download PDF
Download page Migration from Server/DC to Cloud.
Migration from Server/DC to Cloud
Please go through our step-by-step instructions to migrate the Smart Attachments app's data to Jira Cloud. Please address your questions or issues to our support .
Checking pre-requisites
The Smart Attachments for Jira app migrates only the data for the projects available in Jira Cloud. You need to migrate the app simultaneously with Jira projects.
Before proceeding to migration of the Smart Attachments app from Jira Server/Data Center to Jira Cloud, please check Pre-Migration Assessment Checklist.
- Update the Smart Attachments for Jira Cloud app to the latest version.
- Update the Jira Cloud Migration Assistant to the latest version.
- Update the Smart Attachments for Jira Server/Data Center to version 2.12.0 or newer.
Please consider that the migration process can take up to 48 hours.
Assessing the app for Cloud migration
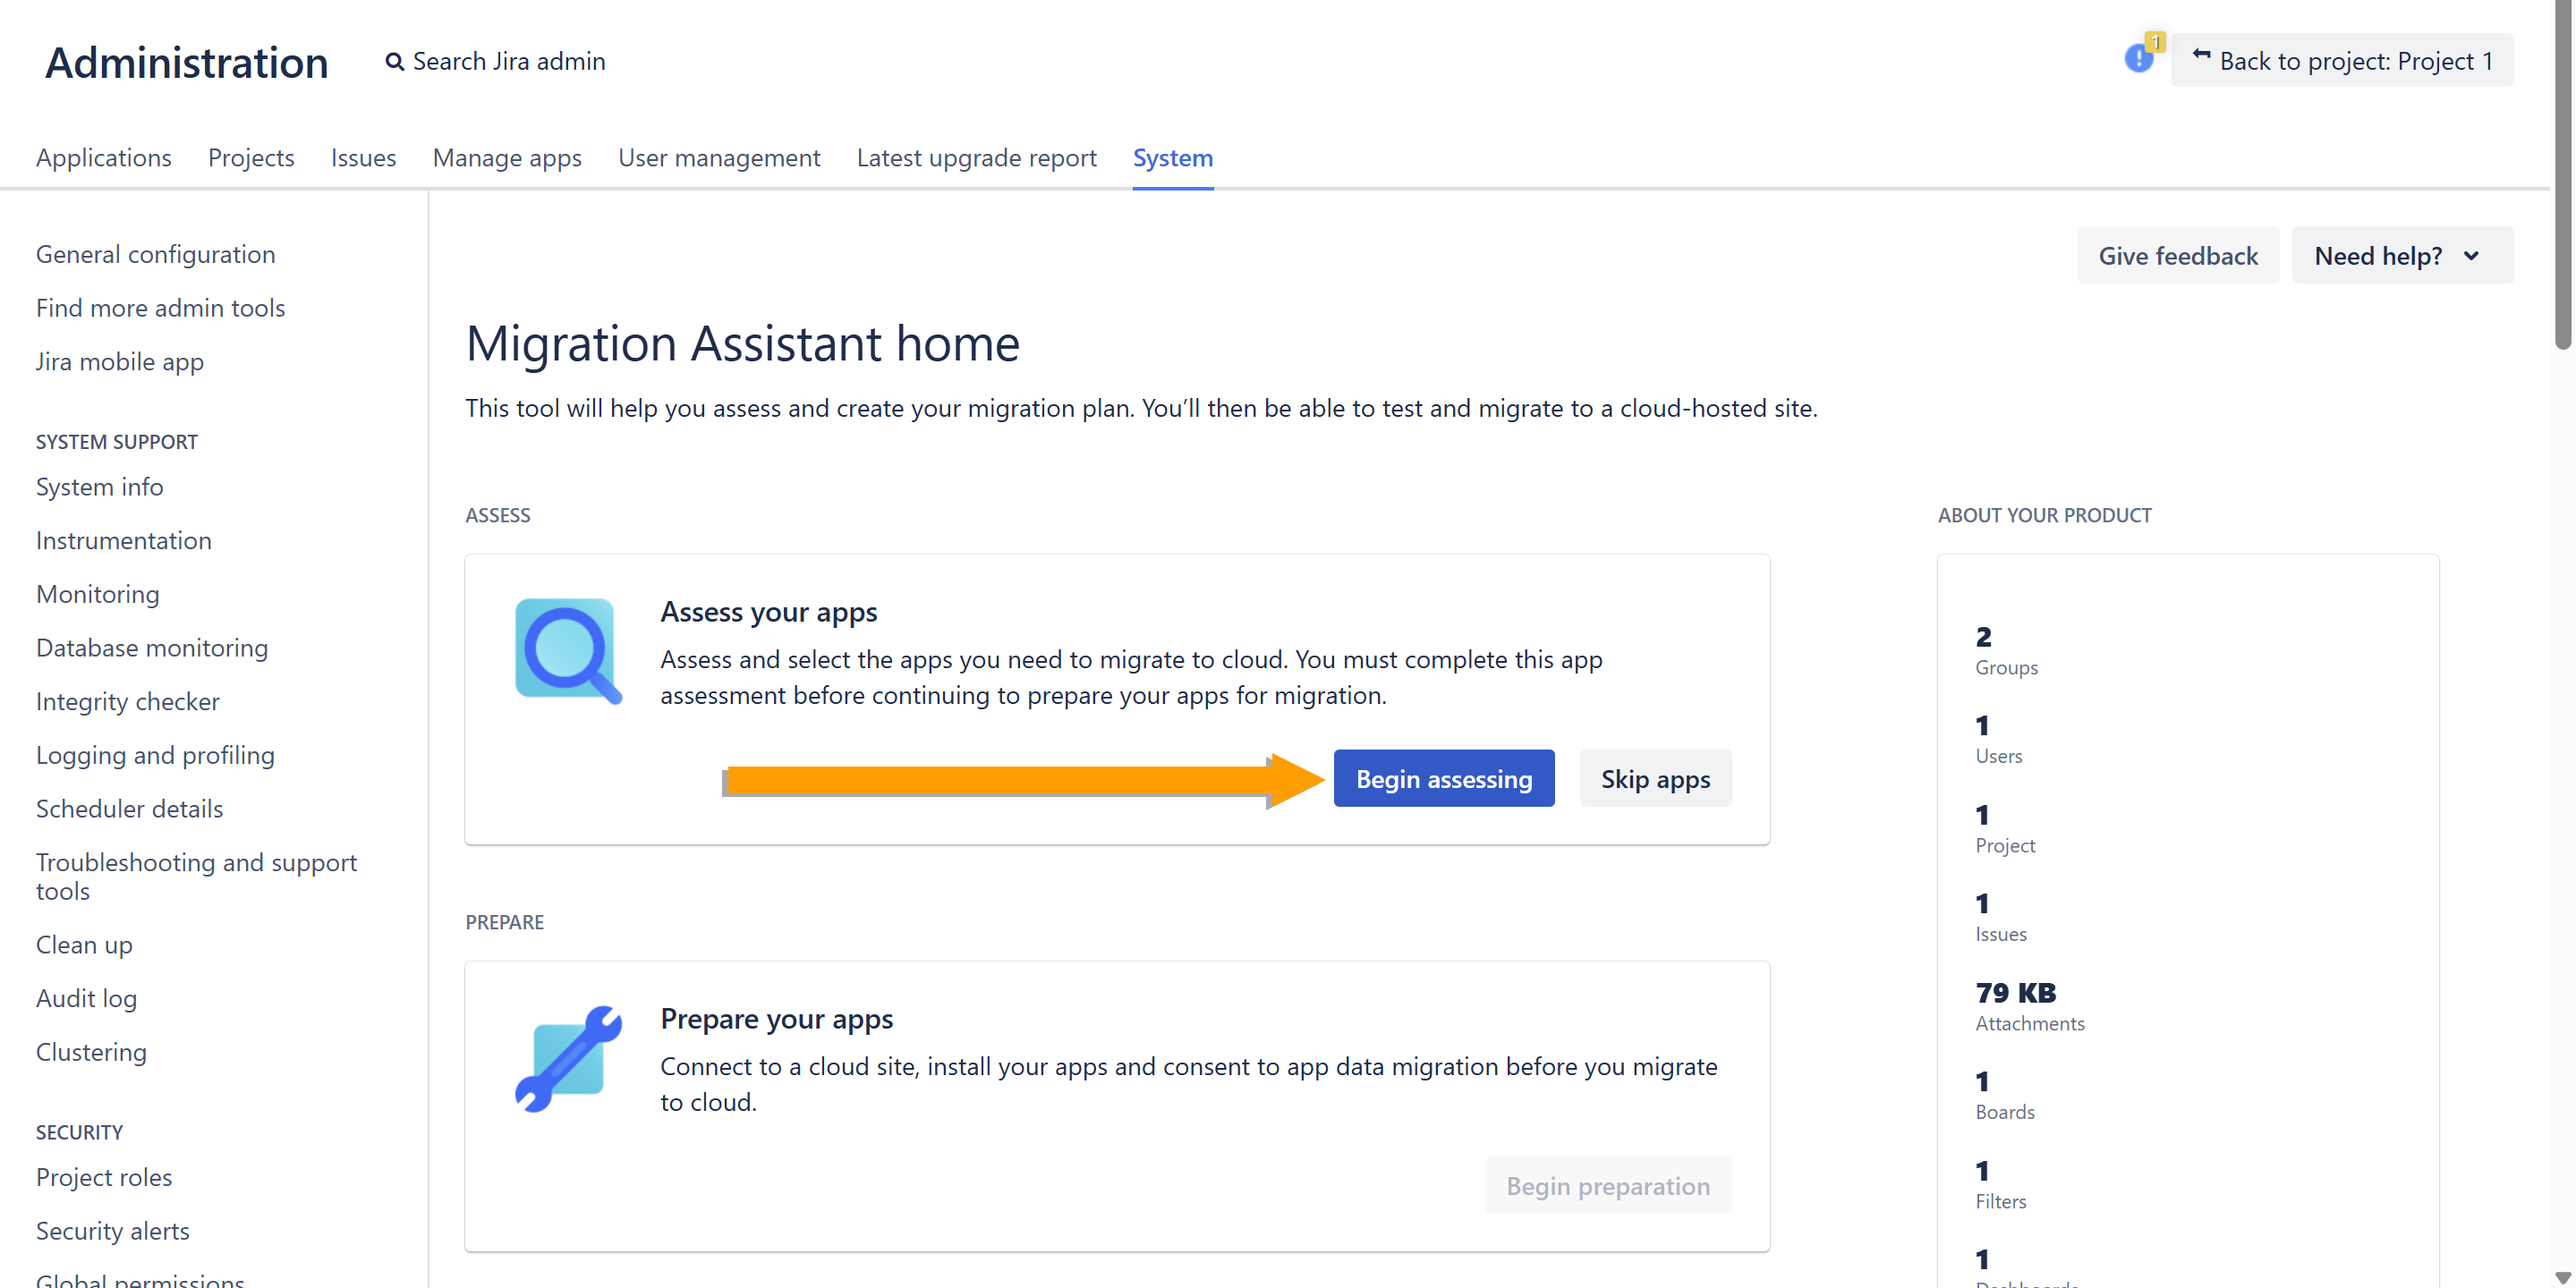
- Go to Jira Administration > System.
- On the navigation sidebar, select Migrate to cloud.
- On the opened page, in the Assess your apps box, click Begin assessing.
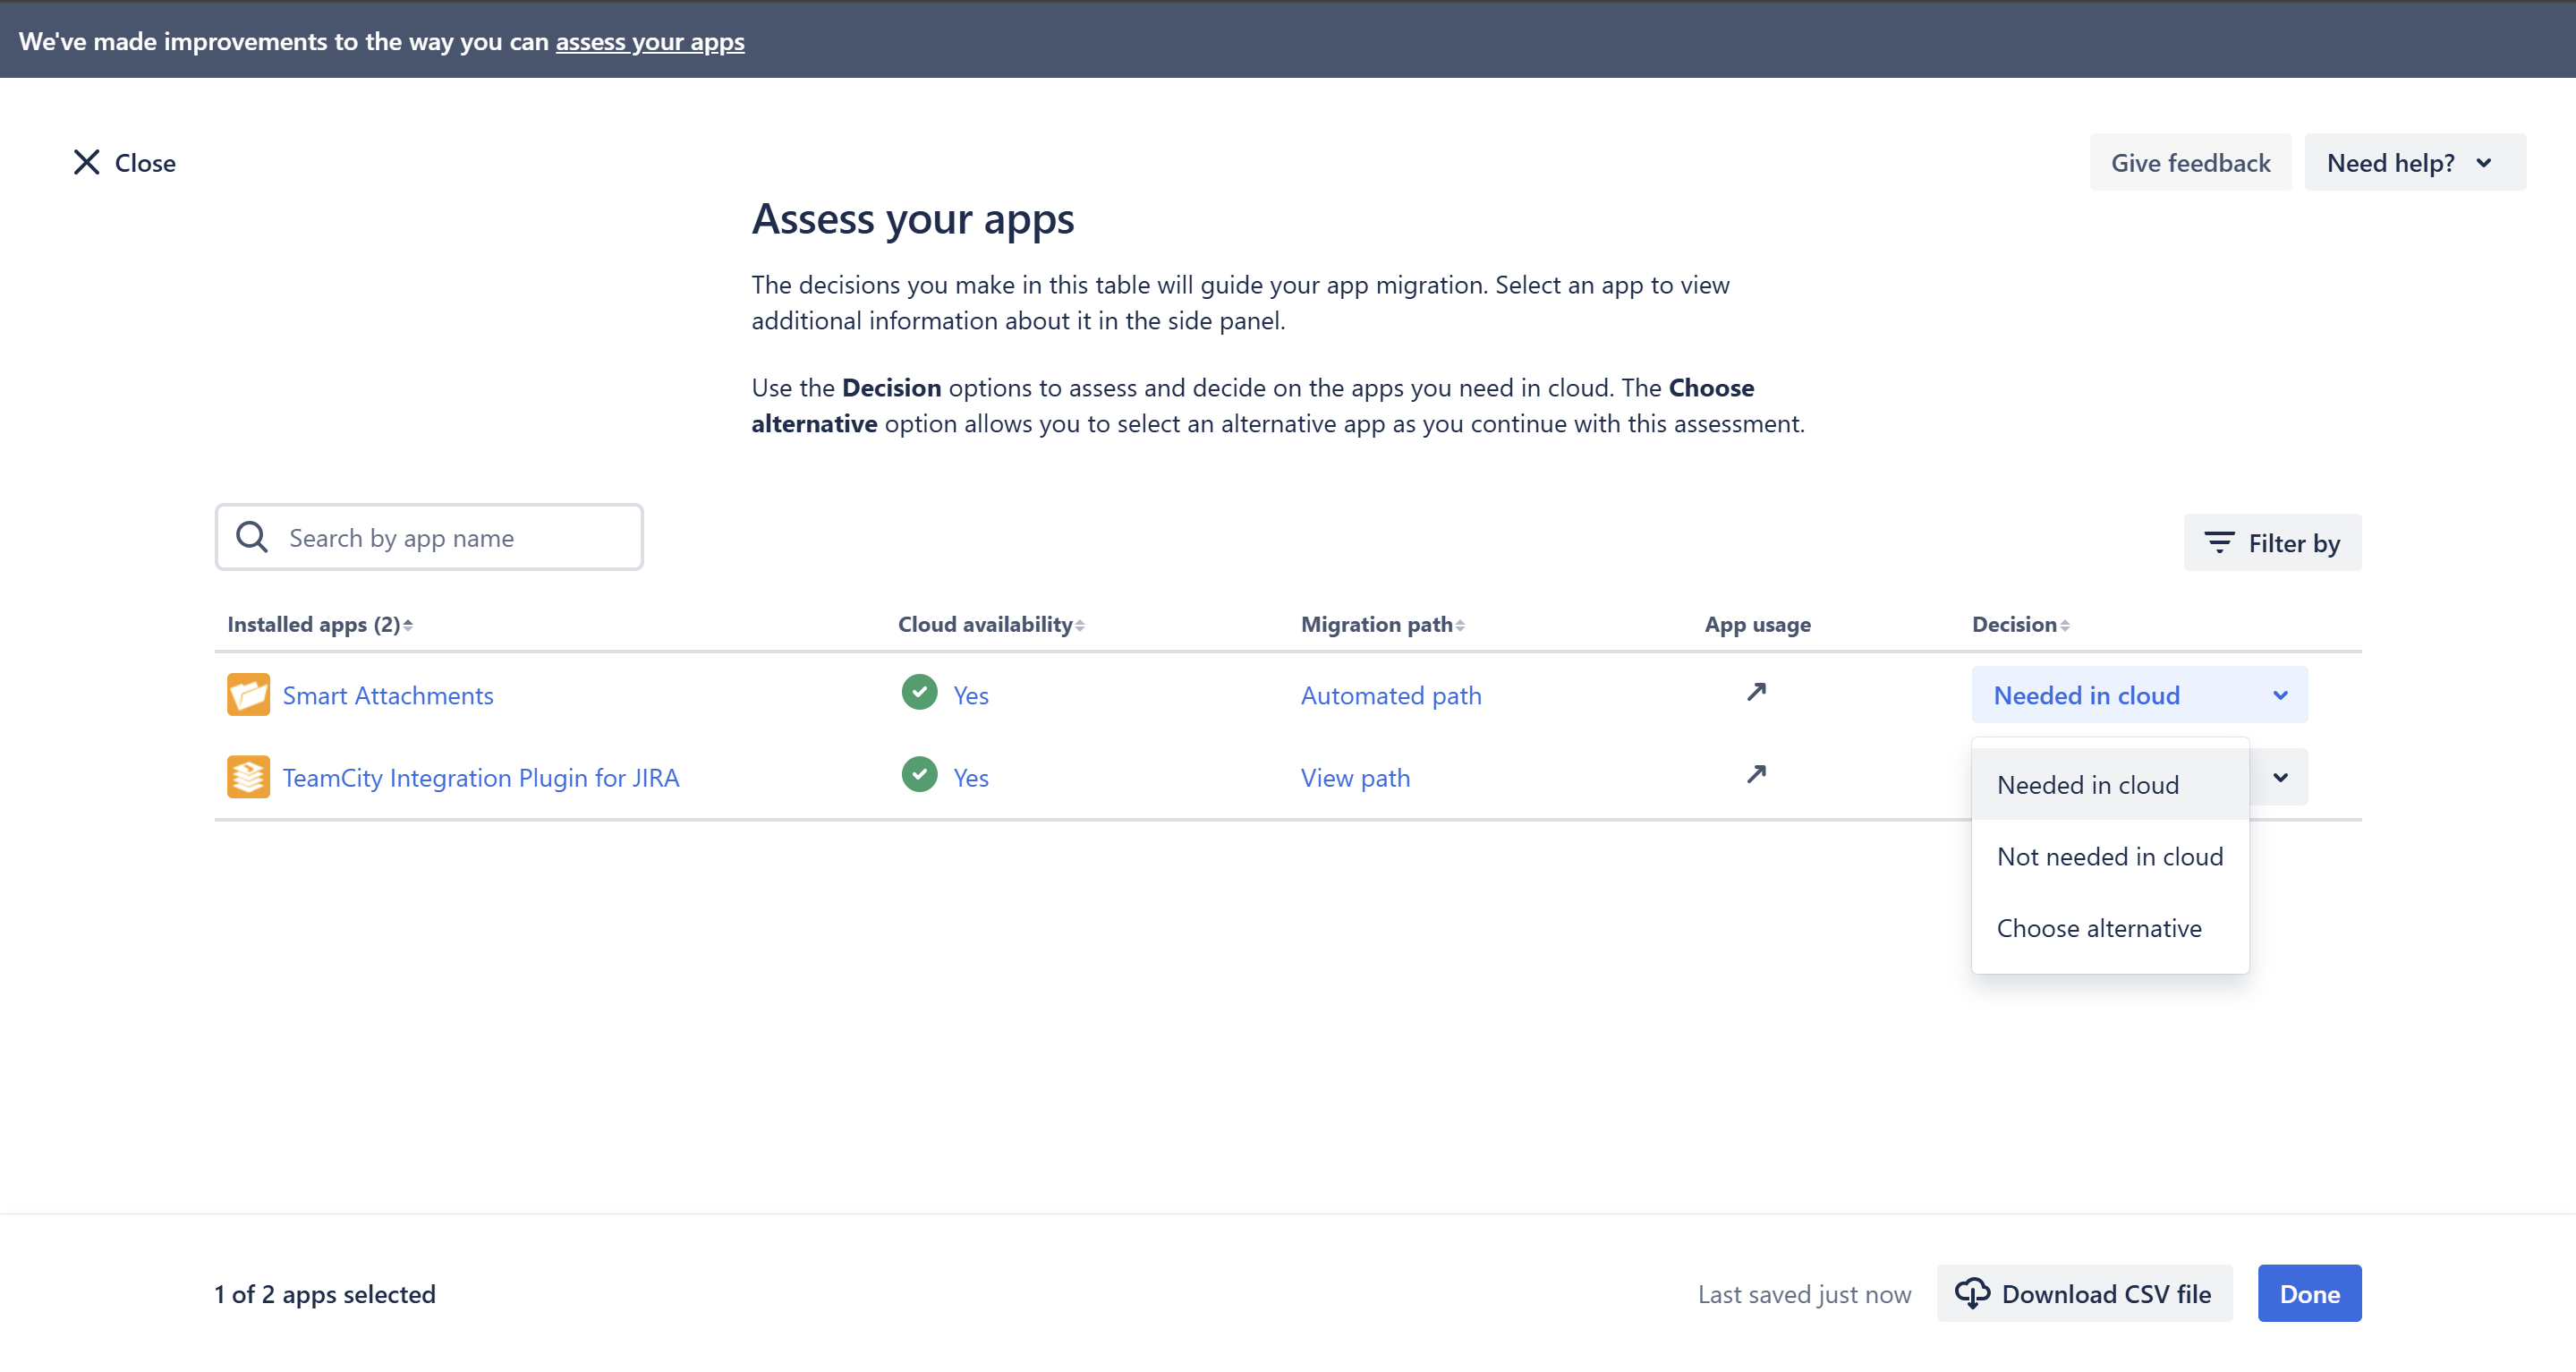
- On the Assess your apps page, select Needed in cloud for the Smart Attachments app. Choose the status for the rest of the apps if you plan to migrate multiple apps.
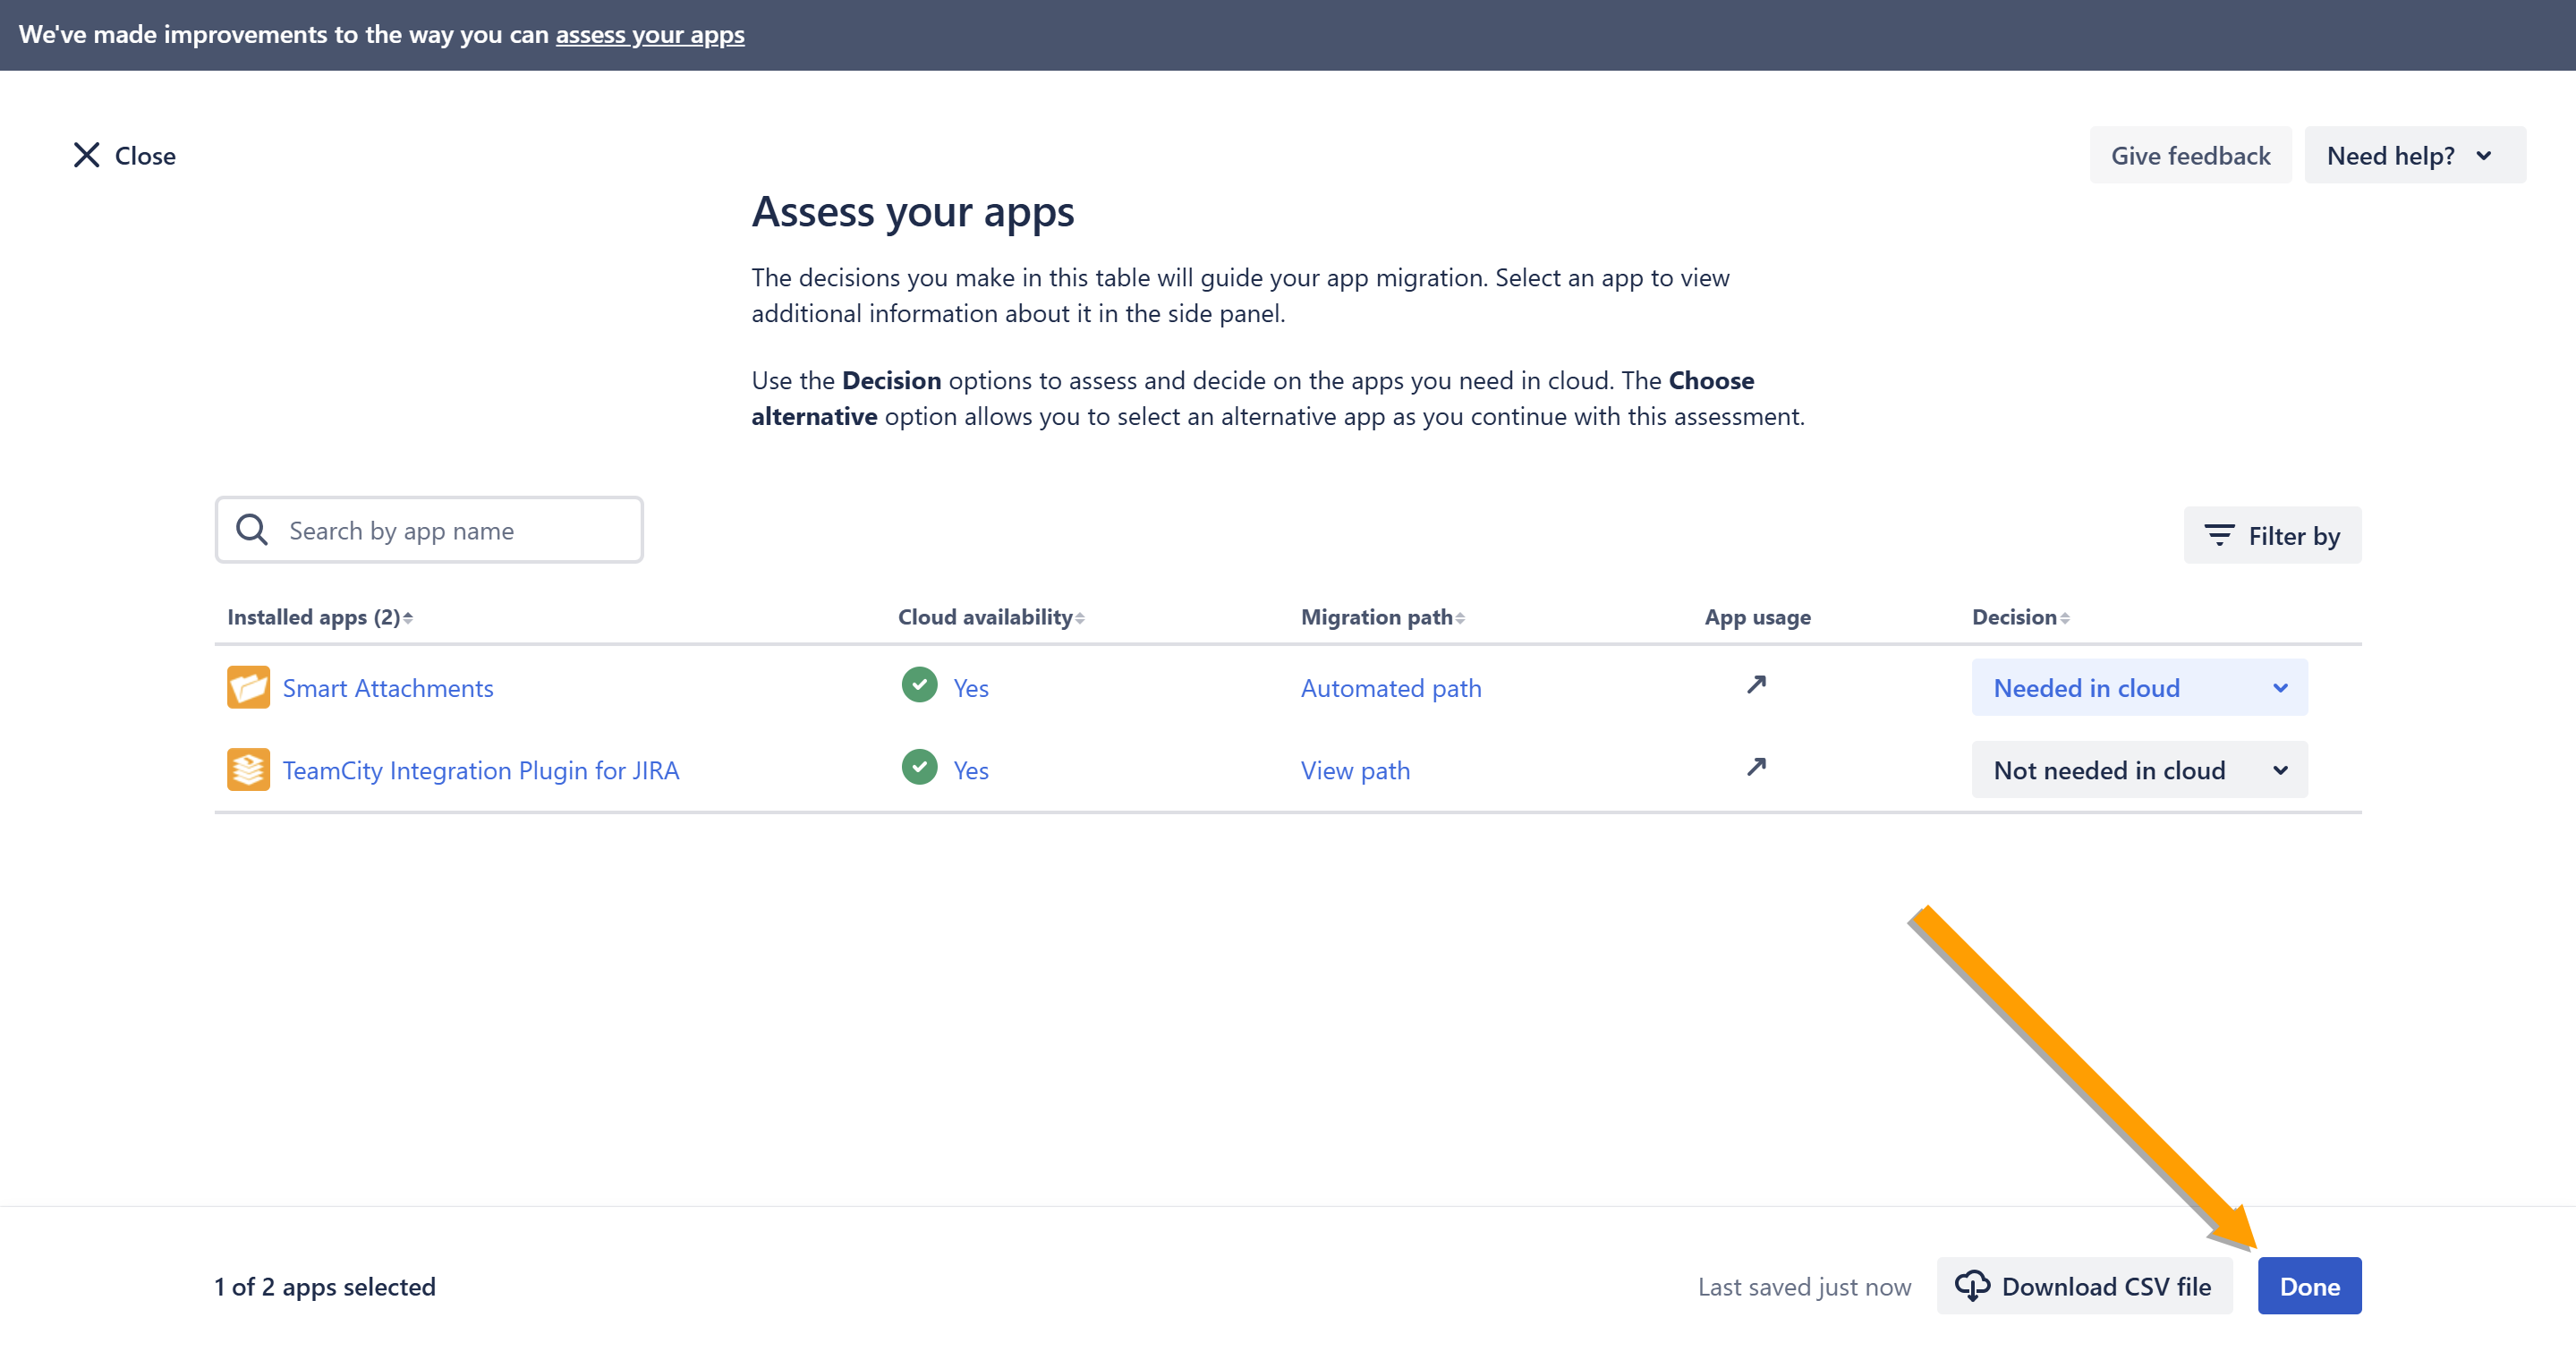
- Click Done.
Prepare the app for Cloud migration
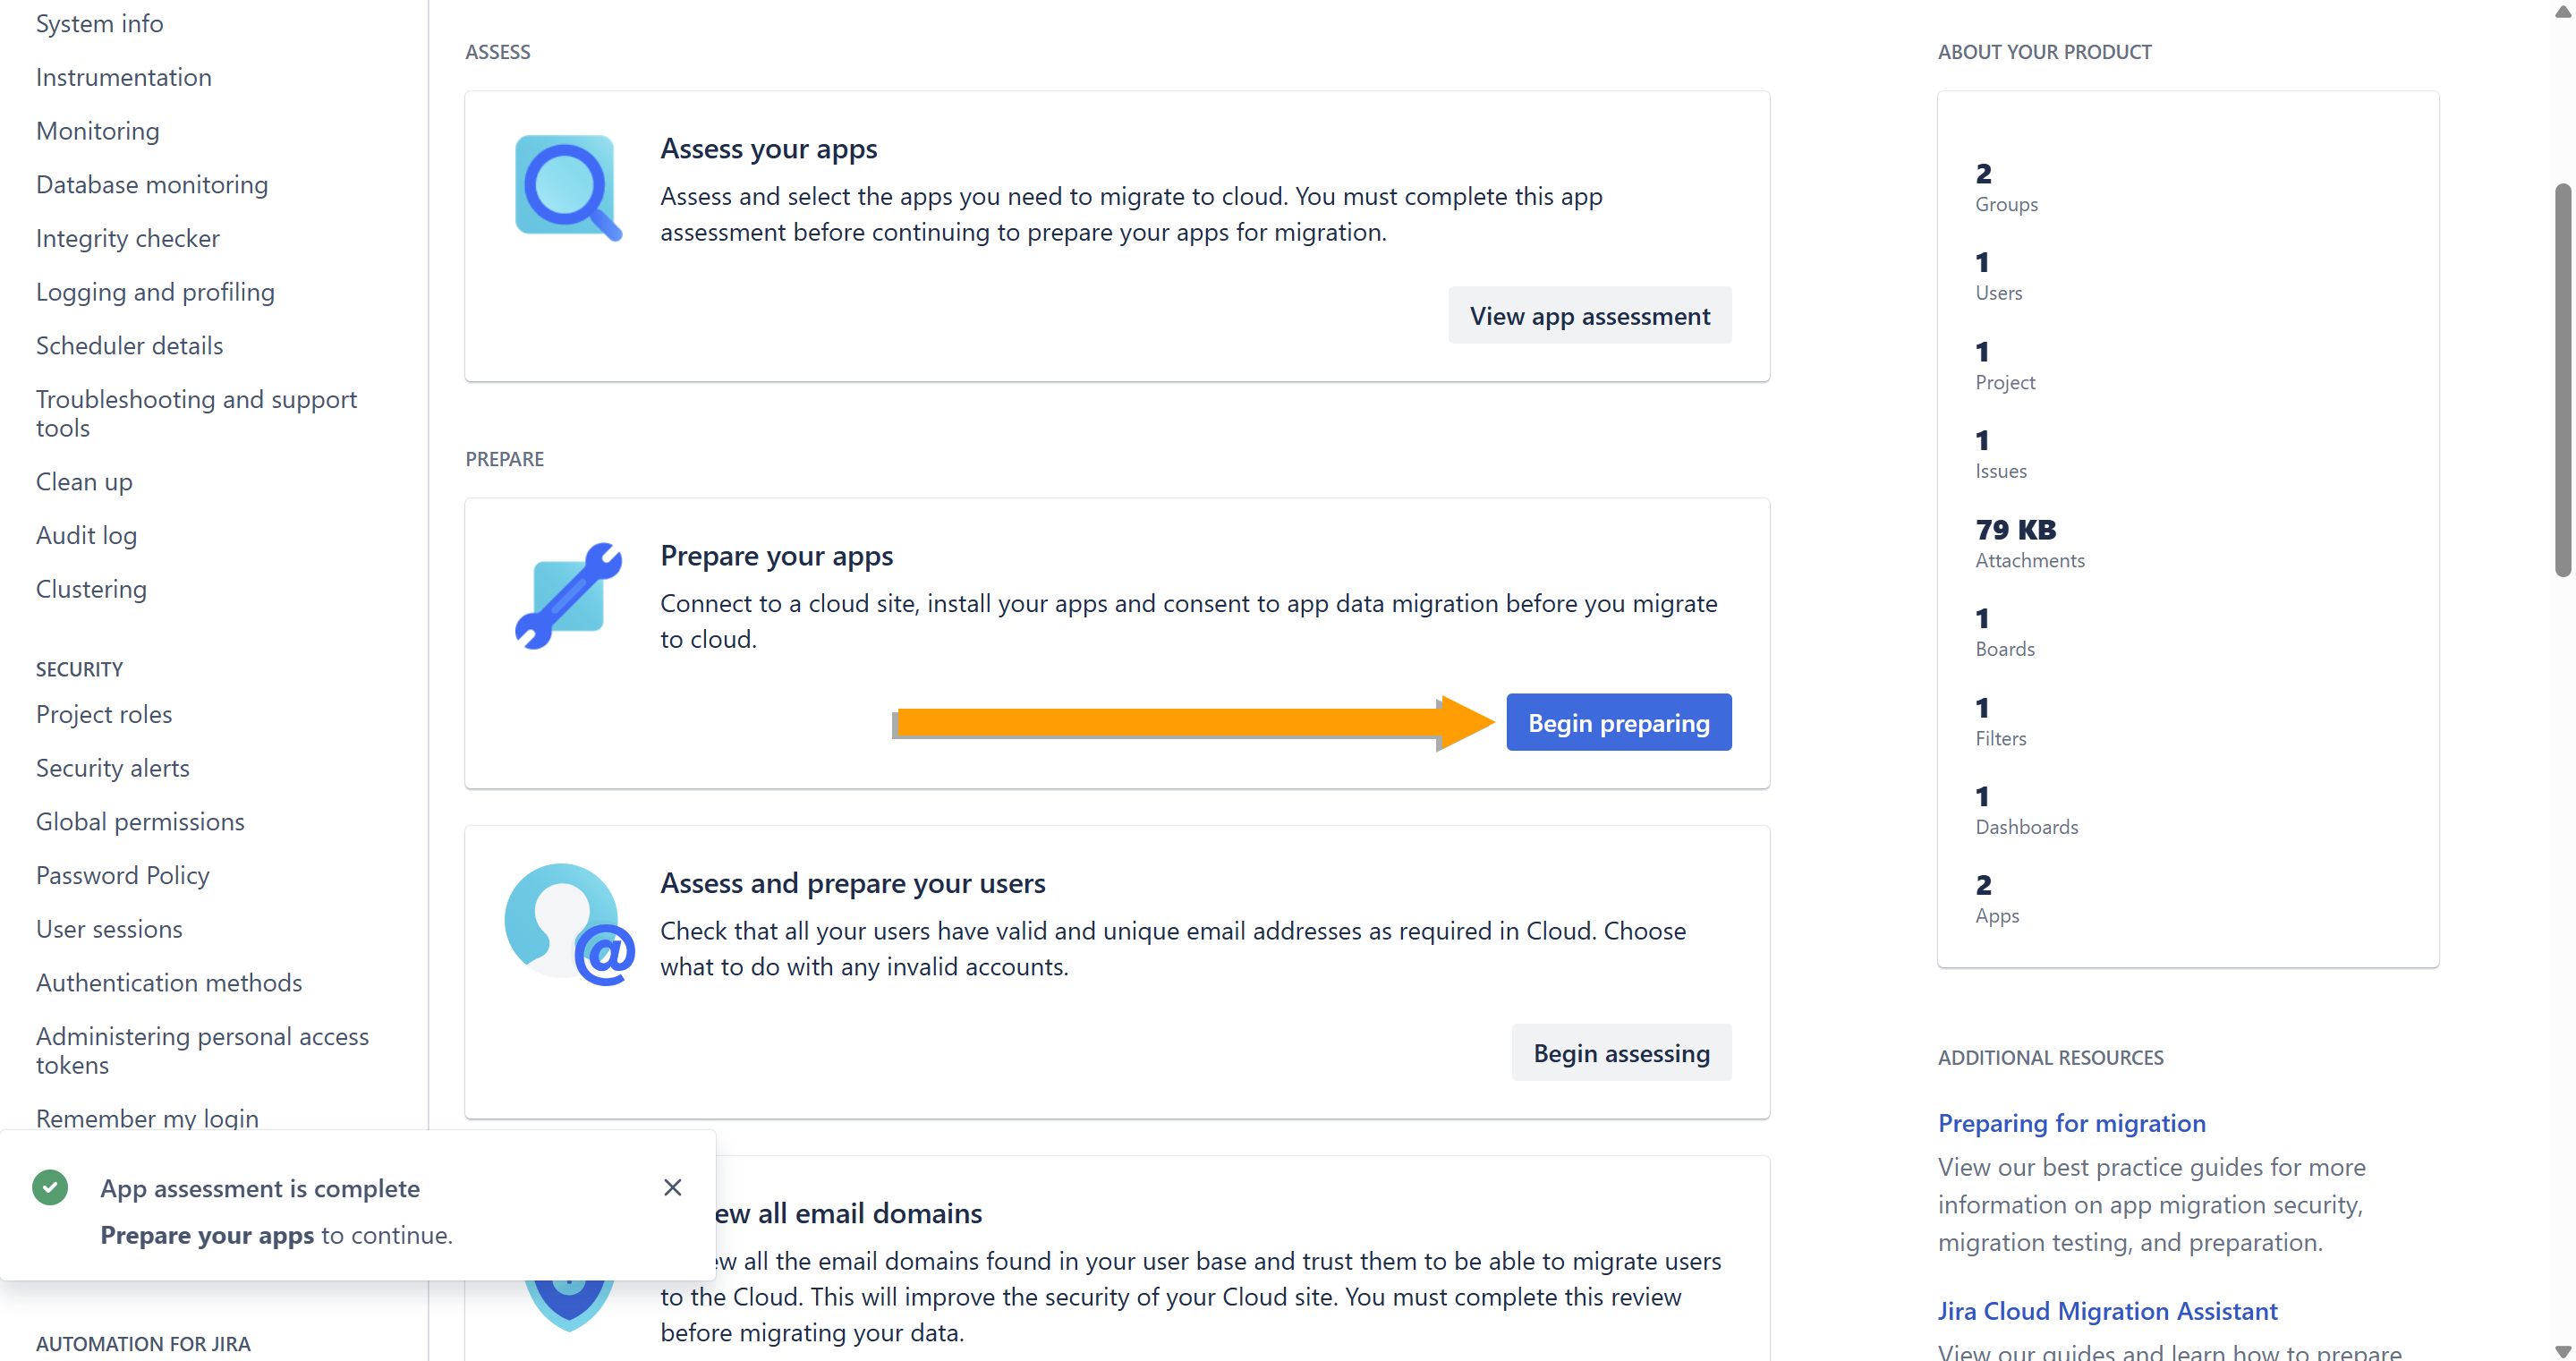
- Go to Jira Administration > System.
- On the navigation sidebar, select Migrate to cloud.
- On the opened page, in the Prepare your apps box, click Begin preparing.
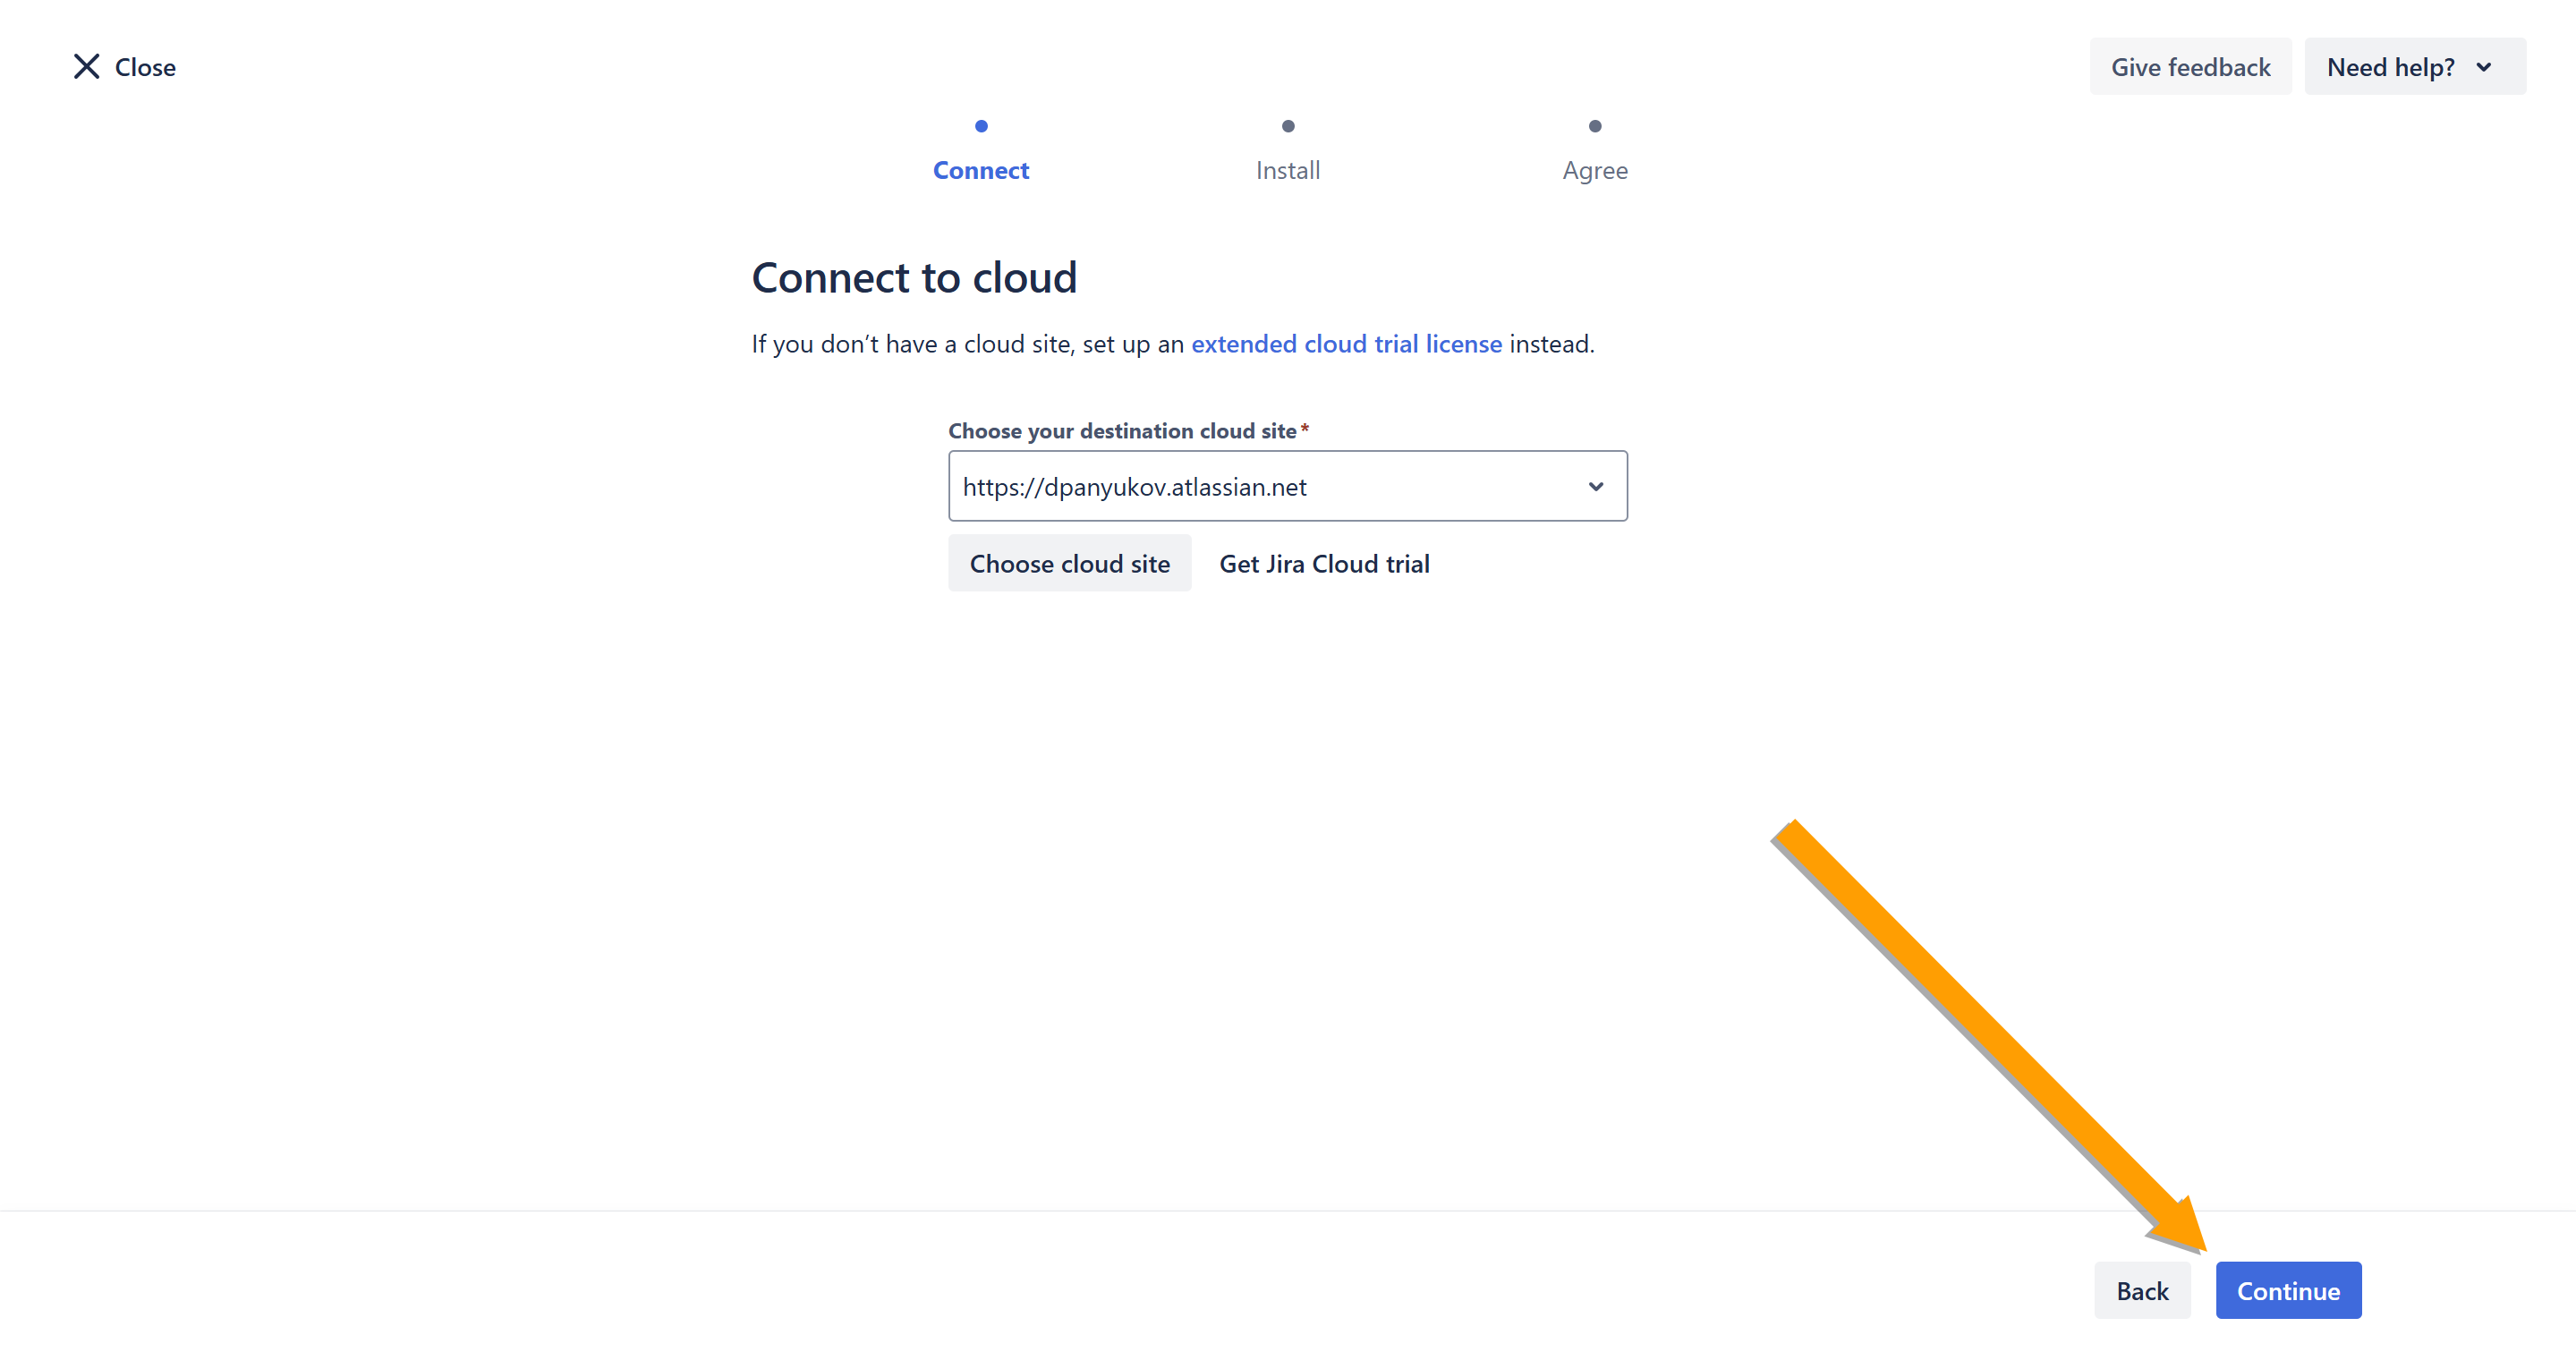
- In the Connect to cloud window, click Choose cloud site.
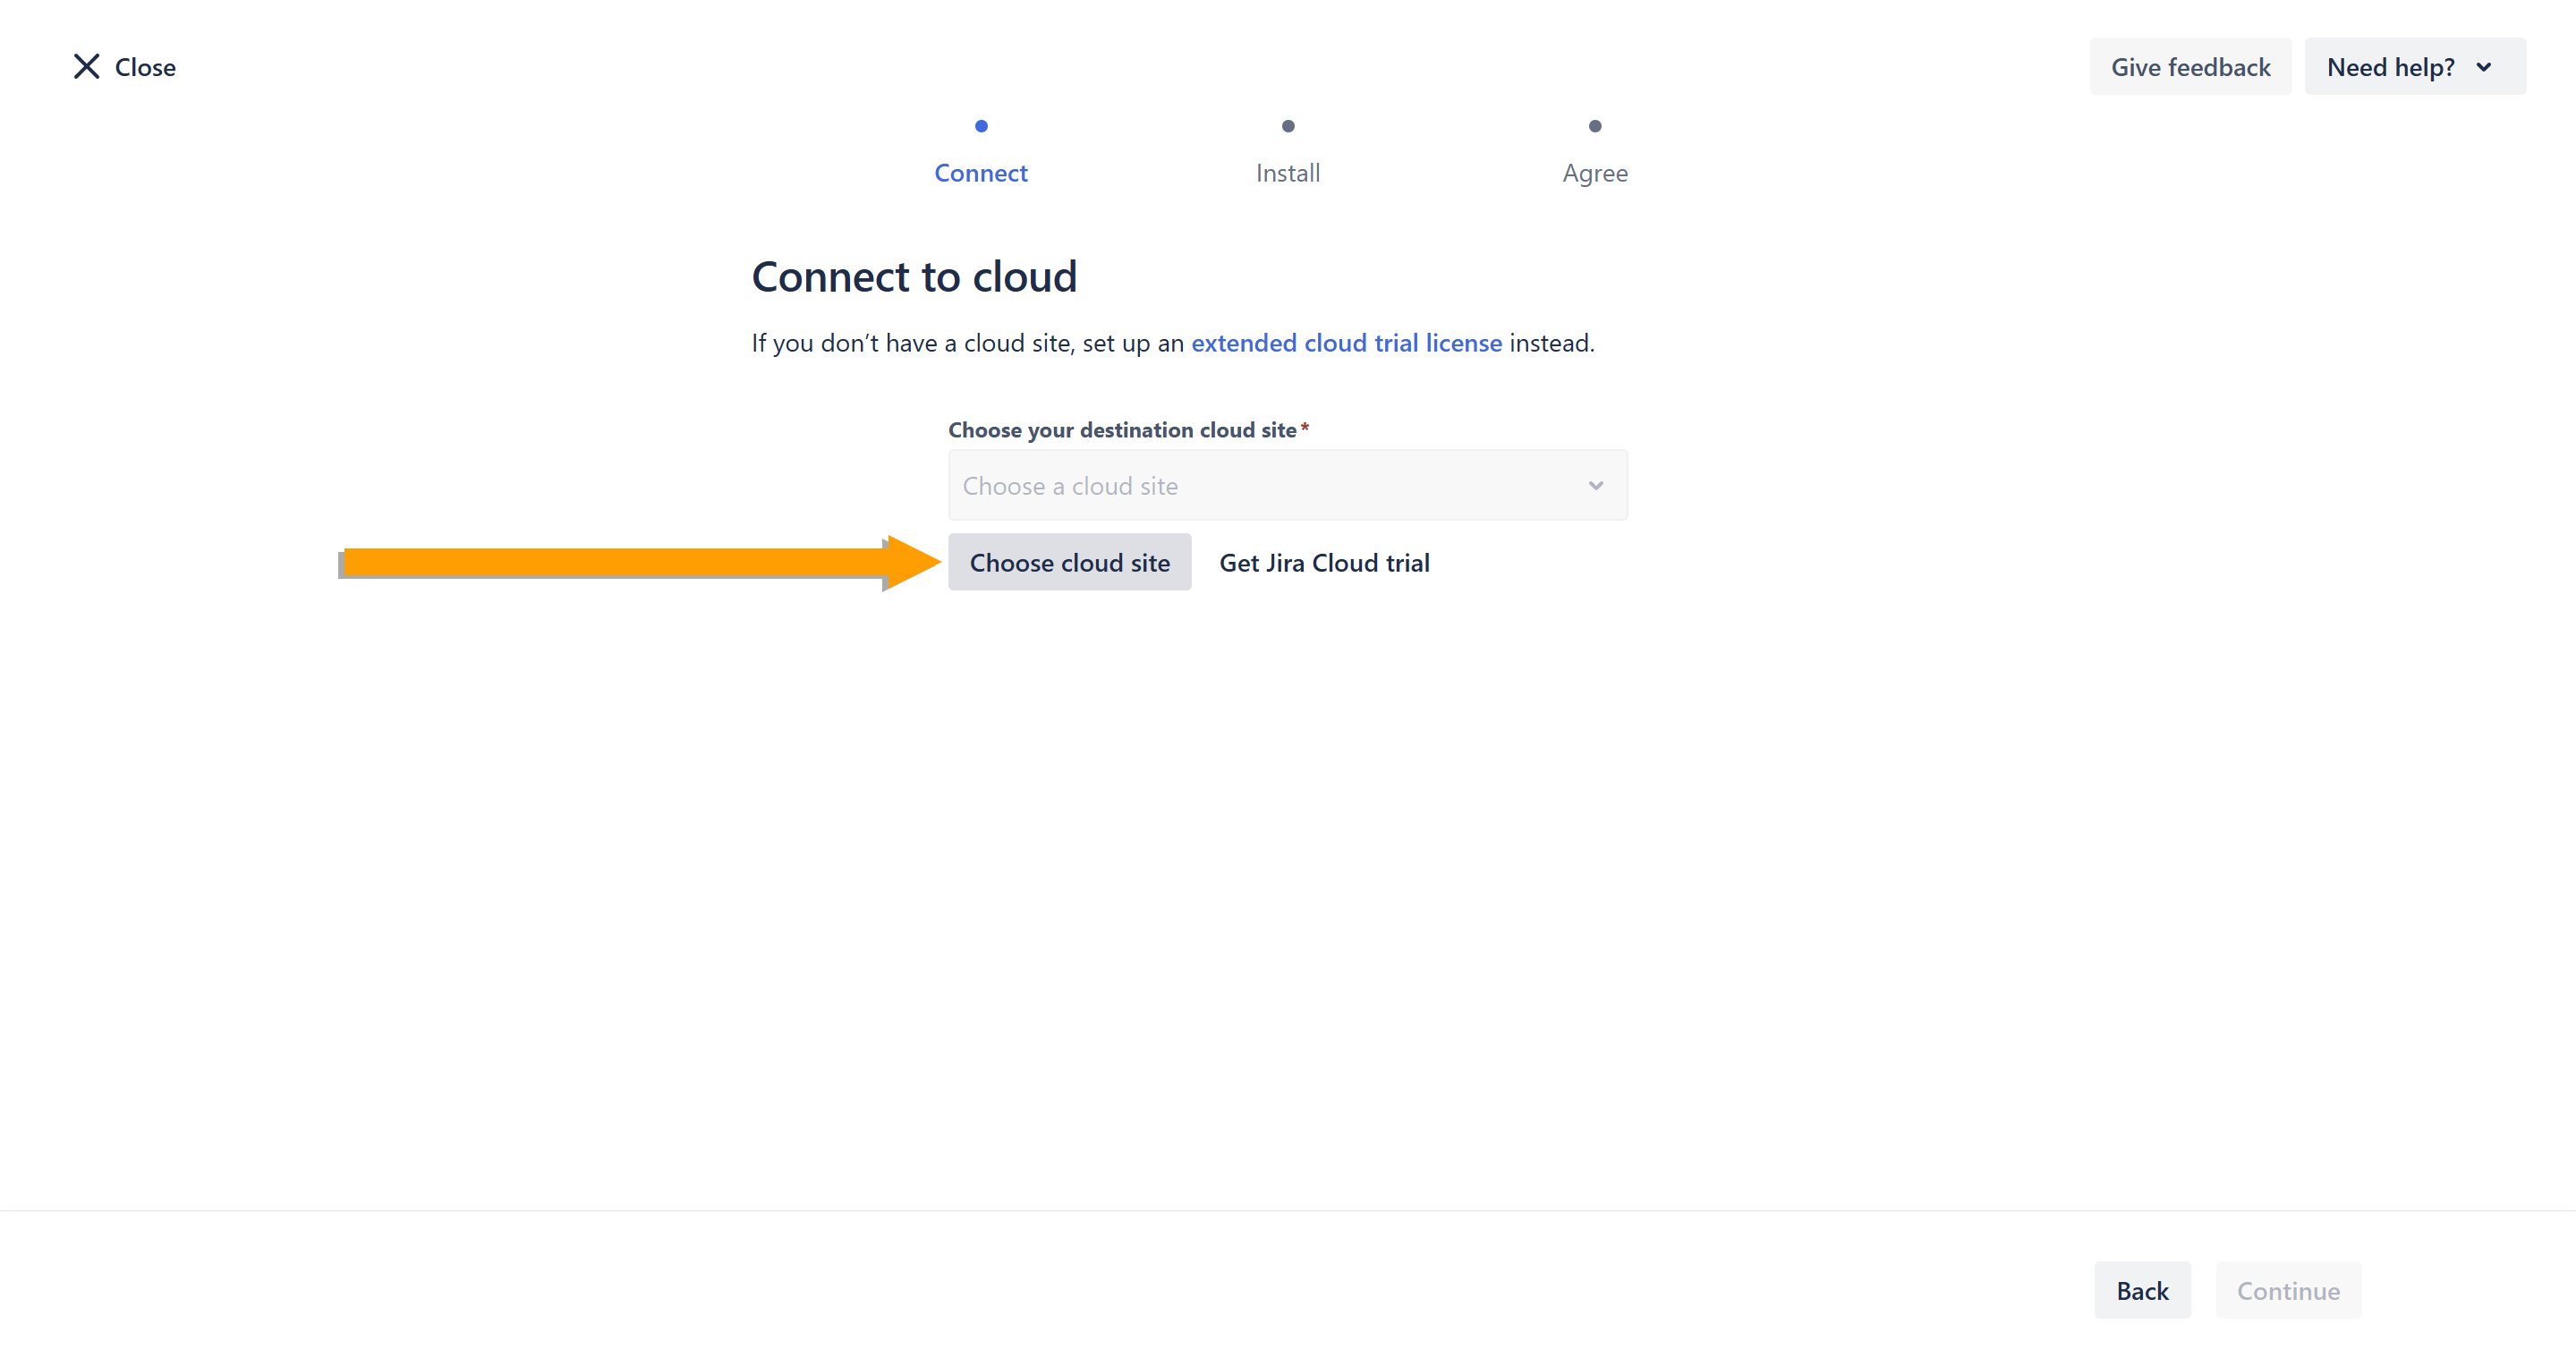
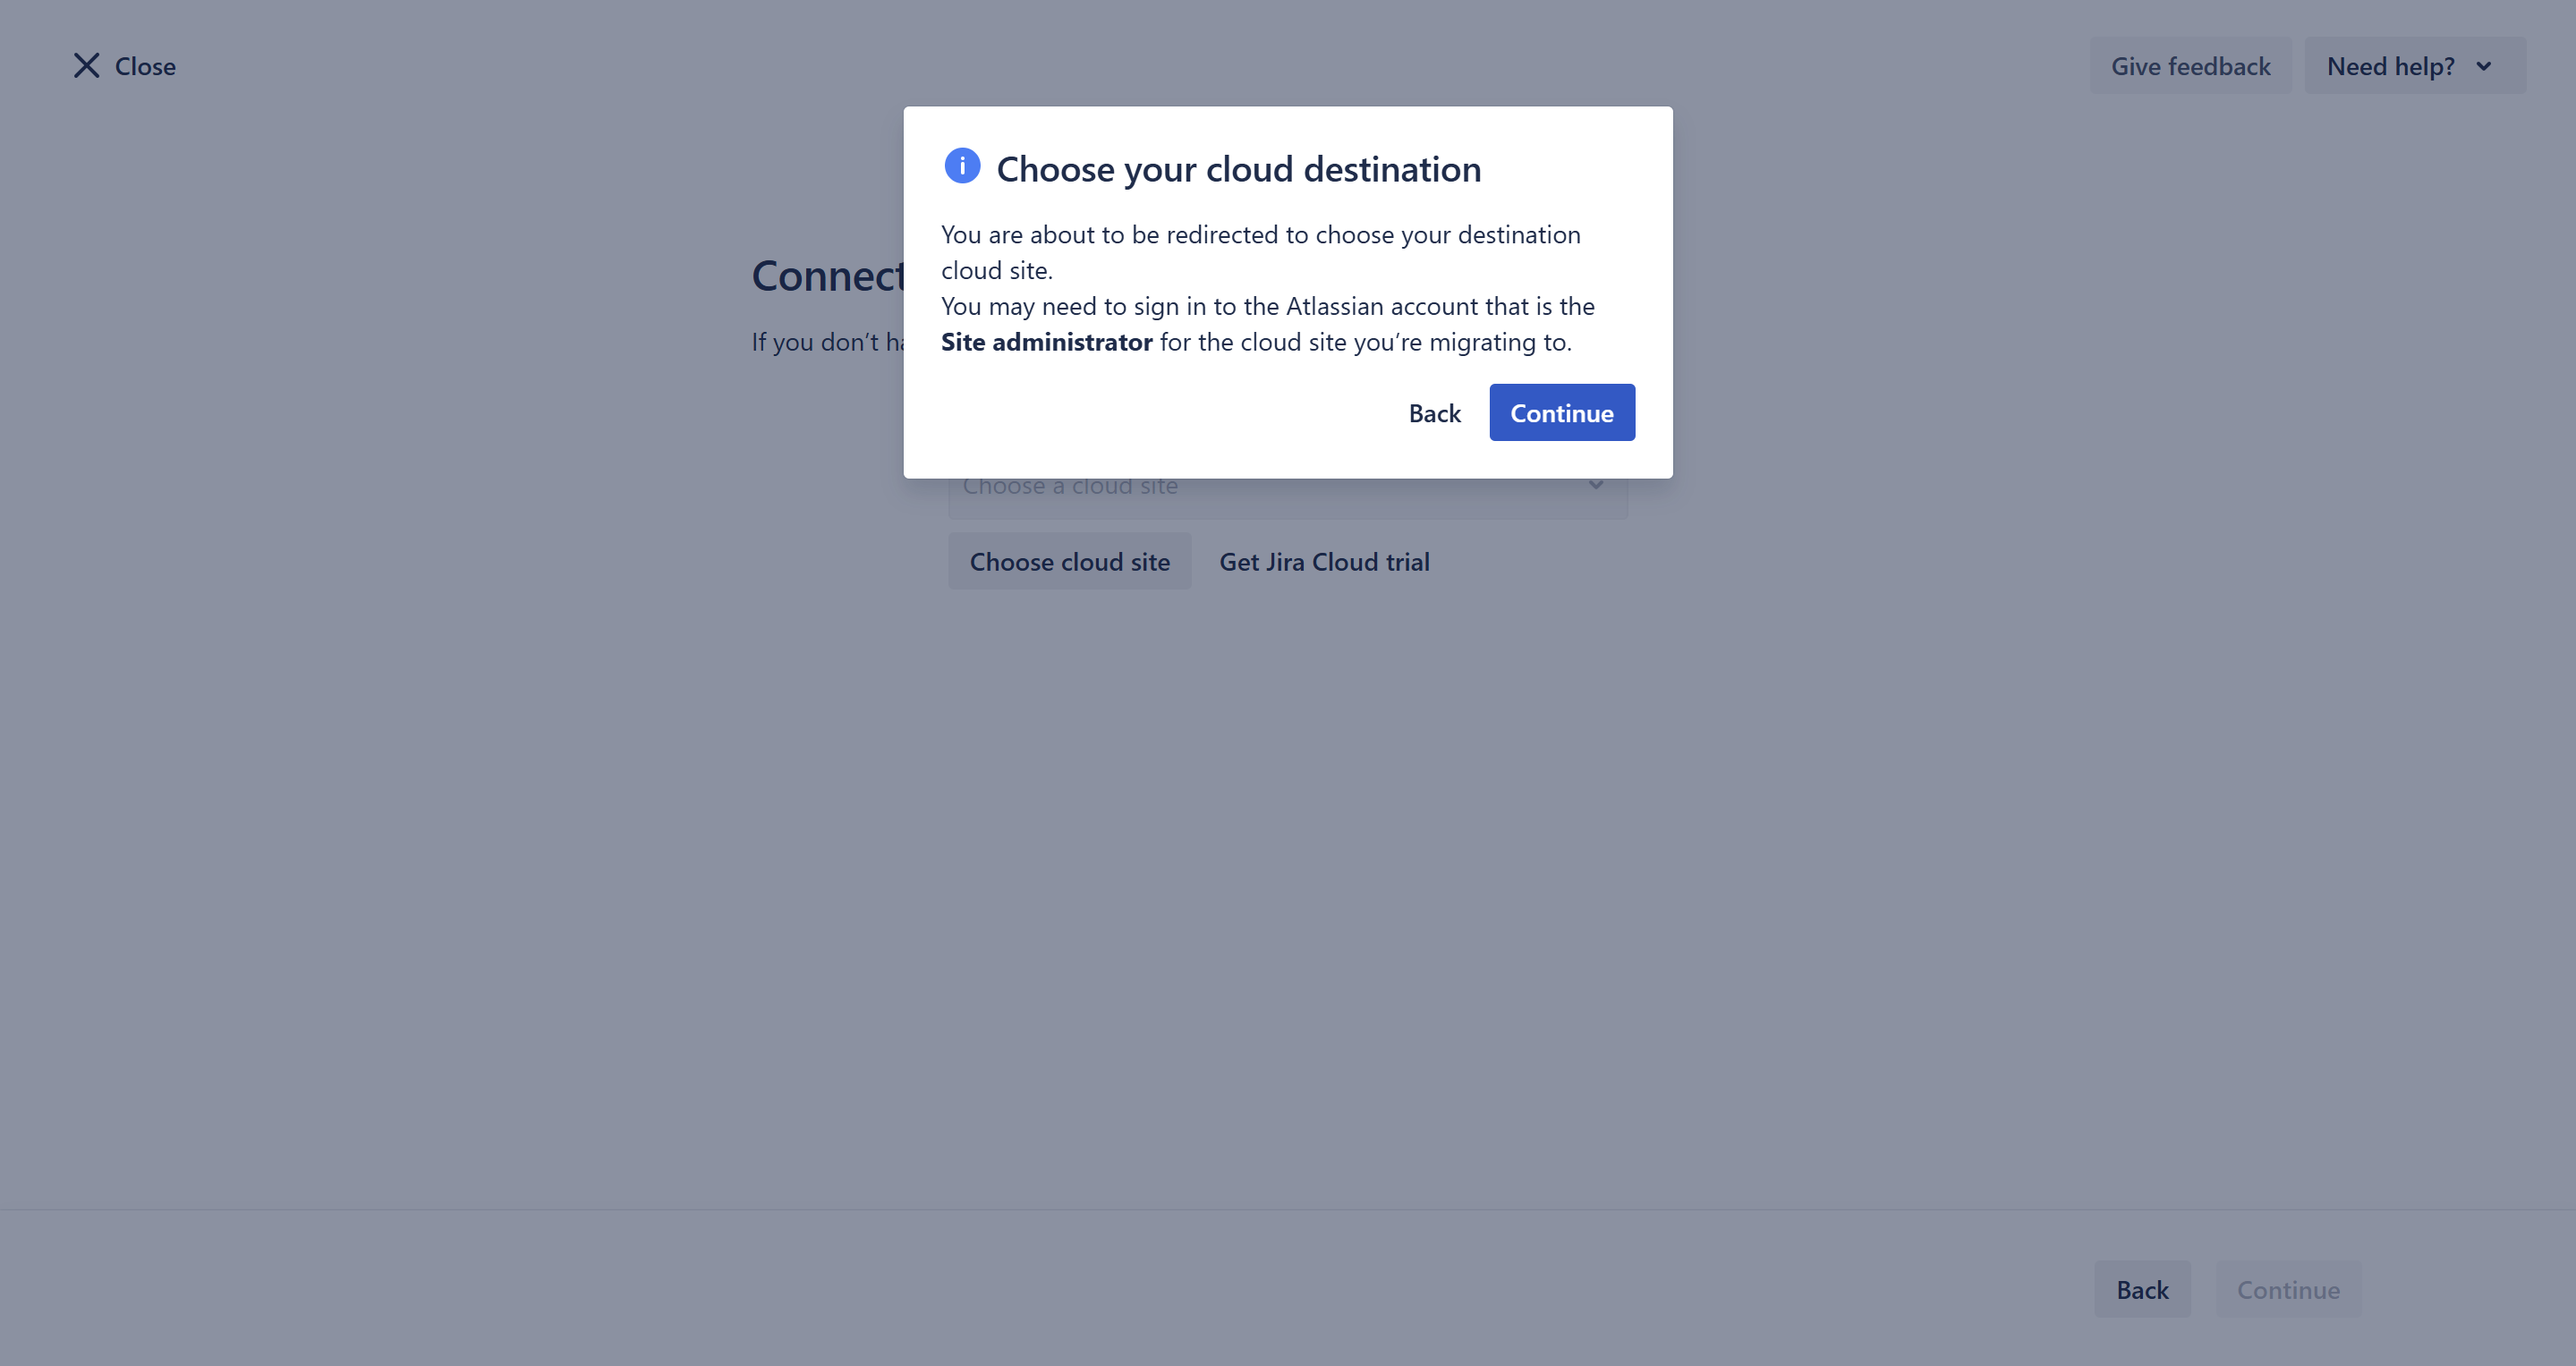
- Click Continue.
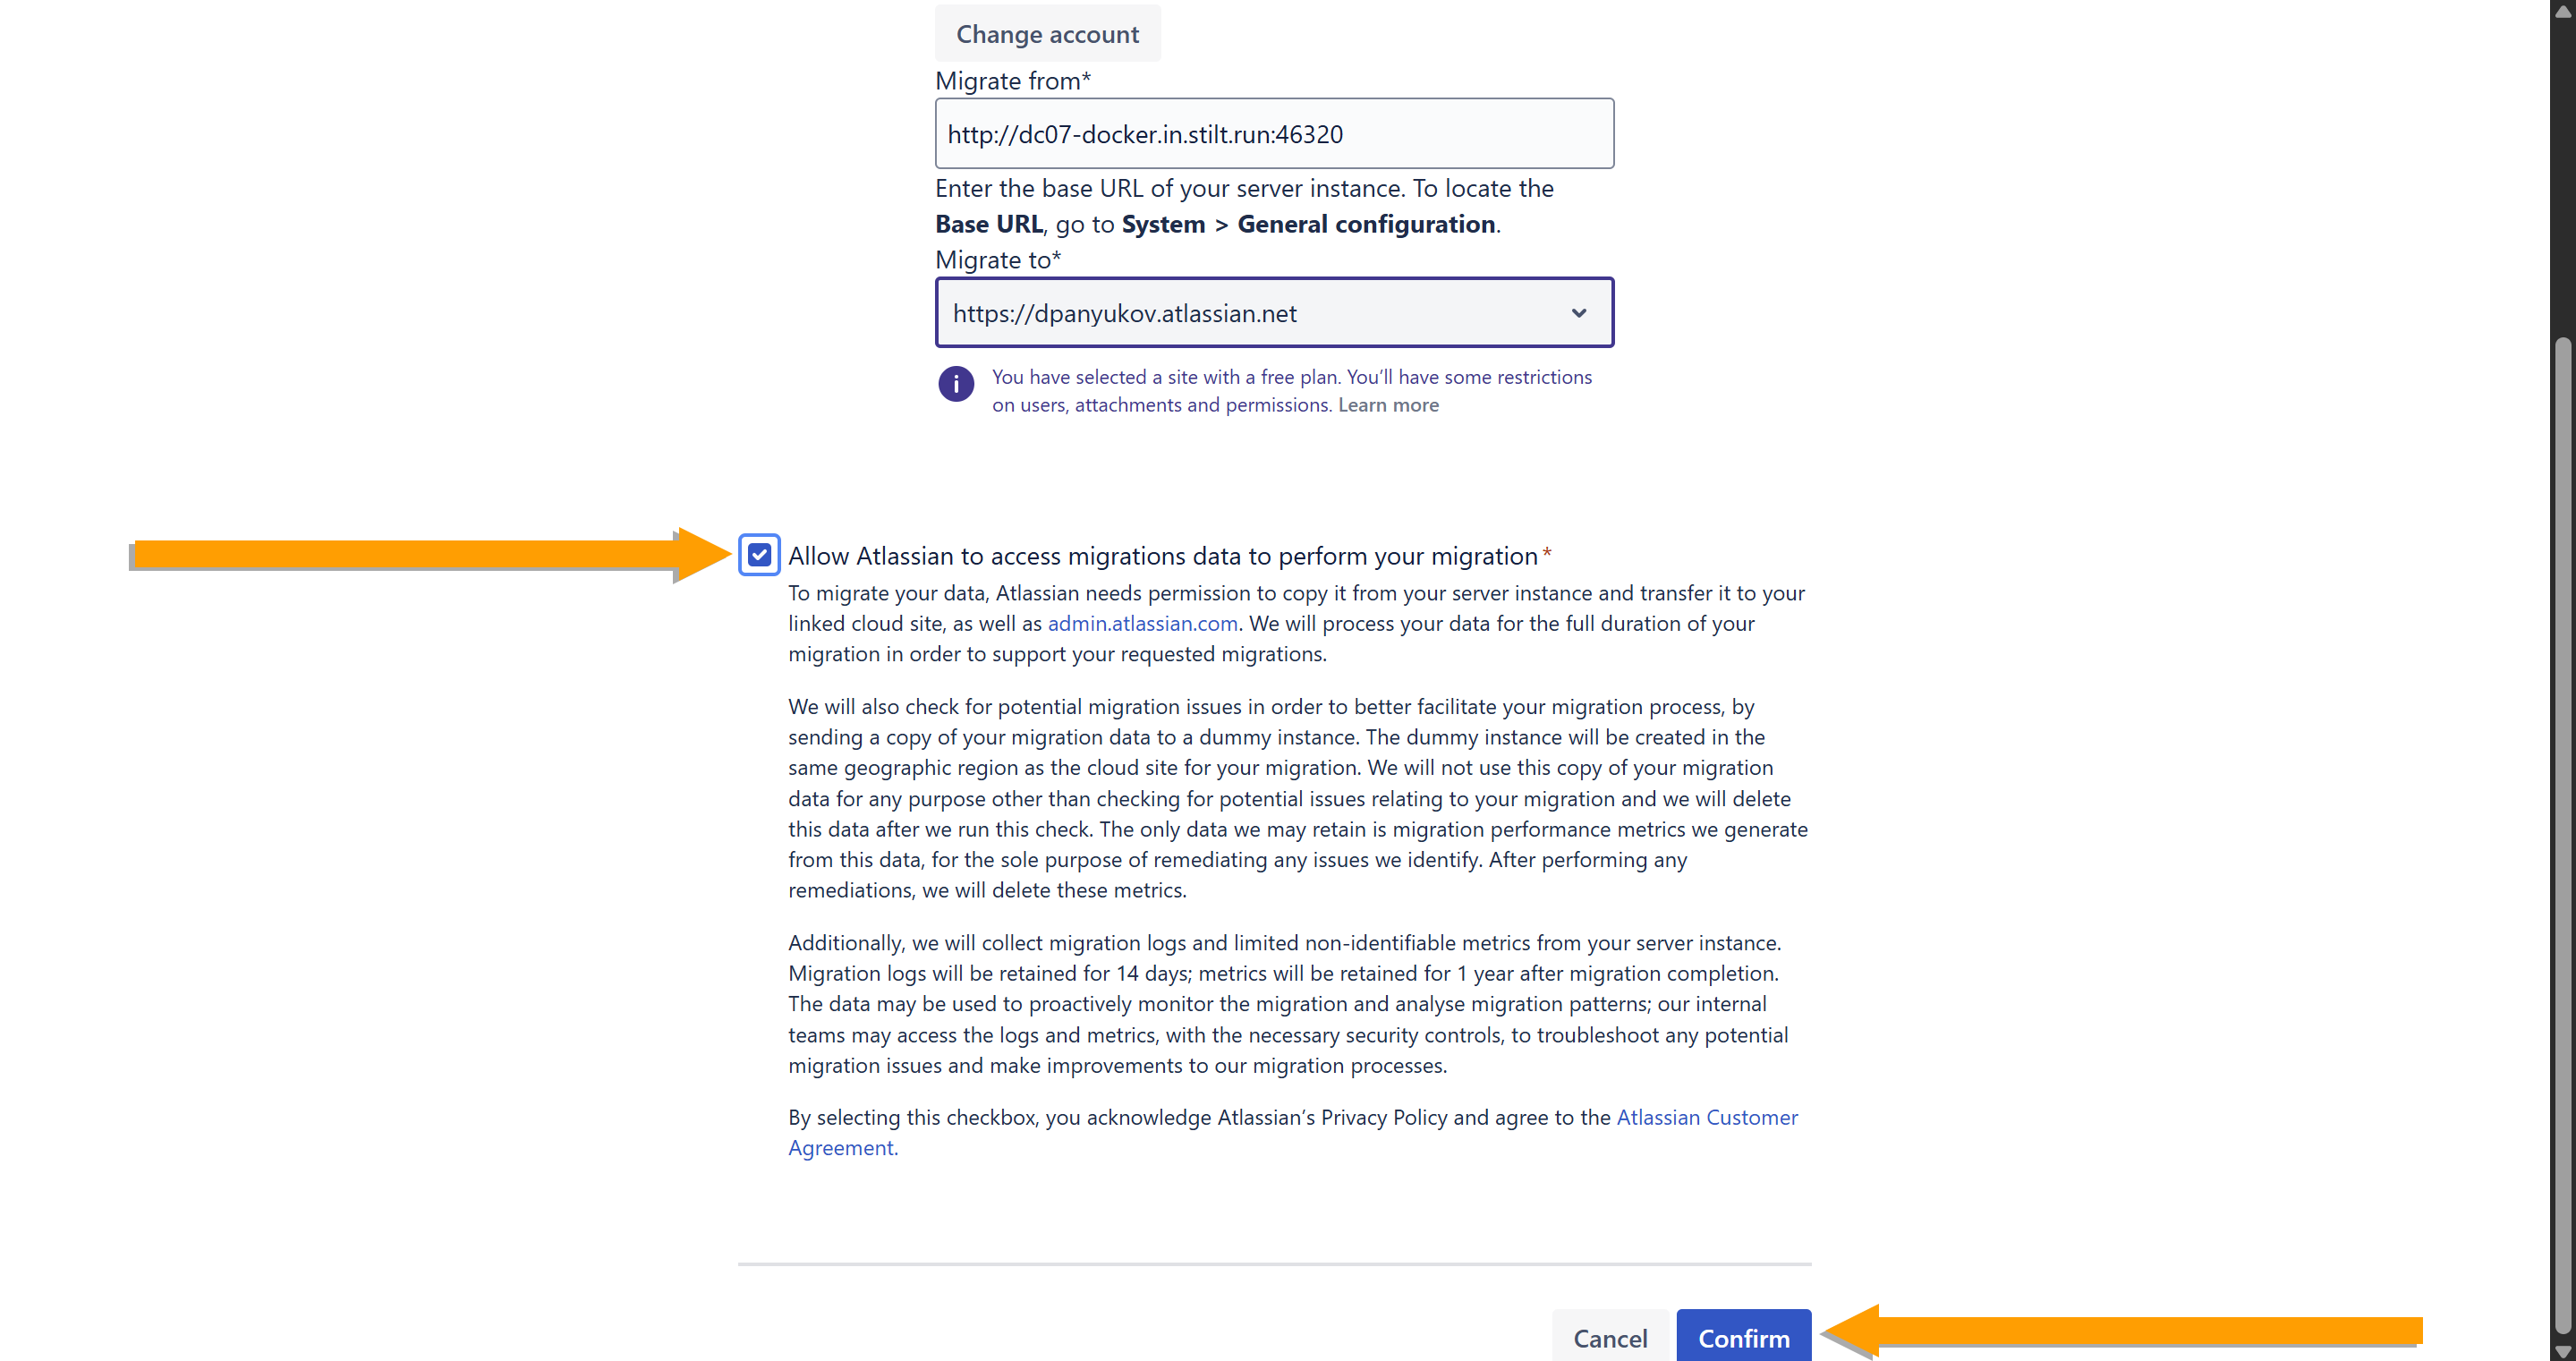
- In the Migrate from field, enter the base URL of your Server/Data Center instance.
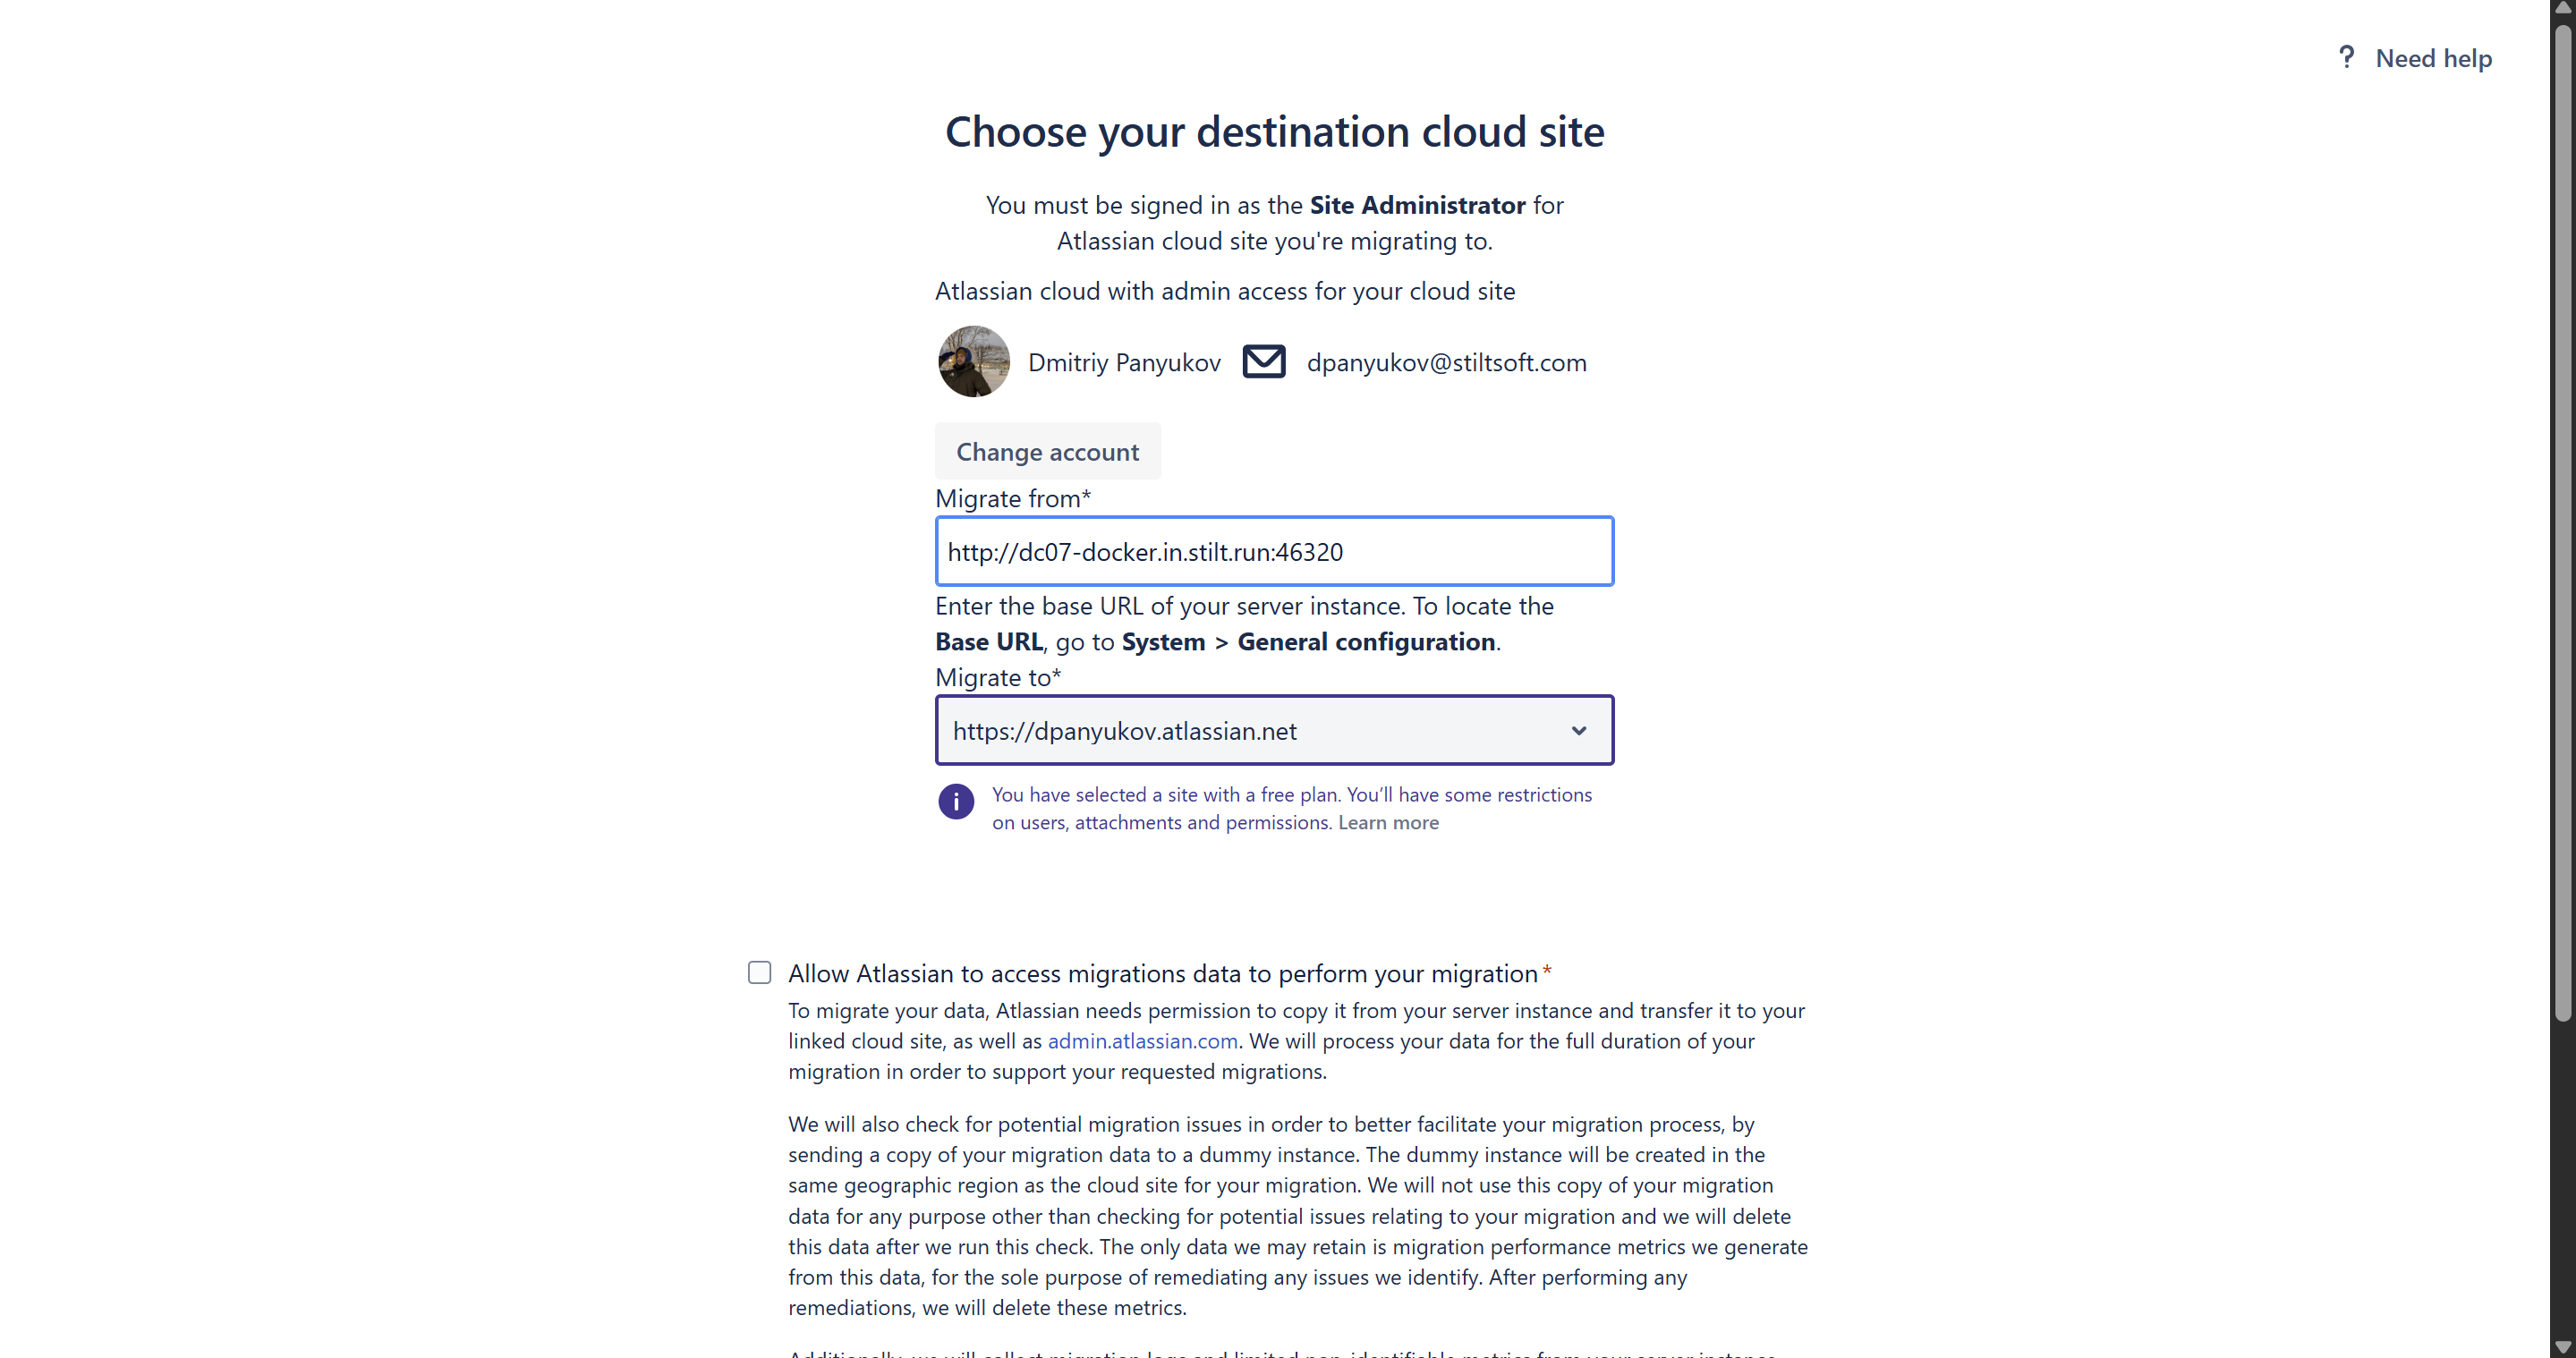
- In the Migrate to field, choose from the dropdown menu the Cloud site to which you want to migrate.
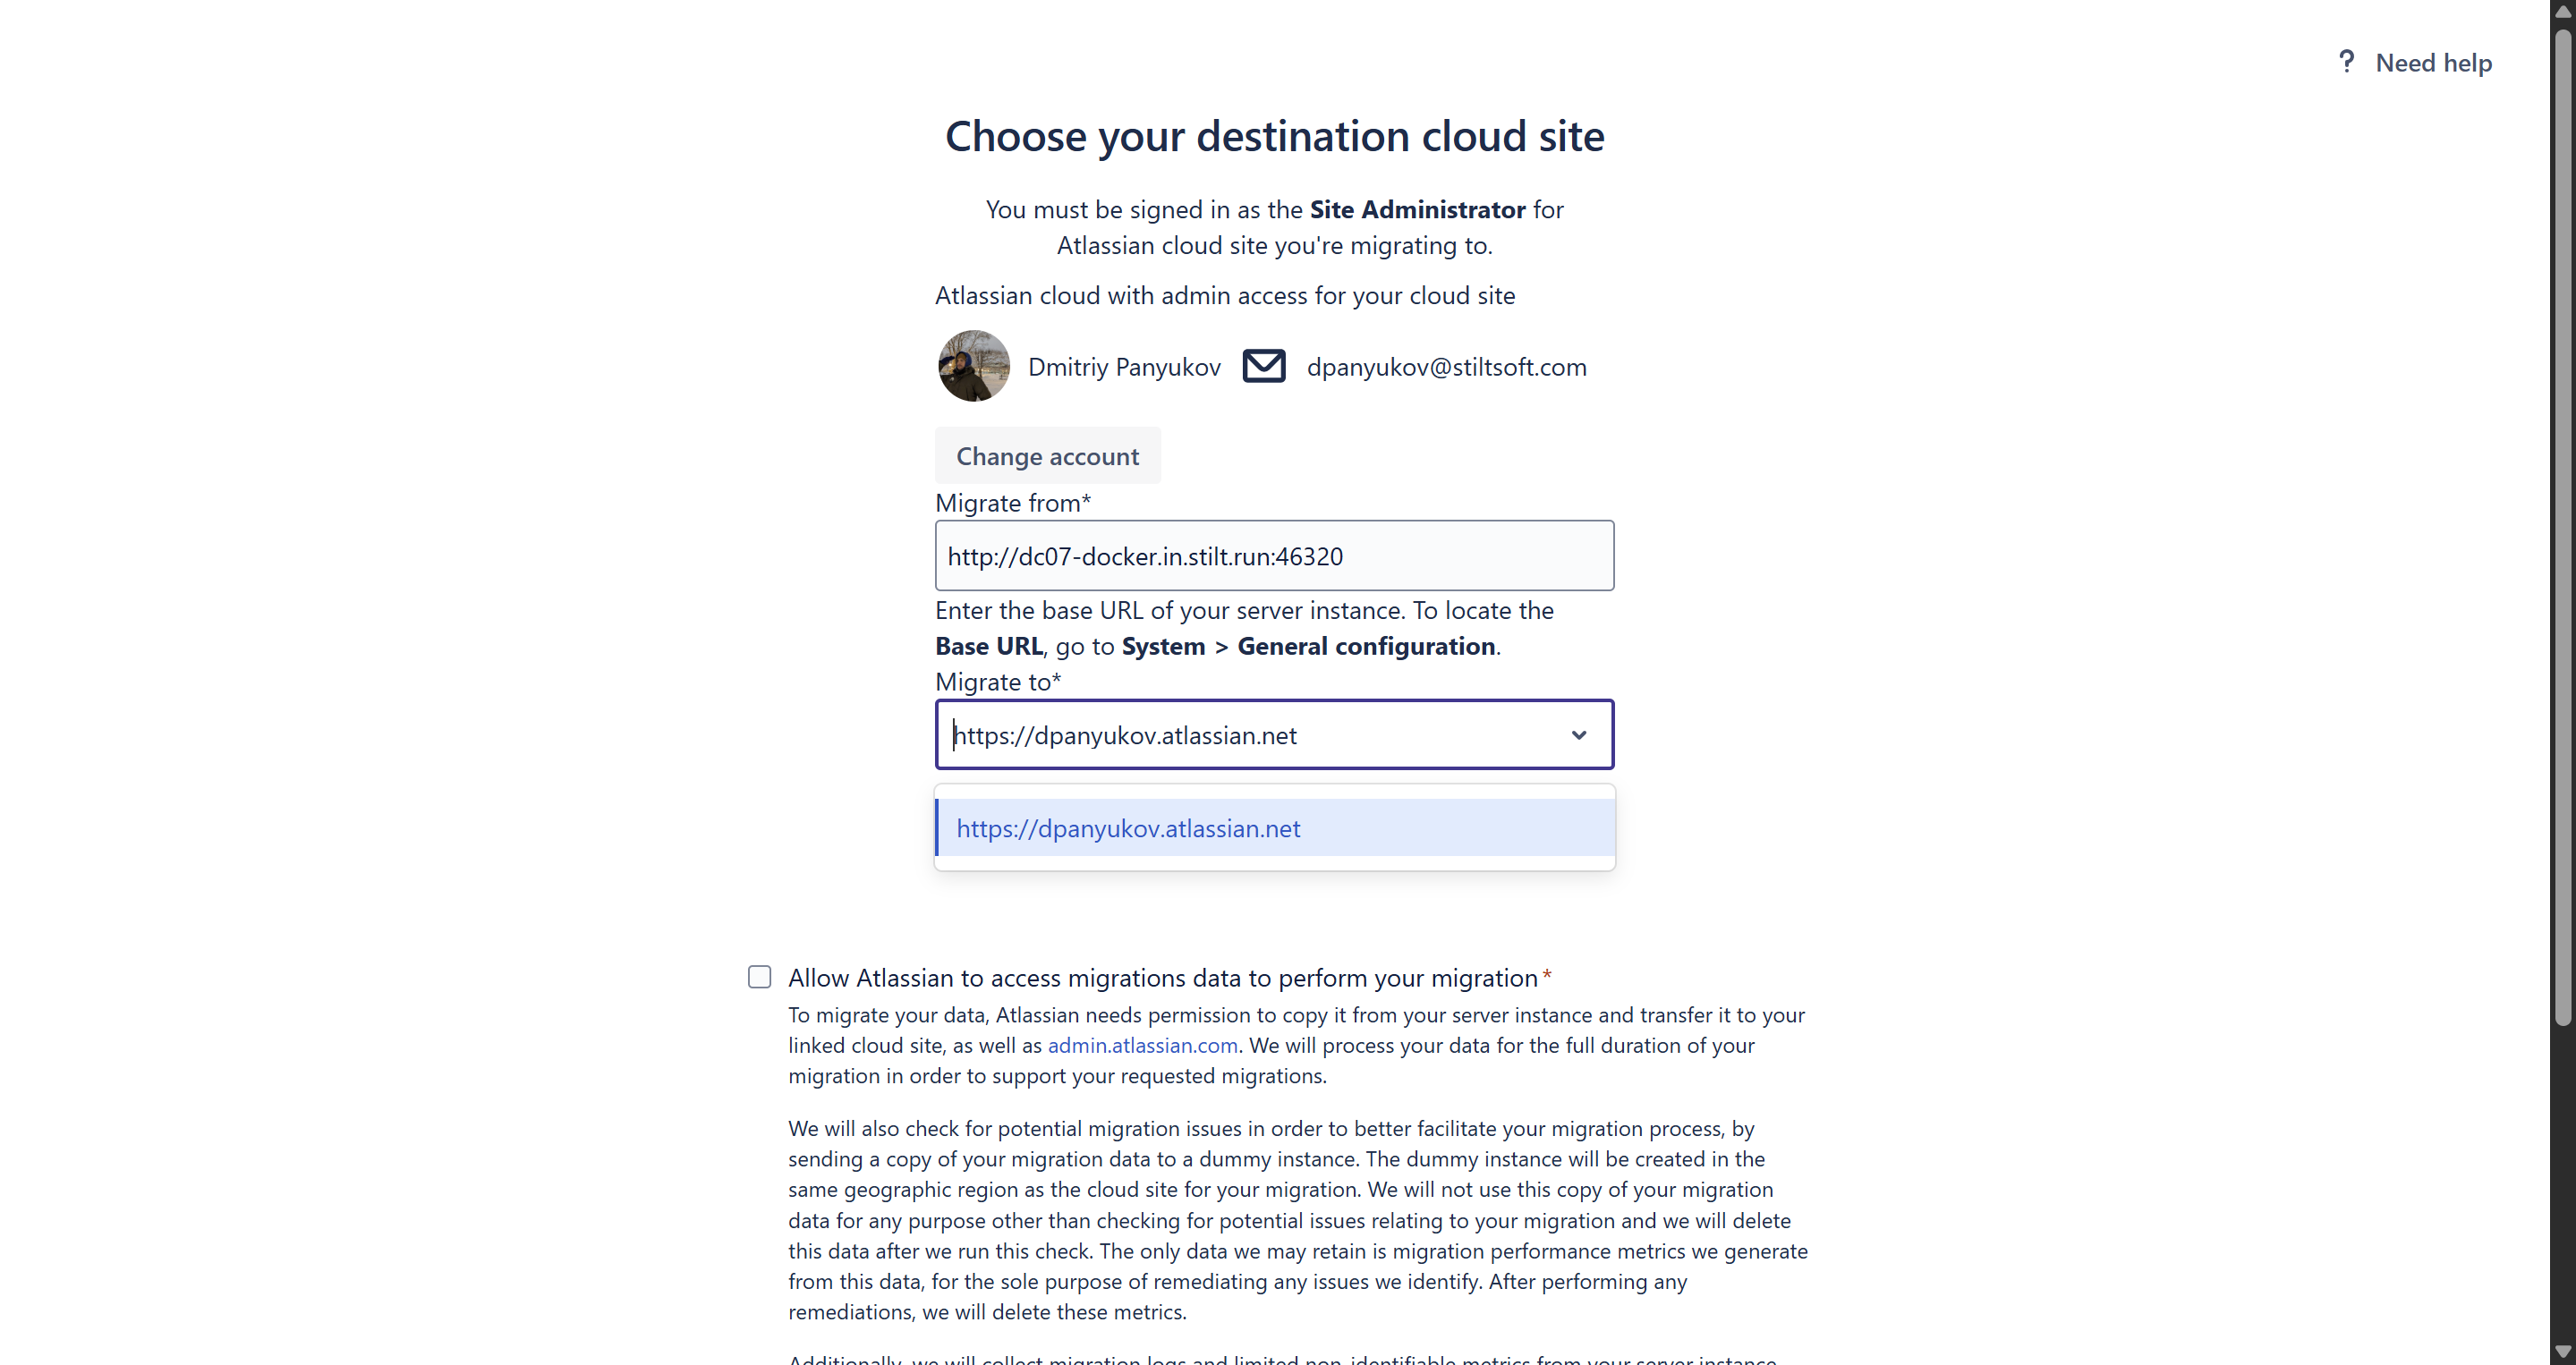
- Tick the Allow Atlassian to access migrations data to perform your migration box and click Confirm.
- You will be redirected back to the Connect to cloud page. Click Continue.
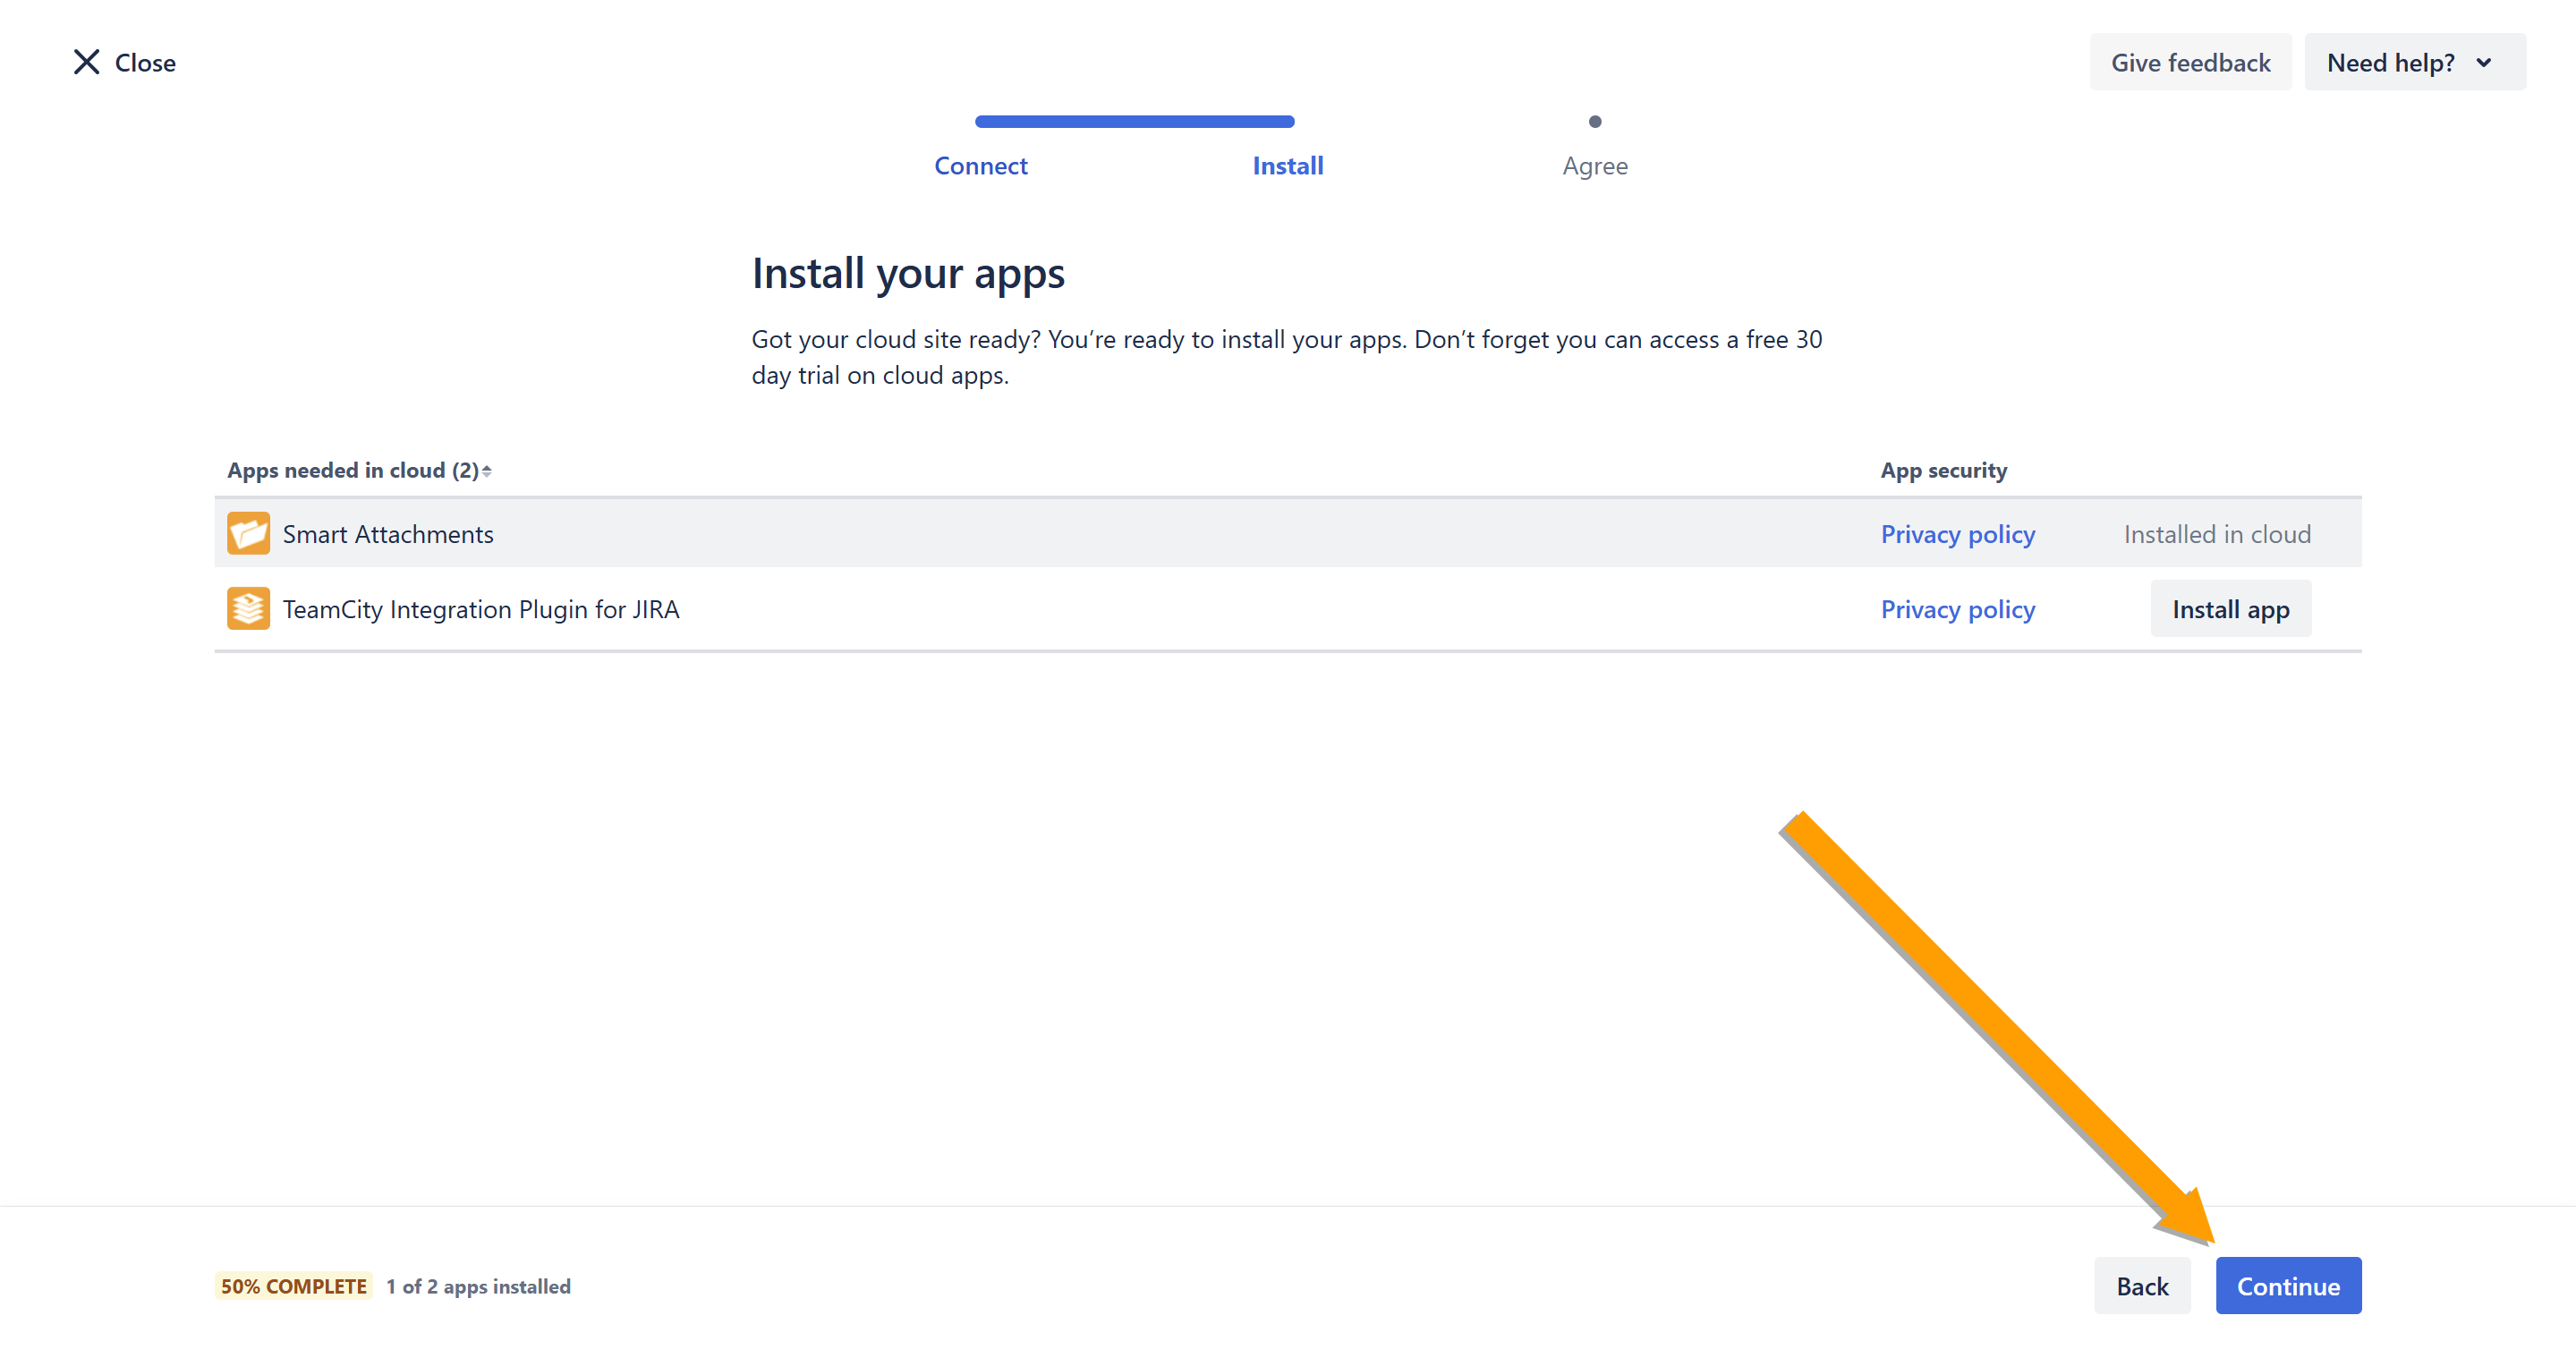
- If needed, install the app by clicking Install app. Once all apps are installed, click Continue.
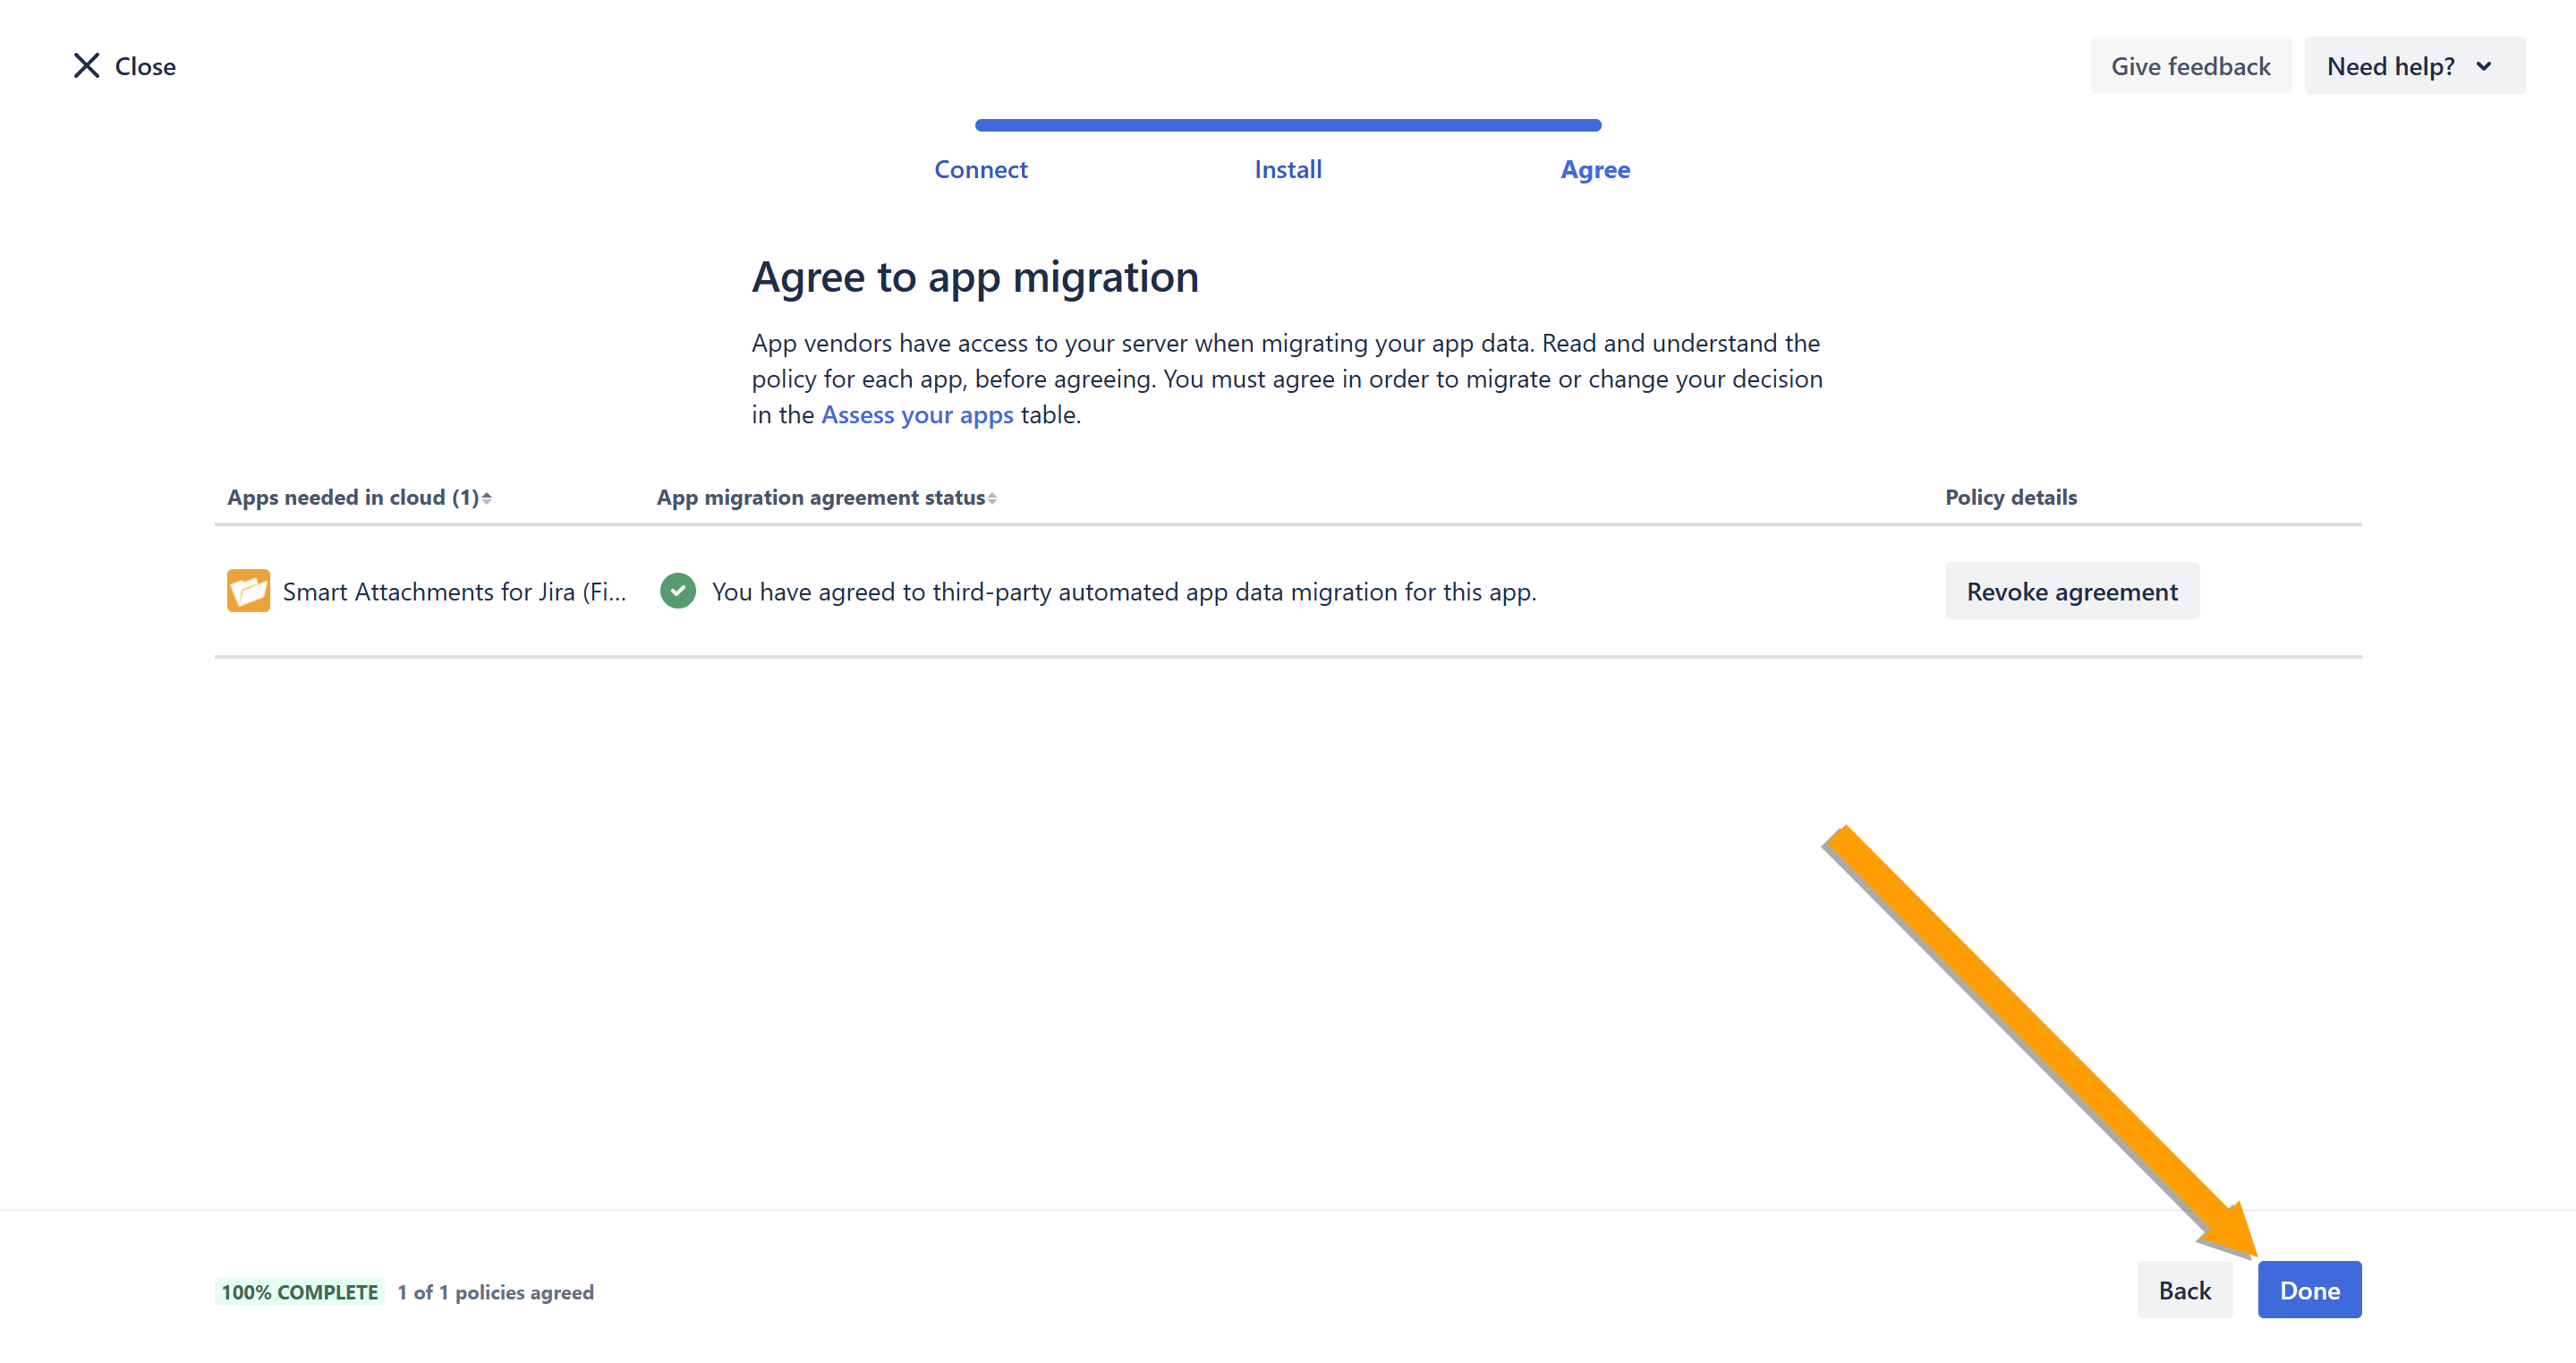
- Click View policy.
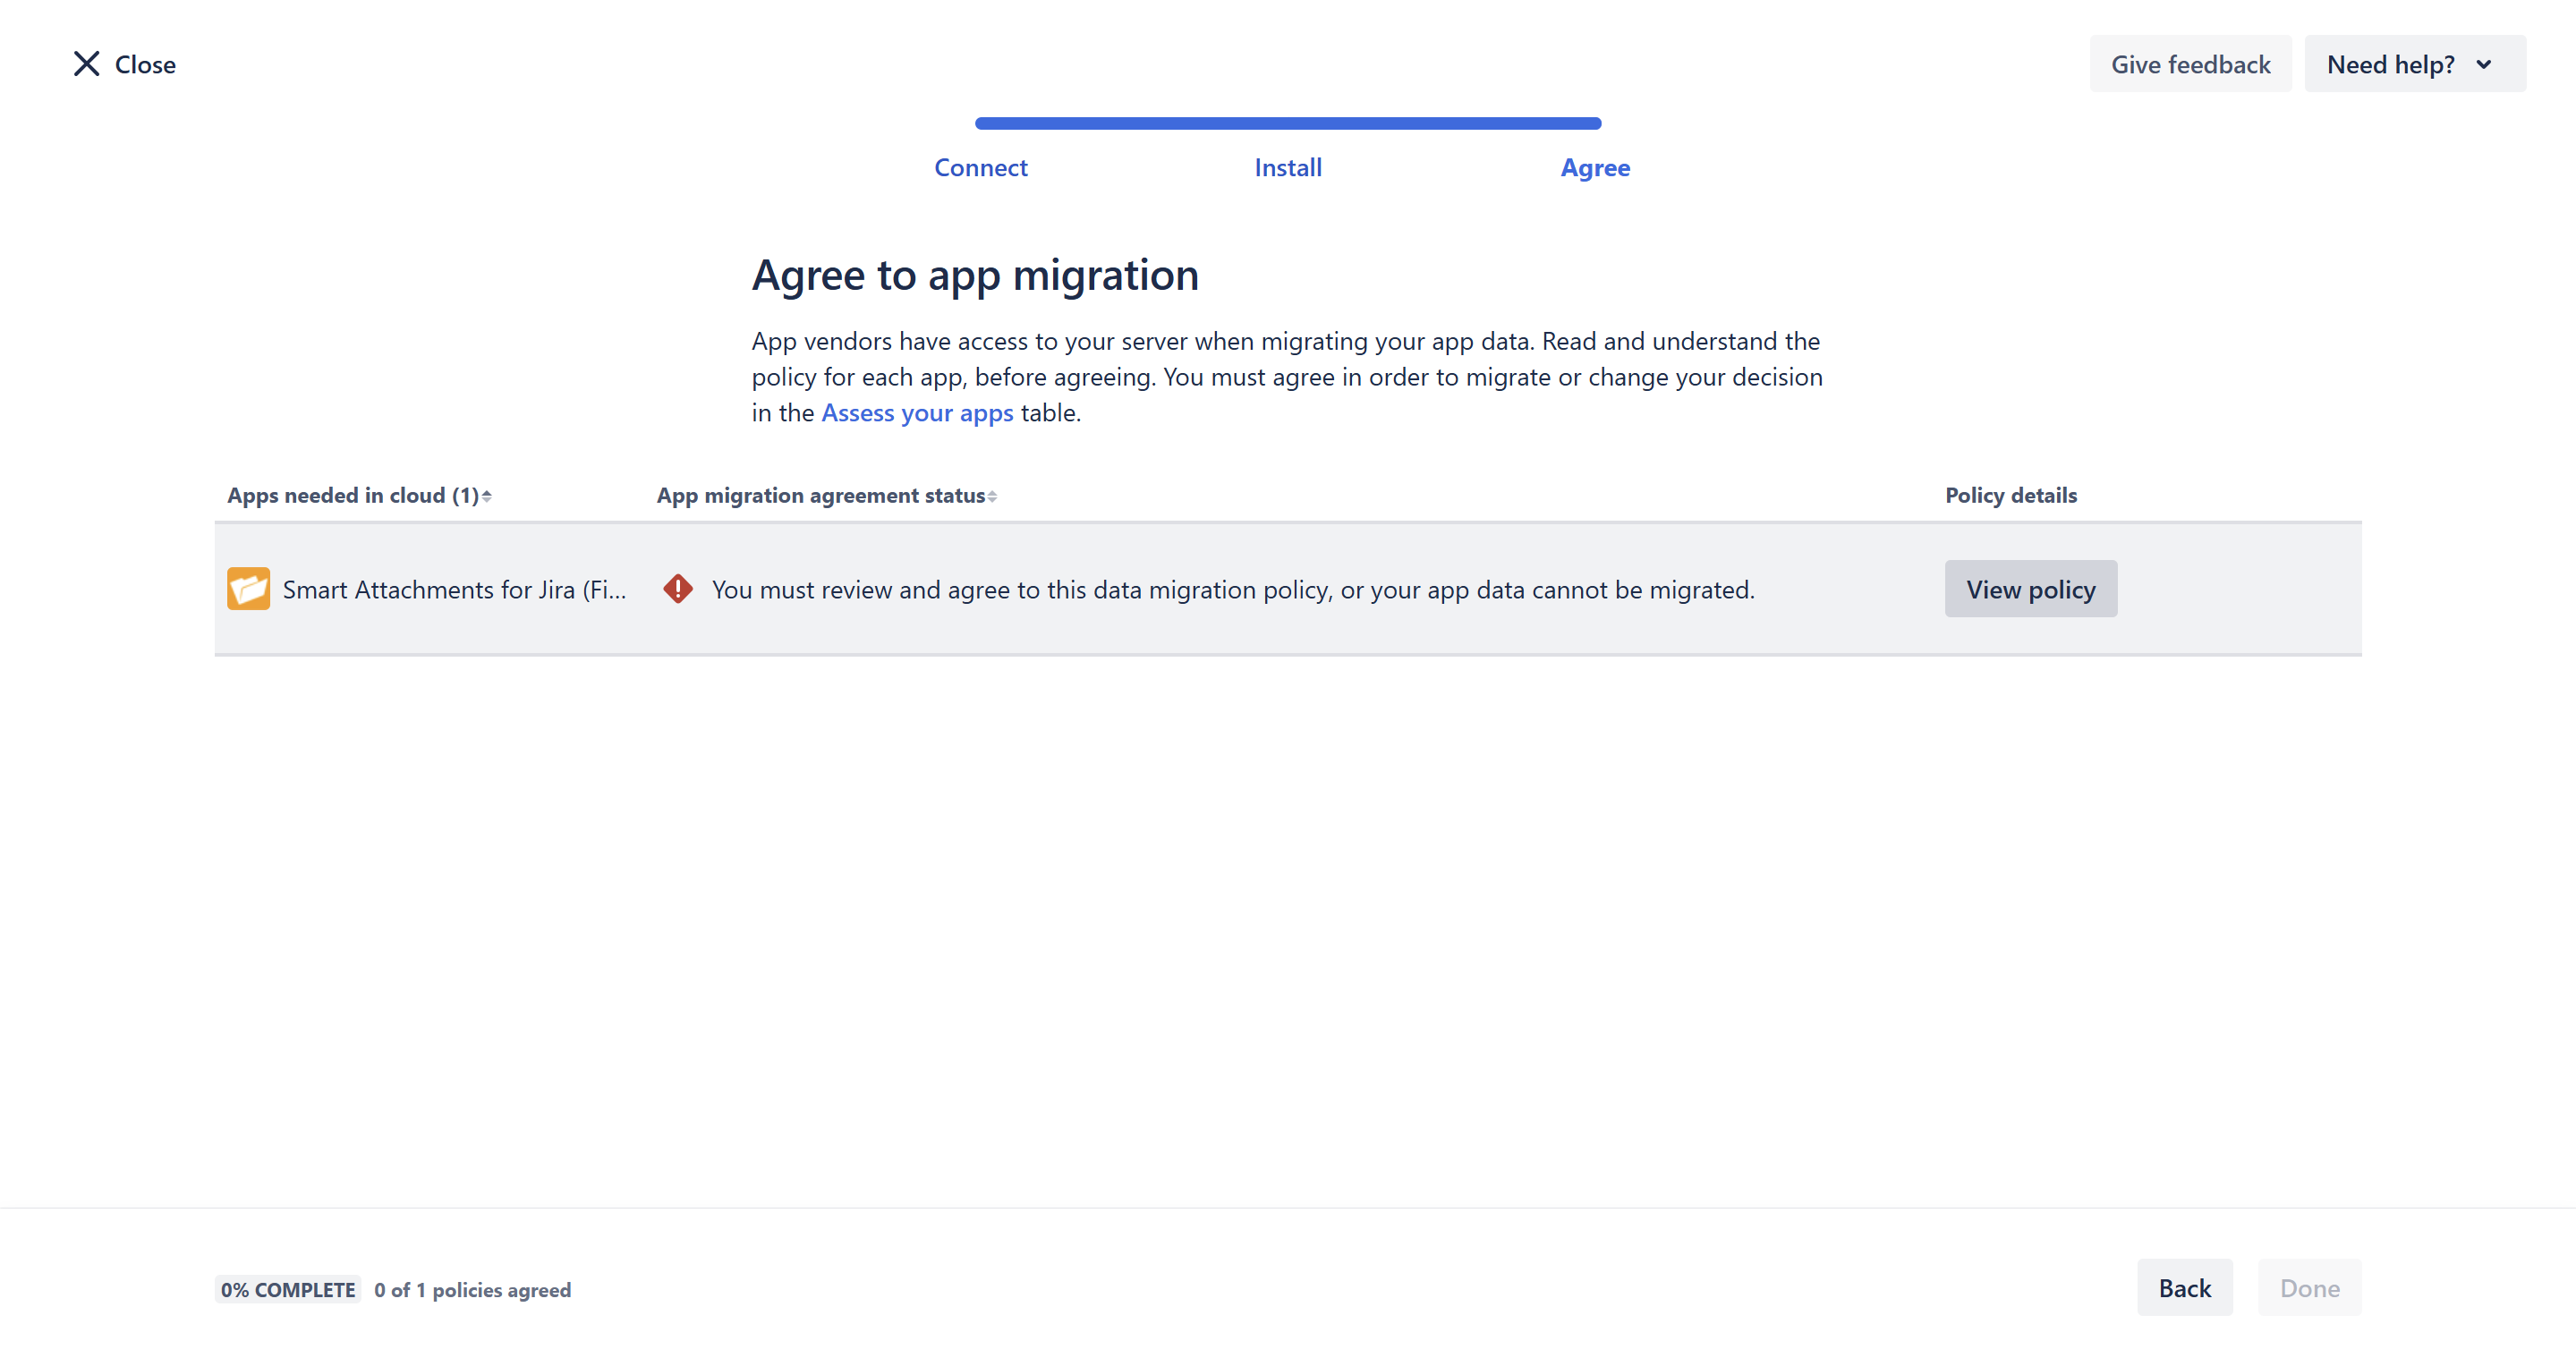
- Click Confirm.
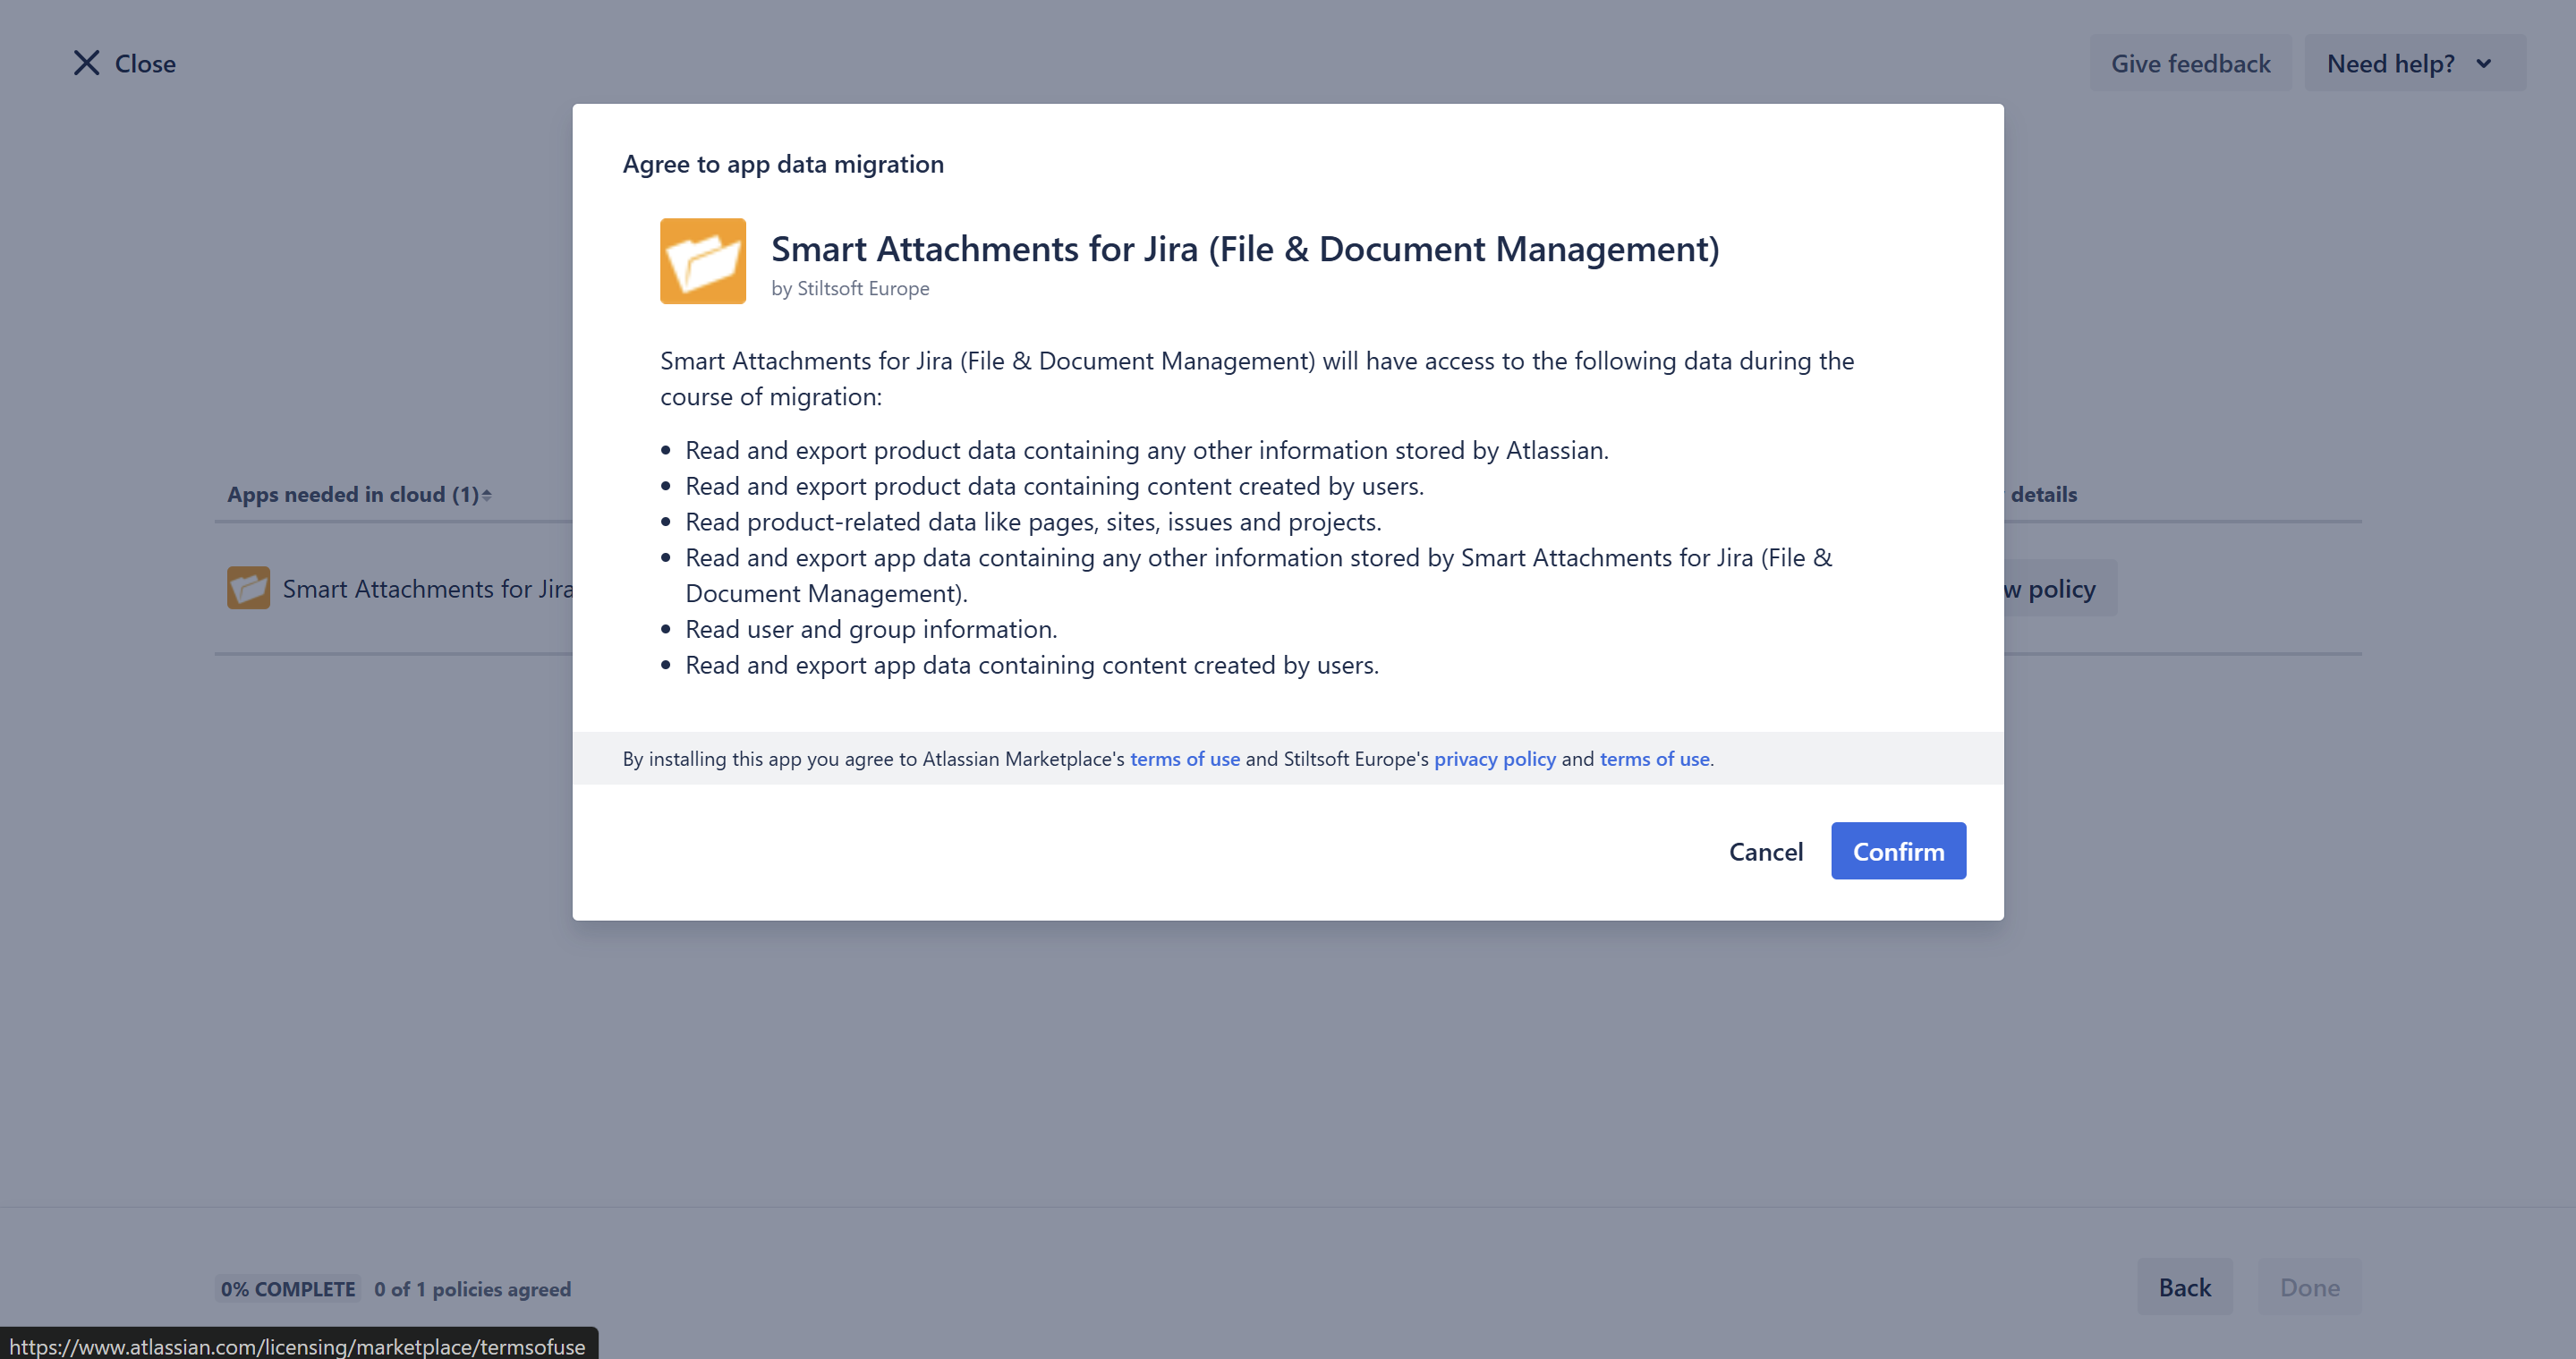
- Click Done.
Migrate your data
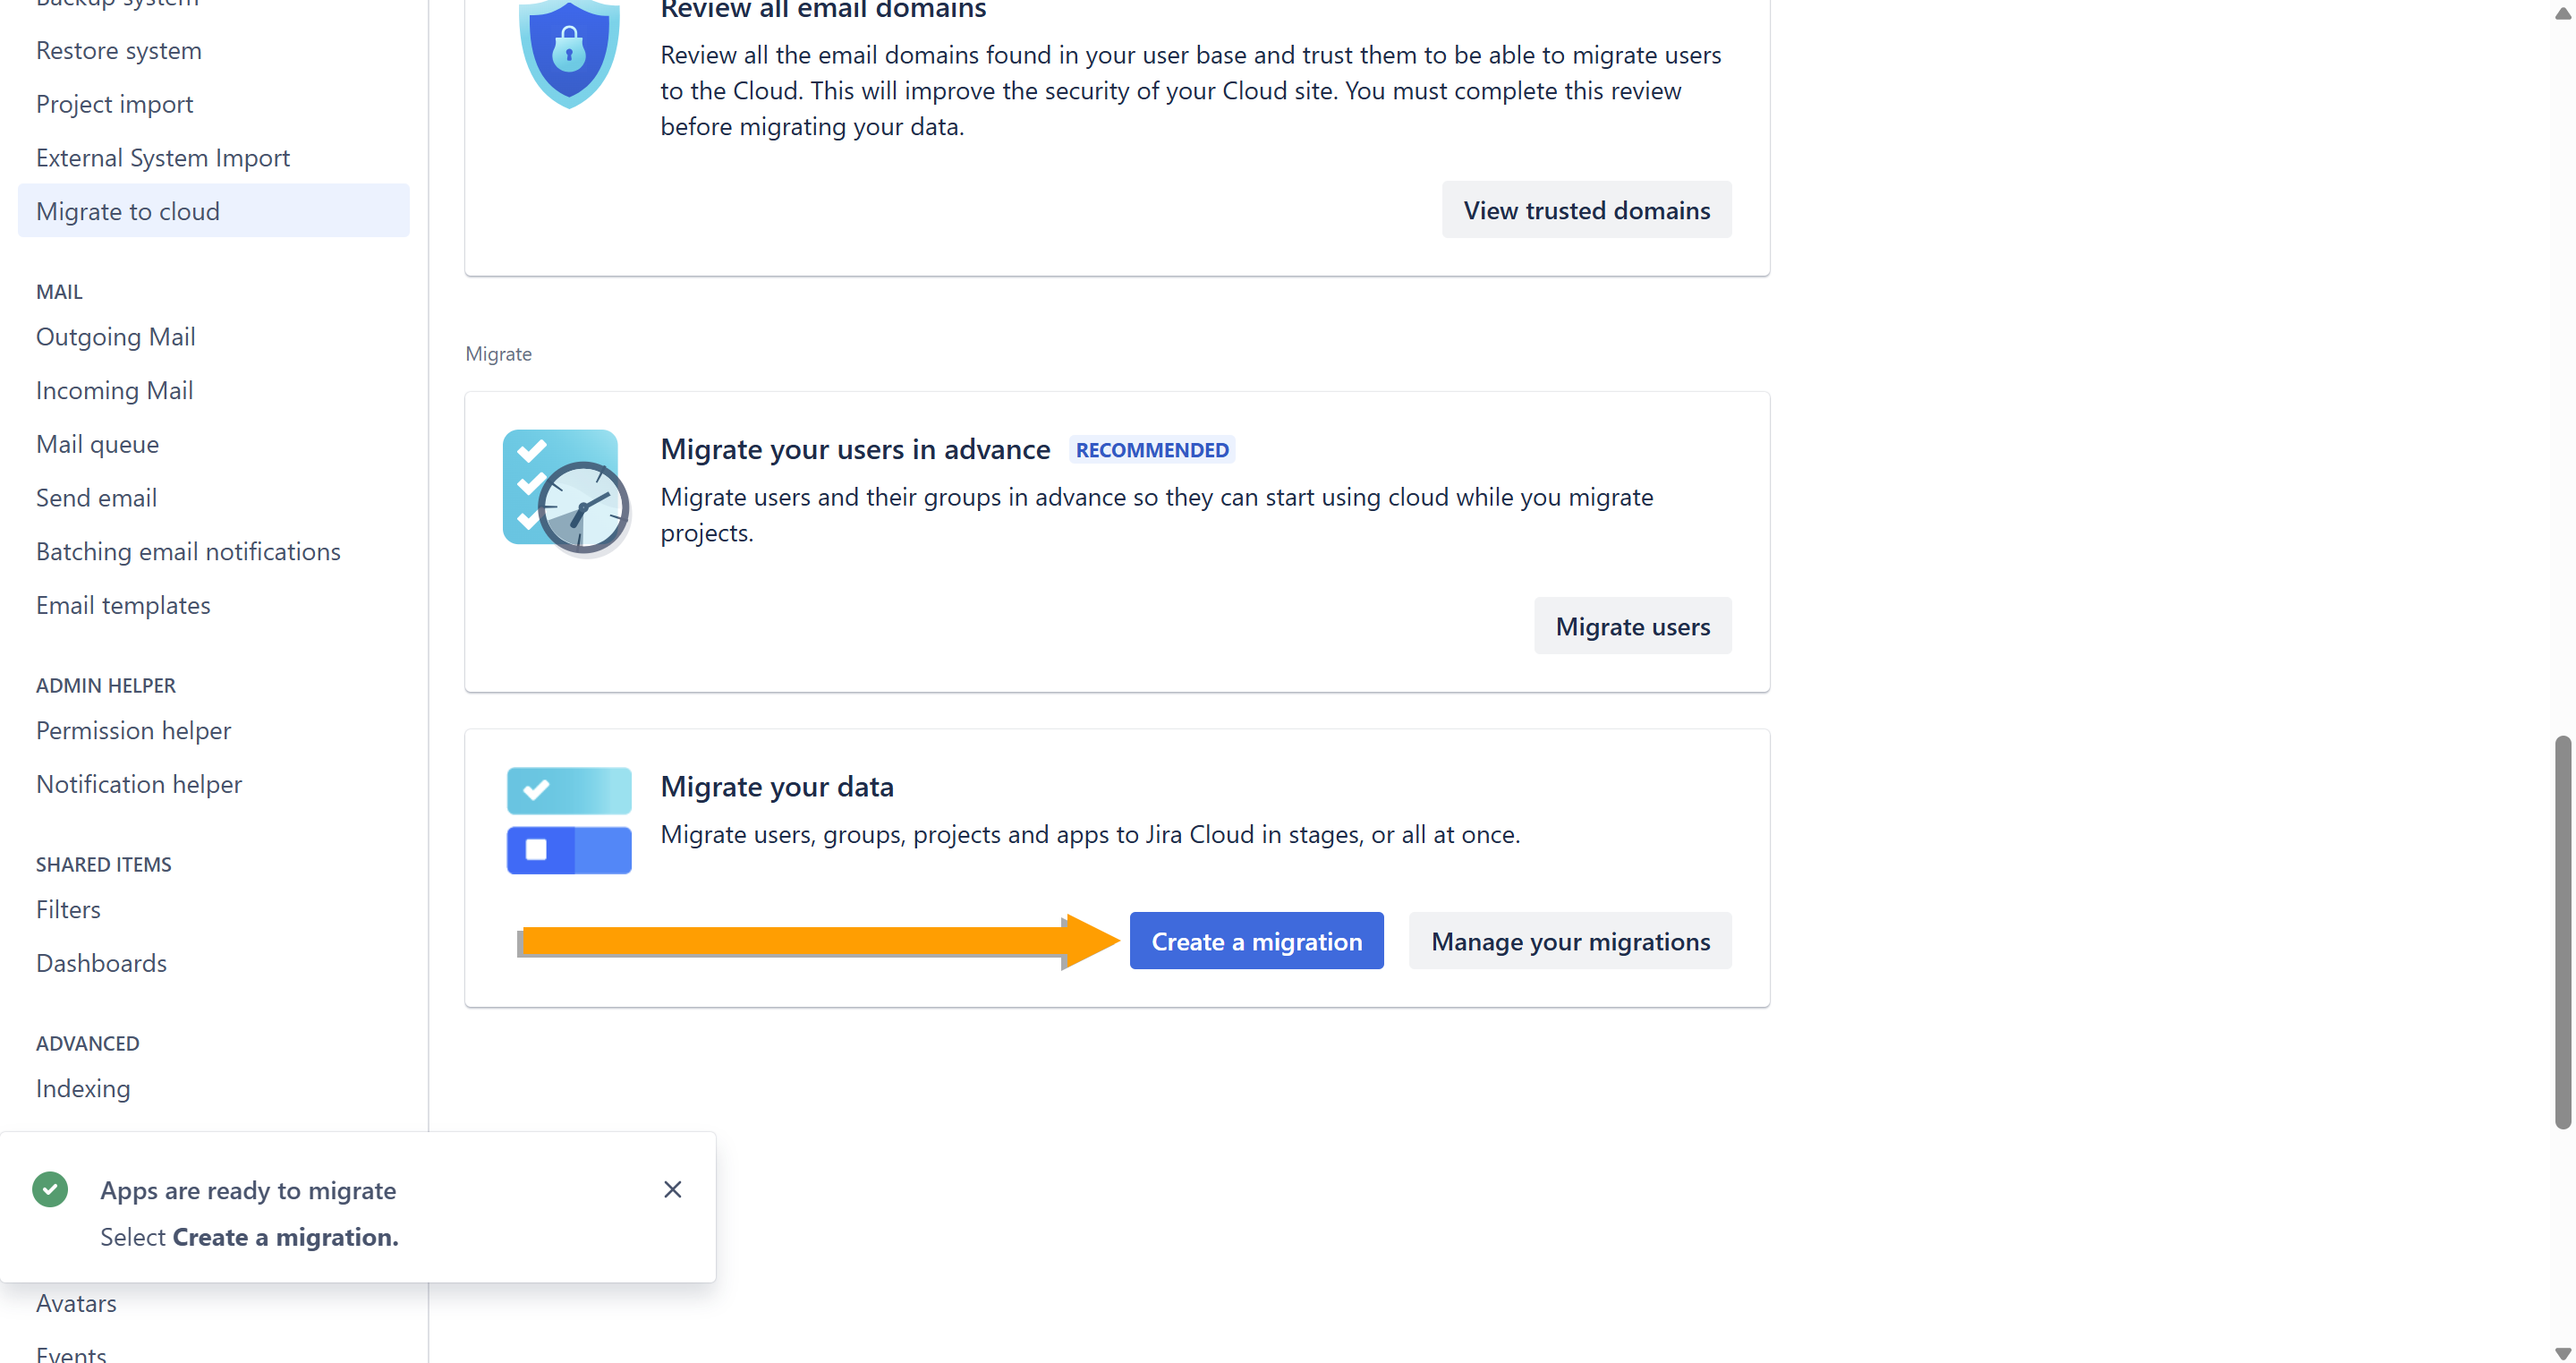
- Go to Jira Administration > System.
- On the navigation sidebar, select Migrate to cloud.
- On the opened page, in the Migrate your data box, click Create a migration.
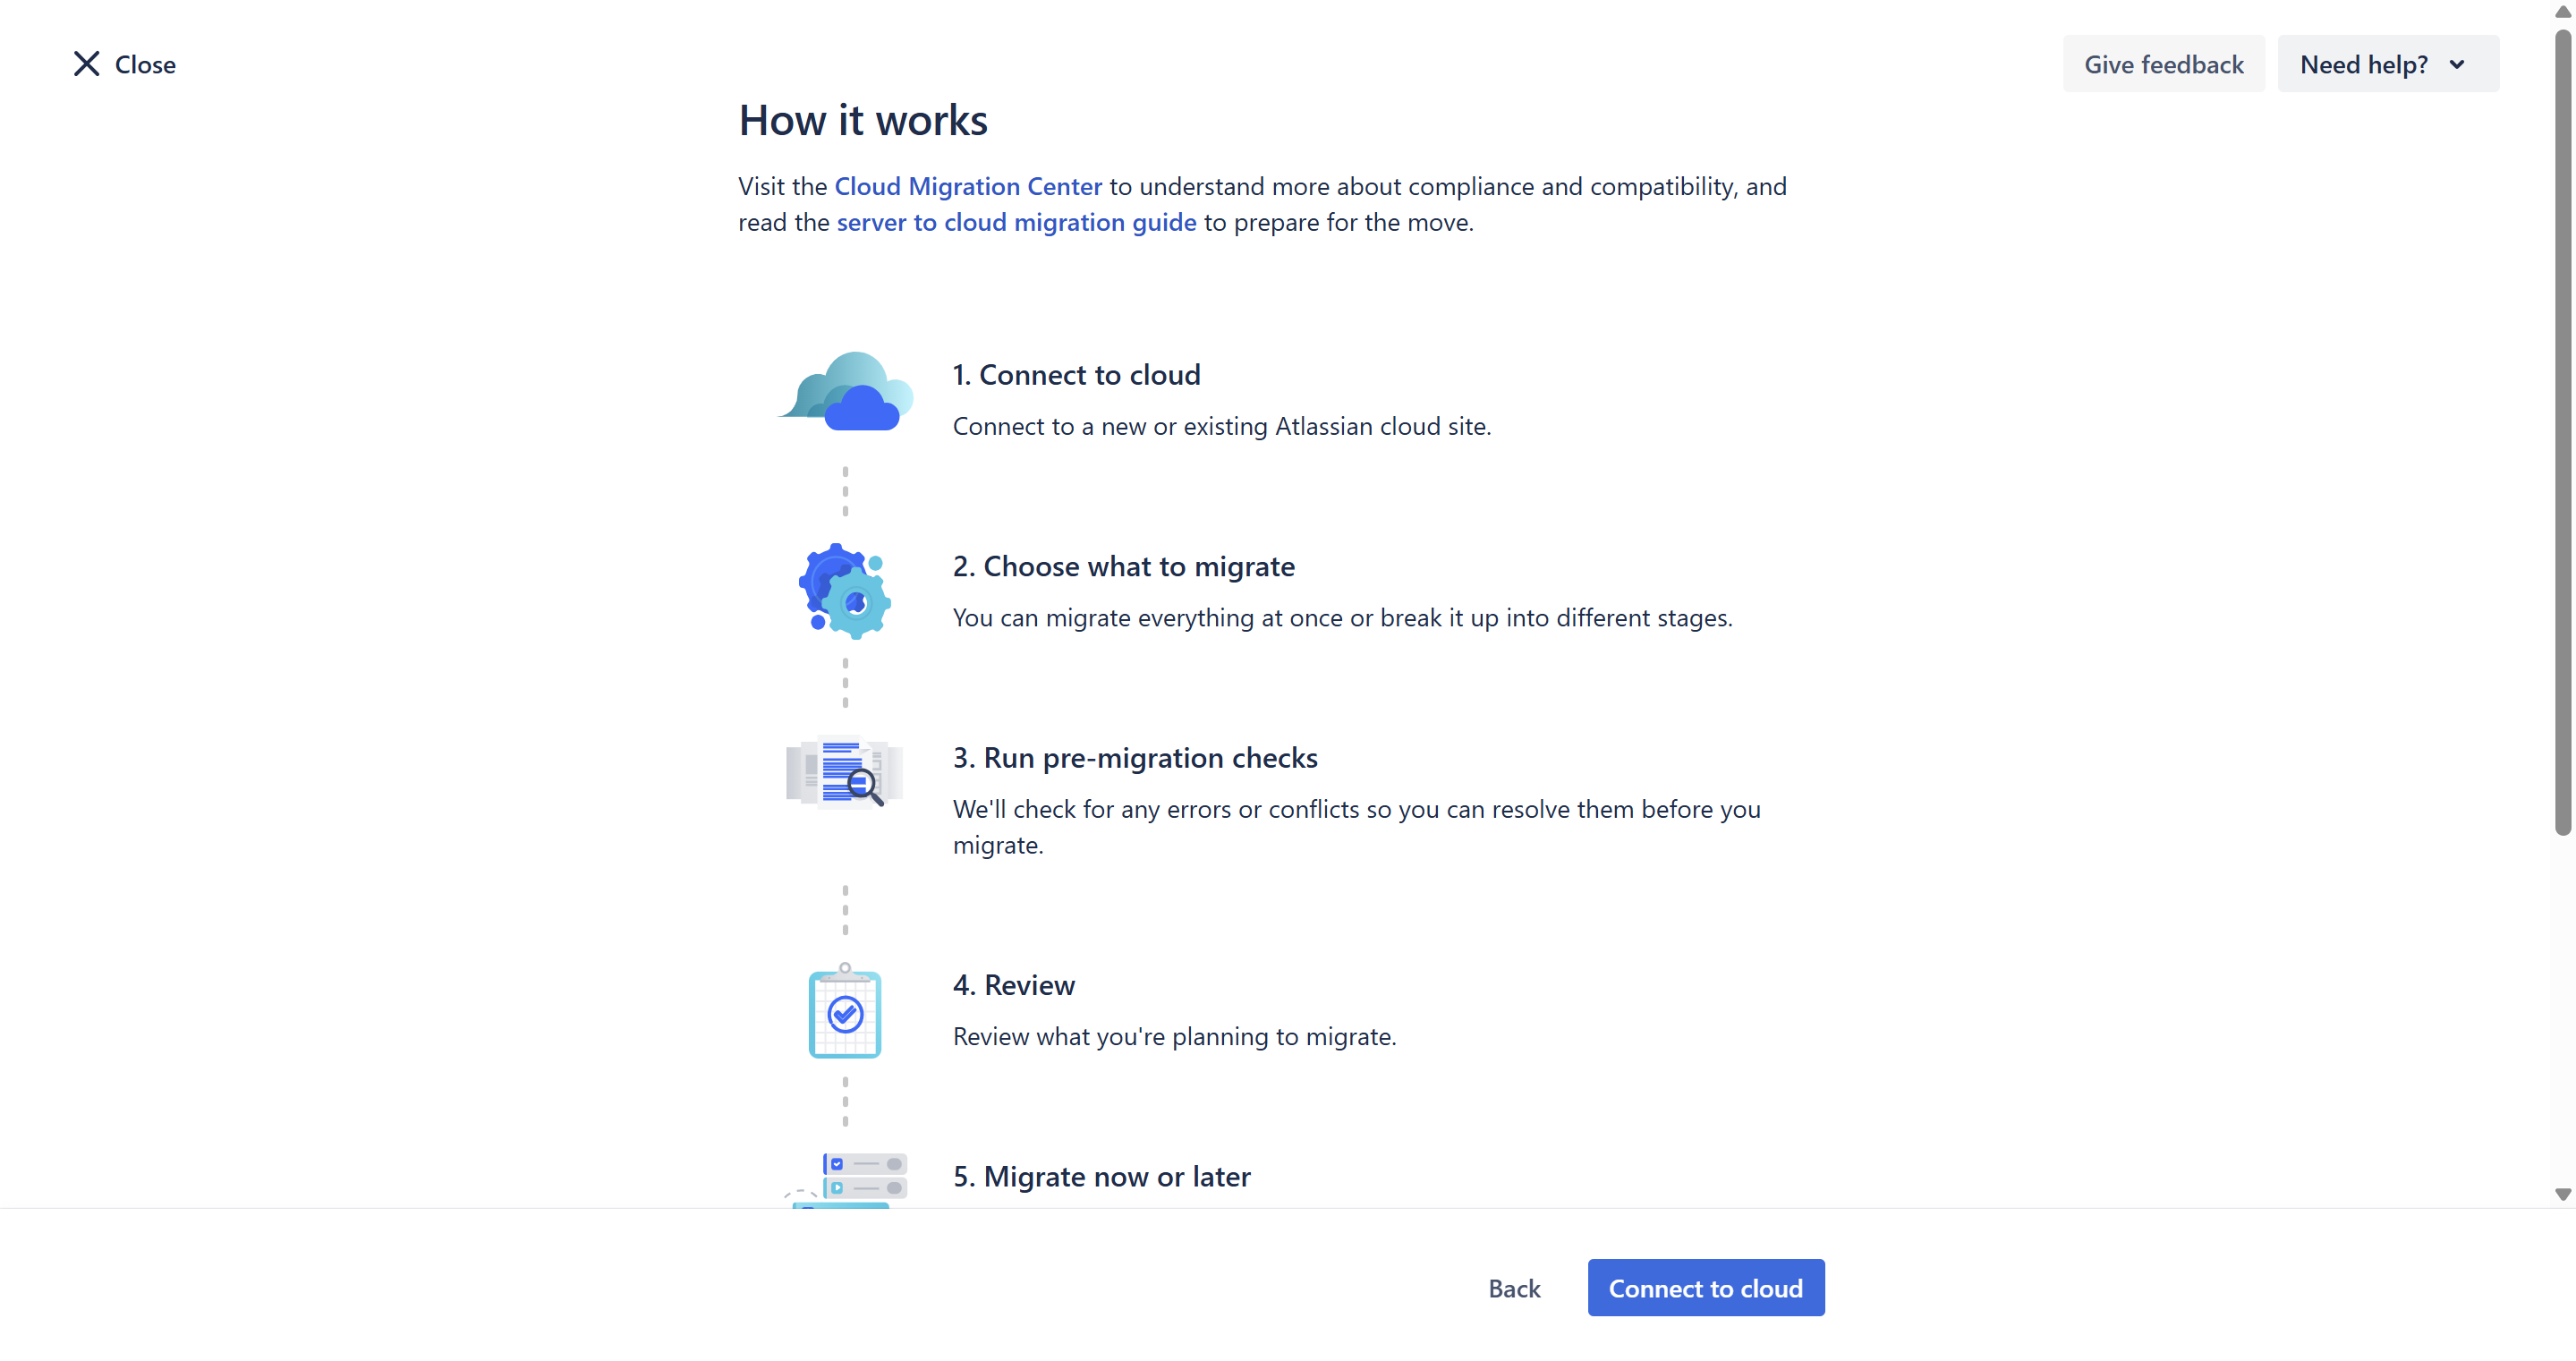
- Click Connect to cloud.
- Name your migration.
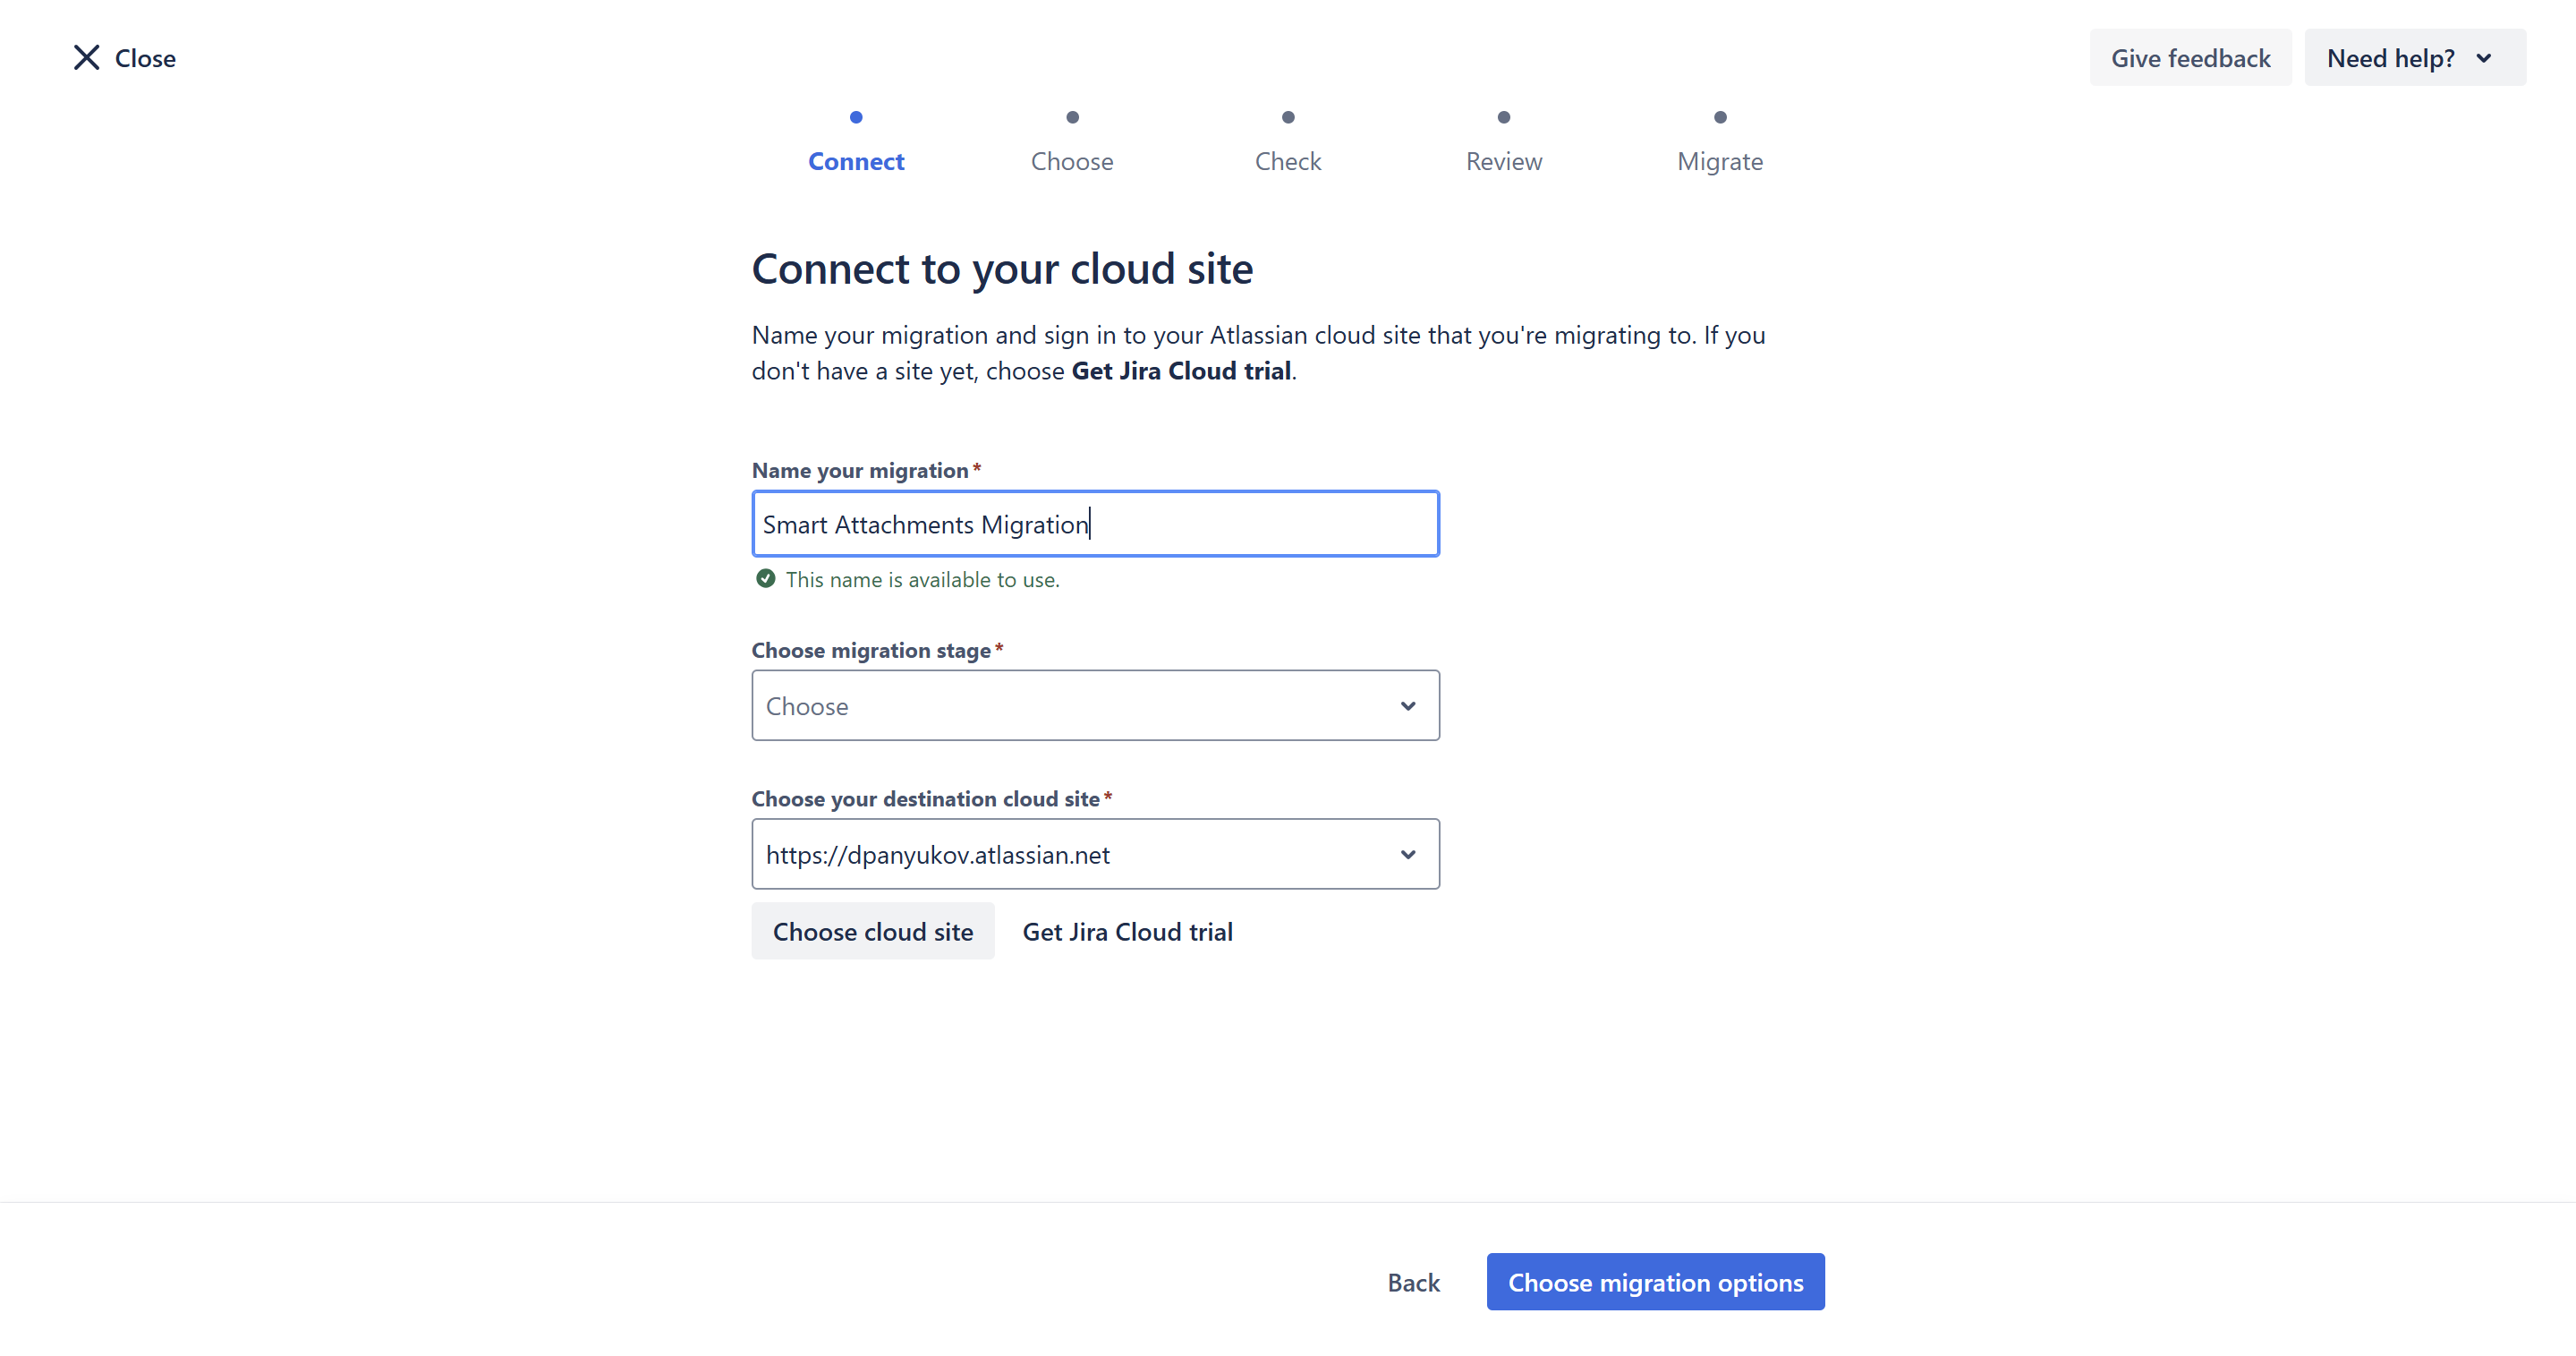
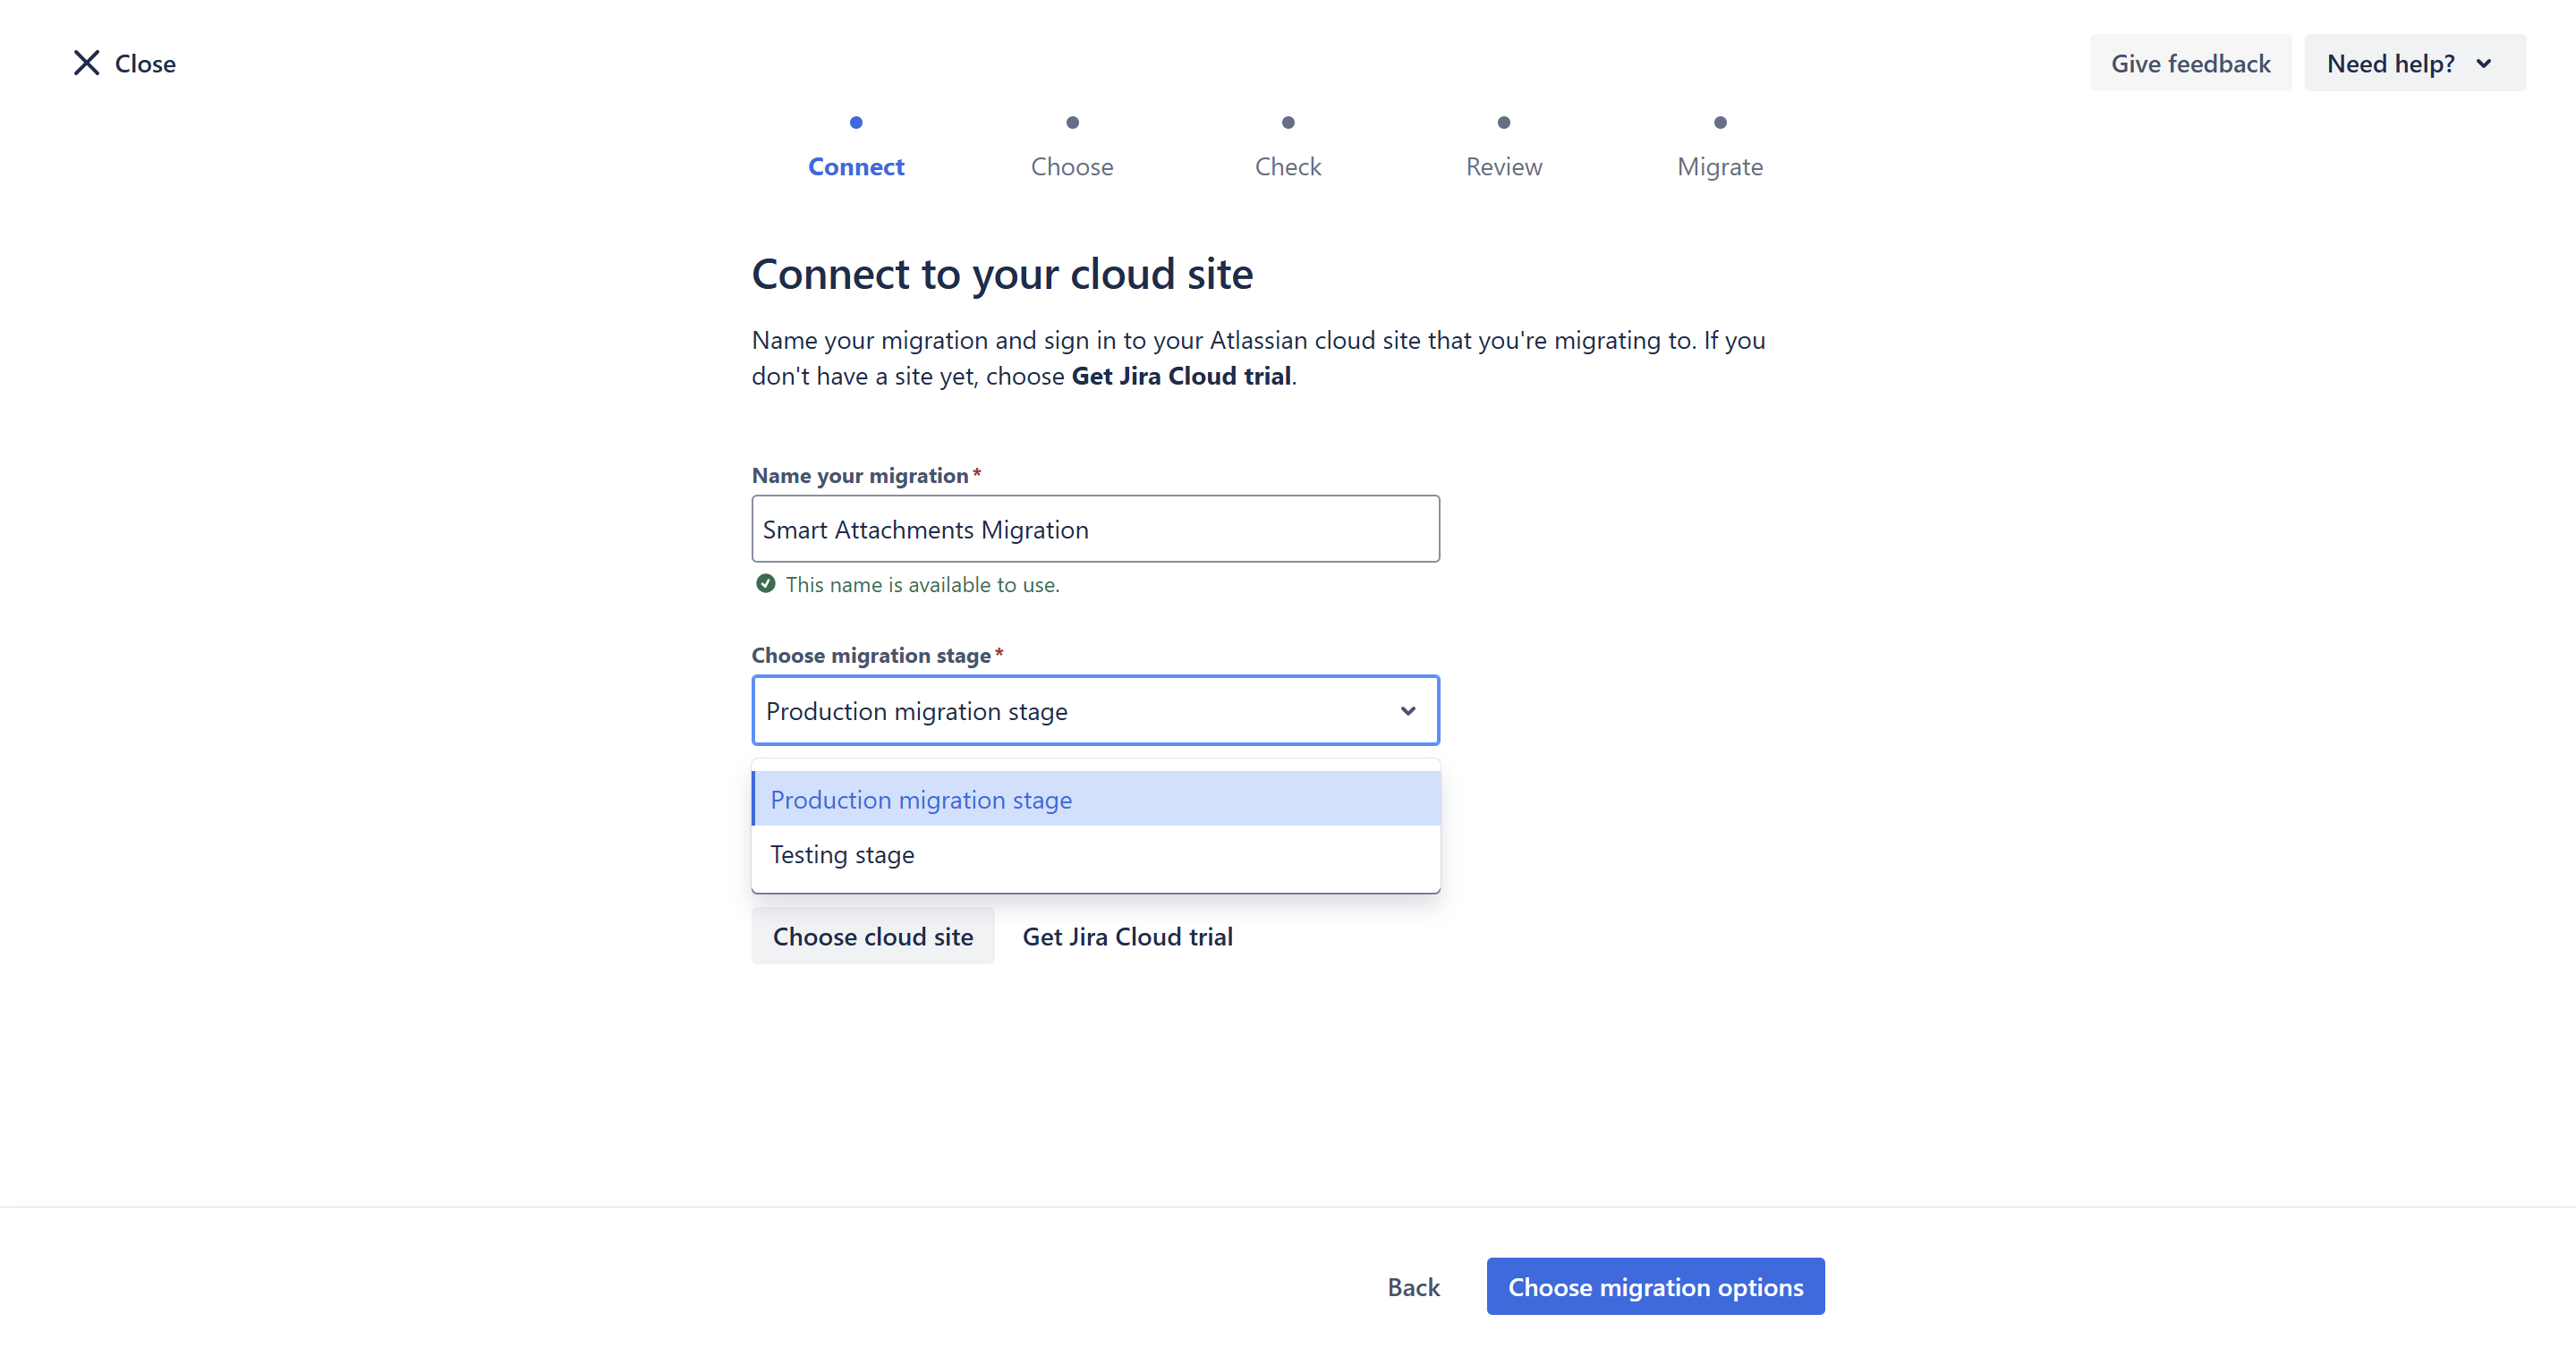
- Choose the migration stage.
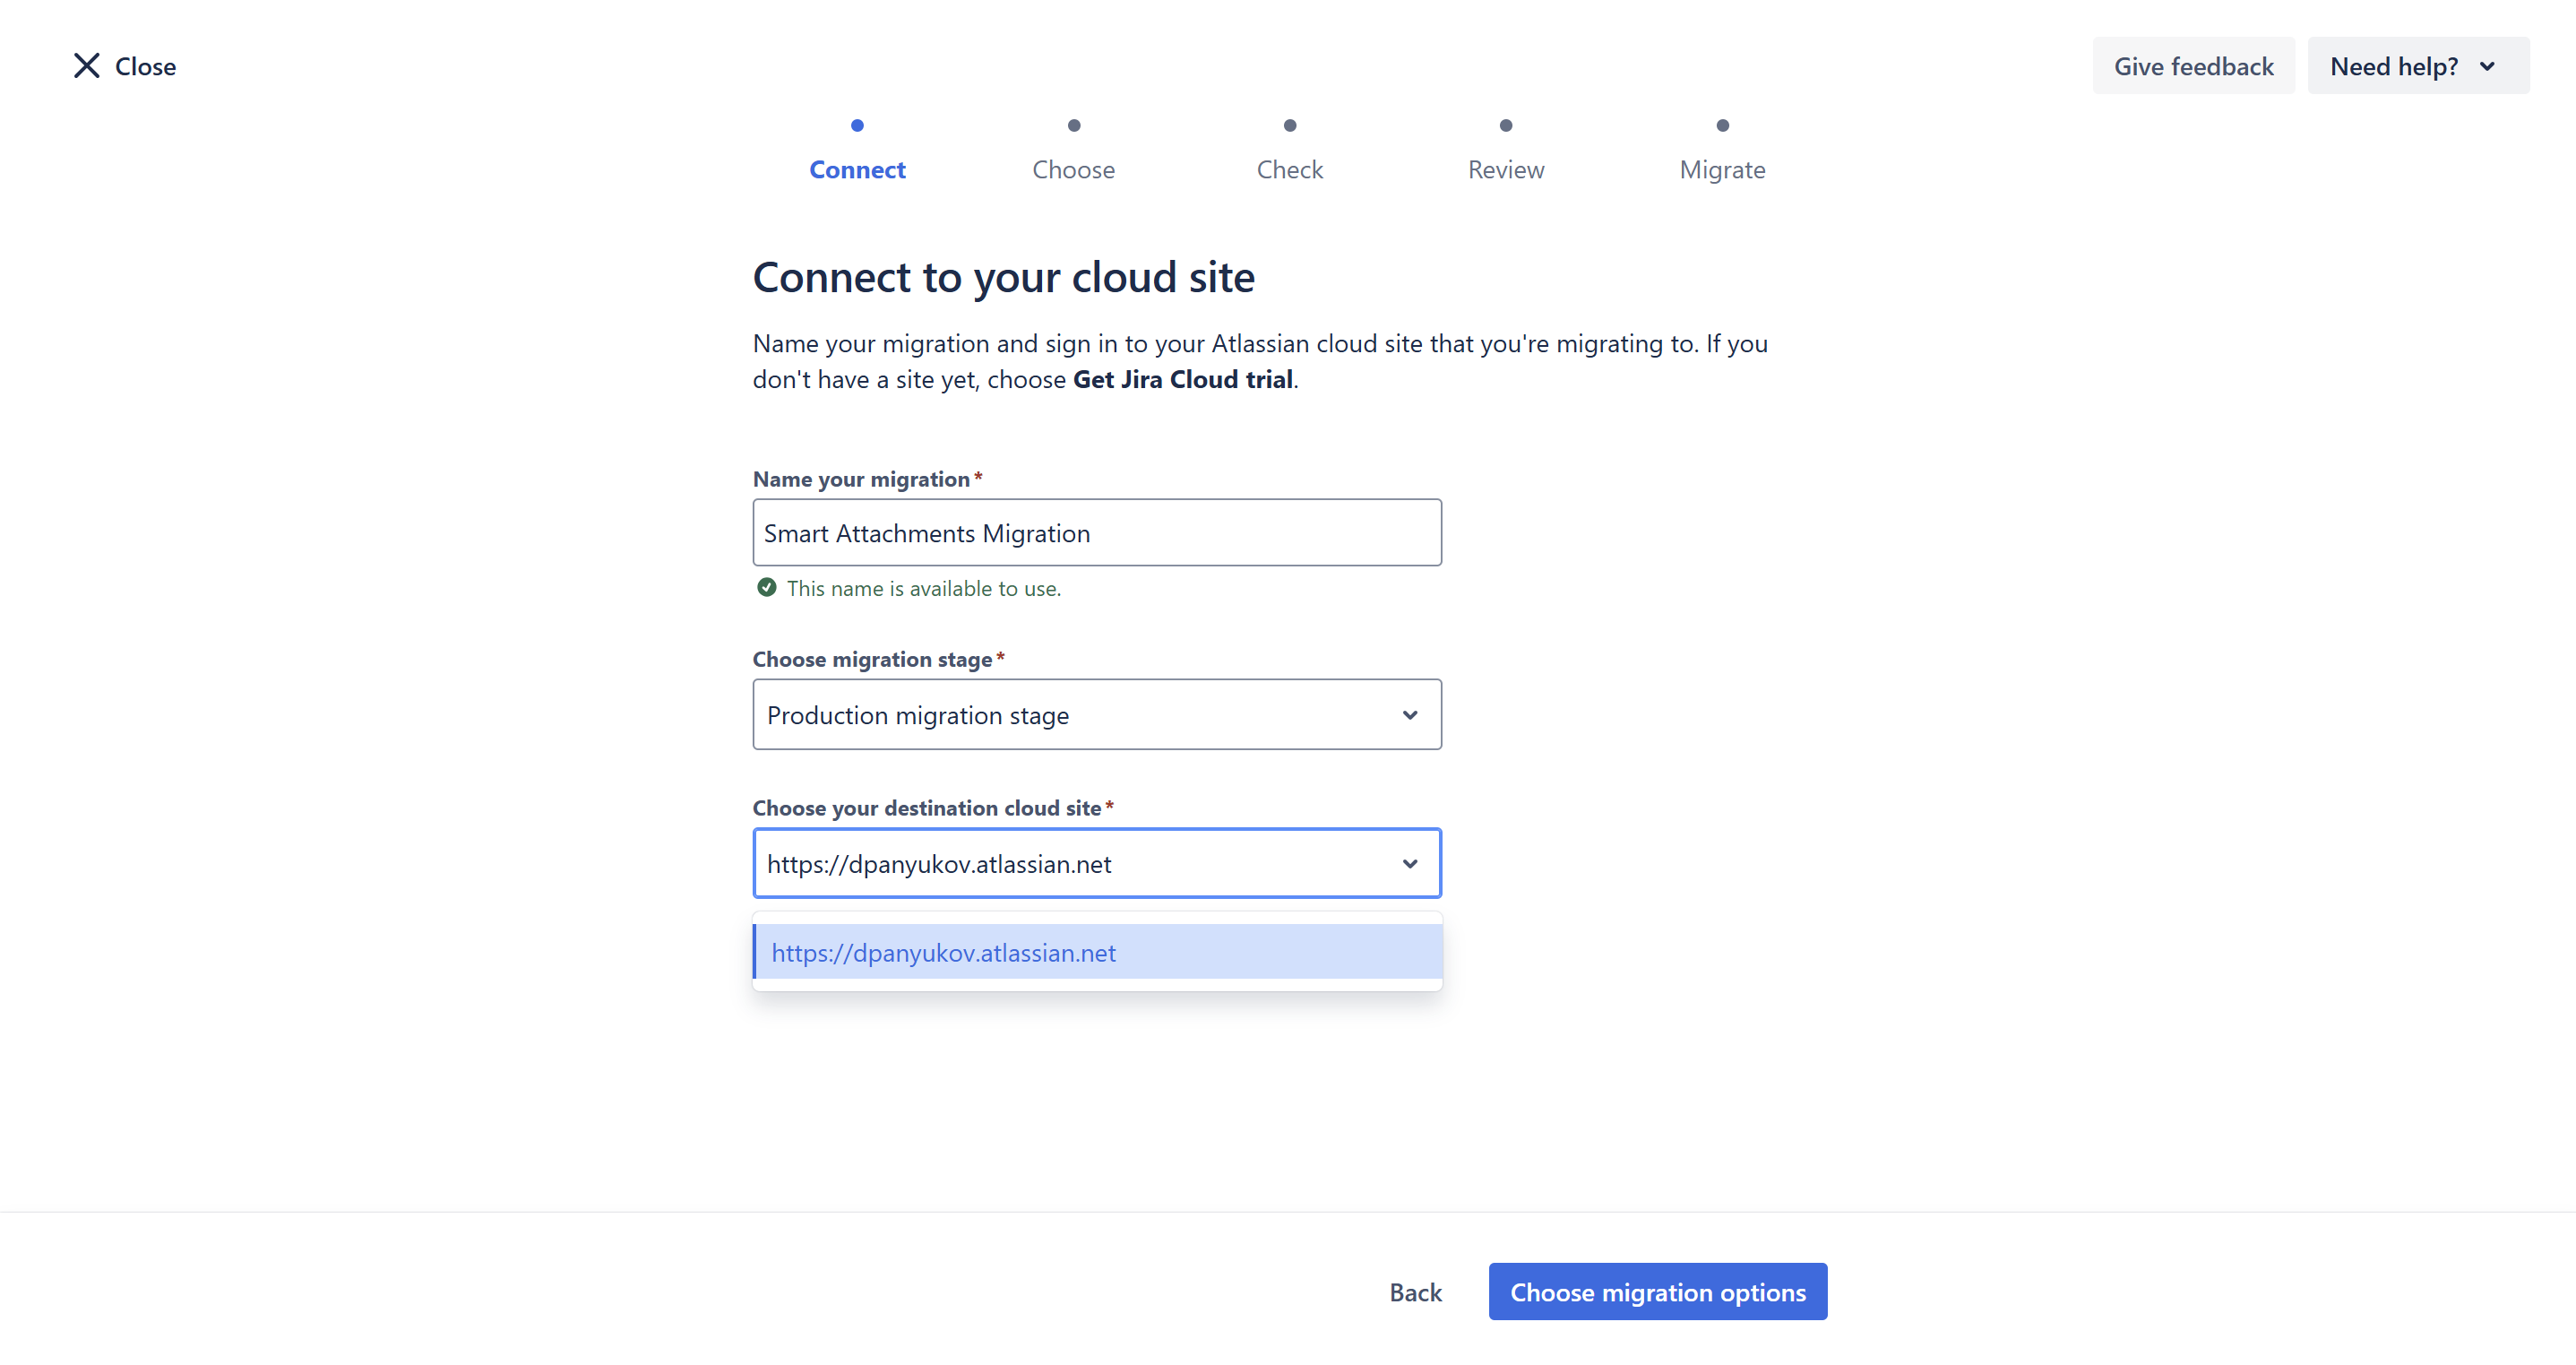
- Choose your destination cloud site.
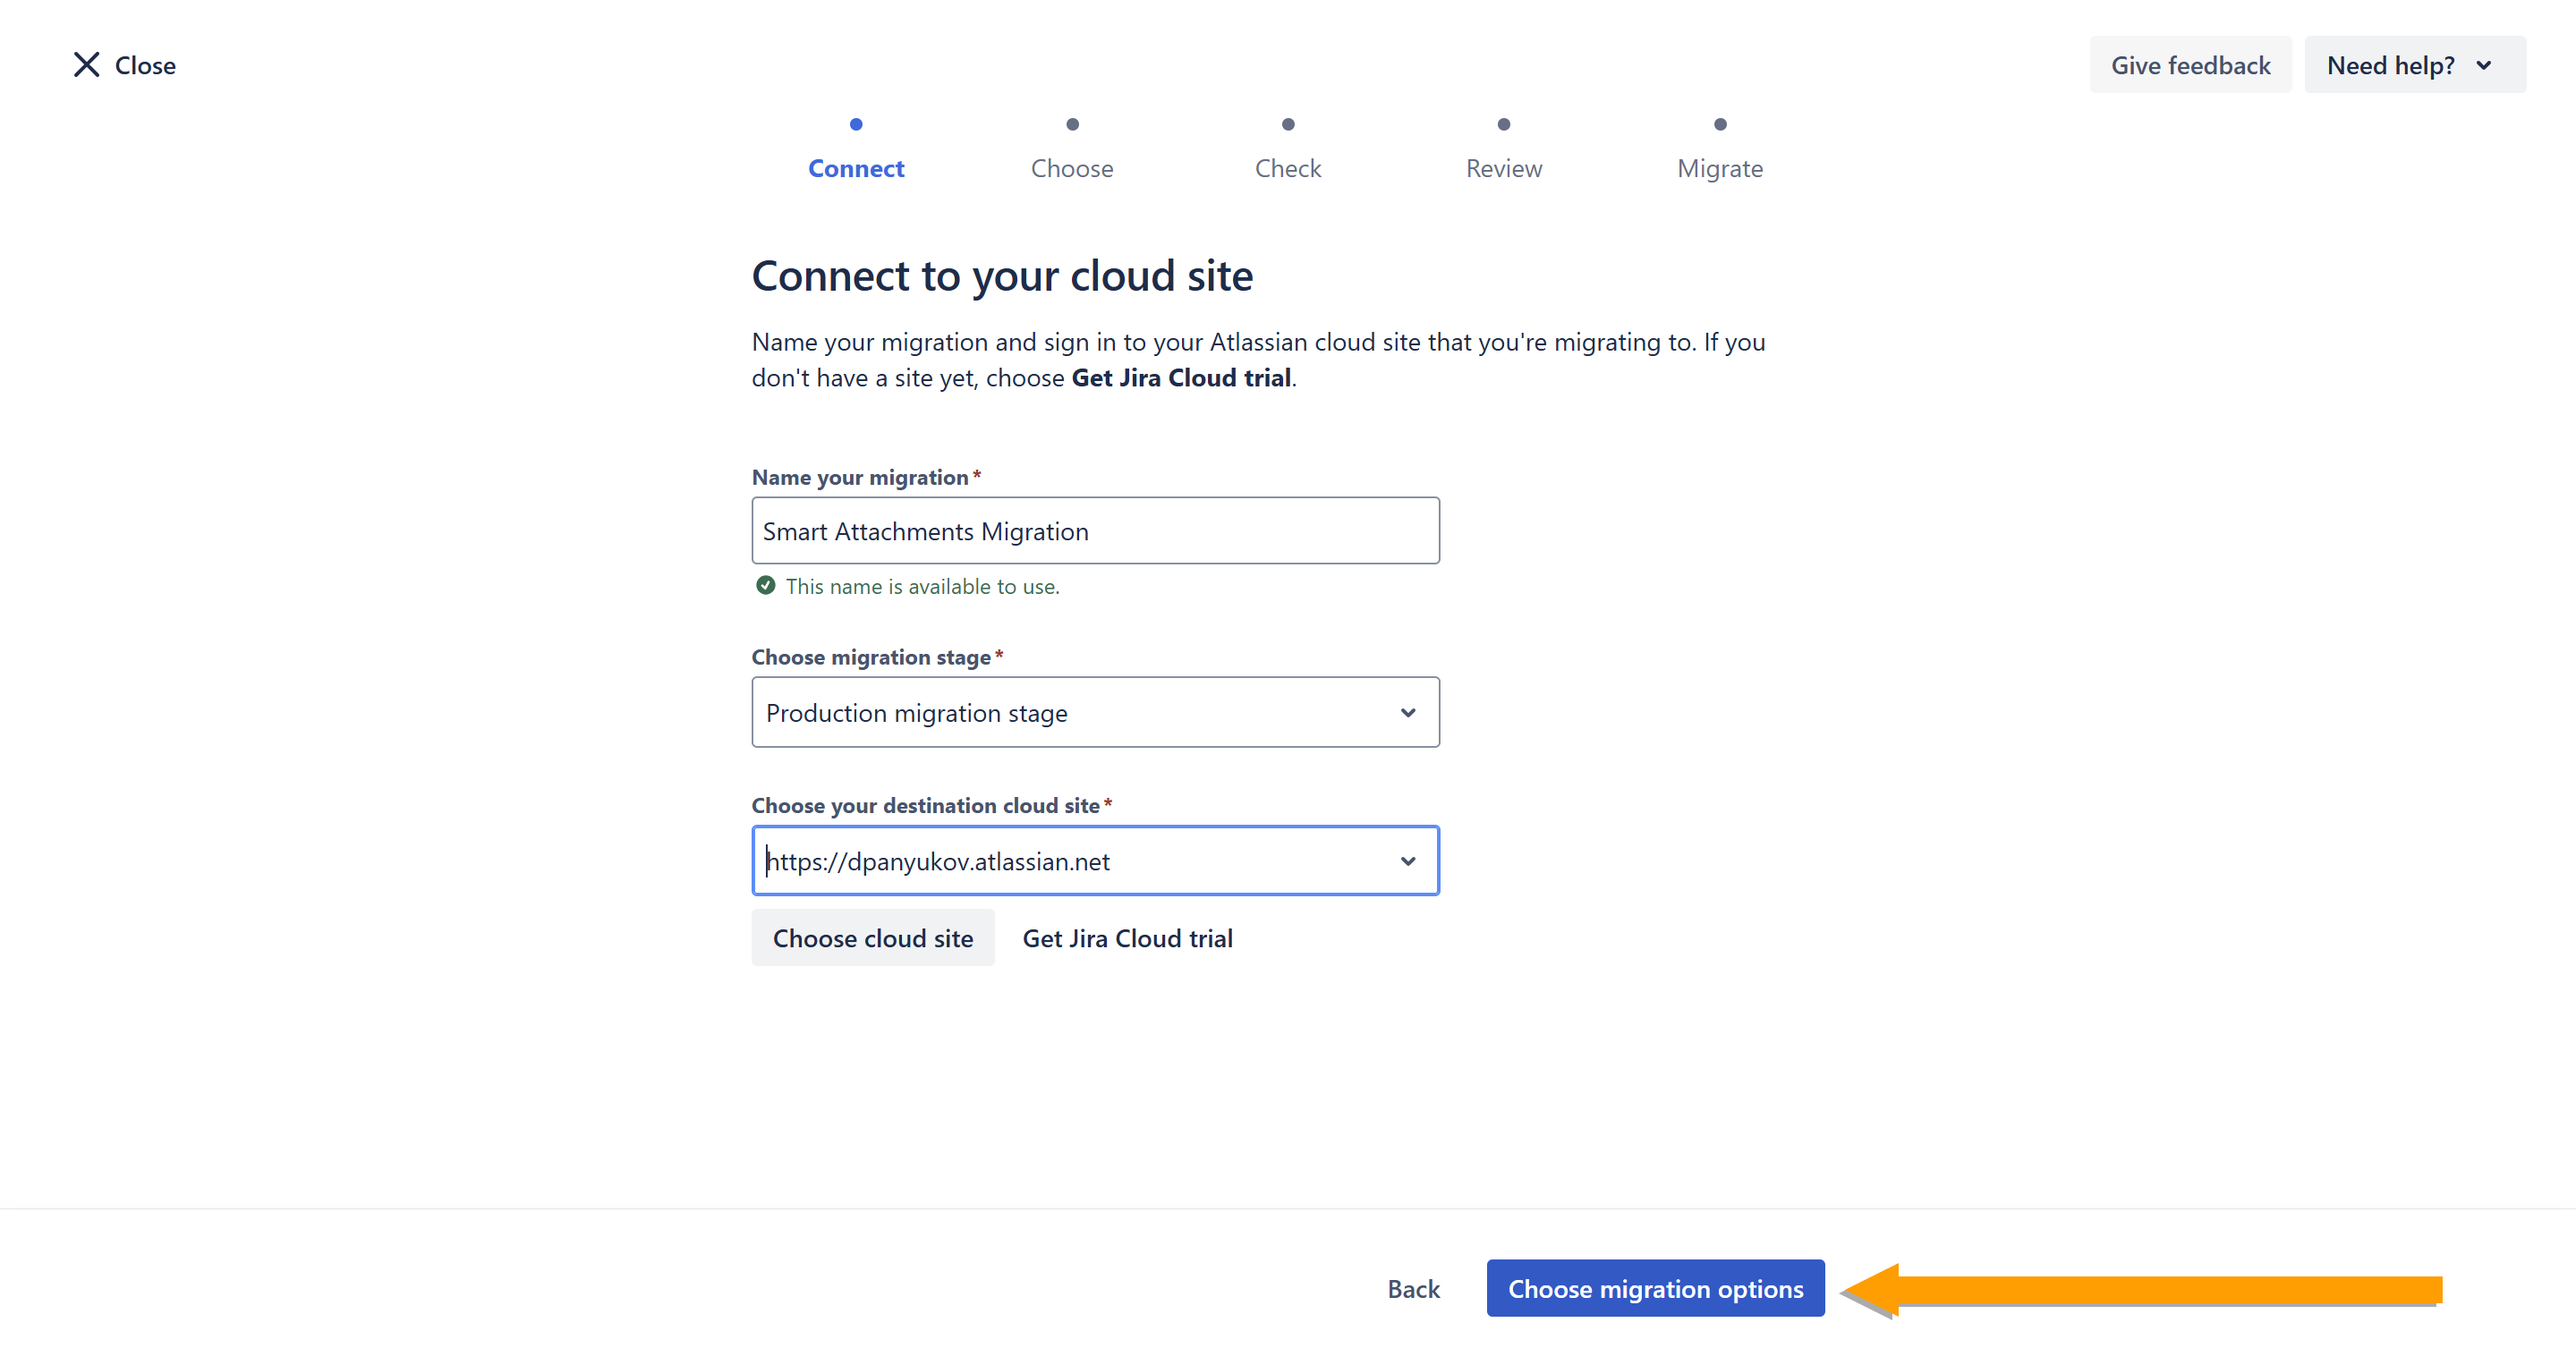
- Click Choose migration options.
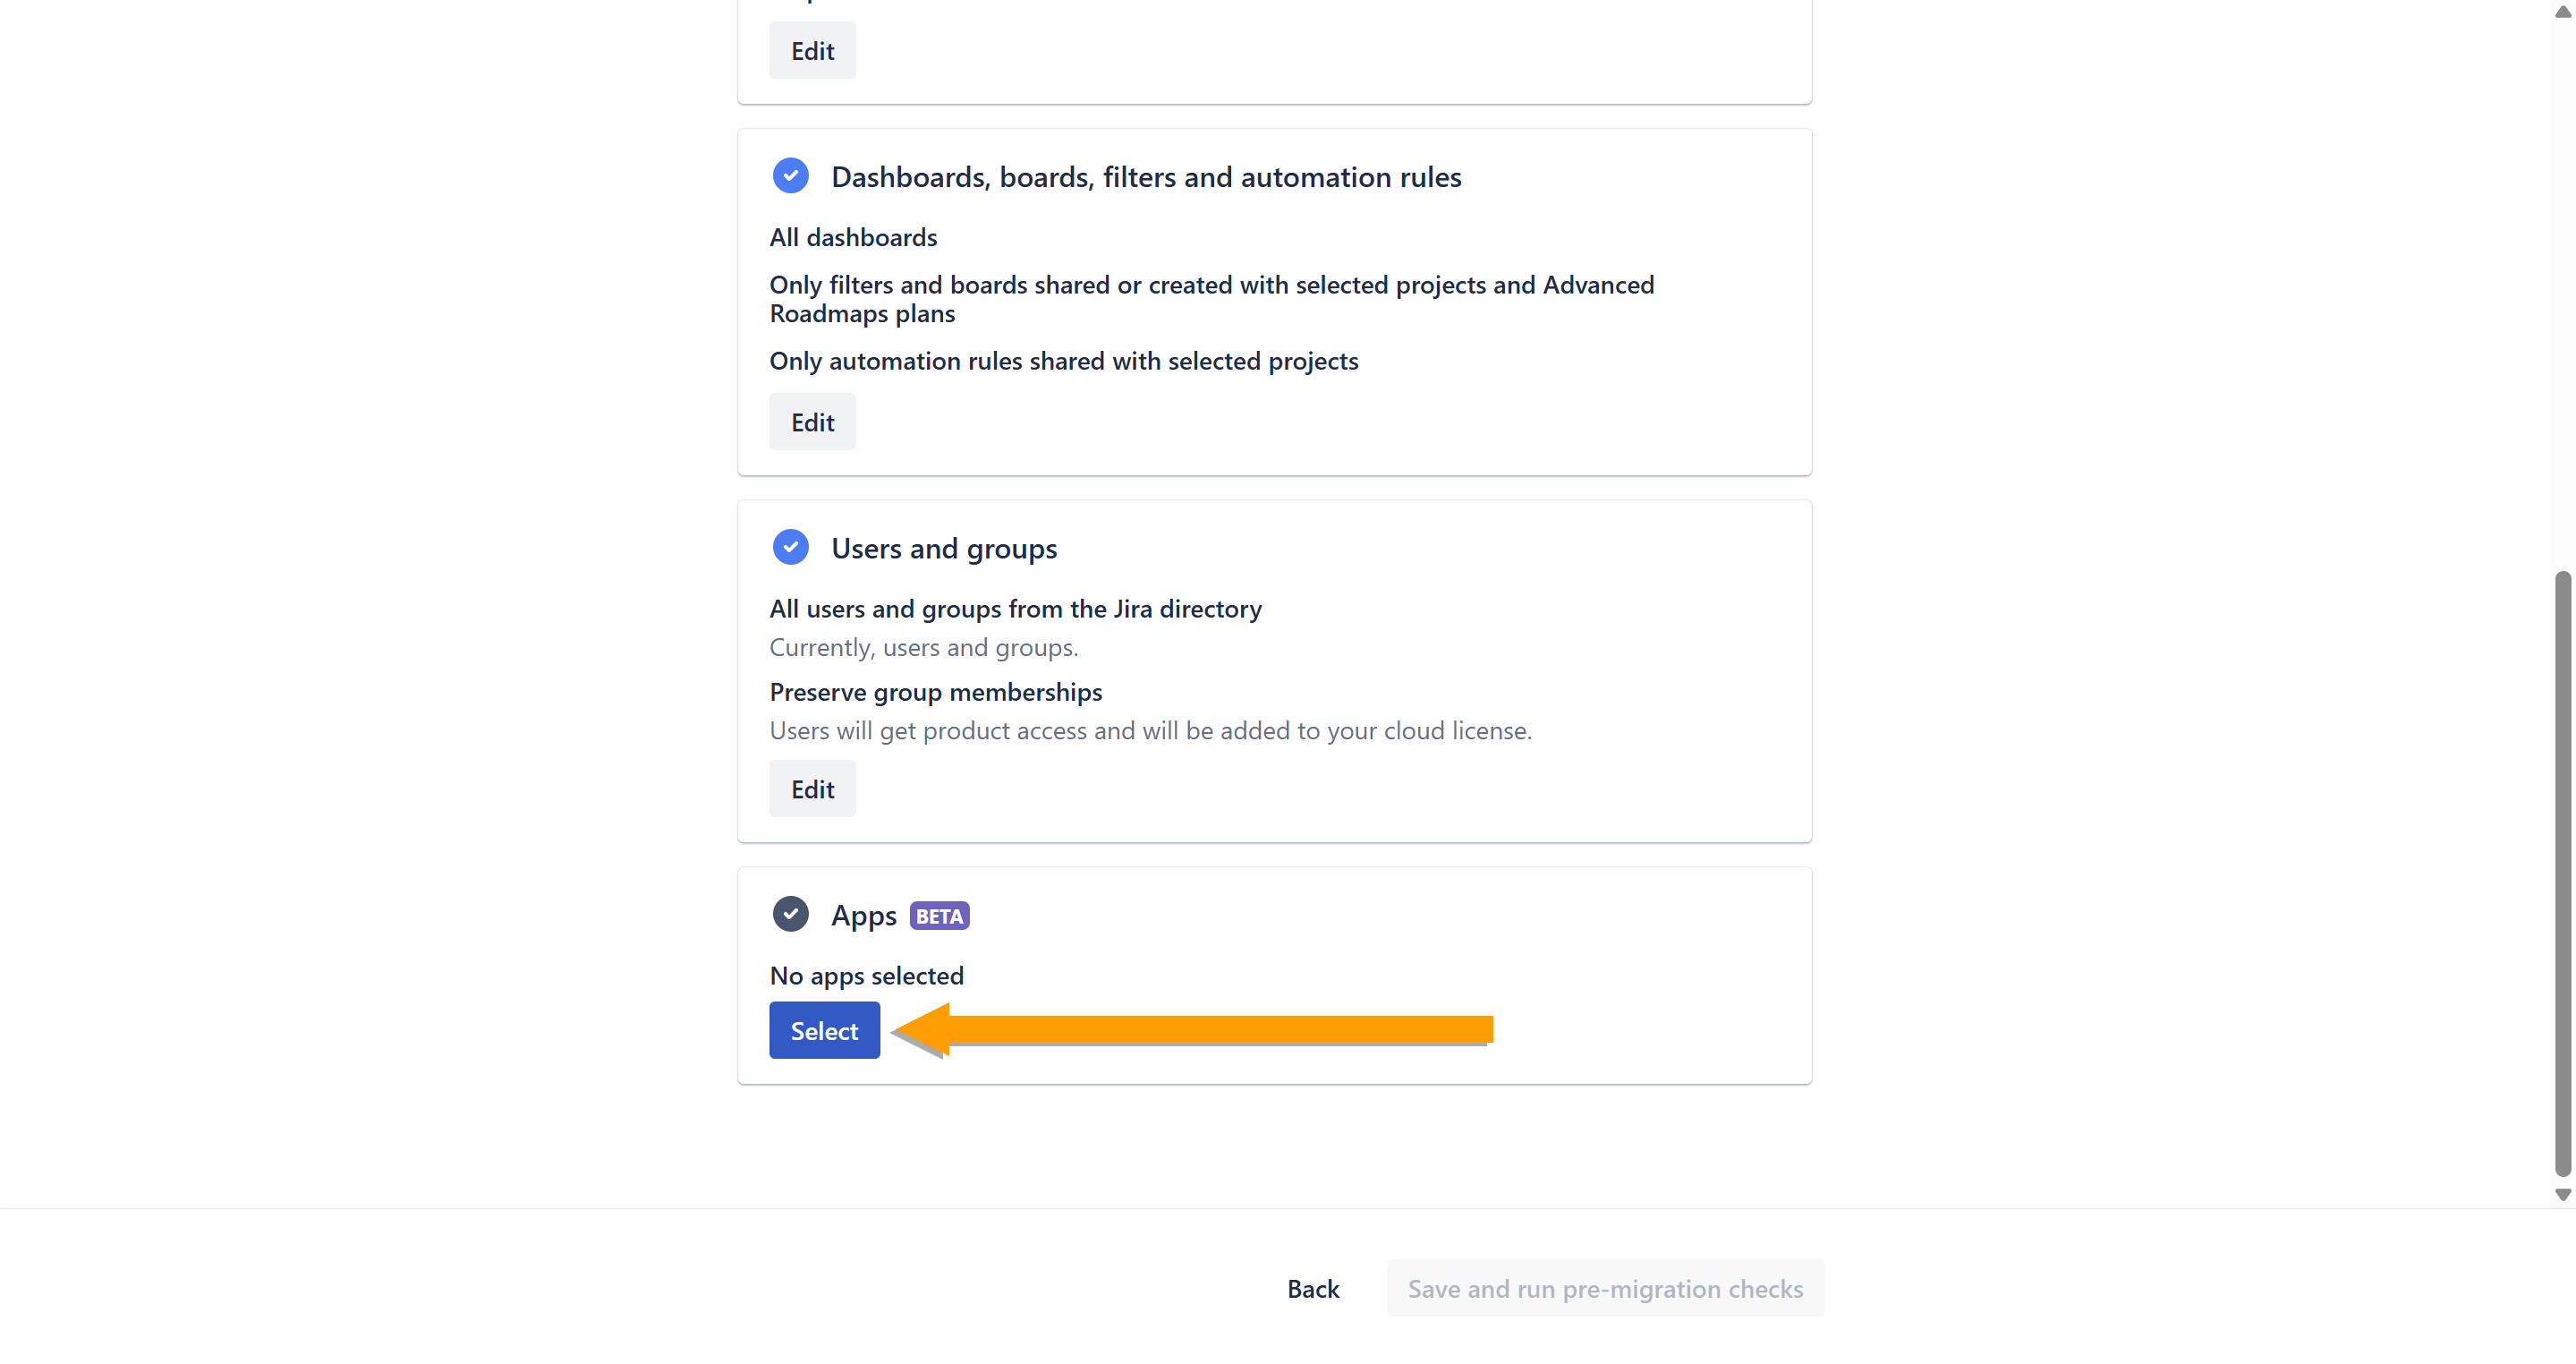
- In the Apps box, click Select, after completing all previous selections.
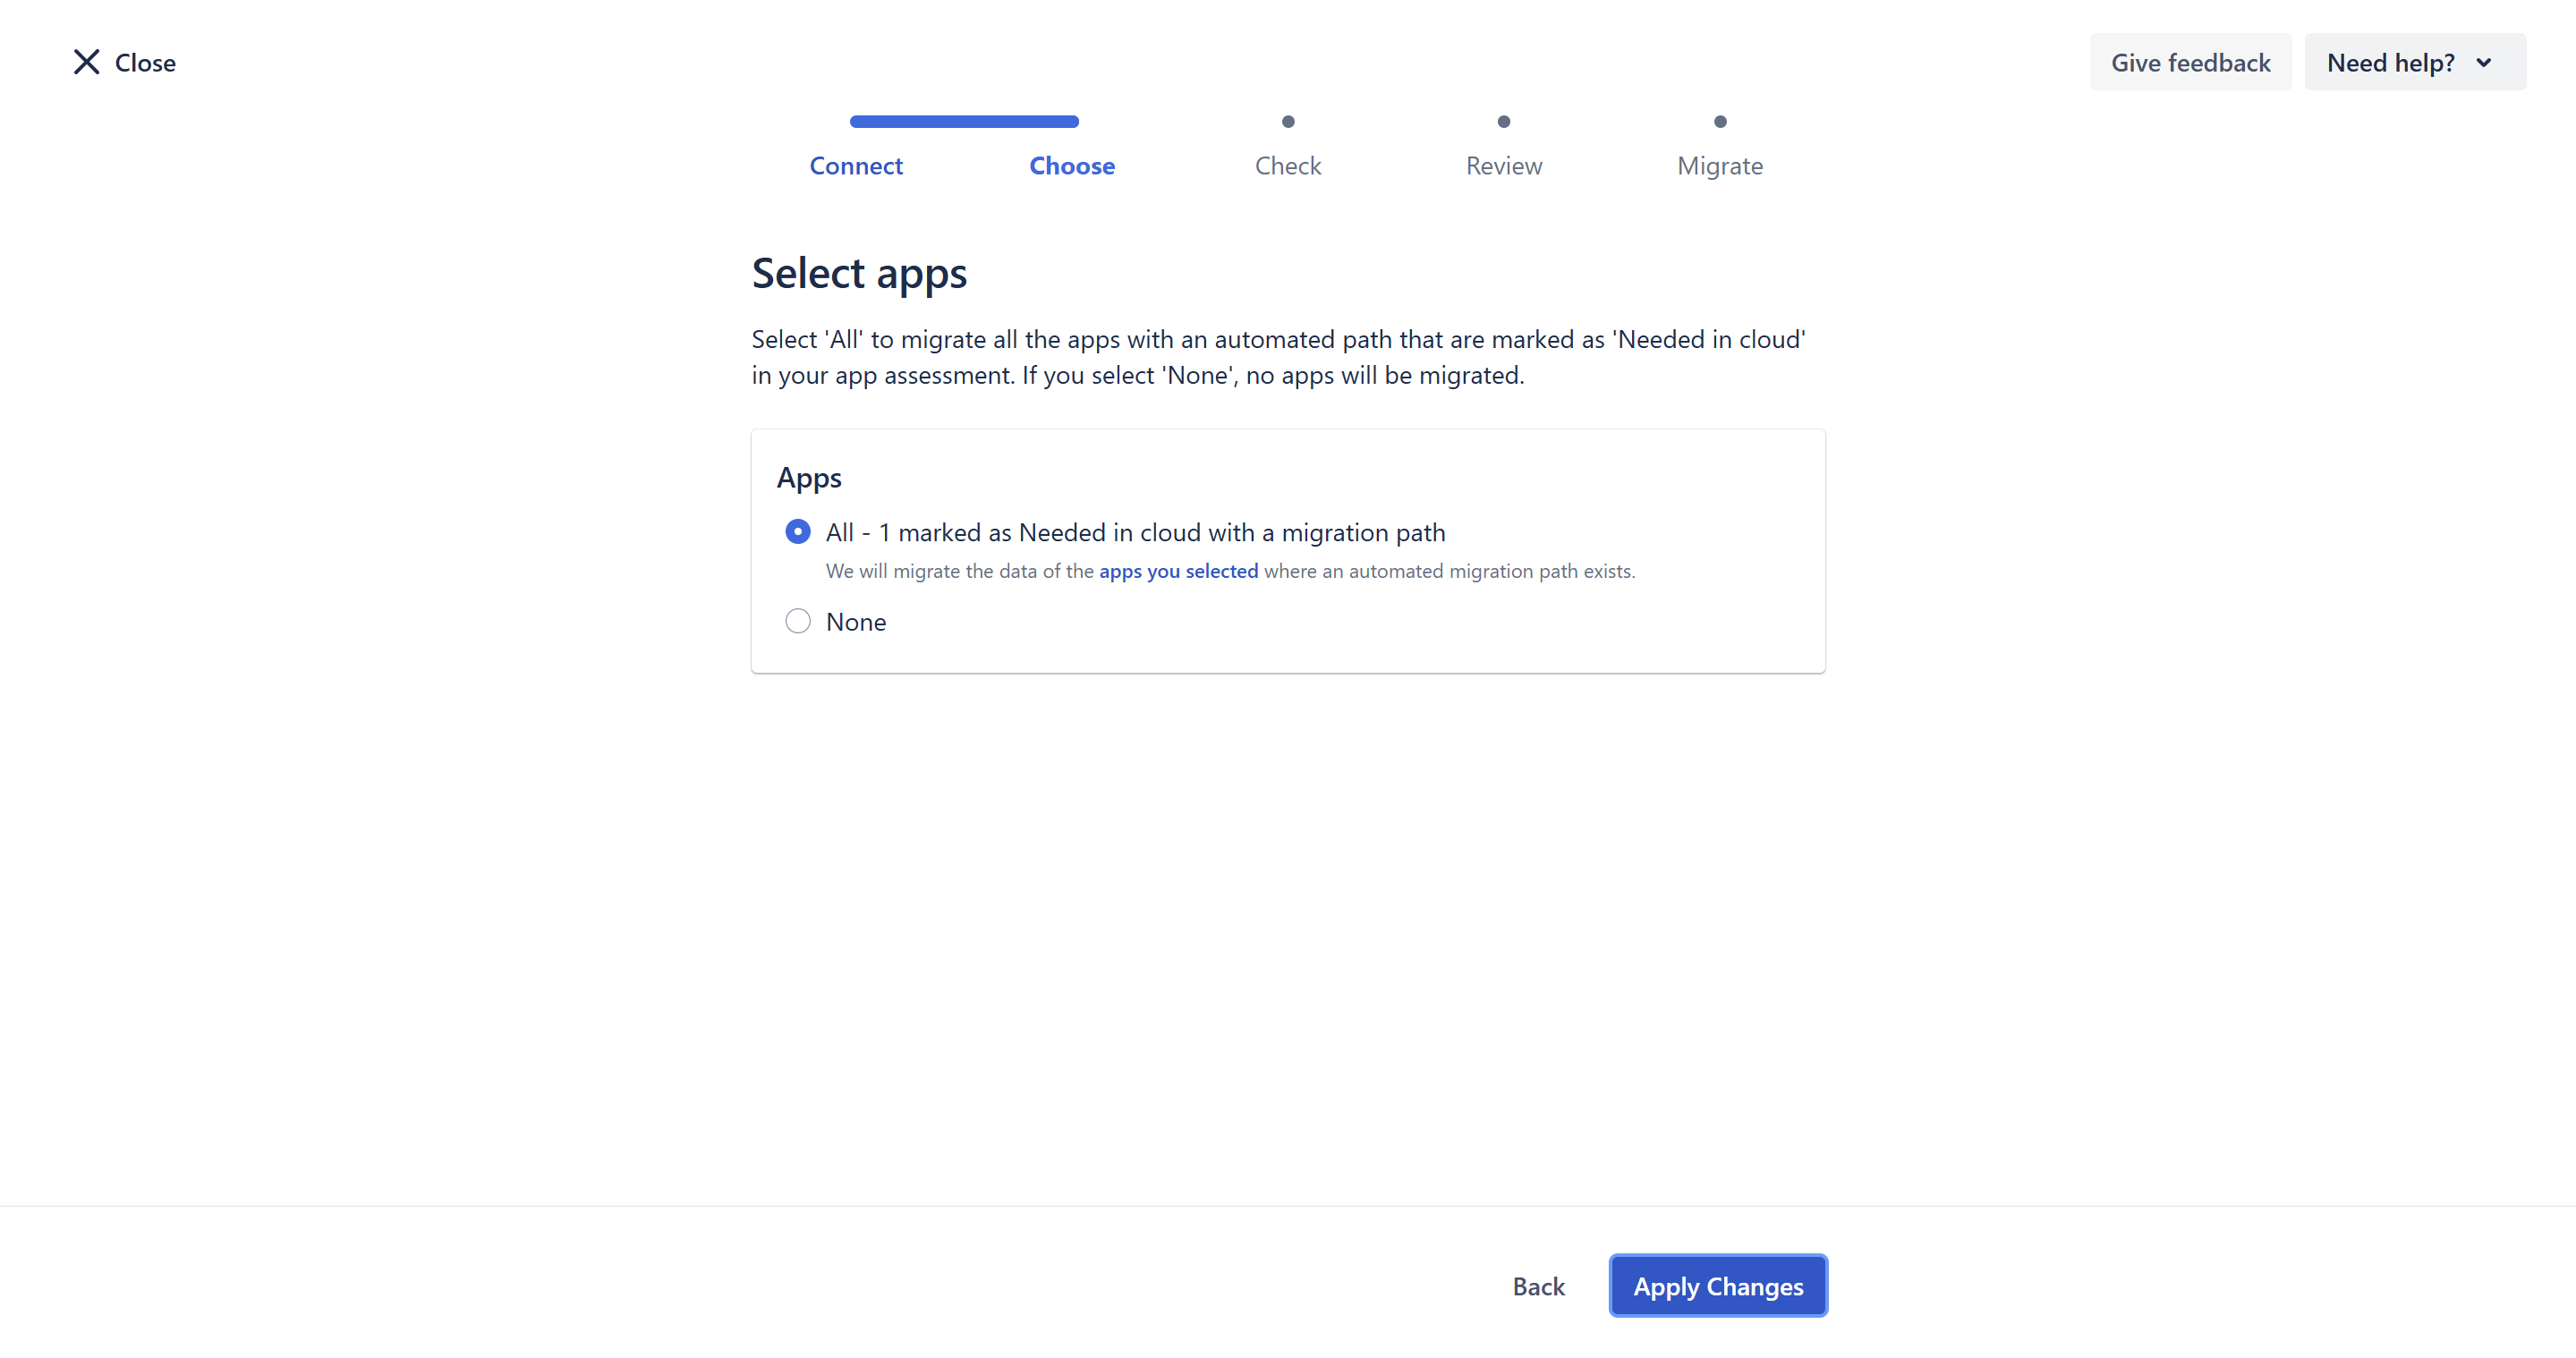
- Choose All and click Apply Changes.
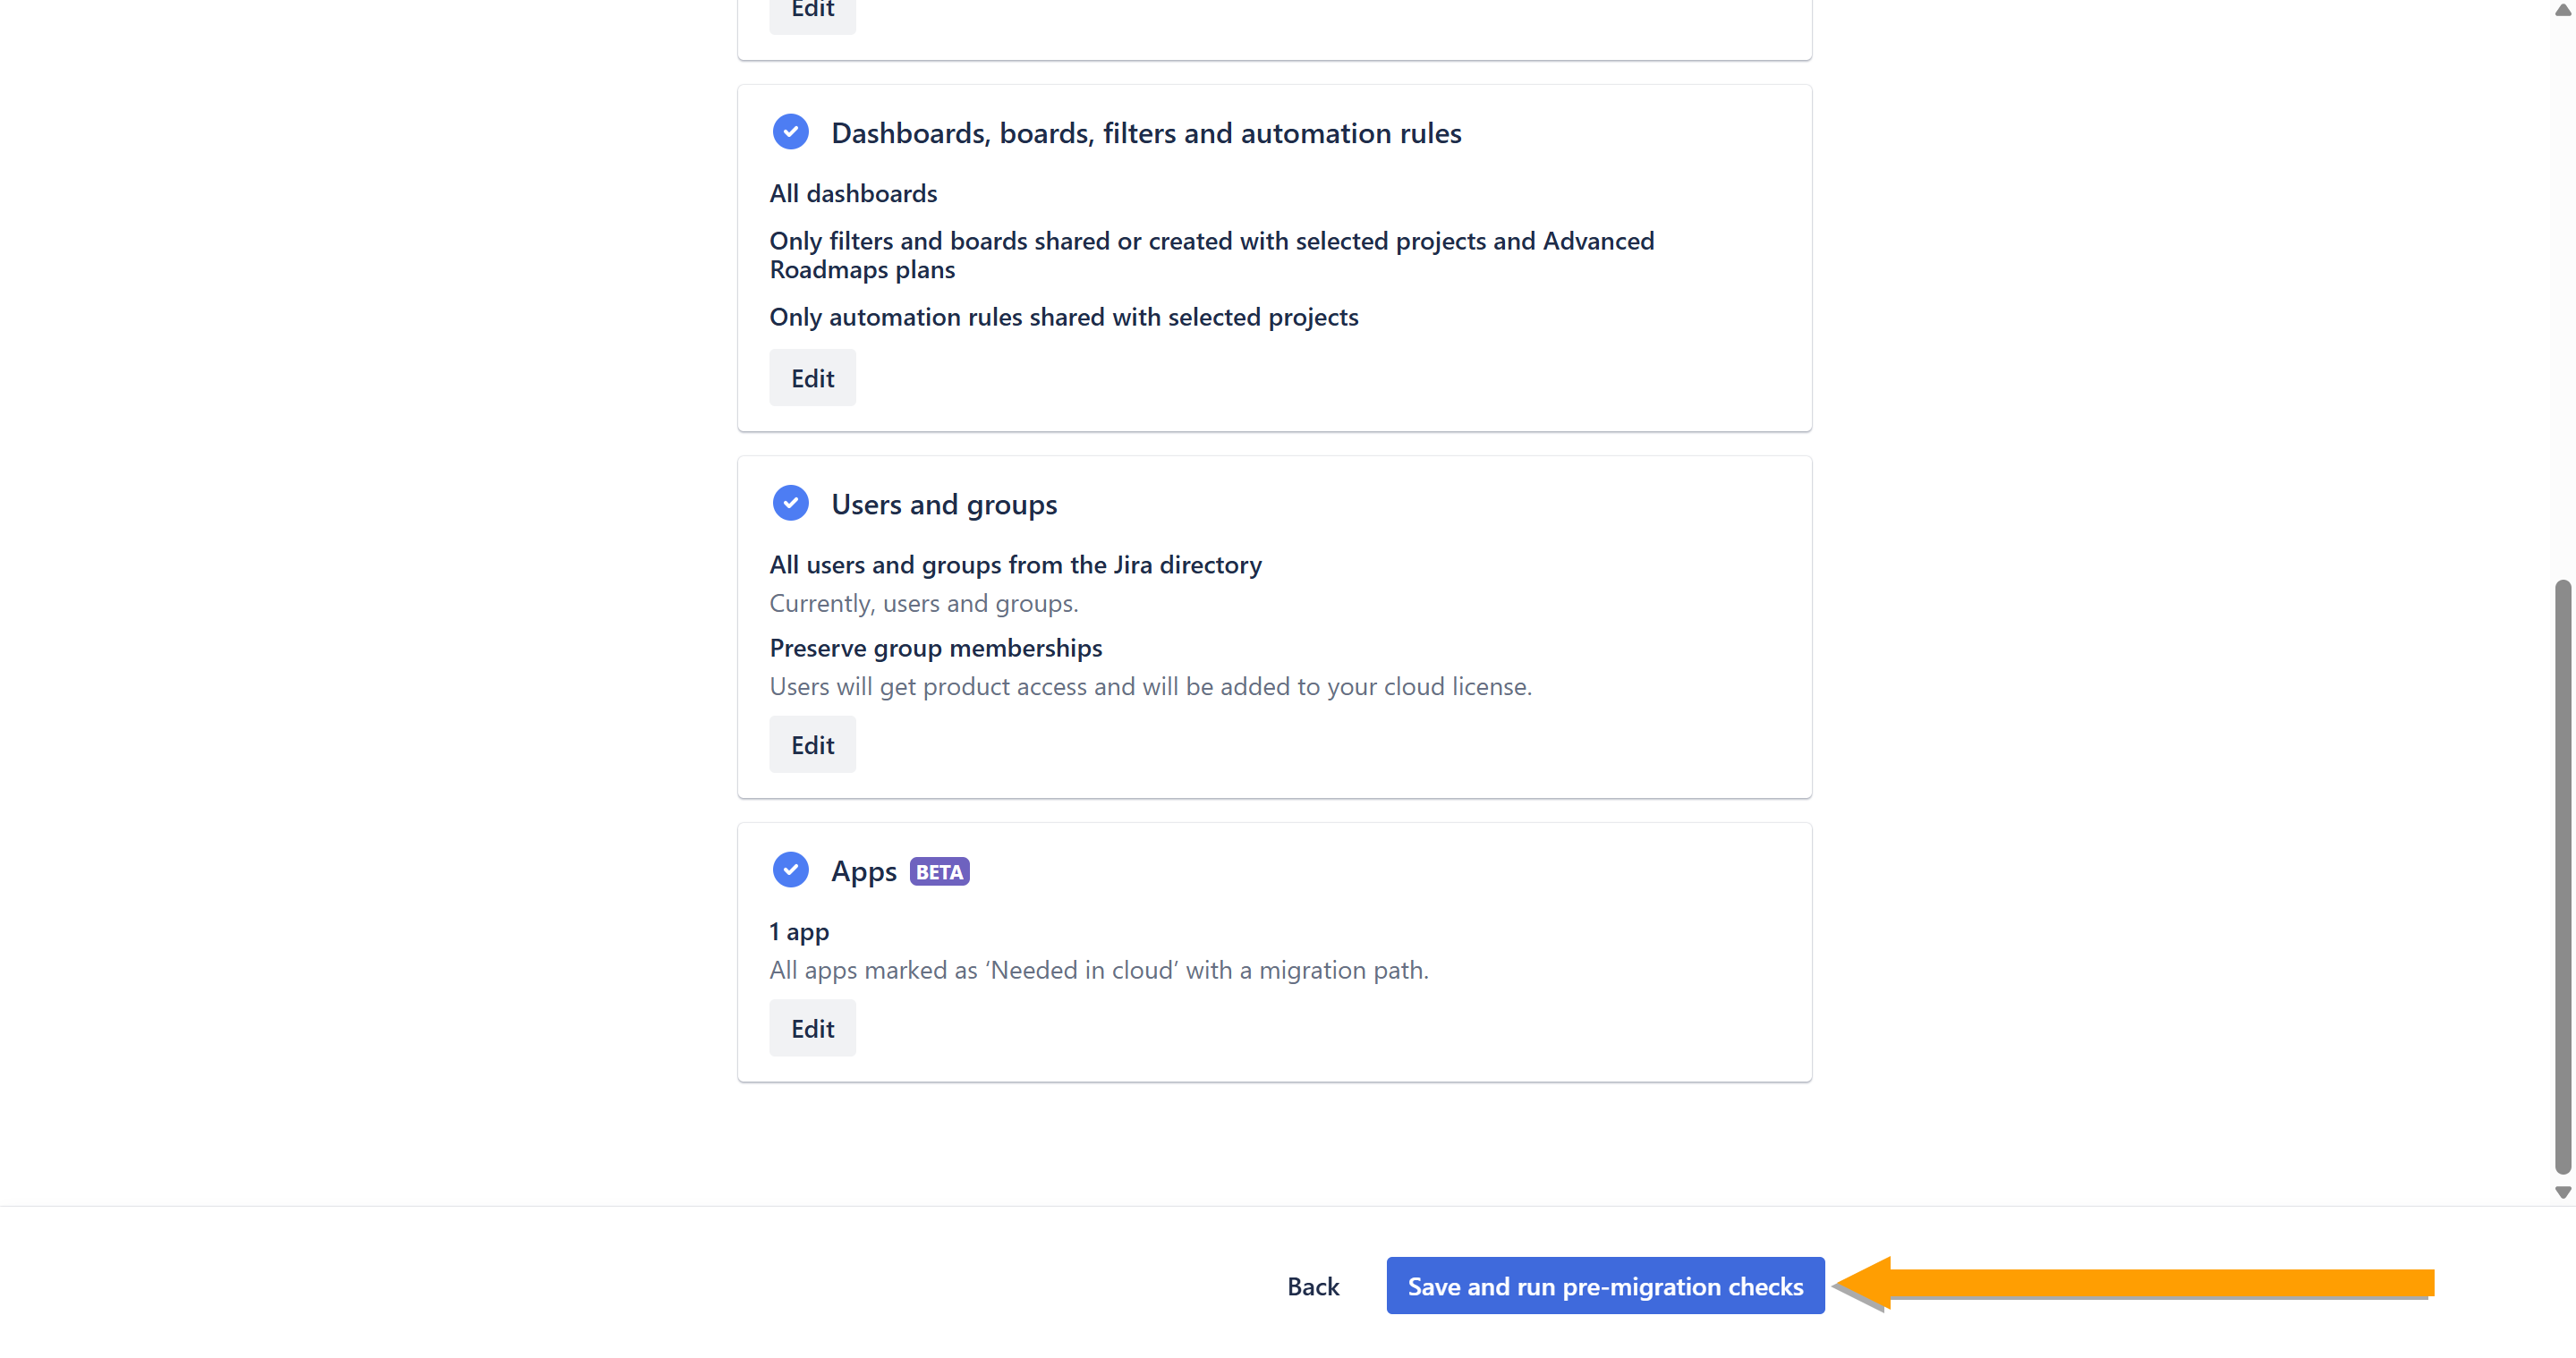
- Click Save and run pre-migration checks.
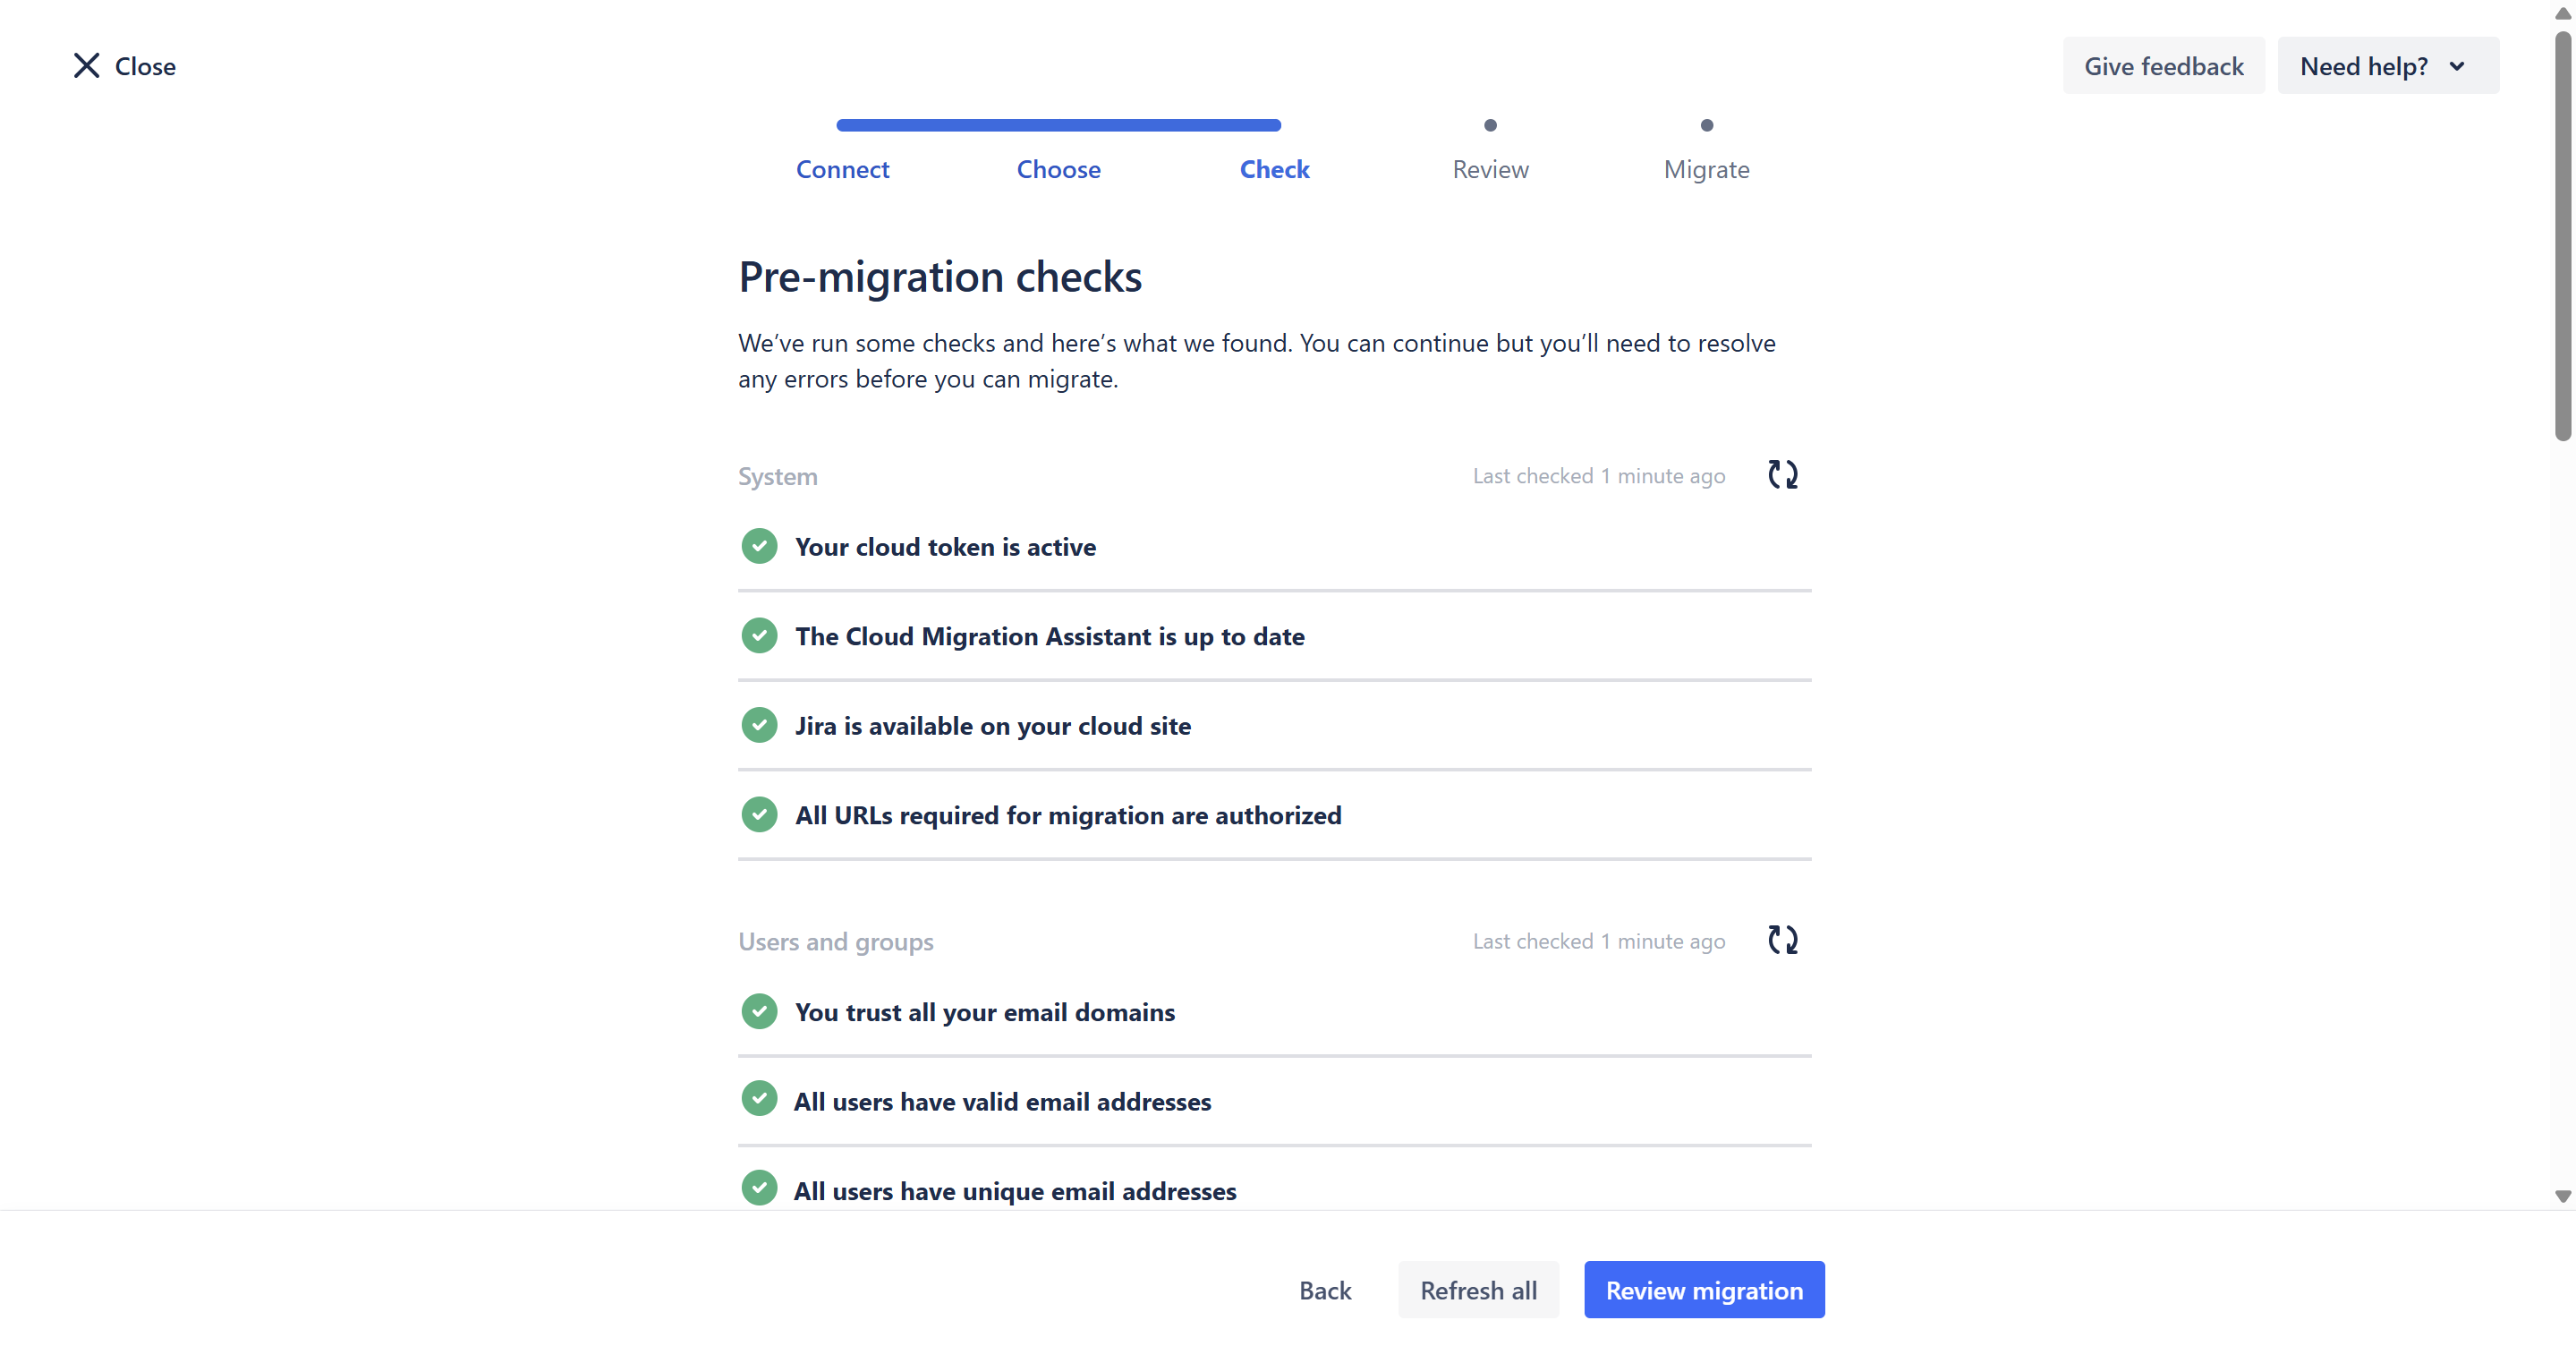
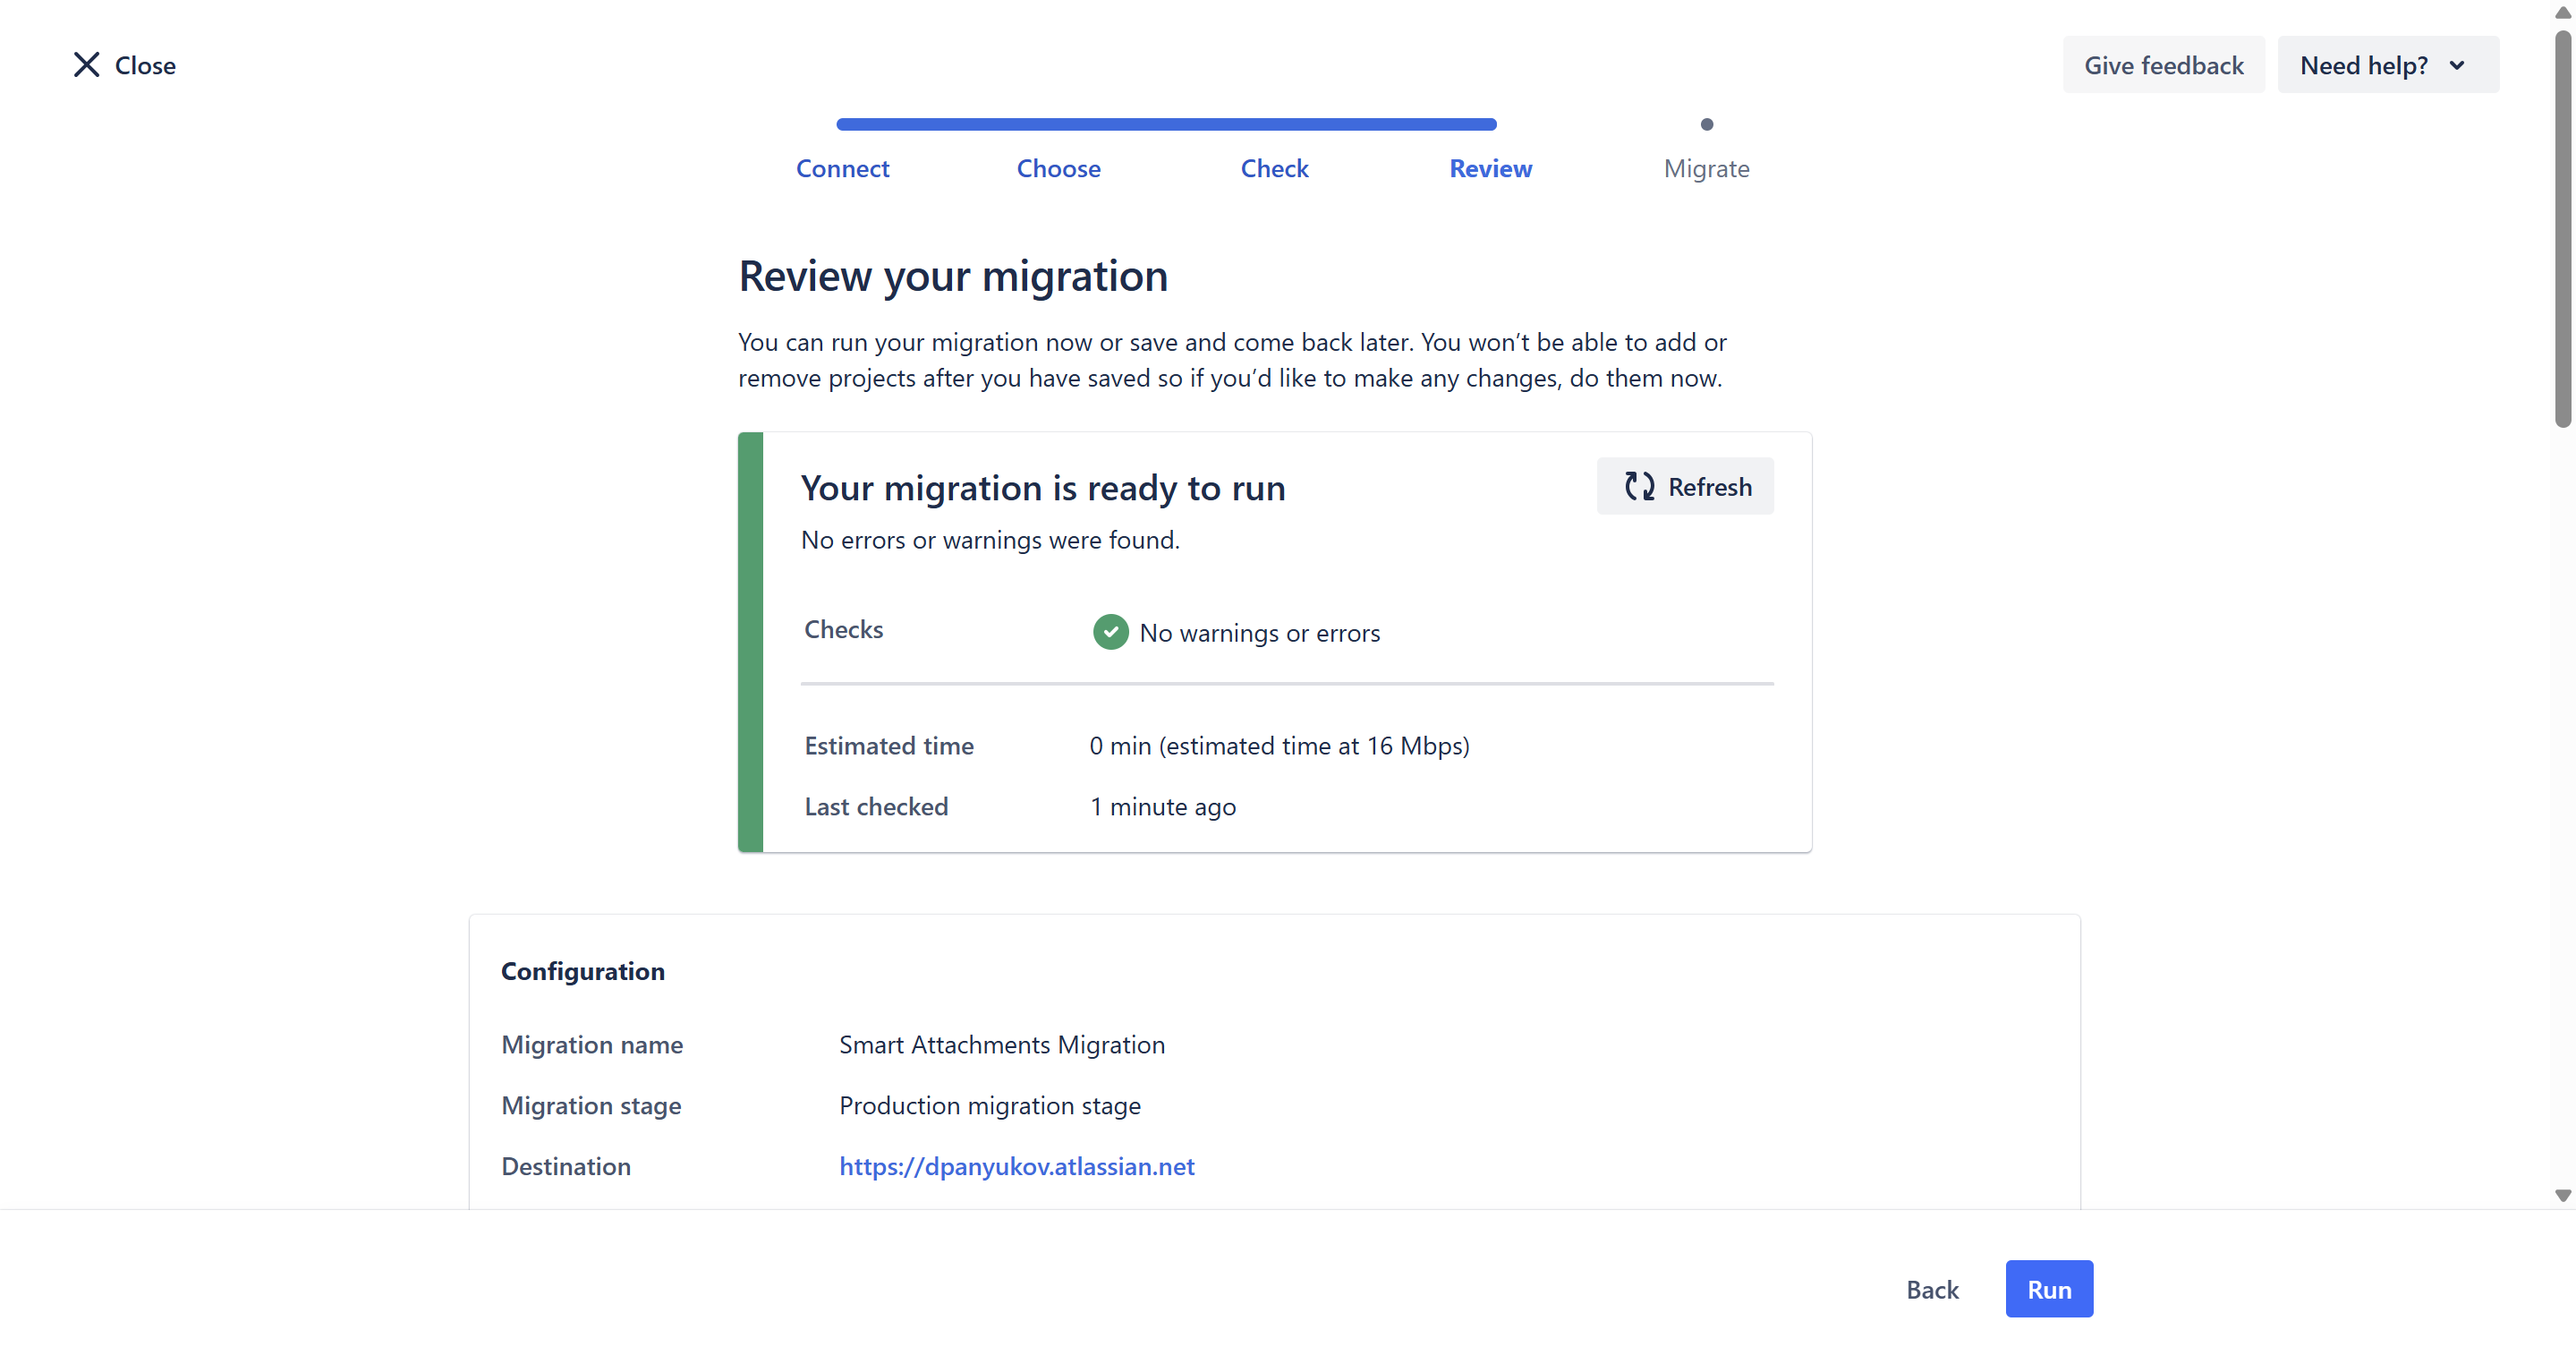
- Wait for the checks to complete. Evaluate errors and warnings. If everything looks good, click Review Migration
- Click Run.
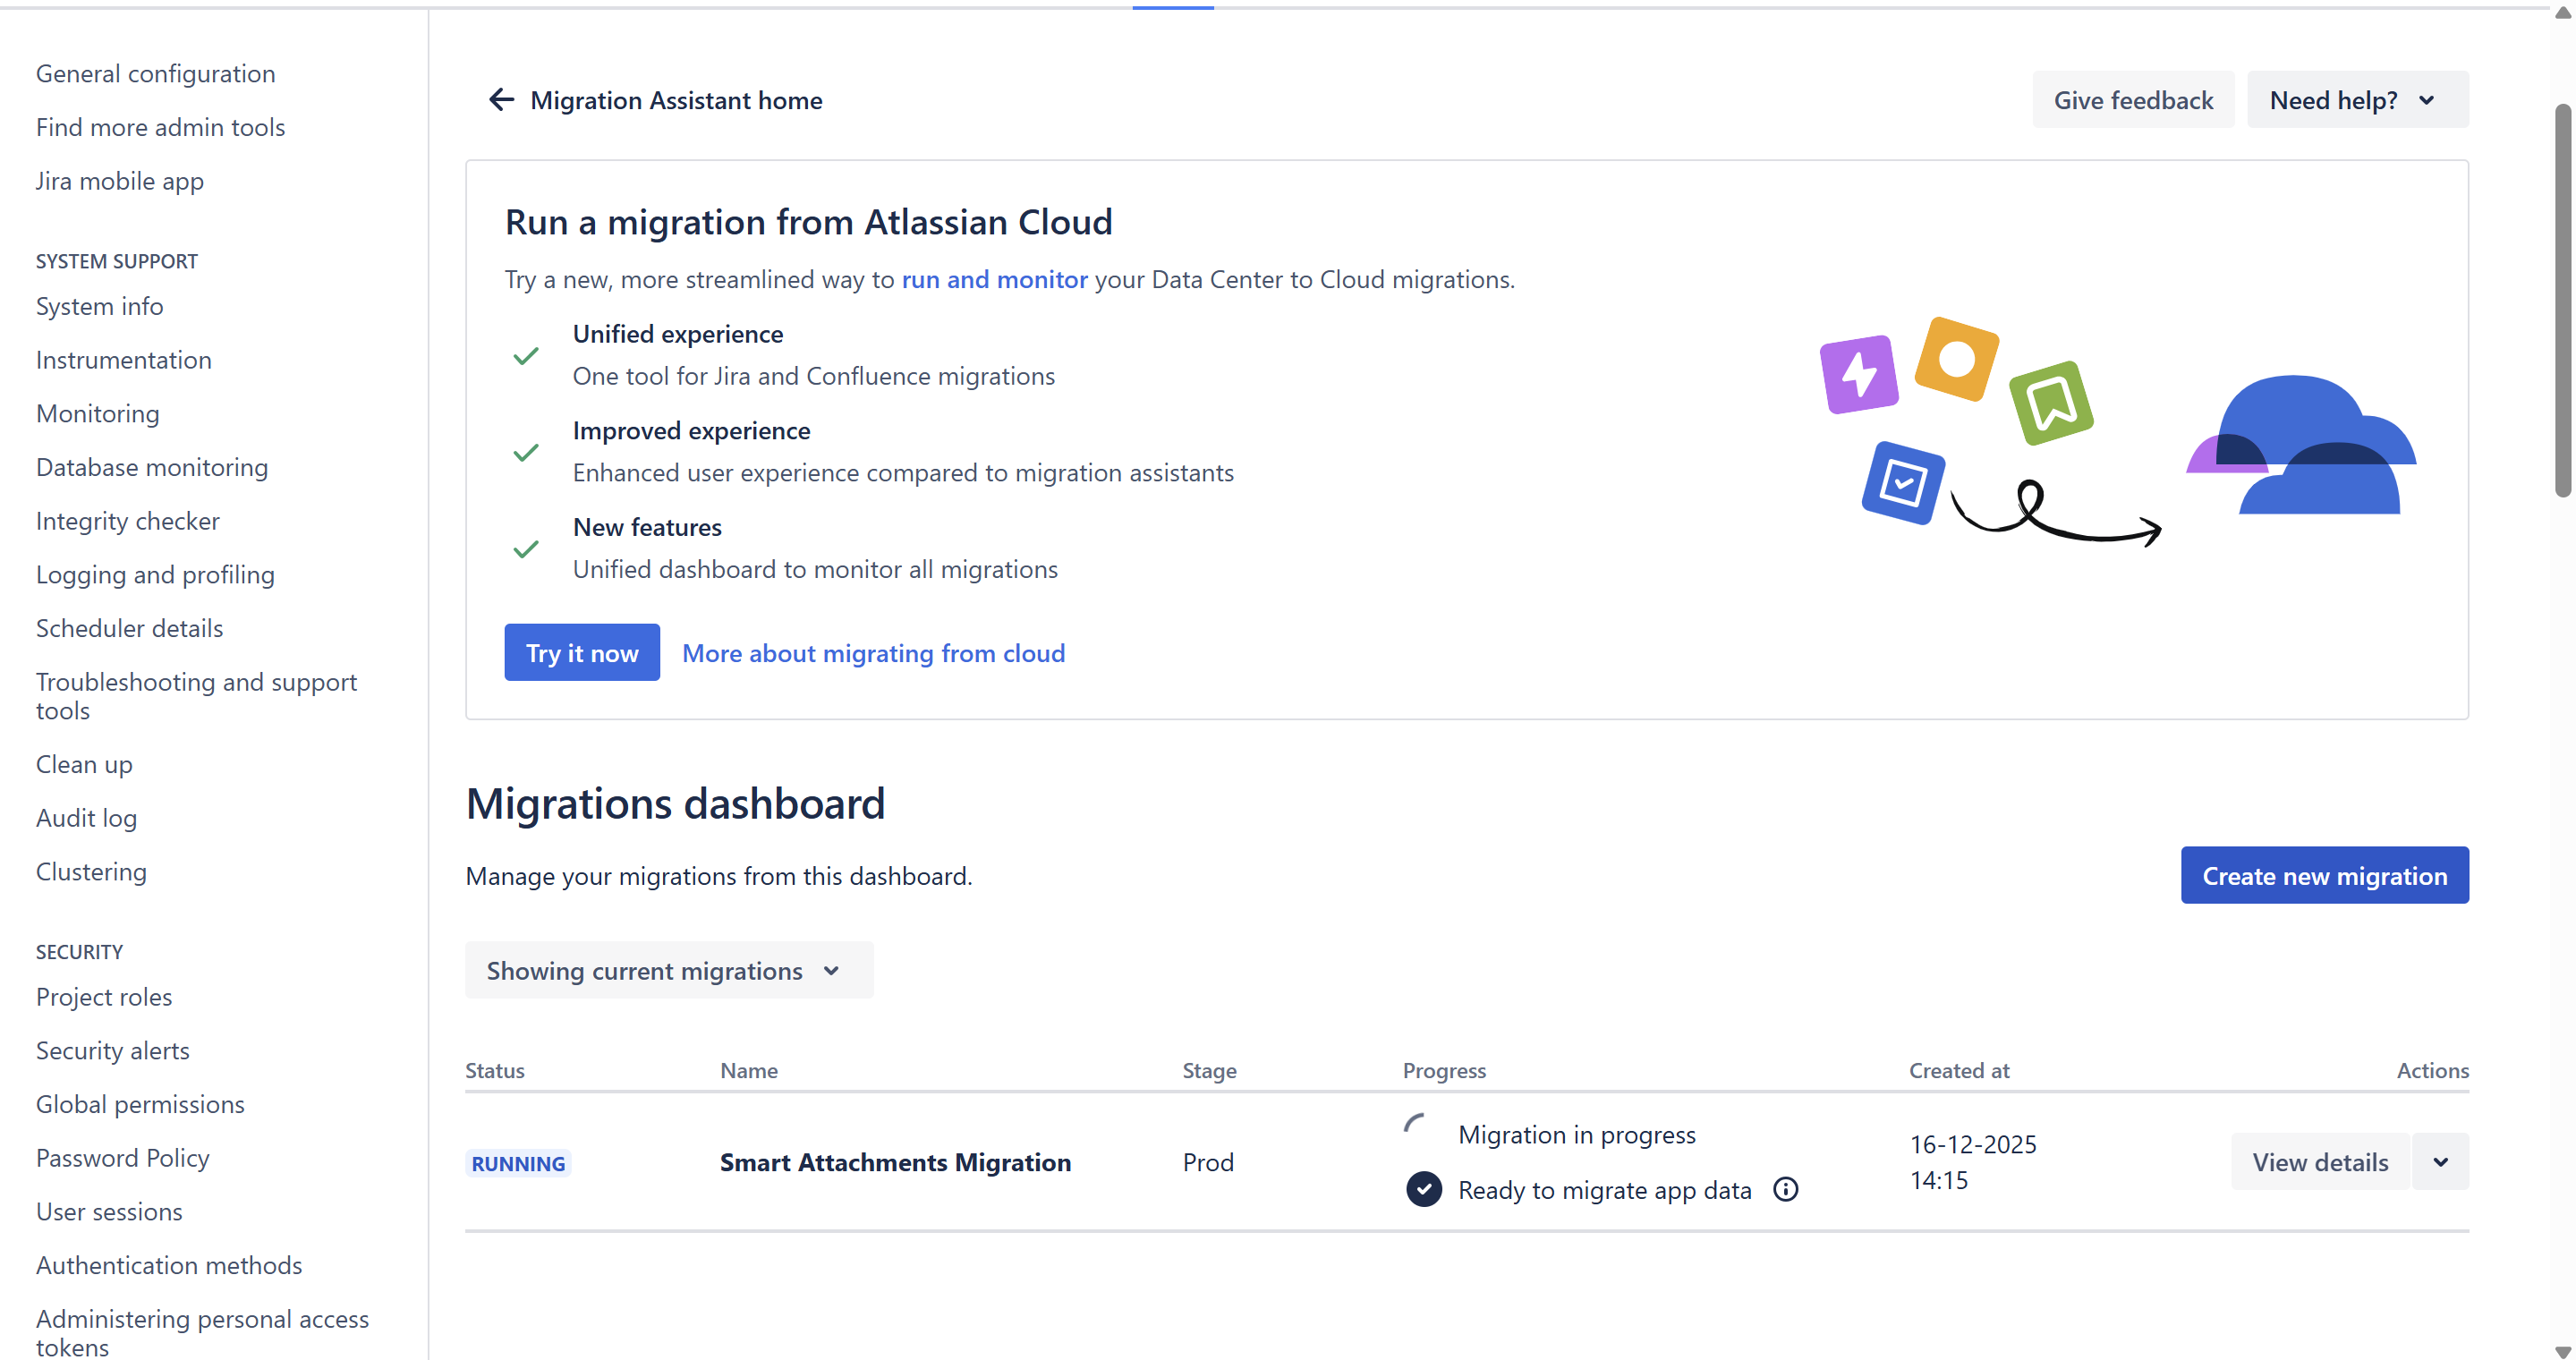
- Wait for the migration to finish.
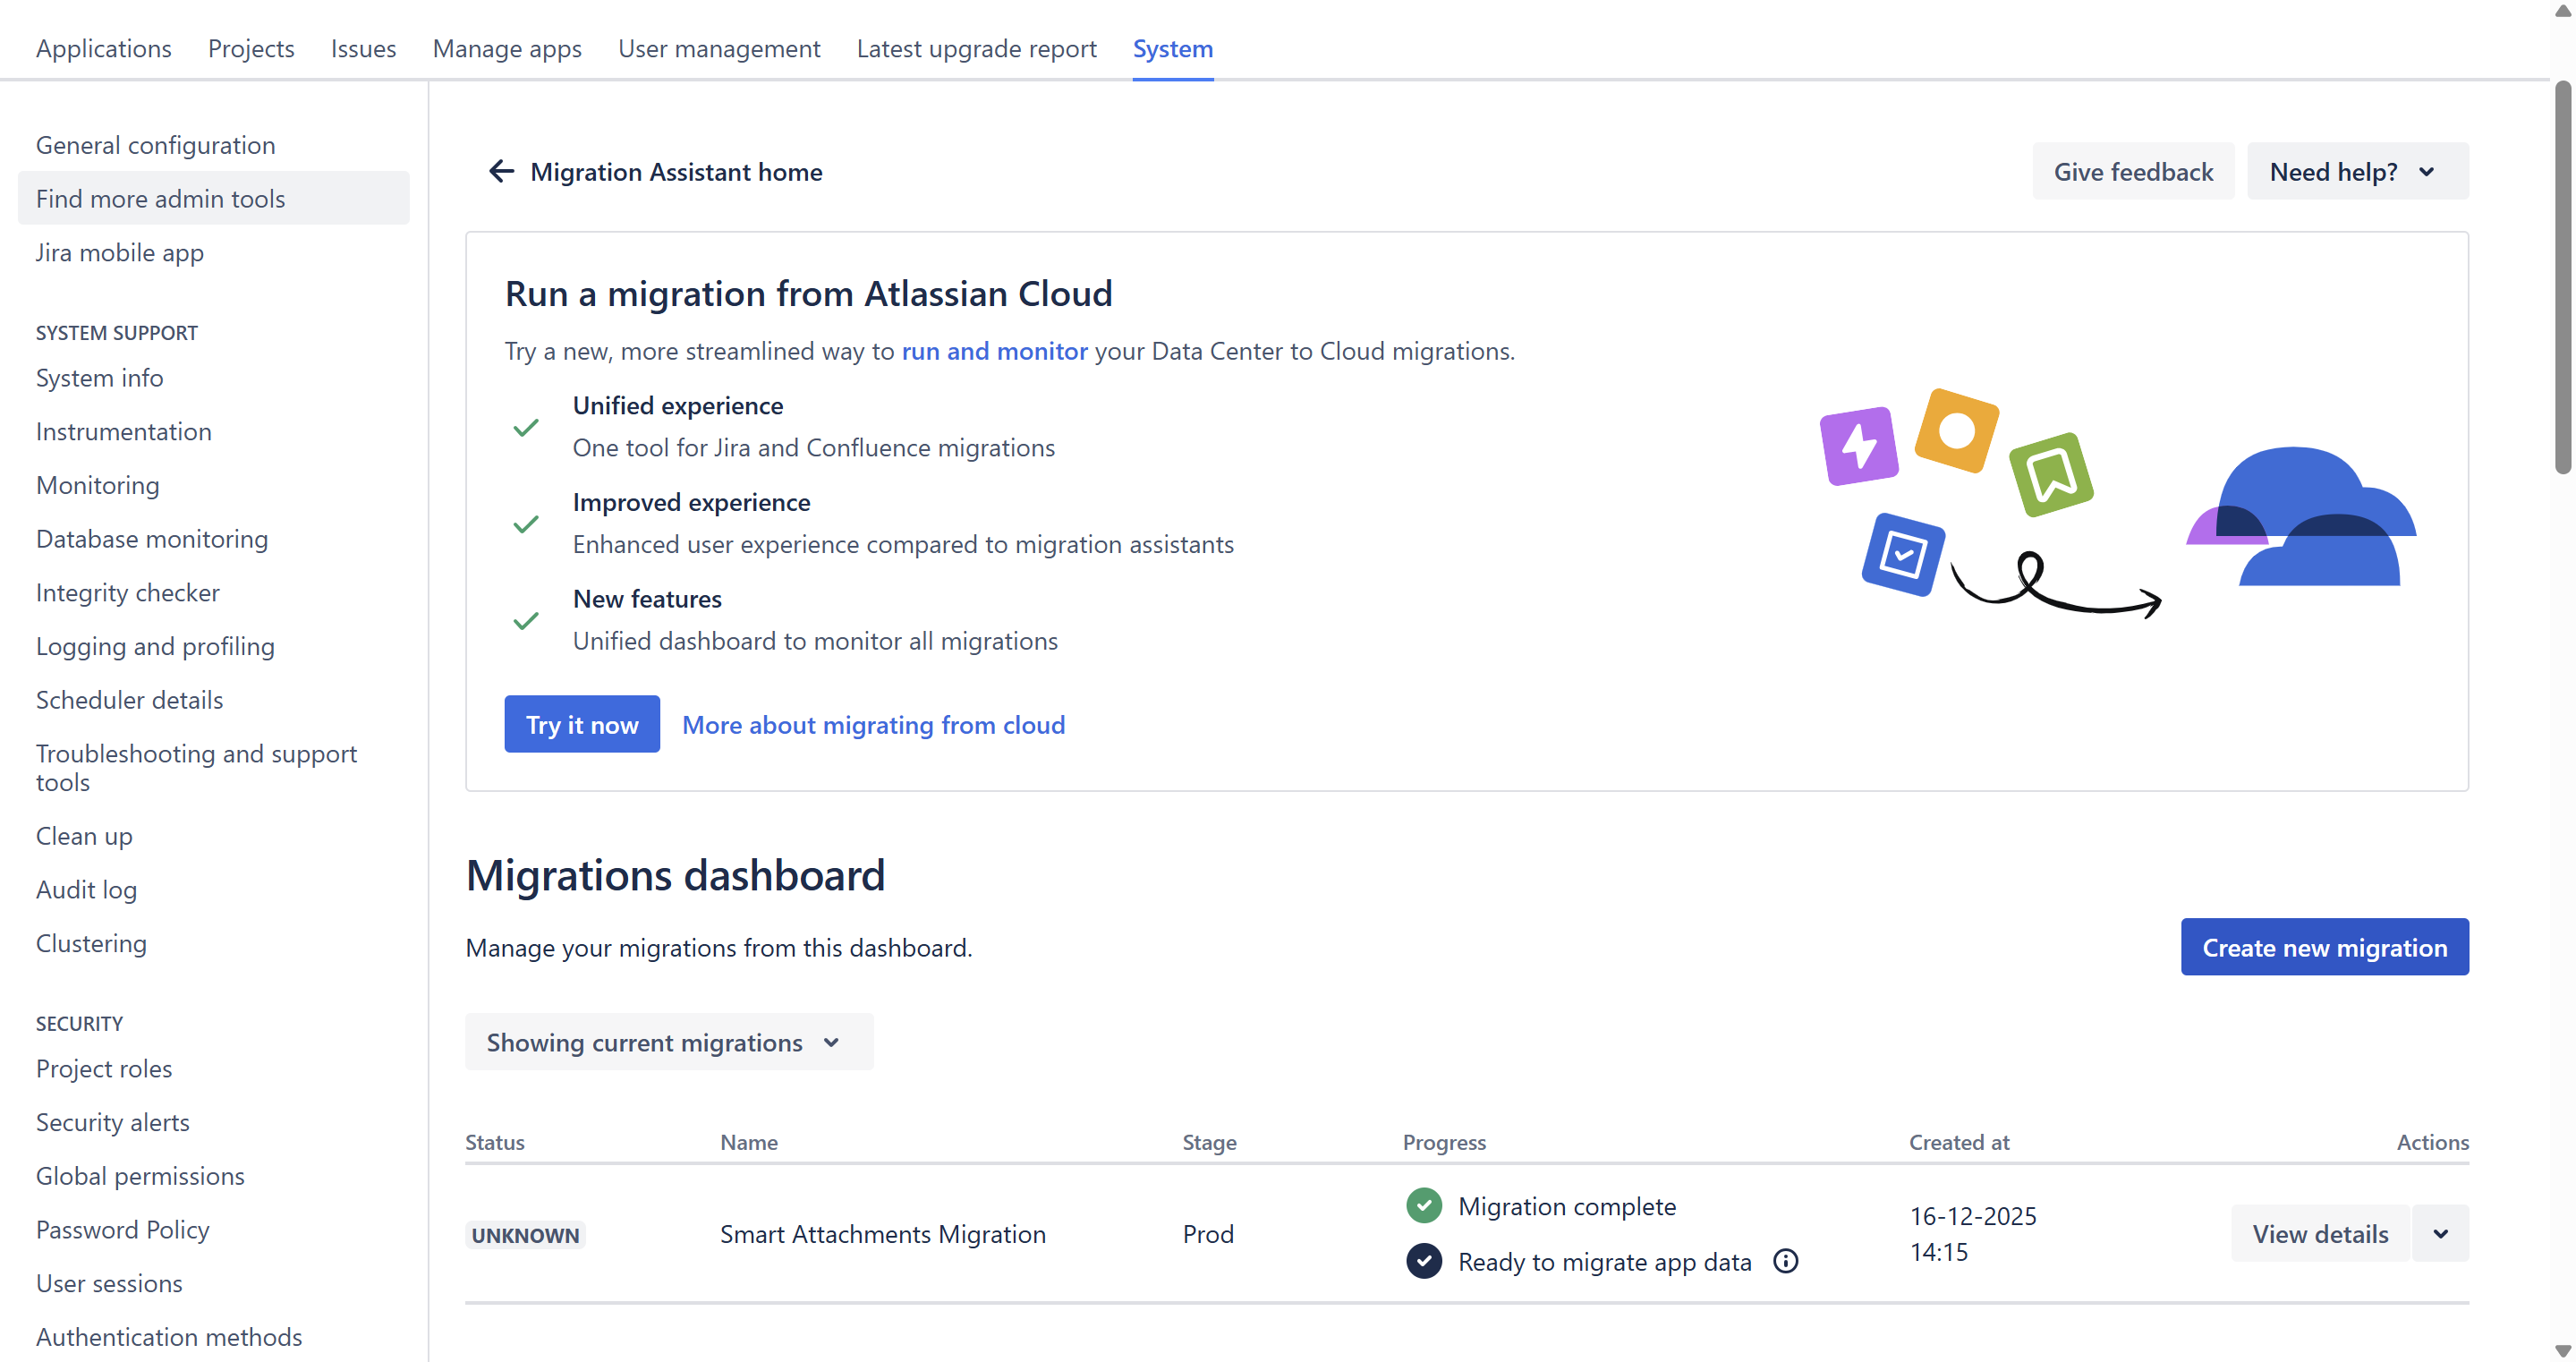
- Migration is complete.
Please note that the app prevents starting a new migration for the same host if another migration for it is in progress.
FAQ
Do we need to perform re-indexation after migration?
You don't need to perform the re-index on Cloud. It starts automatically upon the end of migration
Is there a way to define labels at the project level?
Labels are global. Please, follow the information in our documentation to learn how to start with an app and how to administer labels on Cloud.
After migration, I have some issues with attachments where the Smart Attachments section displays "No attachments in the issue found"
This behavior can be caused by the fact that this particular Jira issue has access restrictions configured the attachment section. If Jira Field Configuration for some issue types in the migrated project has the attachment field set to hidden, then attachments still display on the issue view screen. However, hidden fields are not returned through the Jira API's. As soon as you change the field configuration to show the attachment field, the API call will return the expected result (with attachment data) and the Smart Attachments section within the impacted issues will correctly display the list of attachments.
After migration, some of my labels are missing
Please, check for the scheme configuration in your Jira Server/Data Center in the projects where you have this issue. Our app doesn't migrate labels from the default Uncategorized category even if it has been renamed in your project. You can find more details in the migration documentation.
Migration is running for more than 24 hours. Is it OK?
The migration process can take up to 48 hours. So, this is within the expected range.
The migration procedure of our app data and any other app data is a multi-step process requiring lots of inter-communication of a Server app, Cloud storage, app migration platform, and Jira Cloud. Please review the Atlassian documentation with the migration procedure described in the schemes for details.
Additionally, our app must run migration at a moderate speed to avoid rate limits. Another possible reason for the migration time increase is the situation of several simultaneous migrations performed at the same time, which results in the app migration queue.
After migration, labels are missing in certain Jira issues
This behavior can be caused by the lack of permissions for our app in a particular Jira issue. You'll see the message "Issue does not exist, or you do not have permission to see it."
If you have issue security levels configured, our app will lack permission to add labels in this project. You can resolve this issue by adding the project role atlassian-addons-project-access to the security level:
- In the upper-right corner of the screen, select Administration
 > Issues.
 - In the sidebar, select Issue security schemes to open the Issue security schemes page, which lists all the issue security schemes currently available in your Jira installation.
- Select the scheme name, or the Security levels link in the Actions column, to open the Edit issue security levels page.
- Locate the appropriate security level and click its Add link (in the Actions column), which opens the Add user/Group/Project role to issue security level page.
Select the atlassian-addons-project-access project role, then click the Add button.