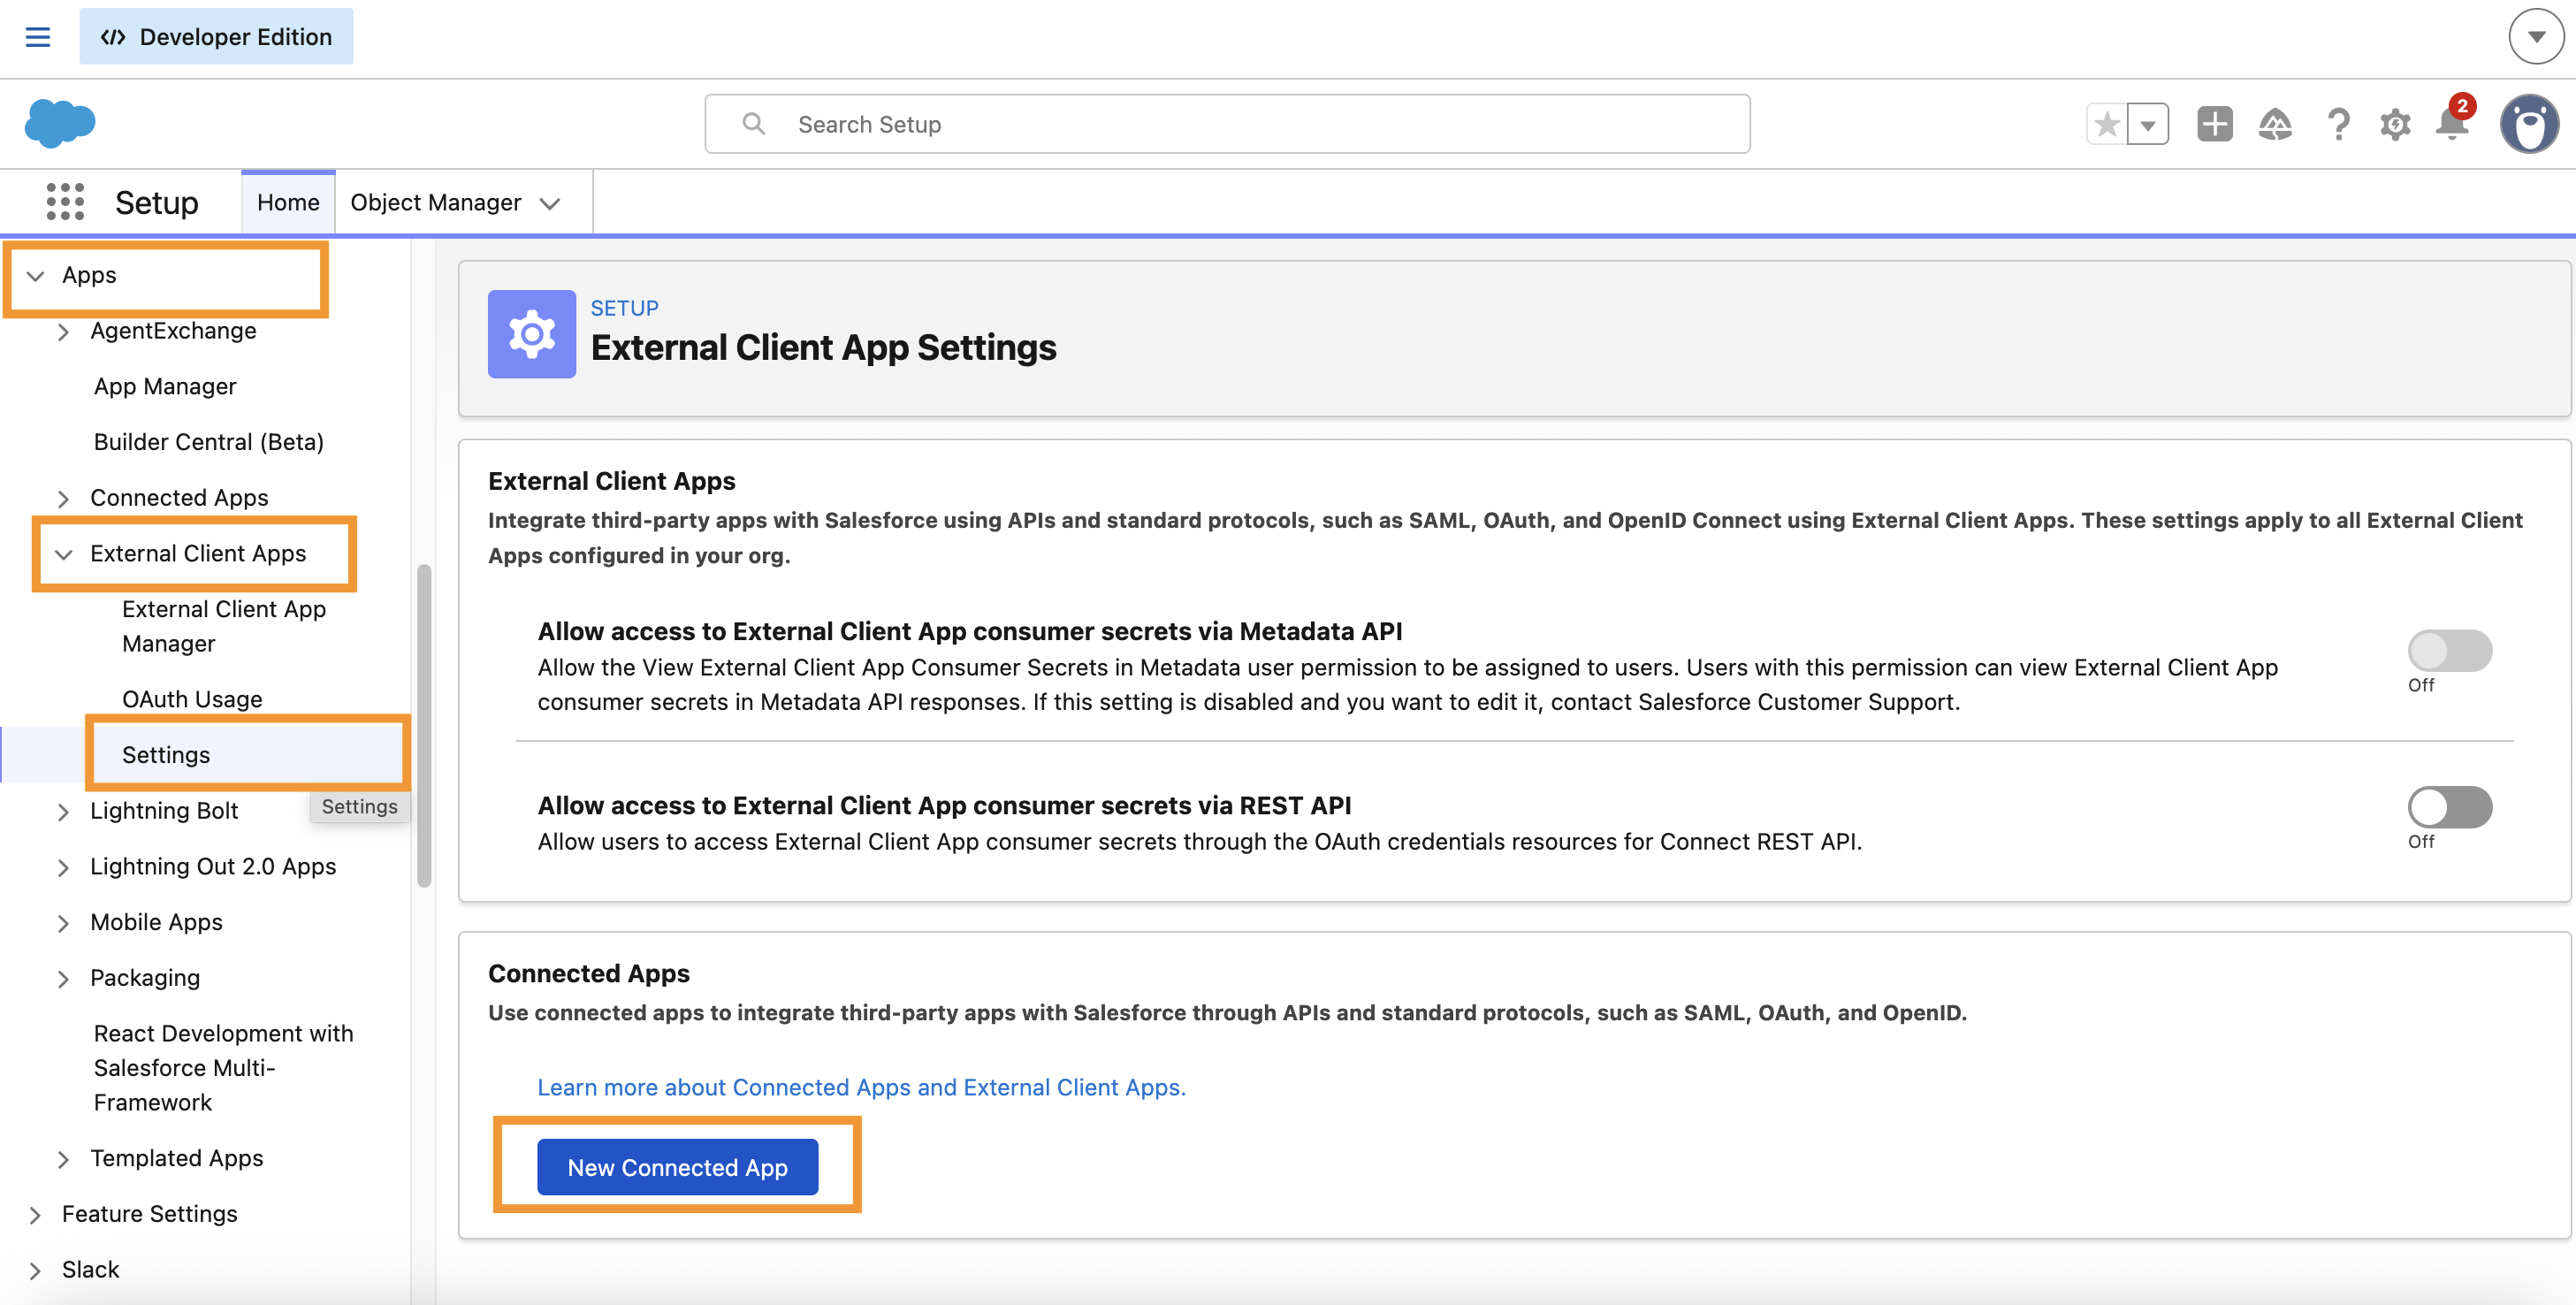
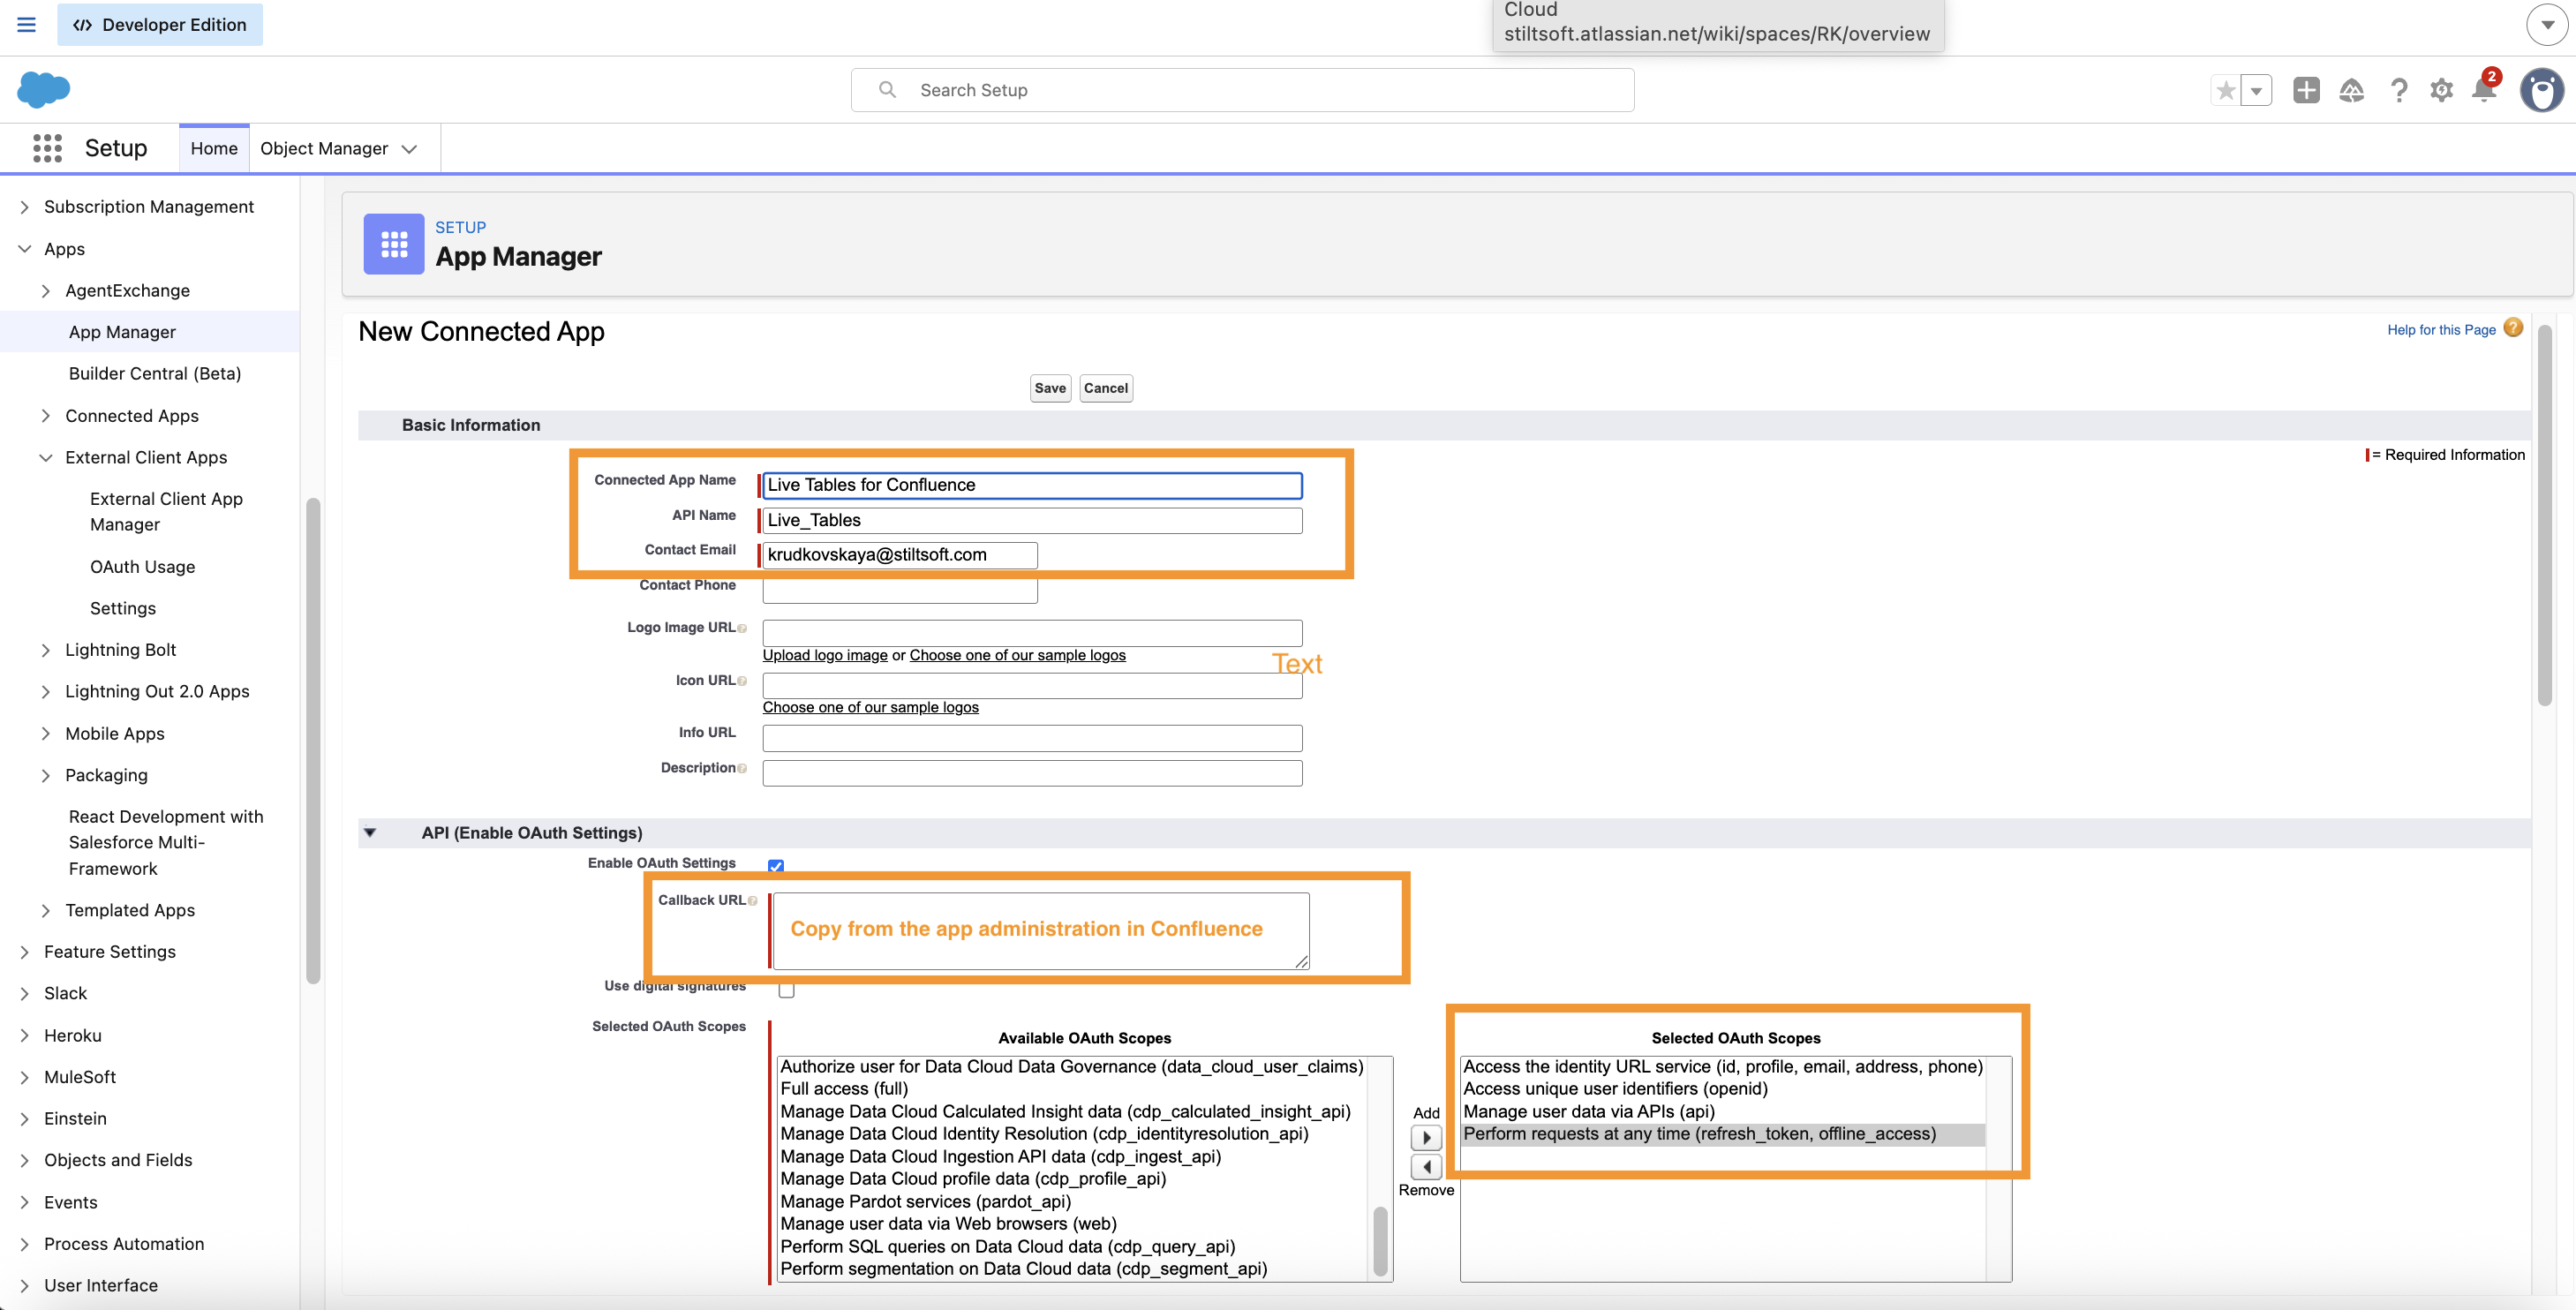
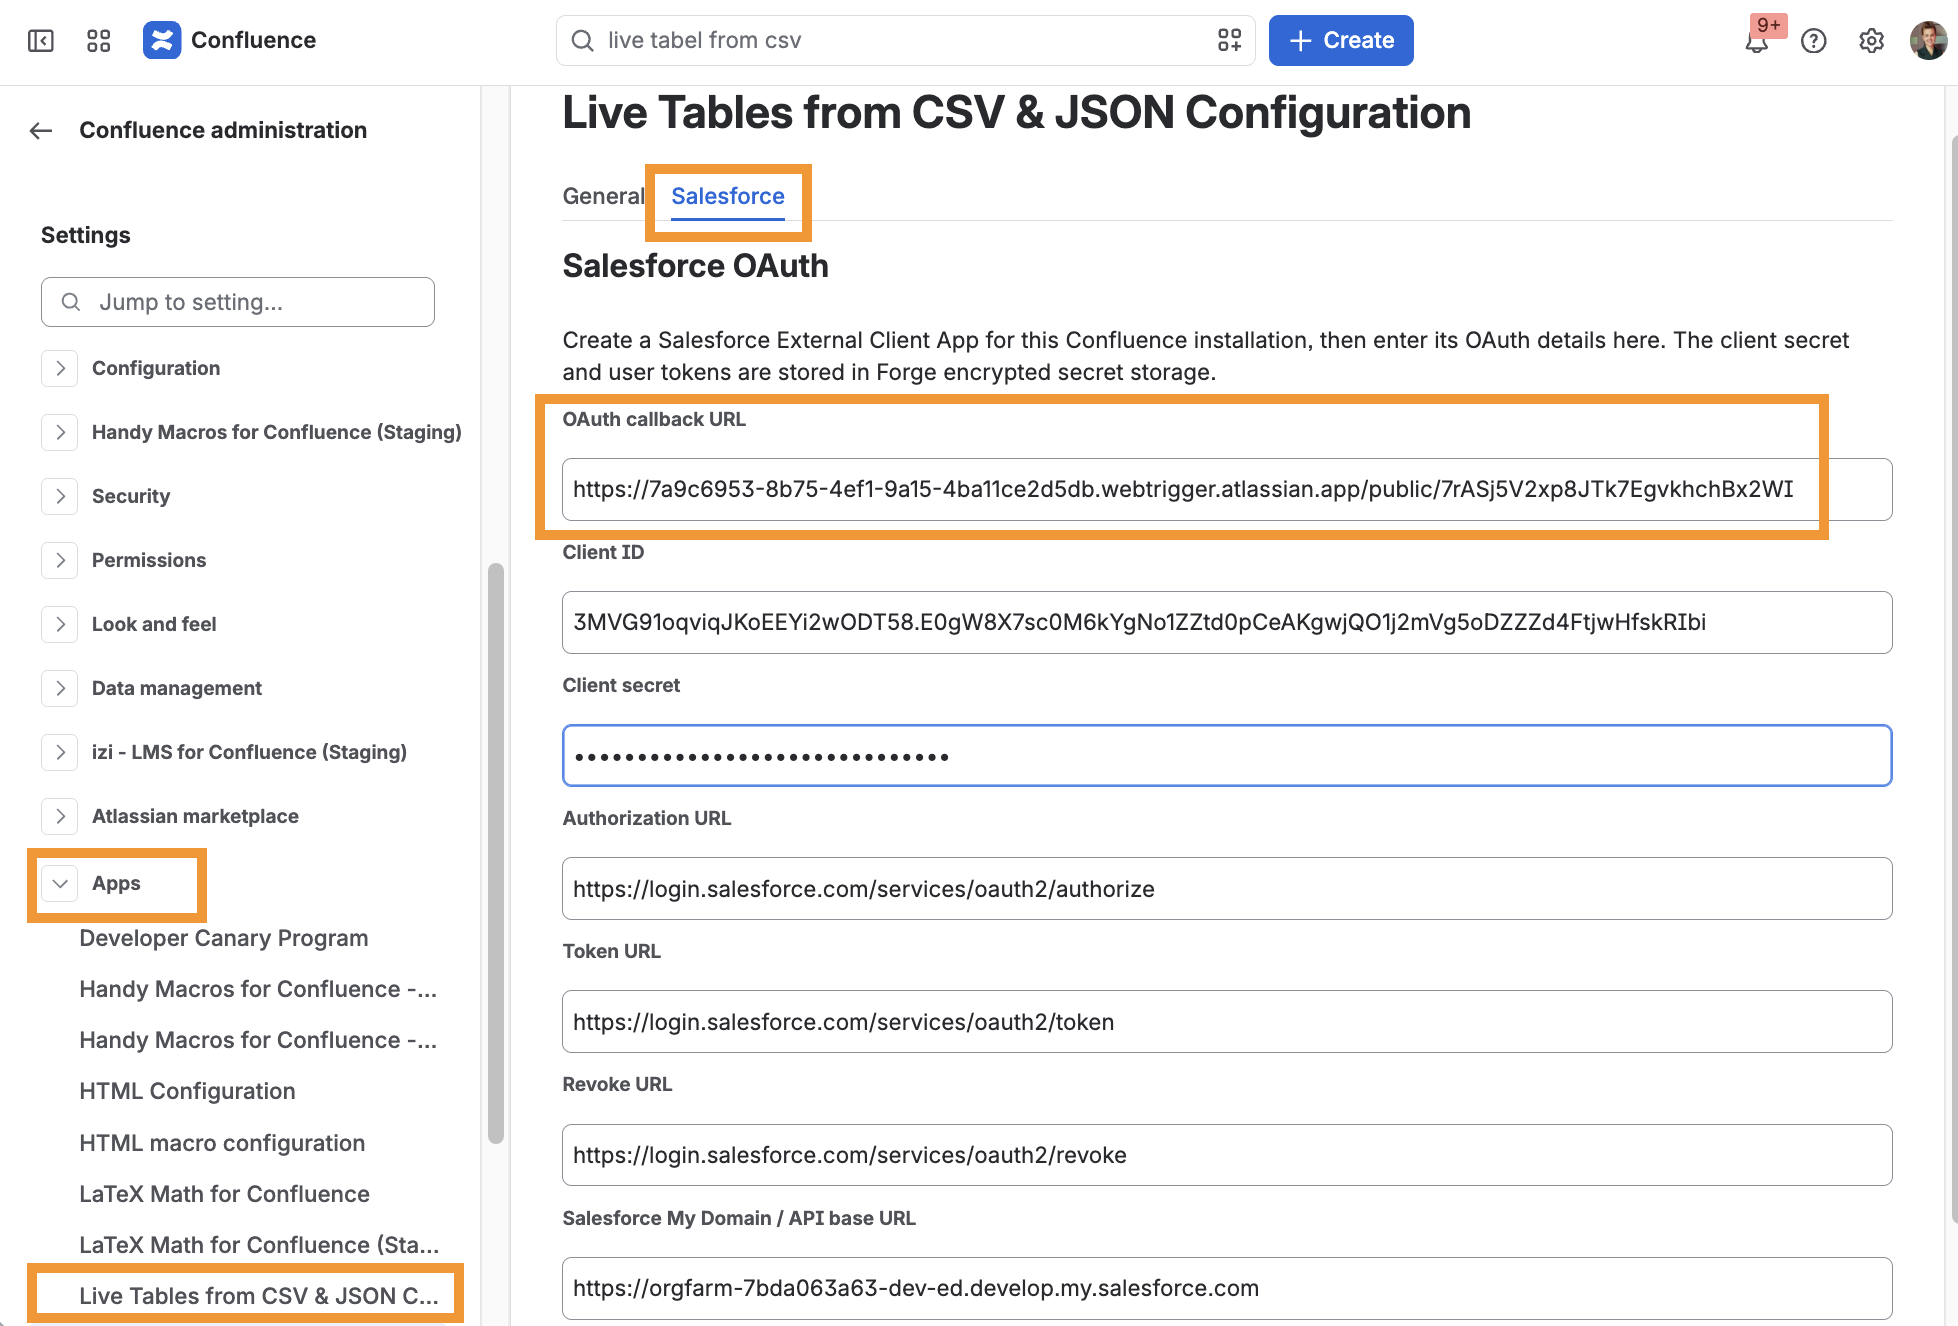
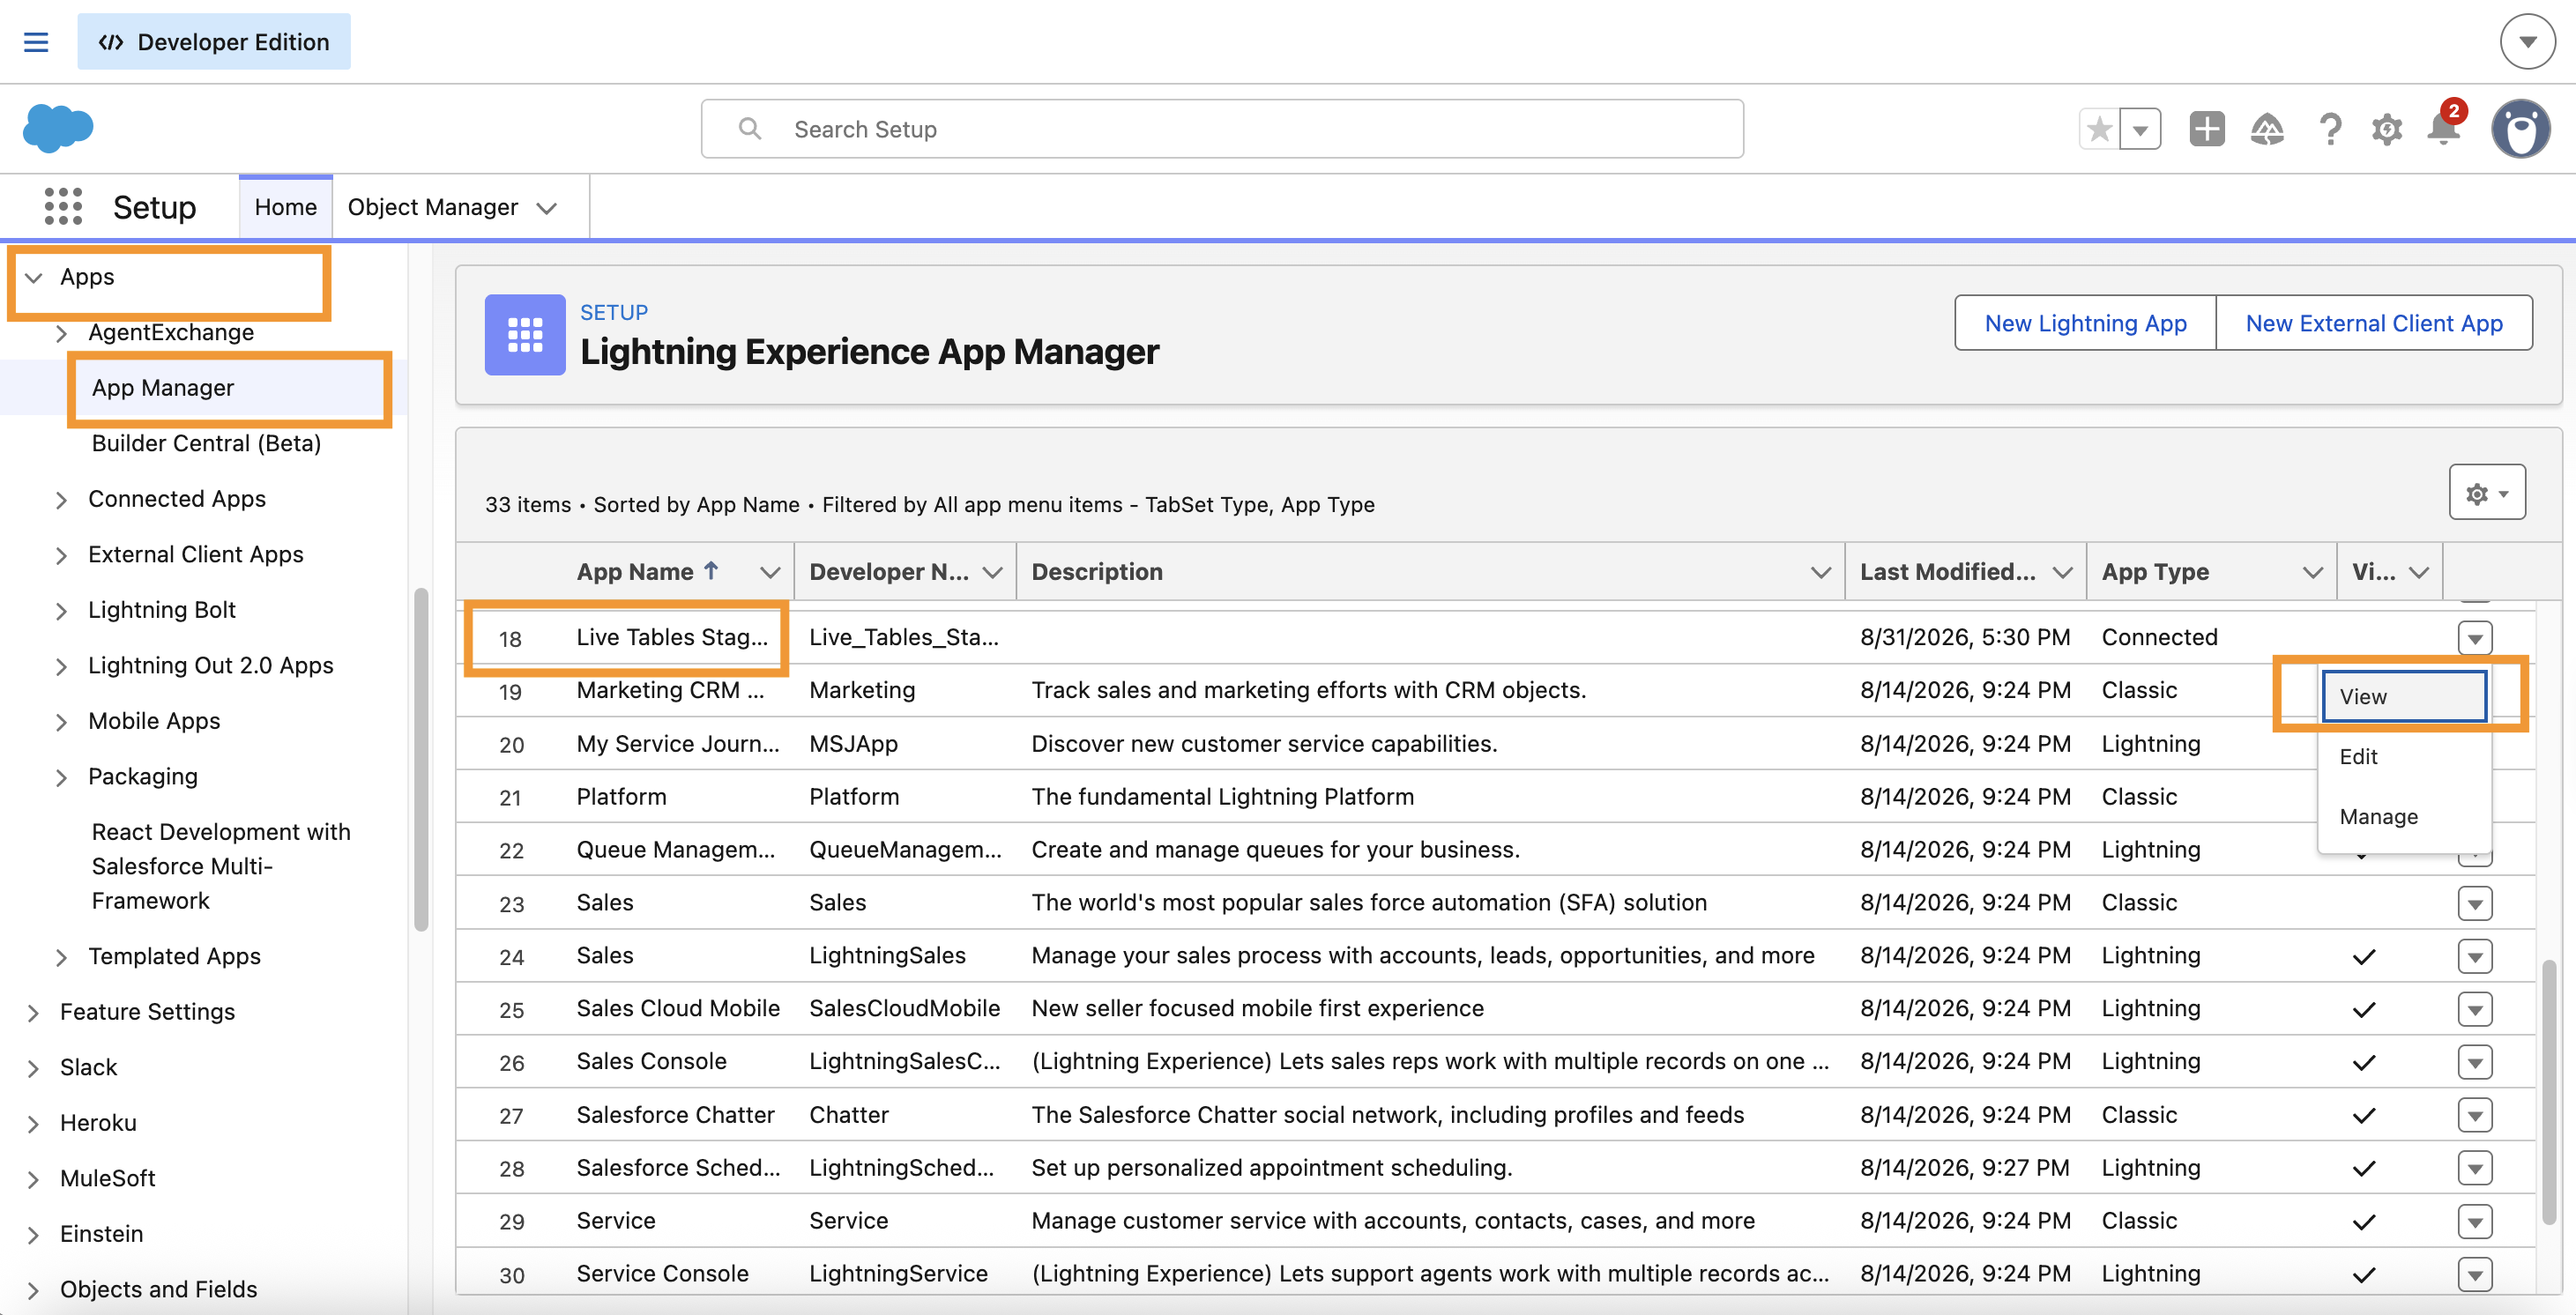
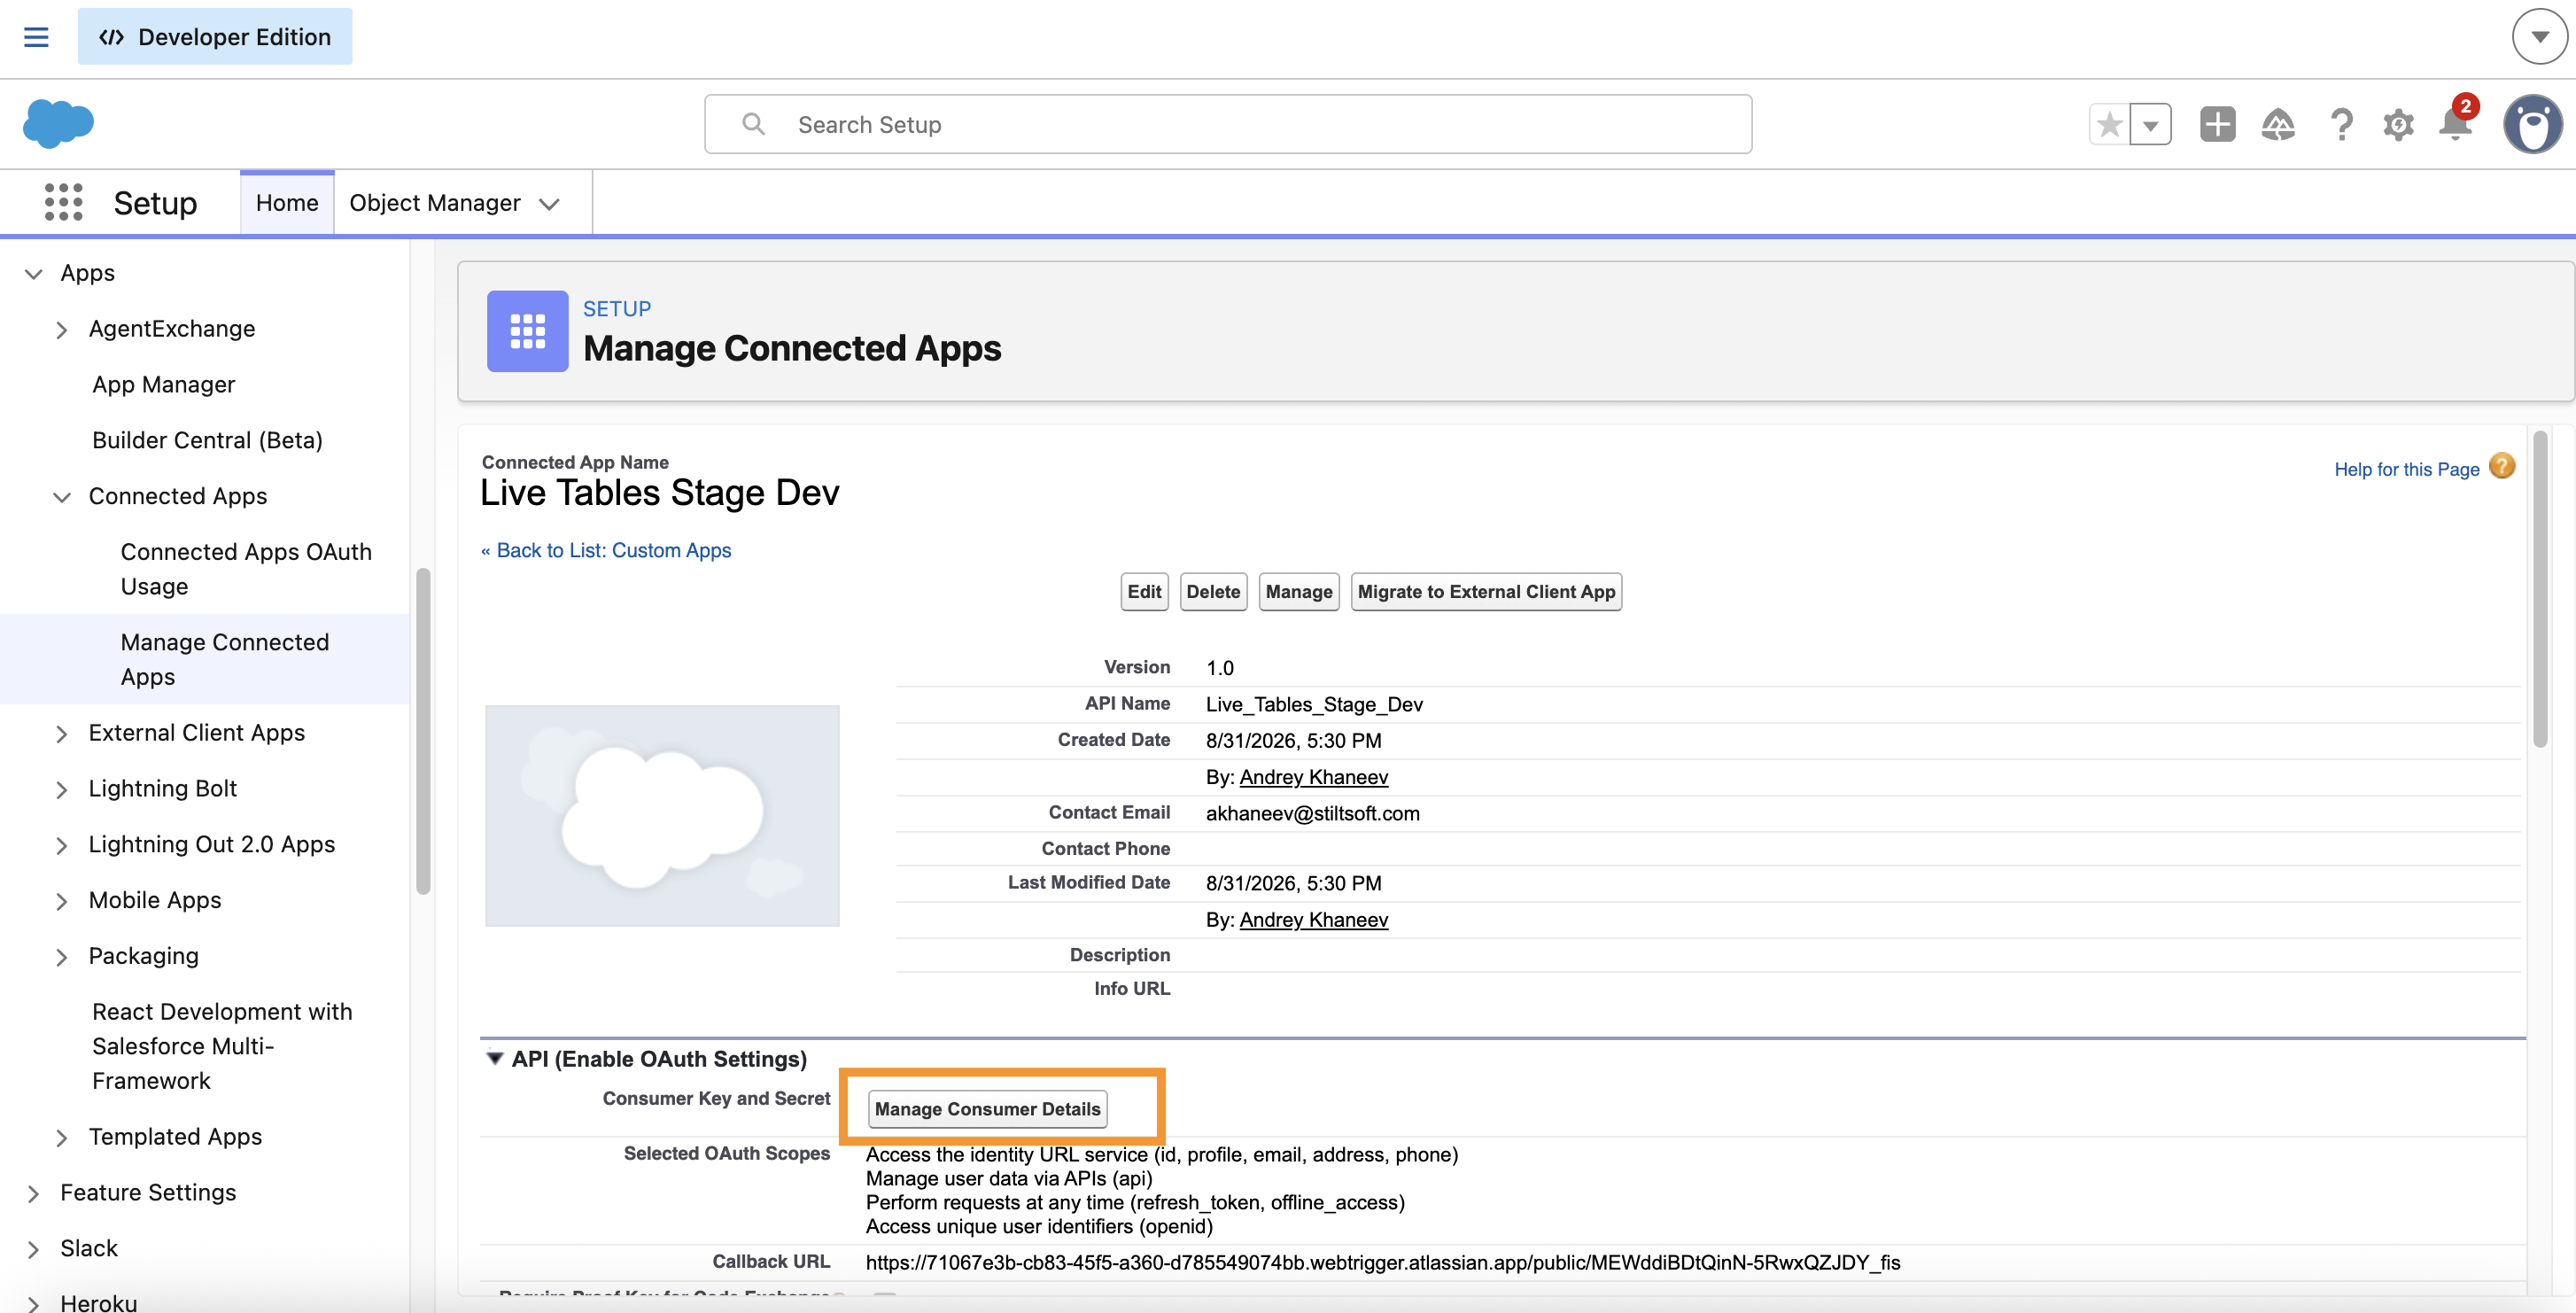
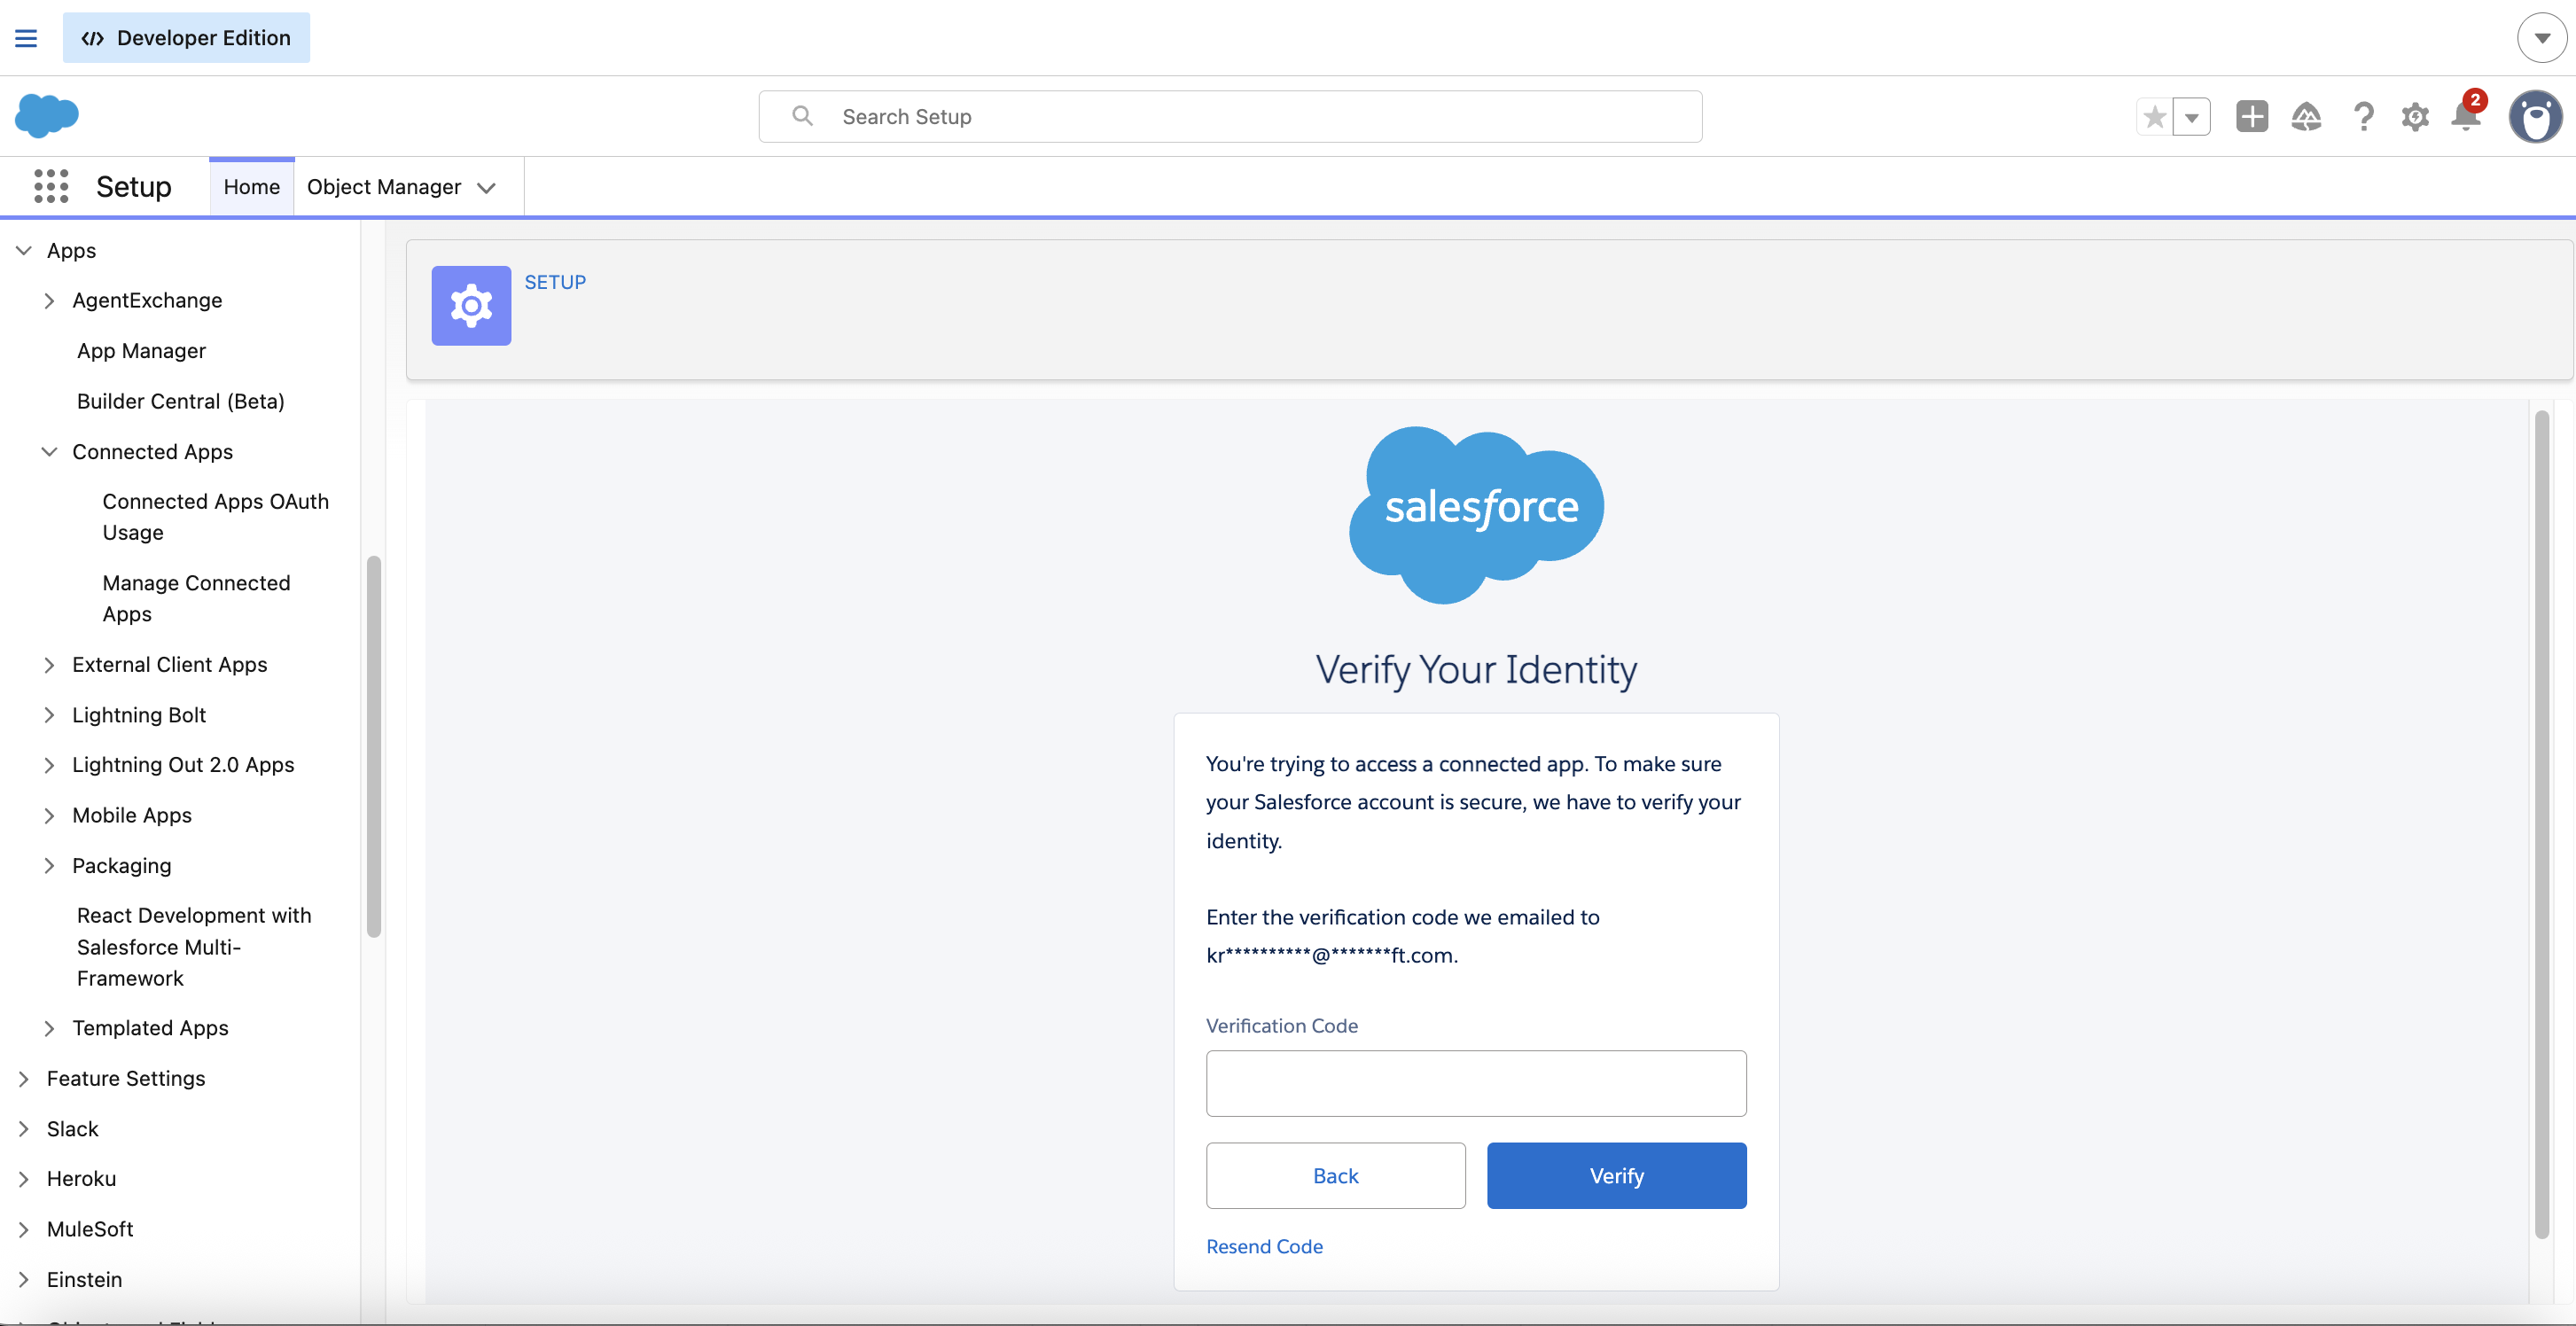
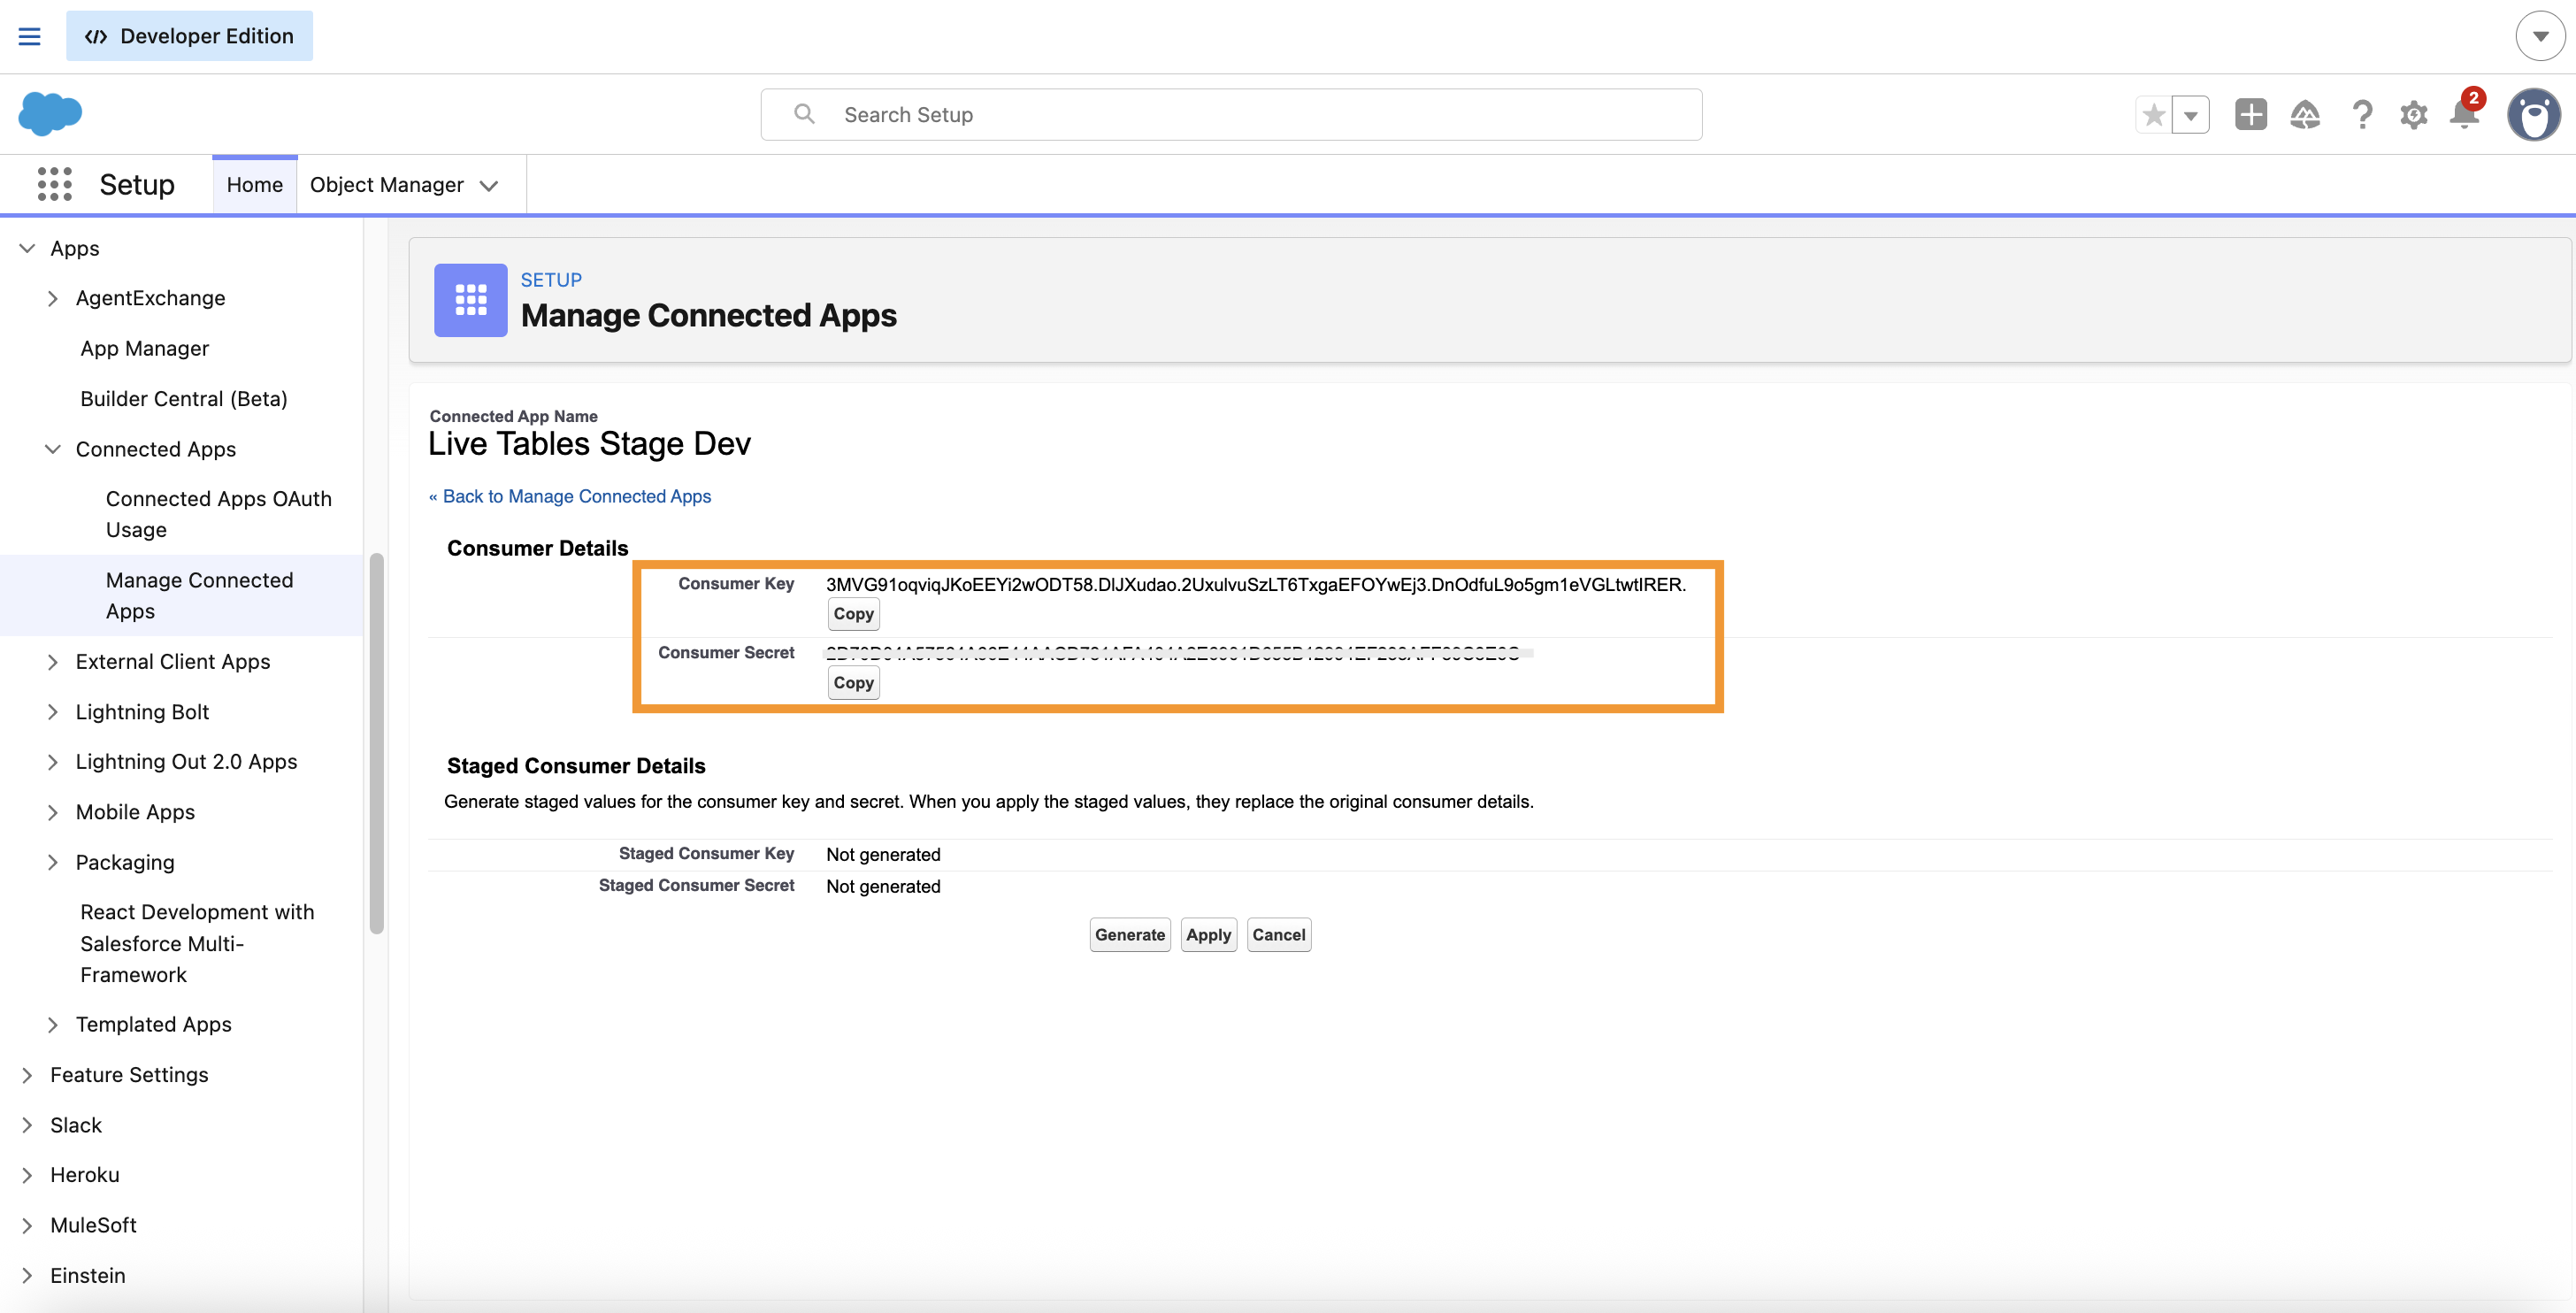
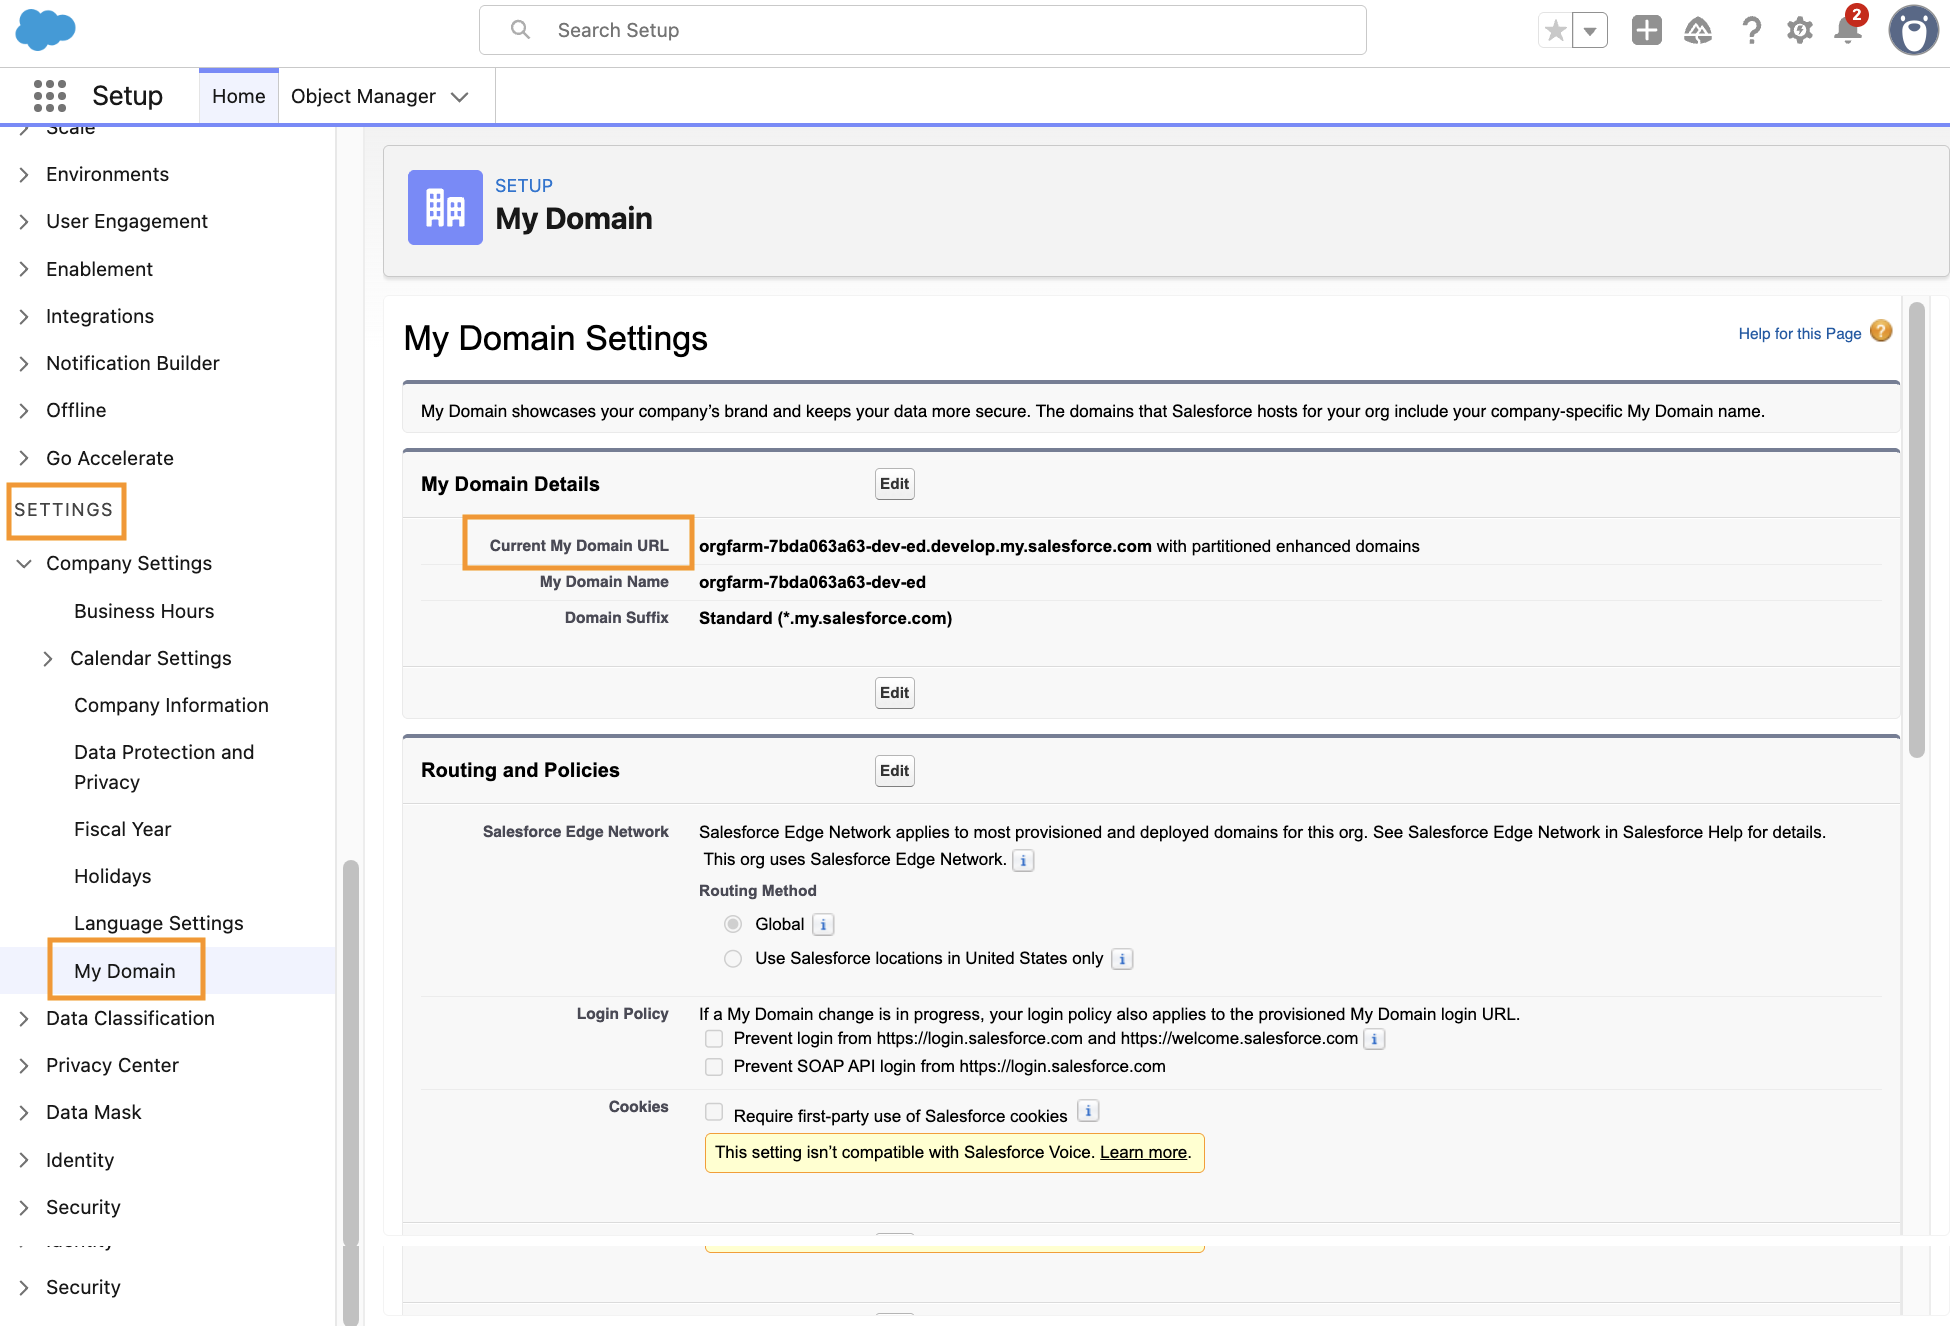
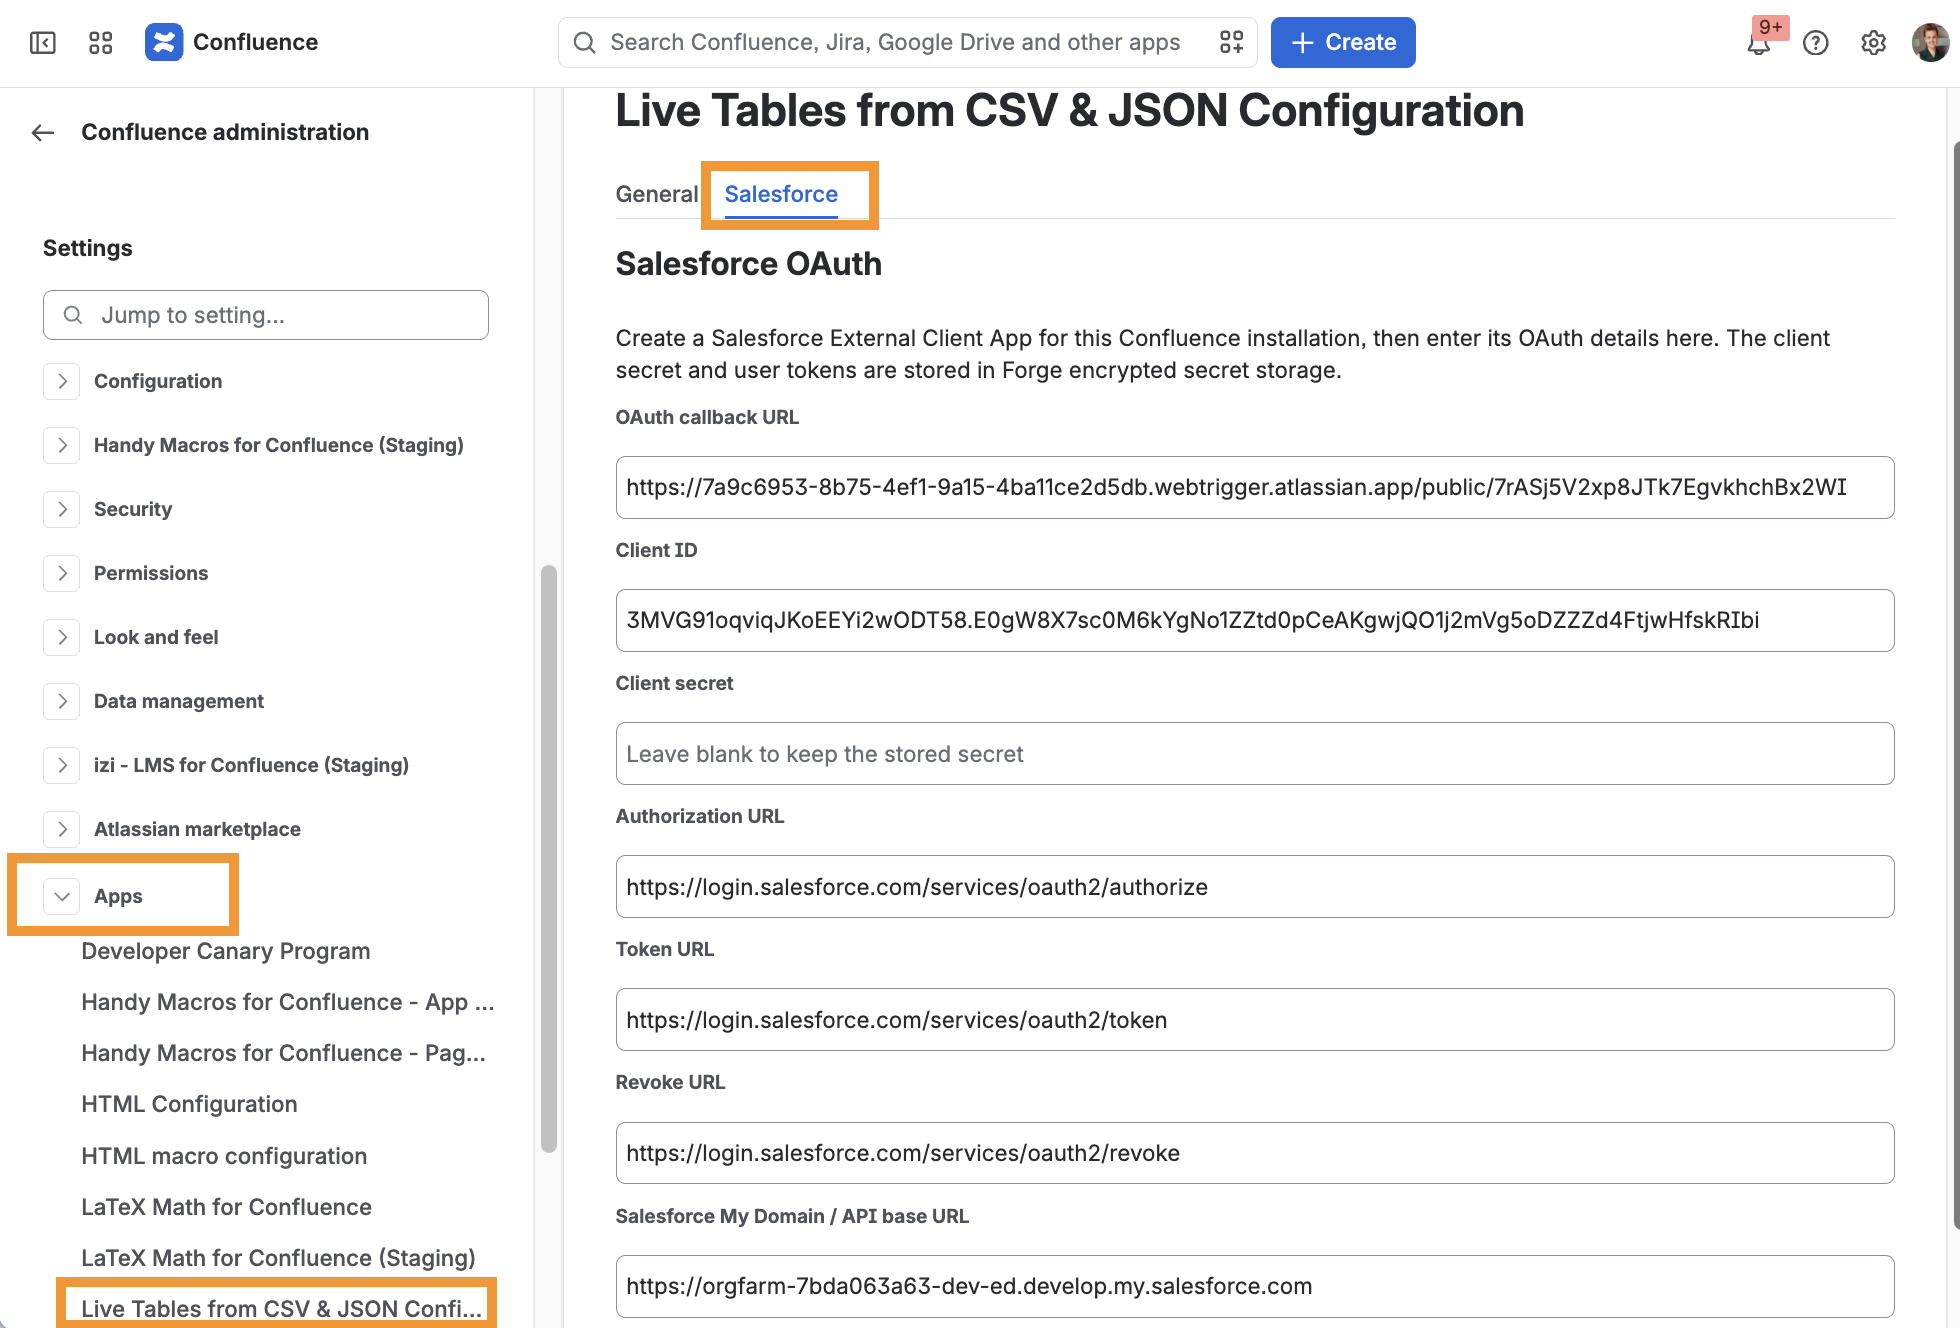
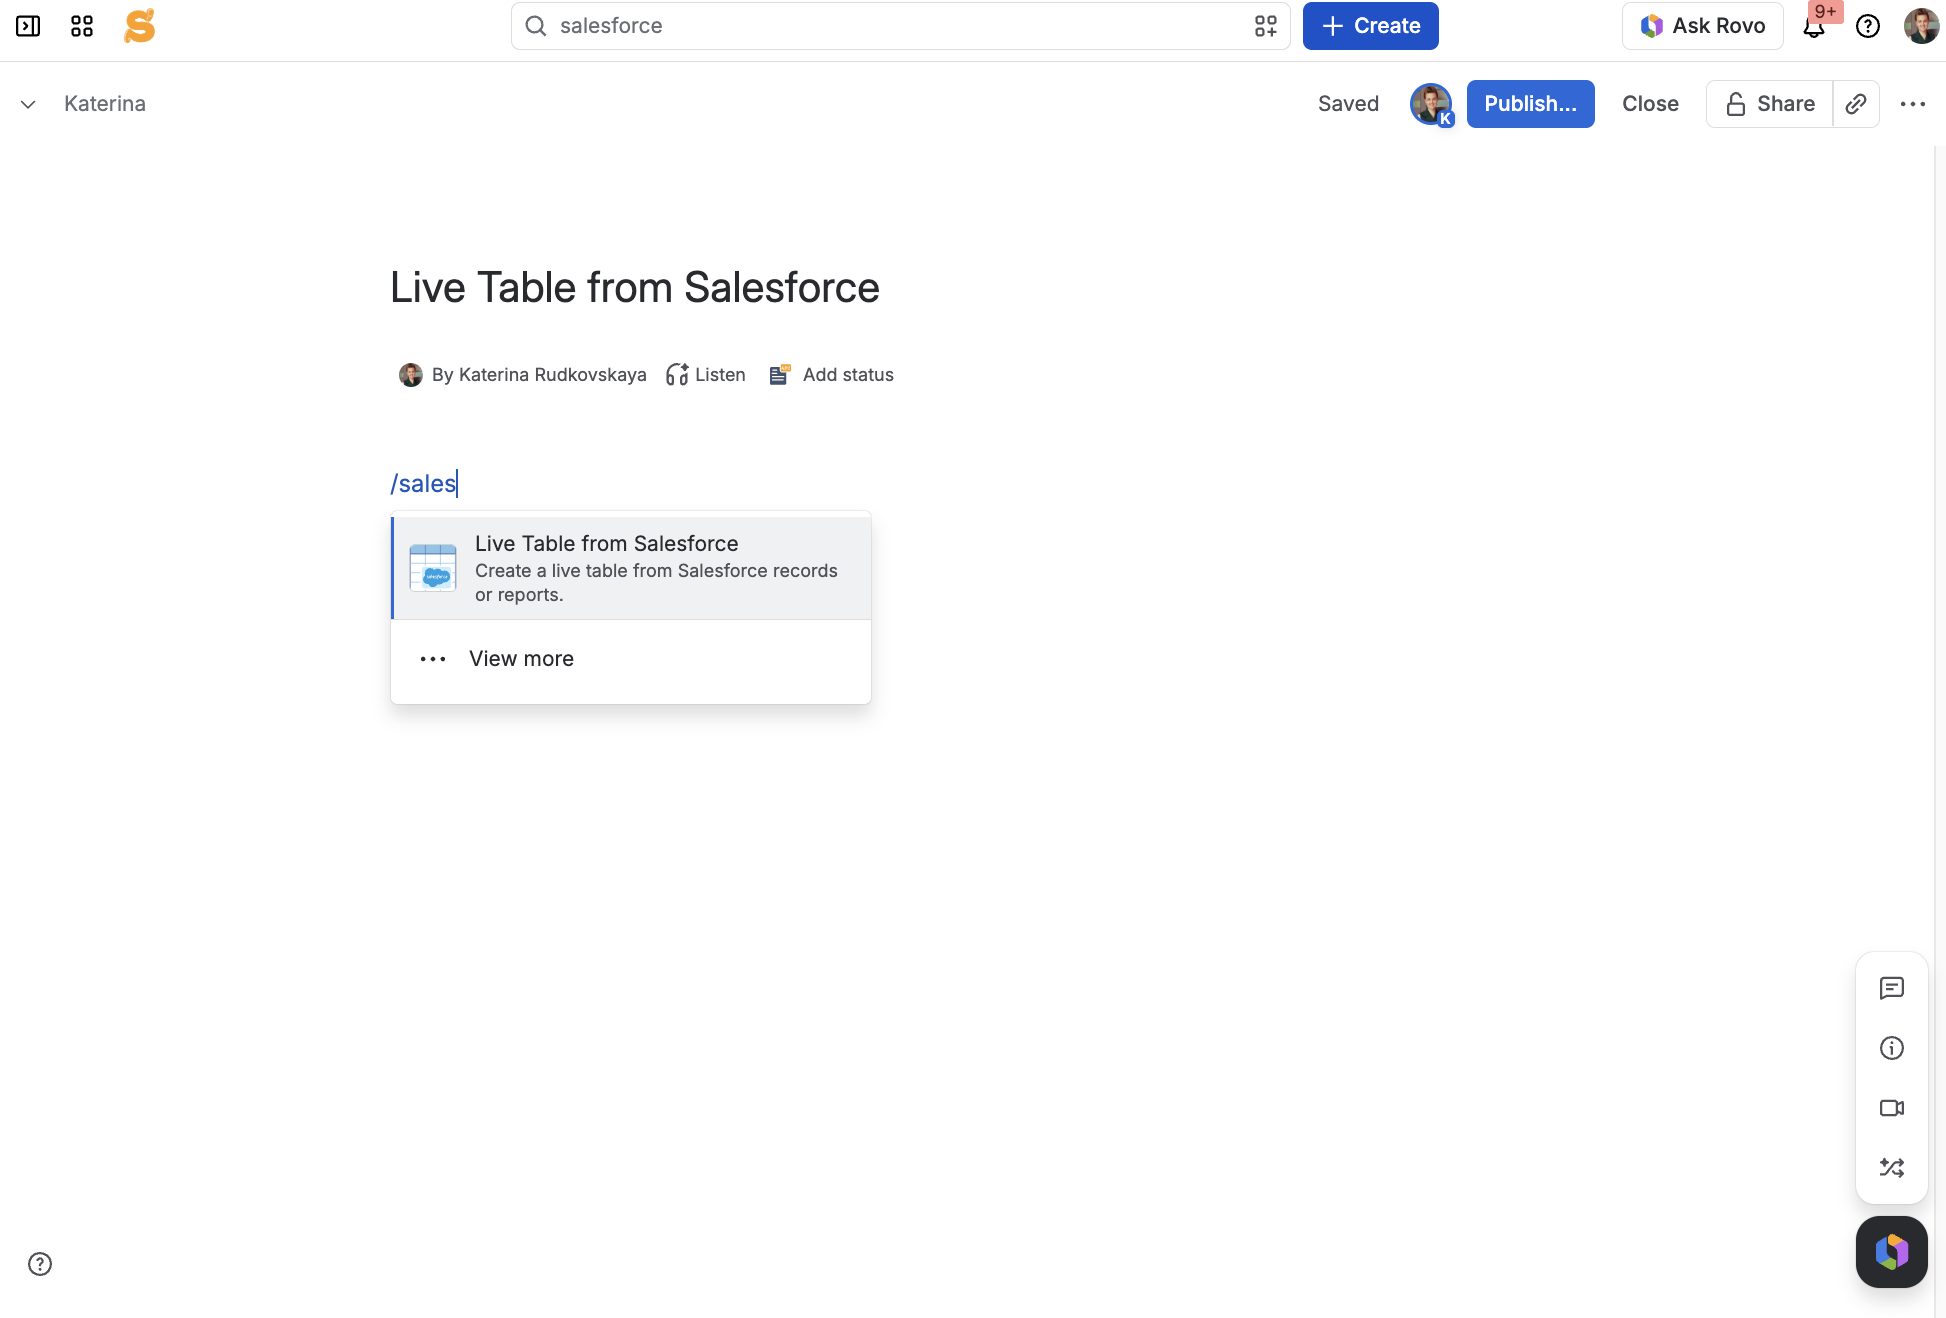
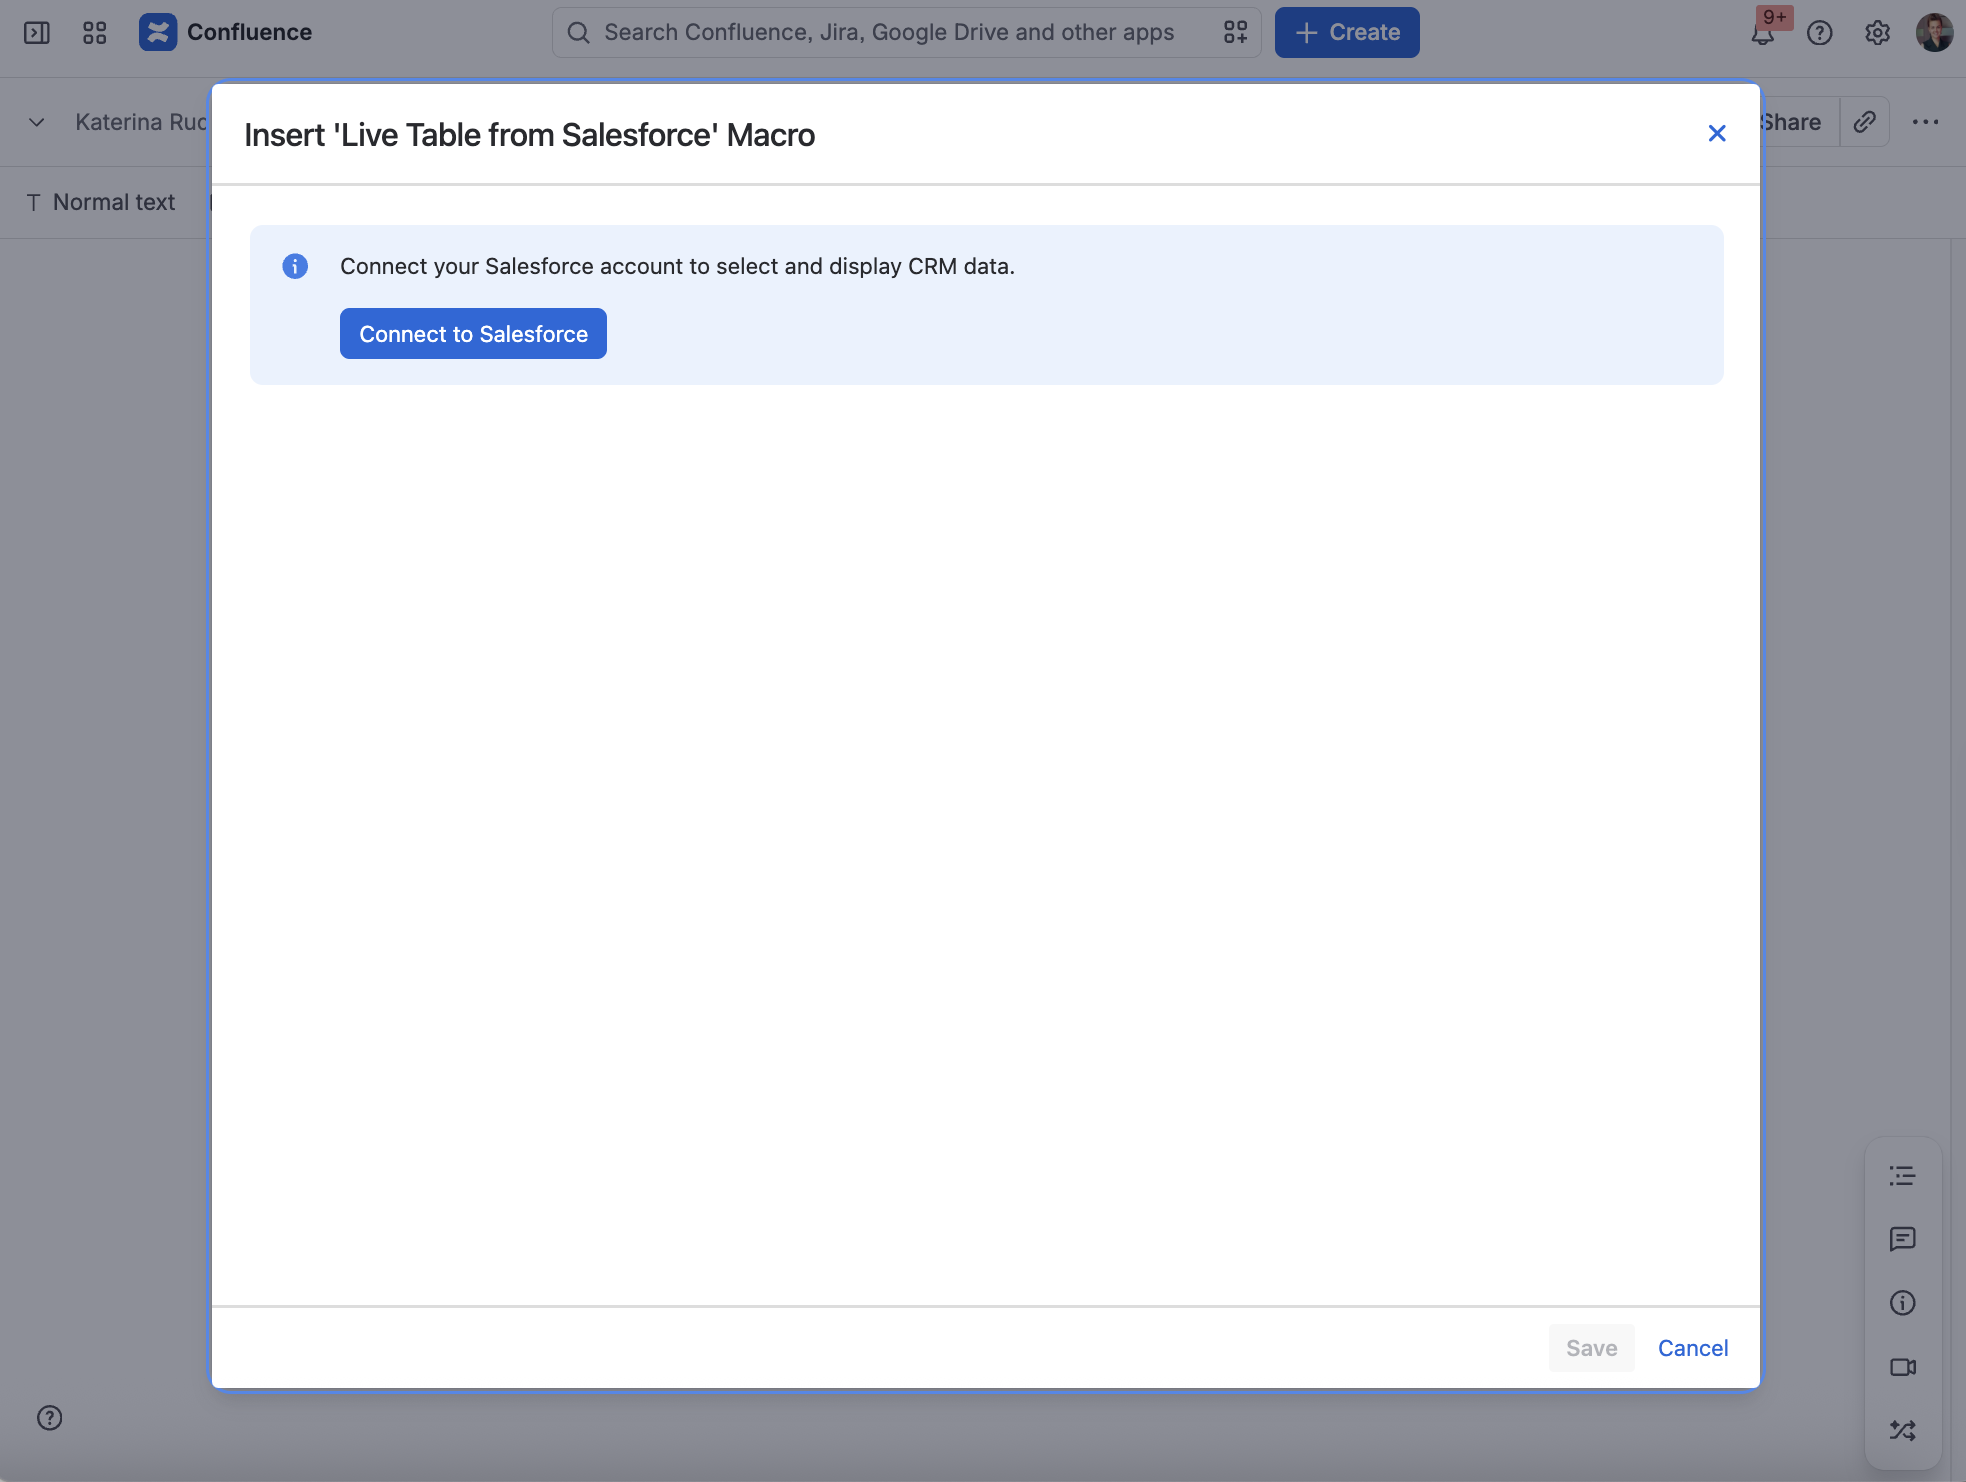
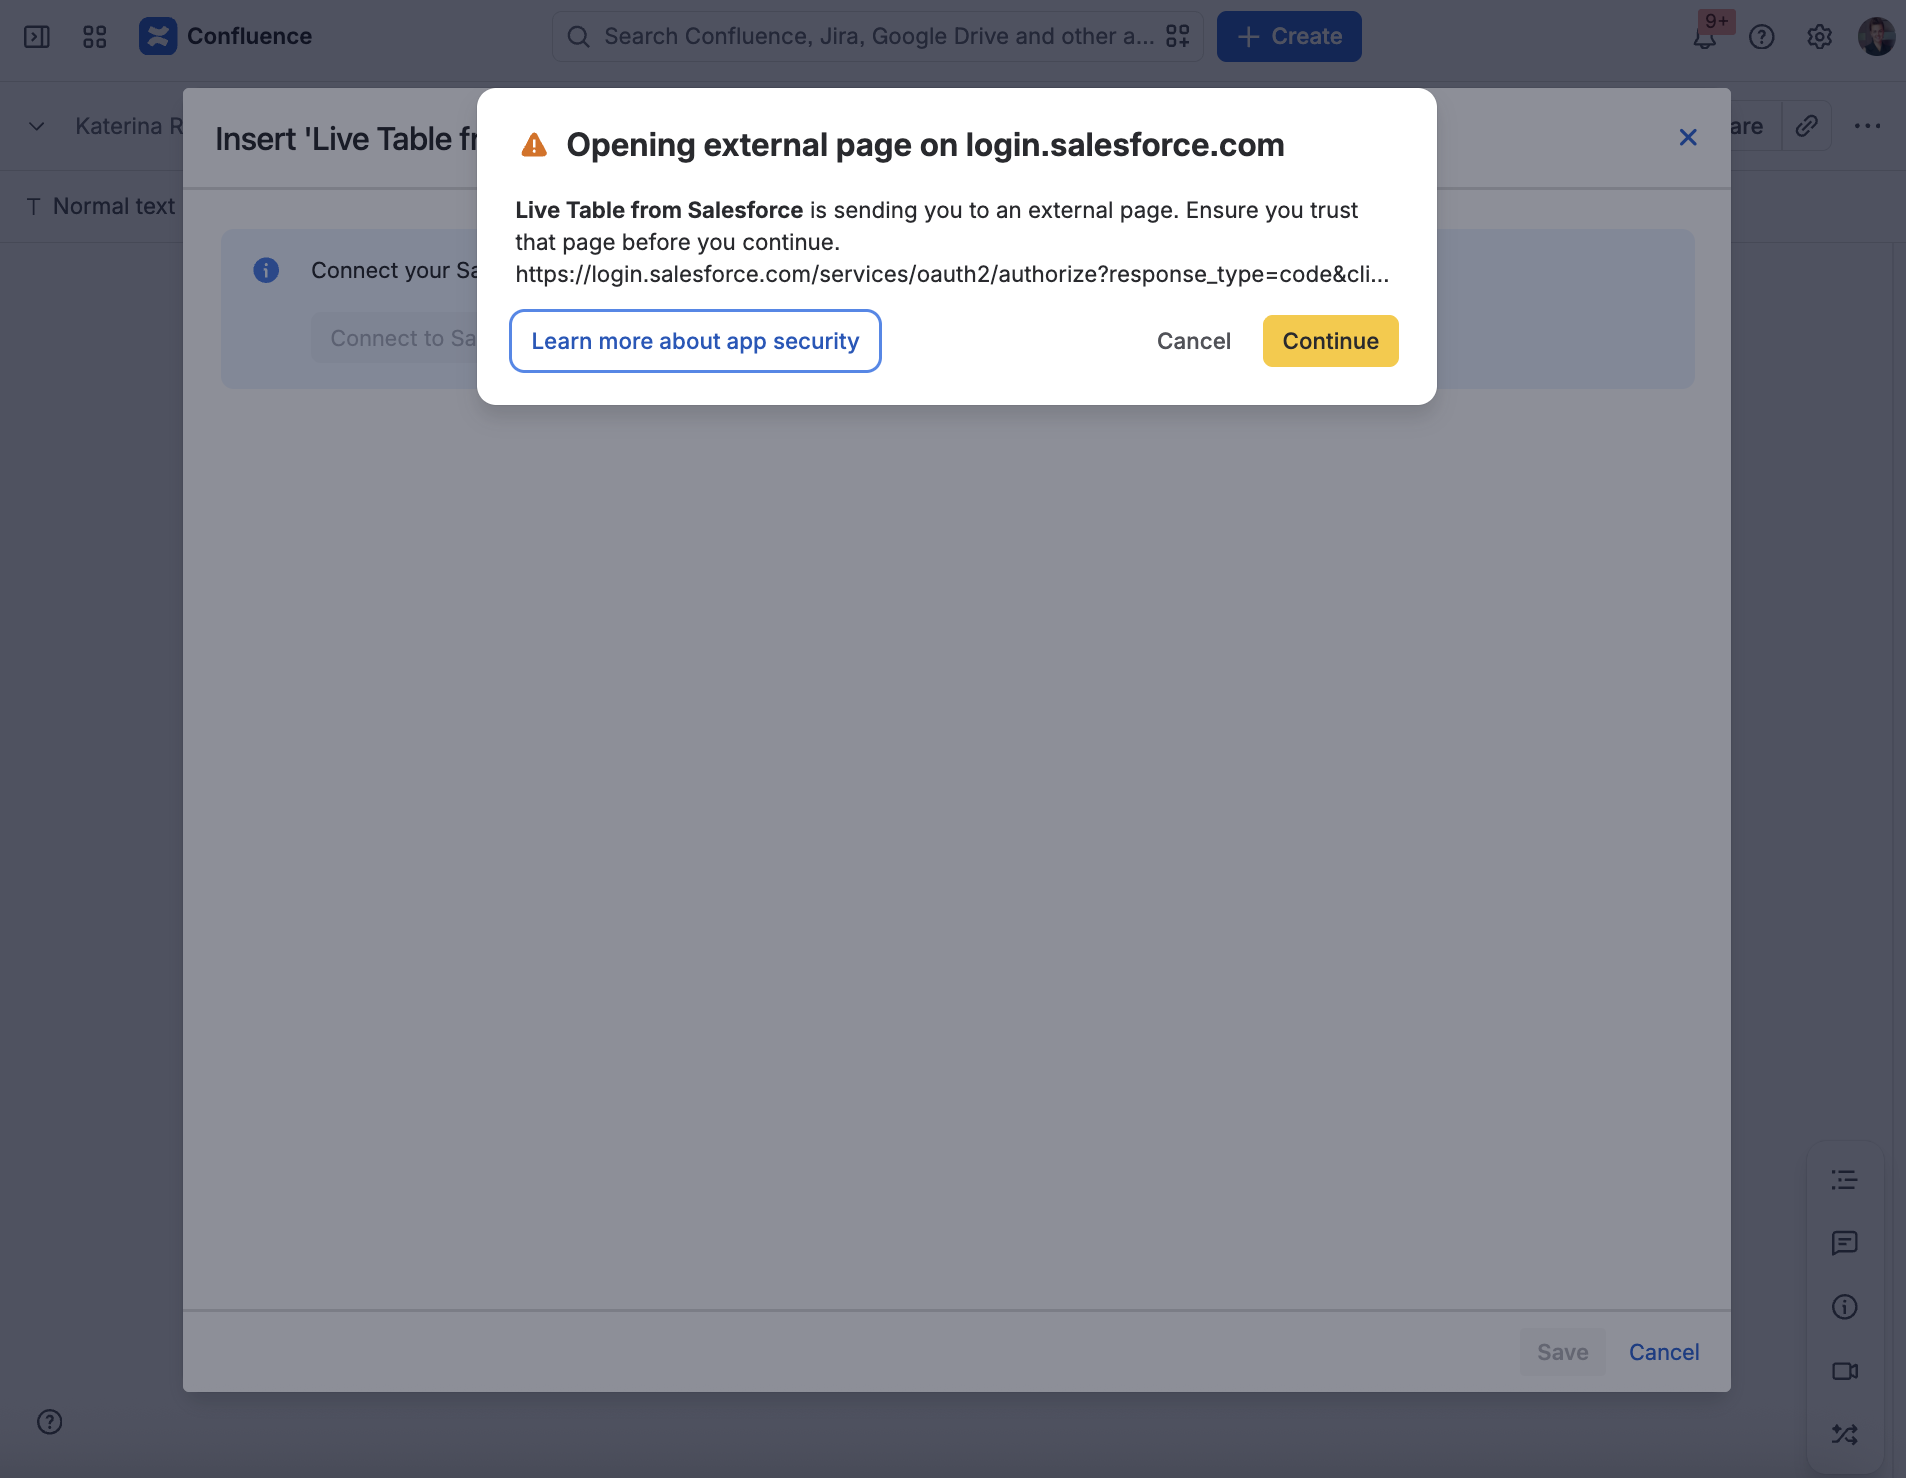
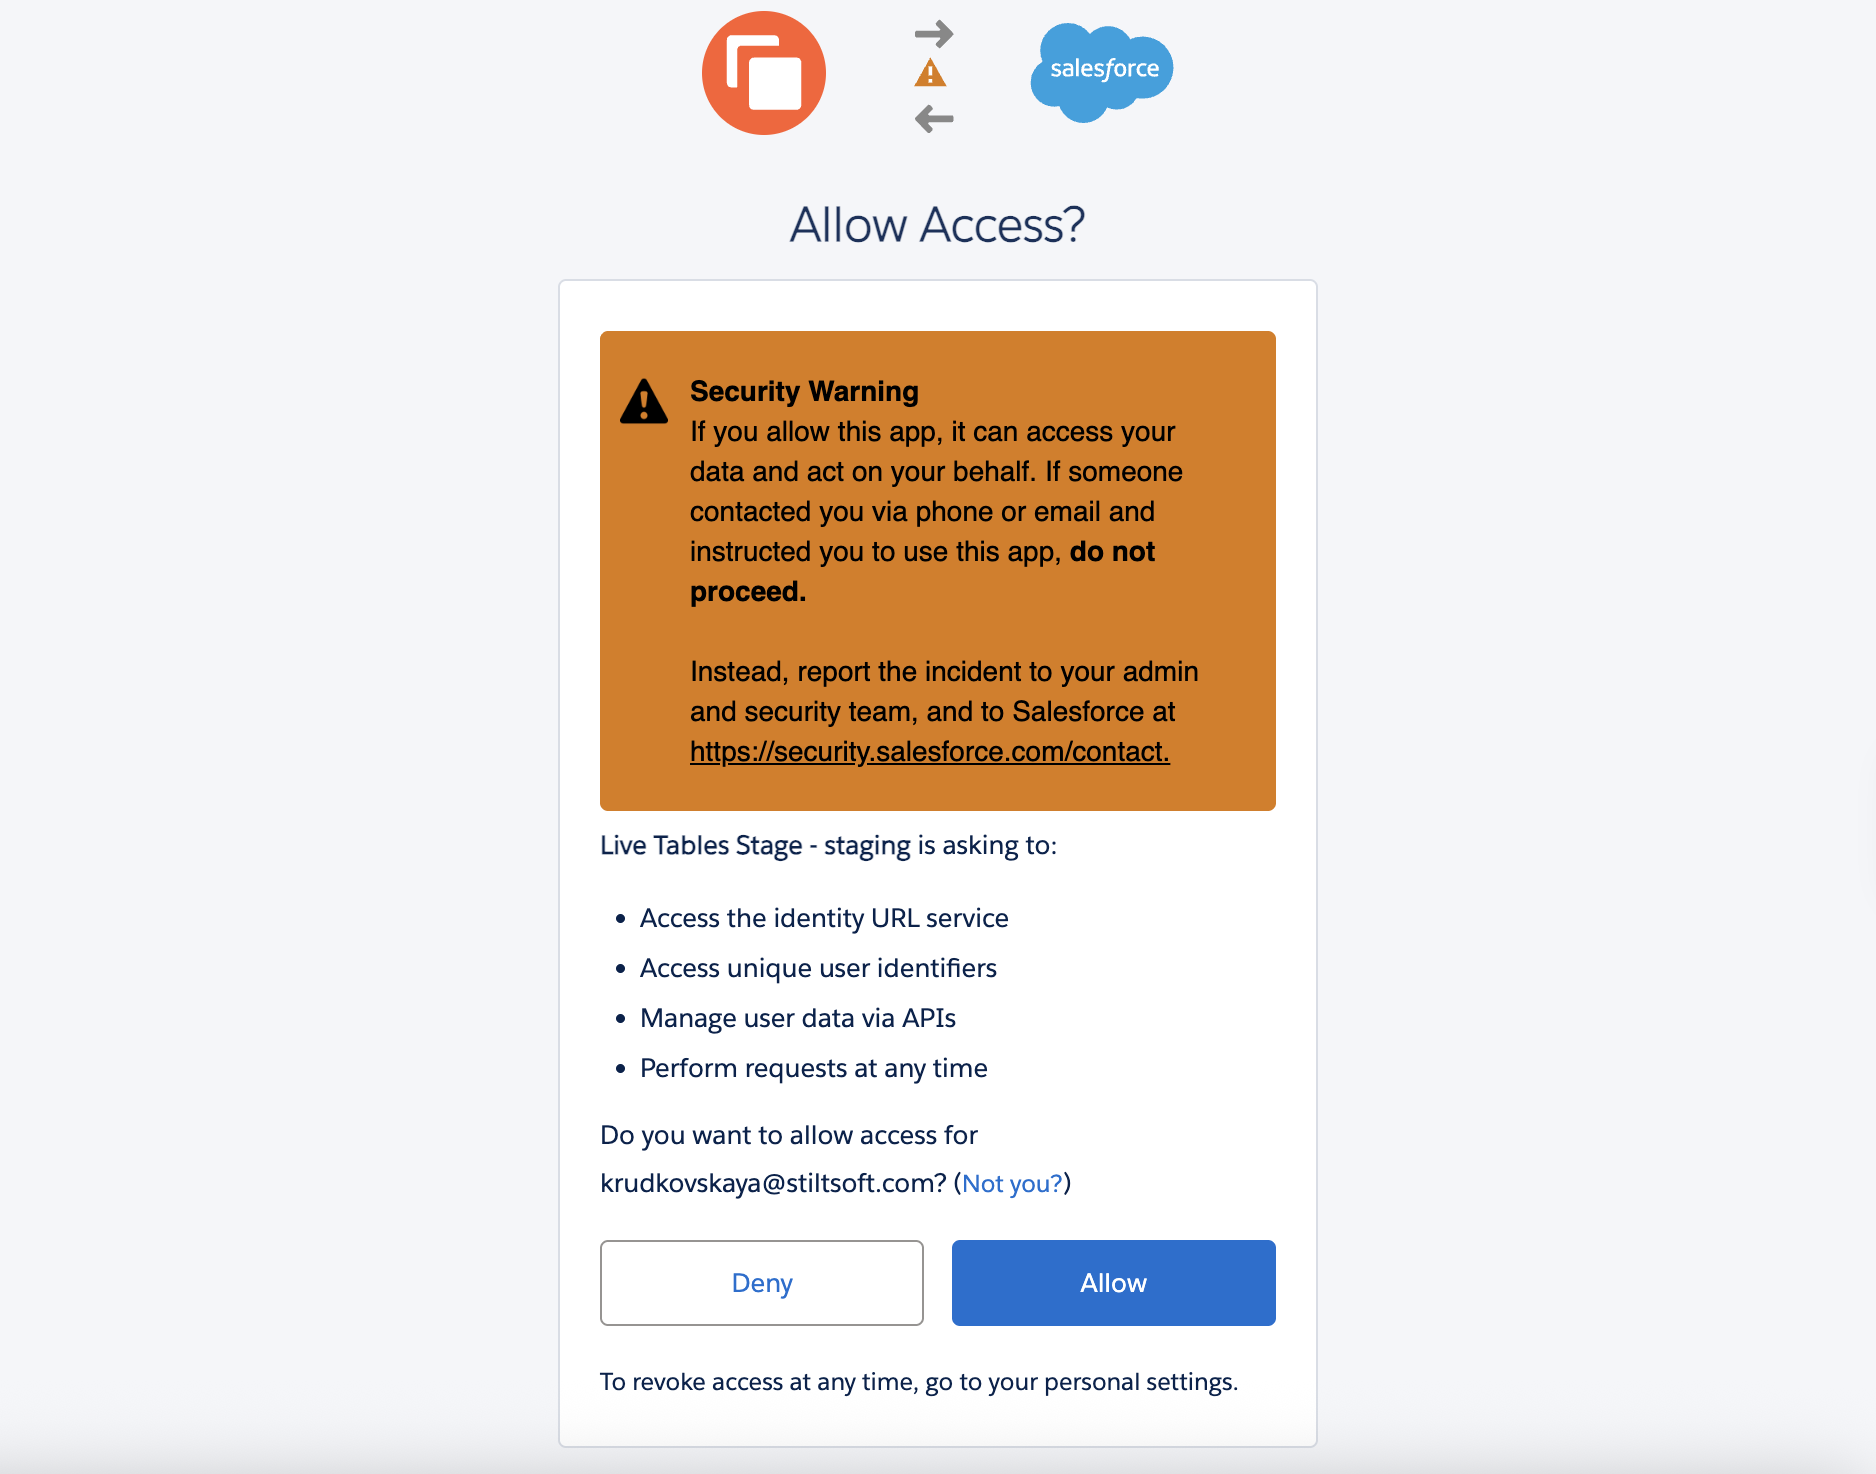
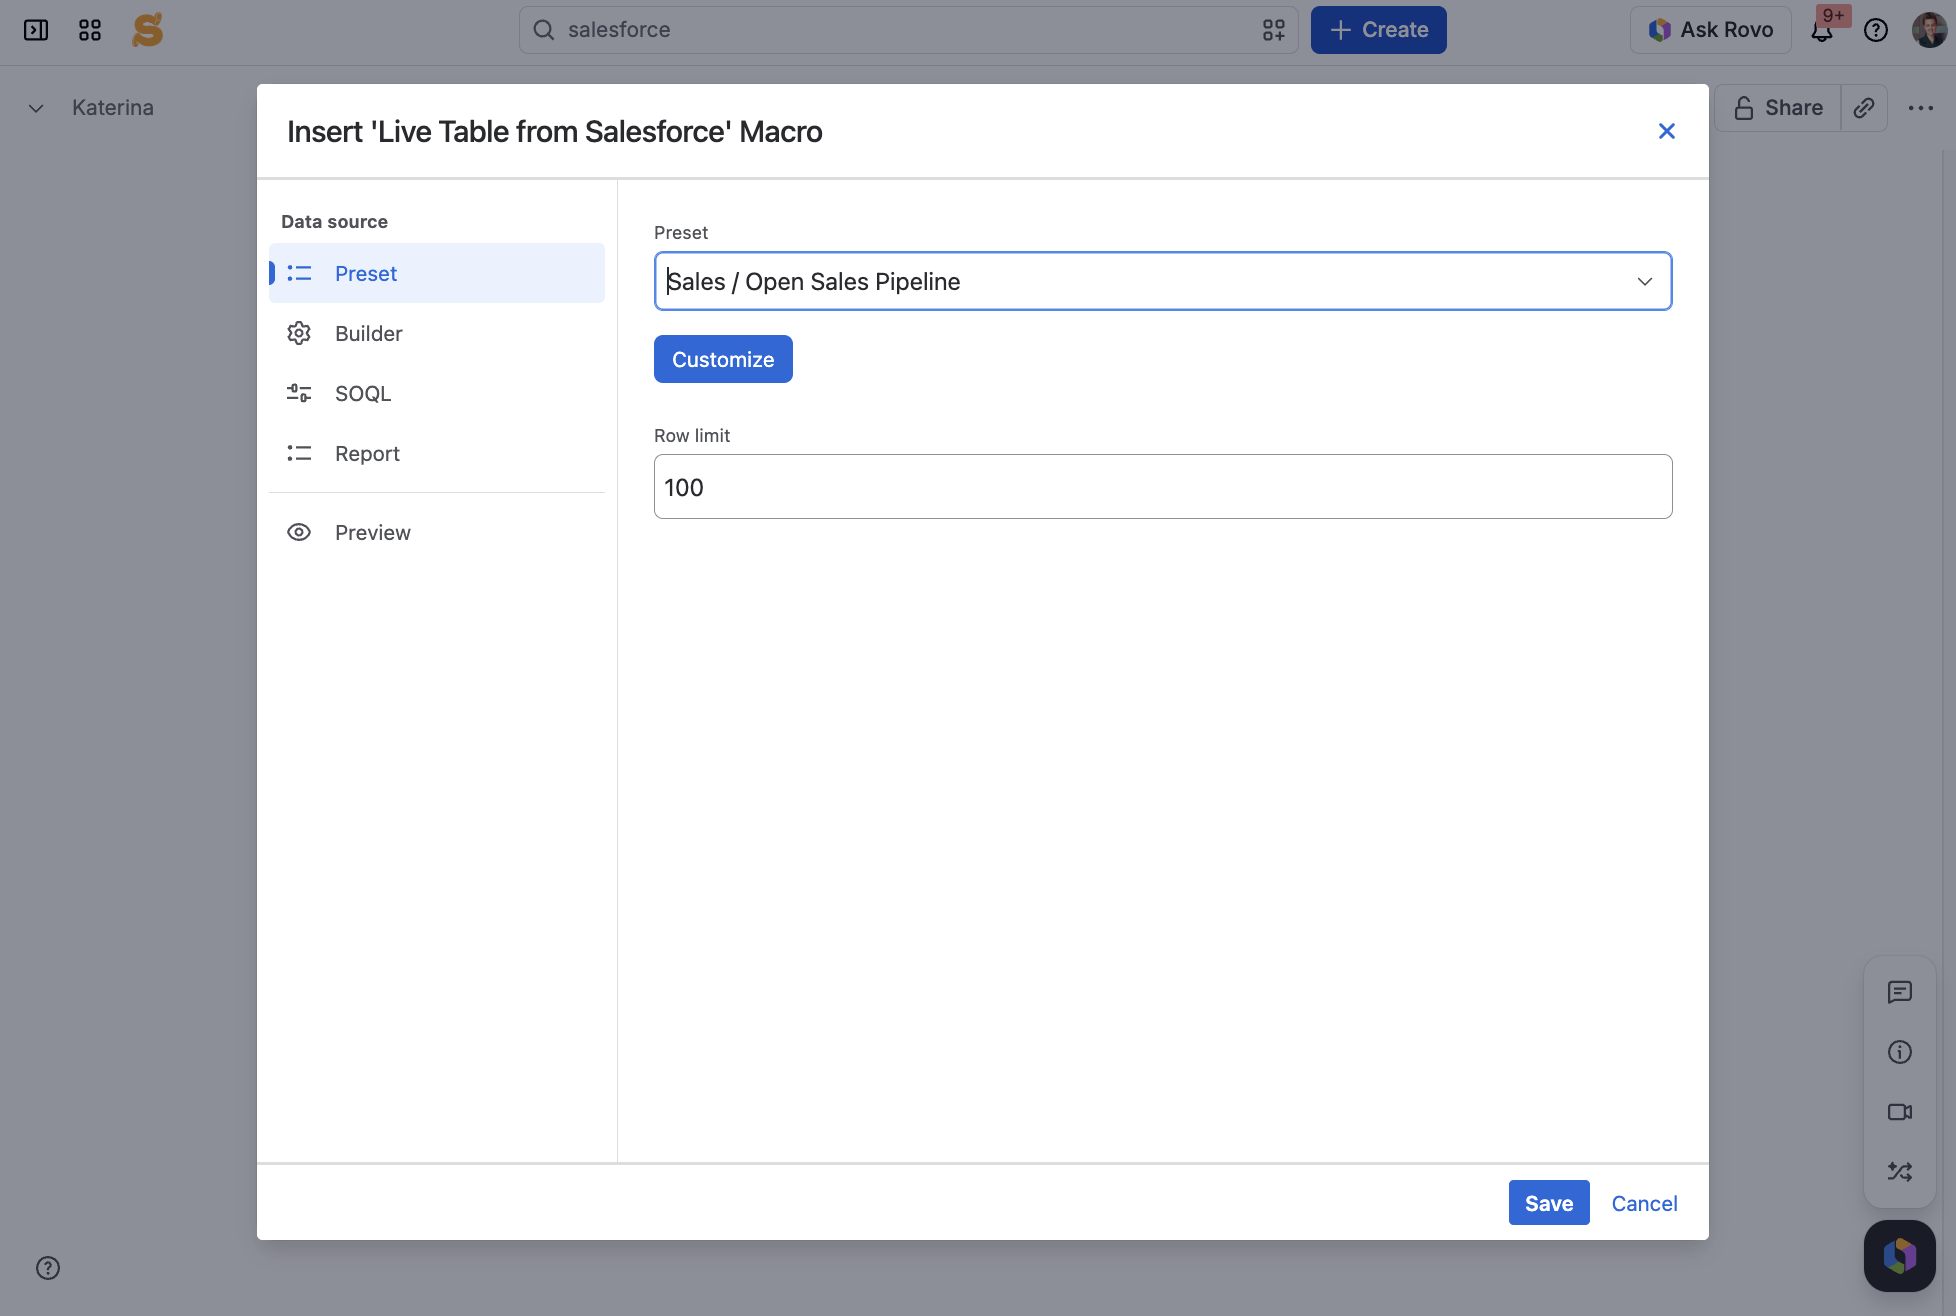
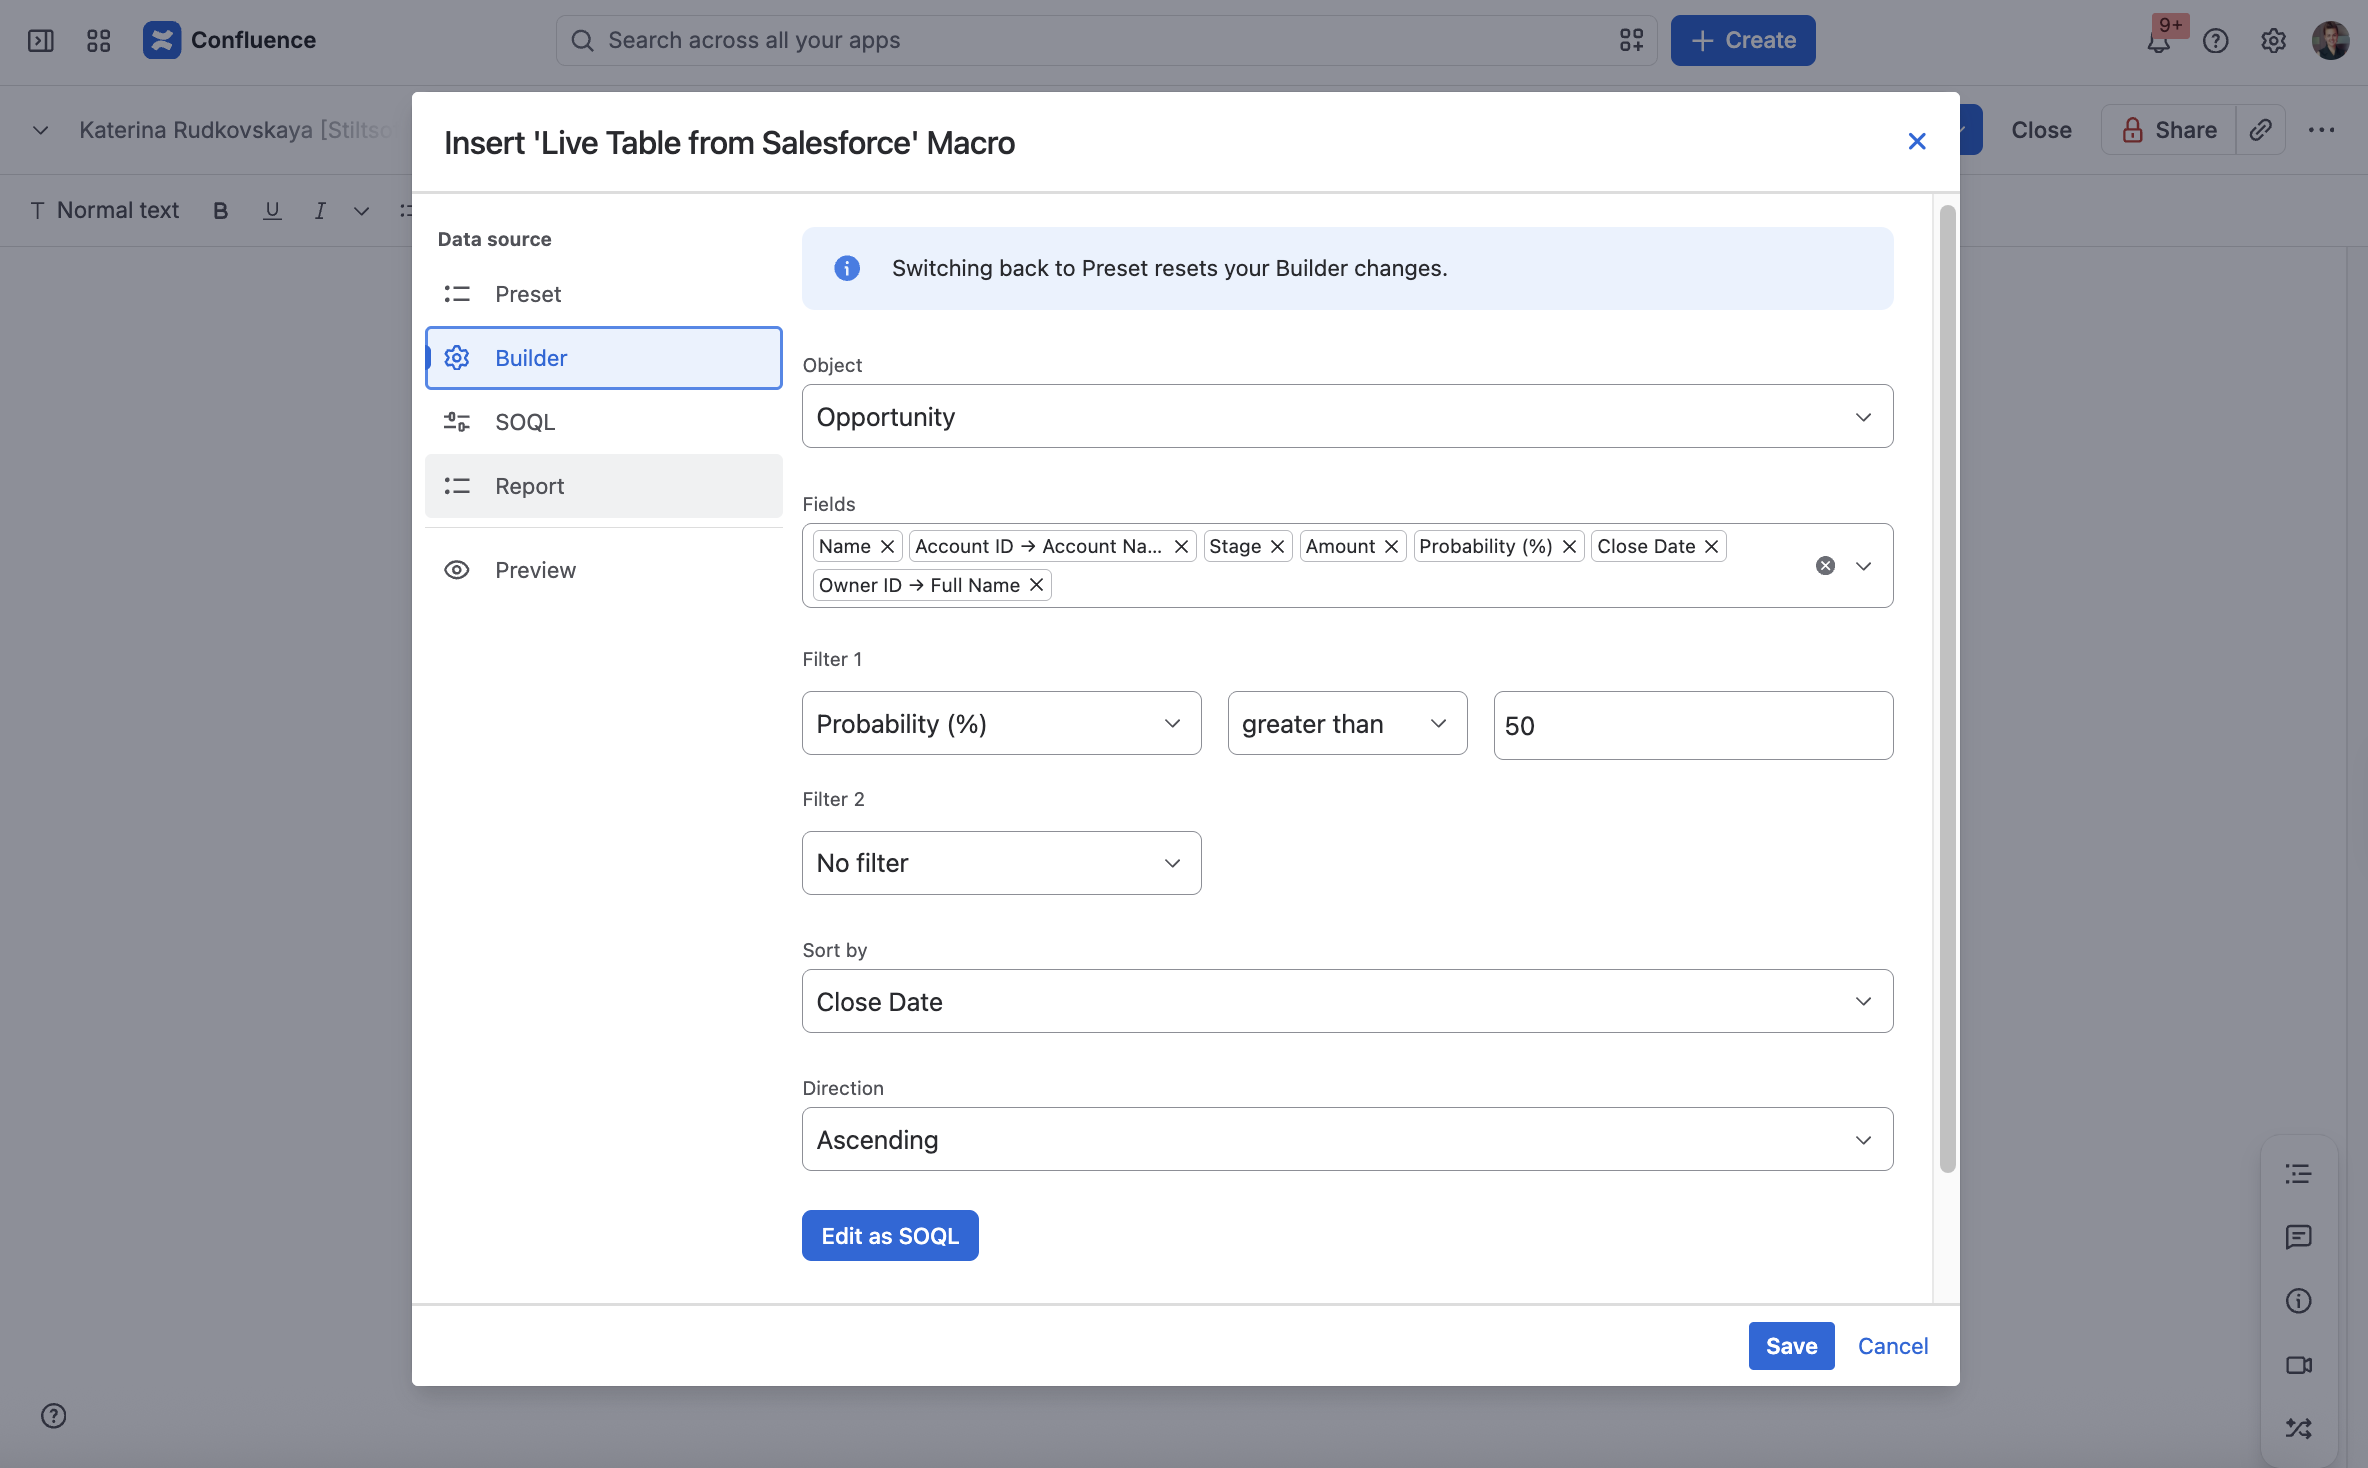
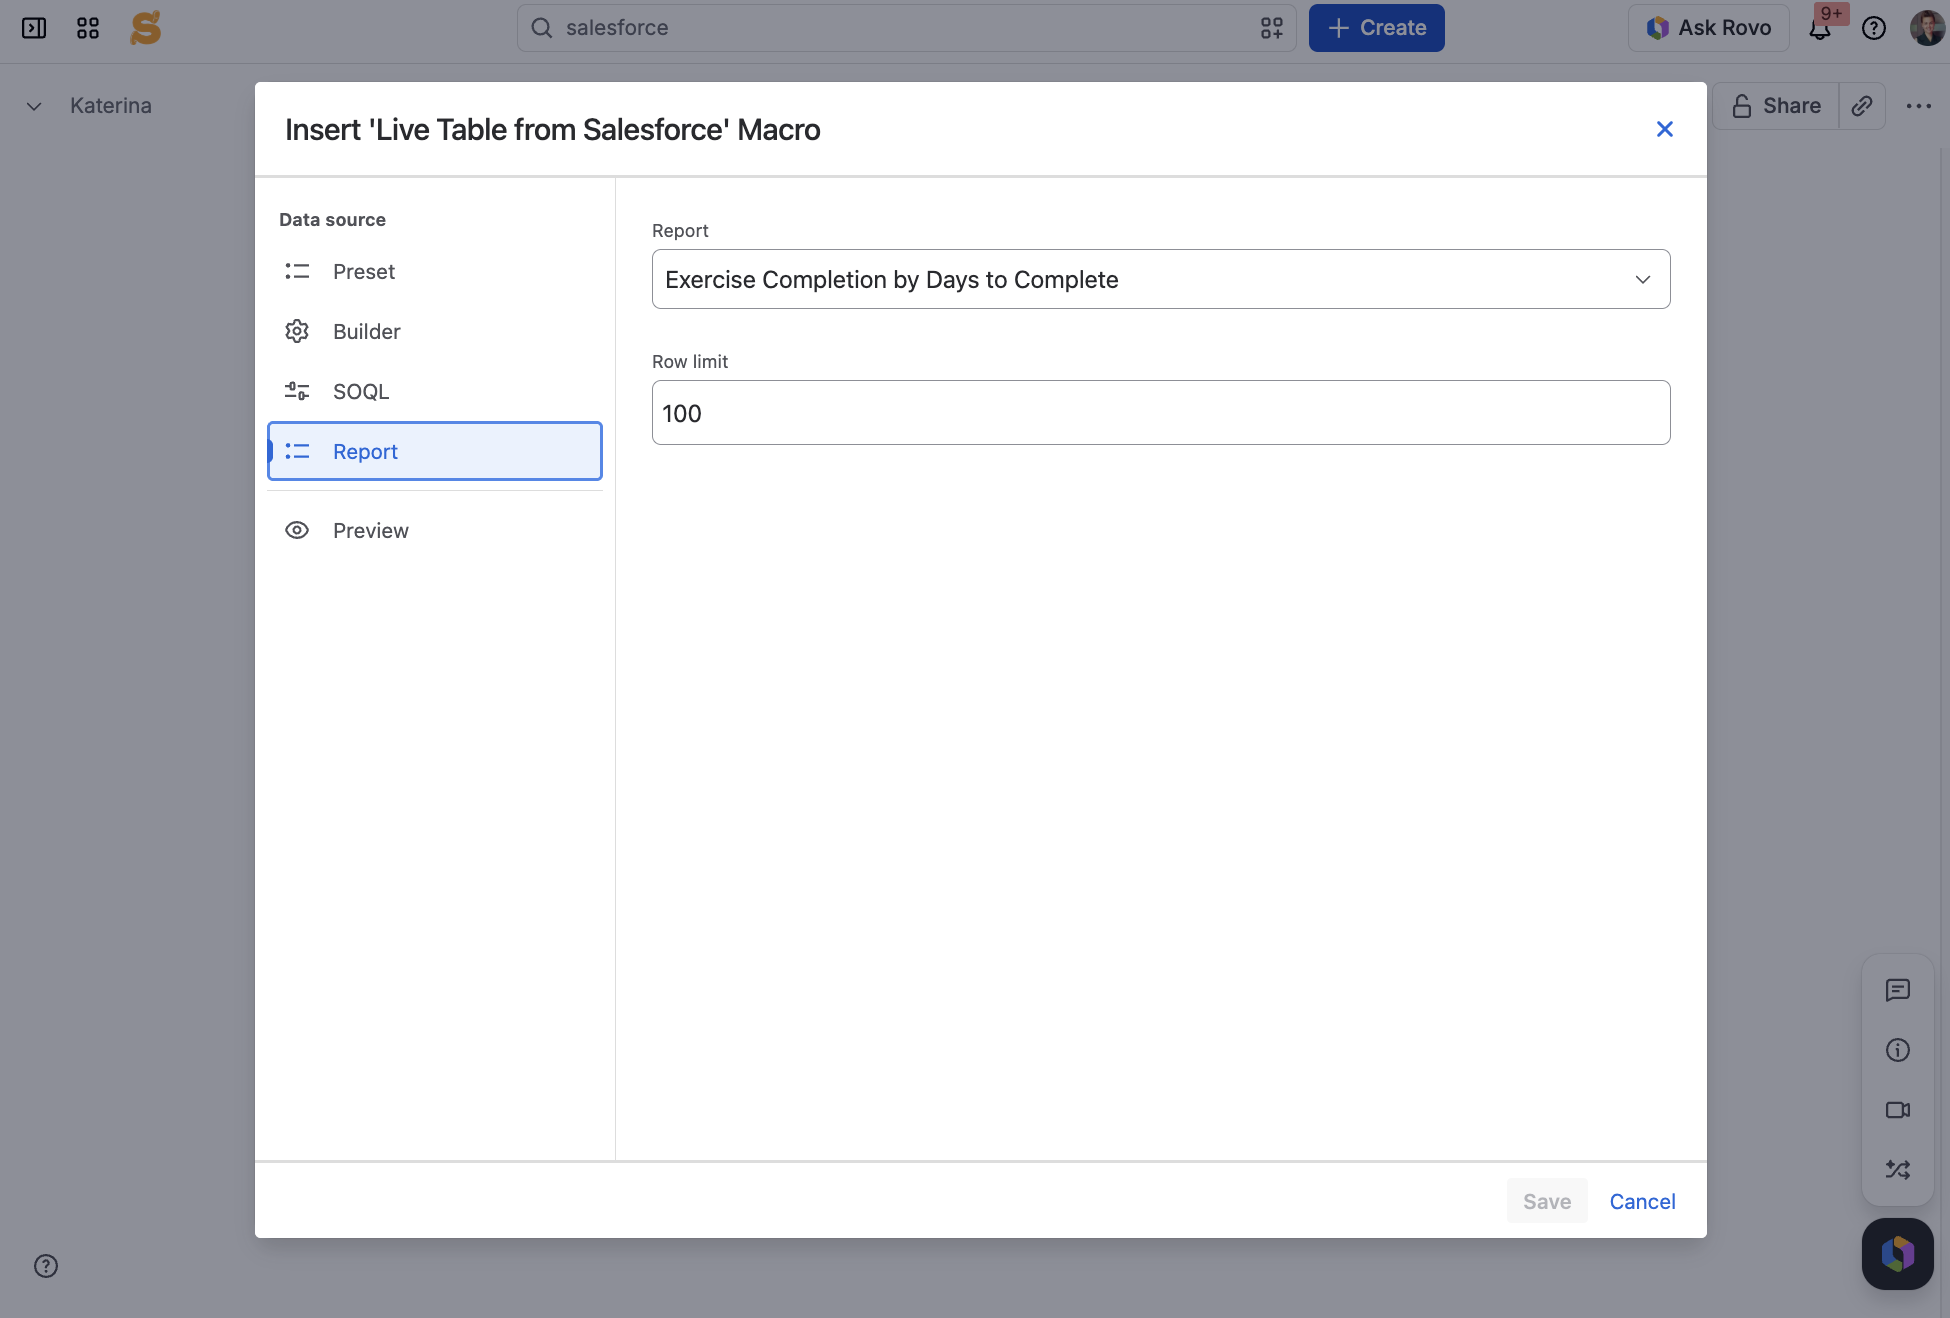
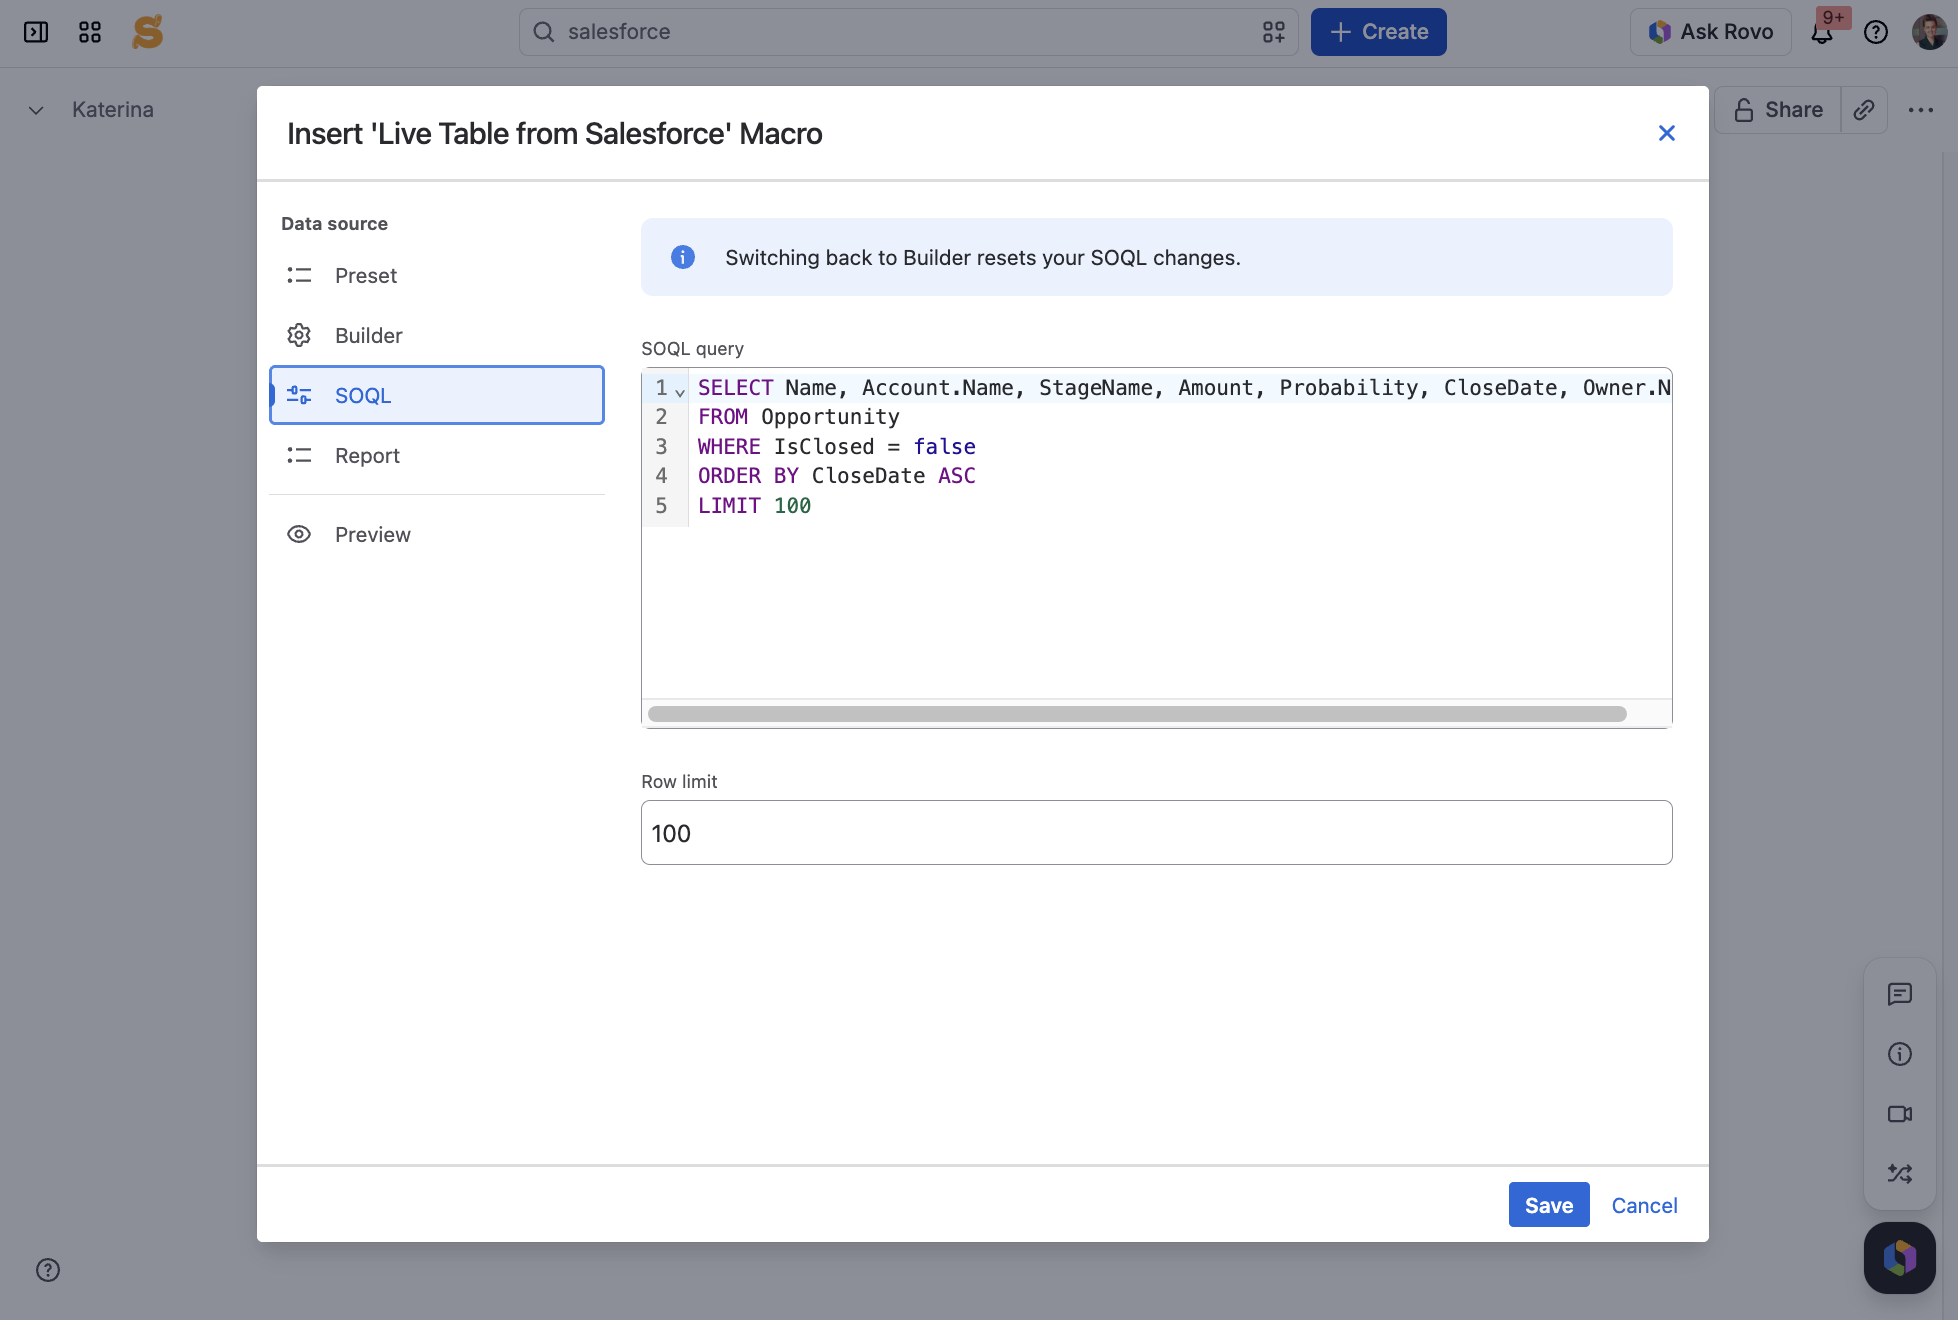
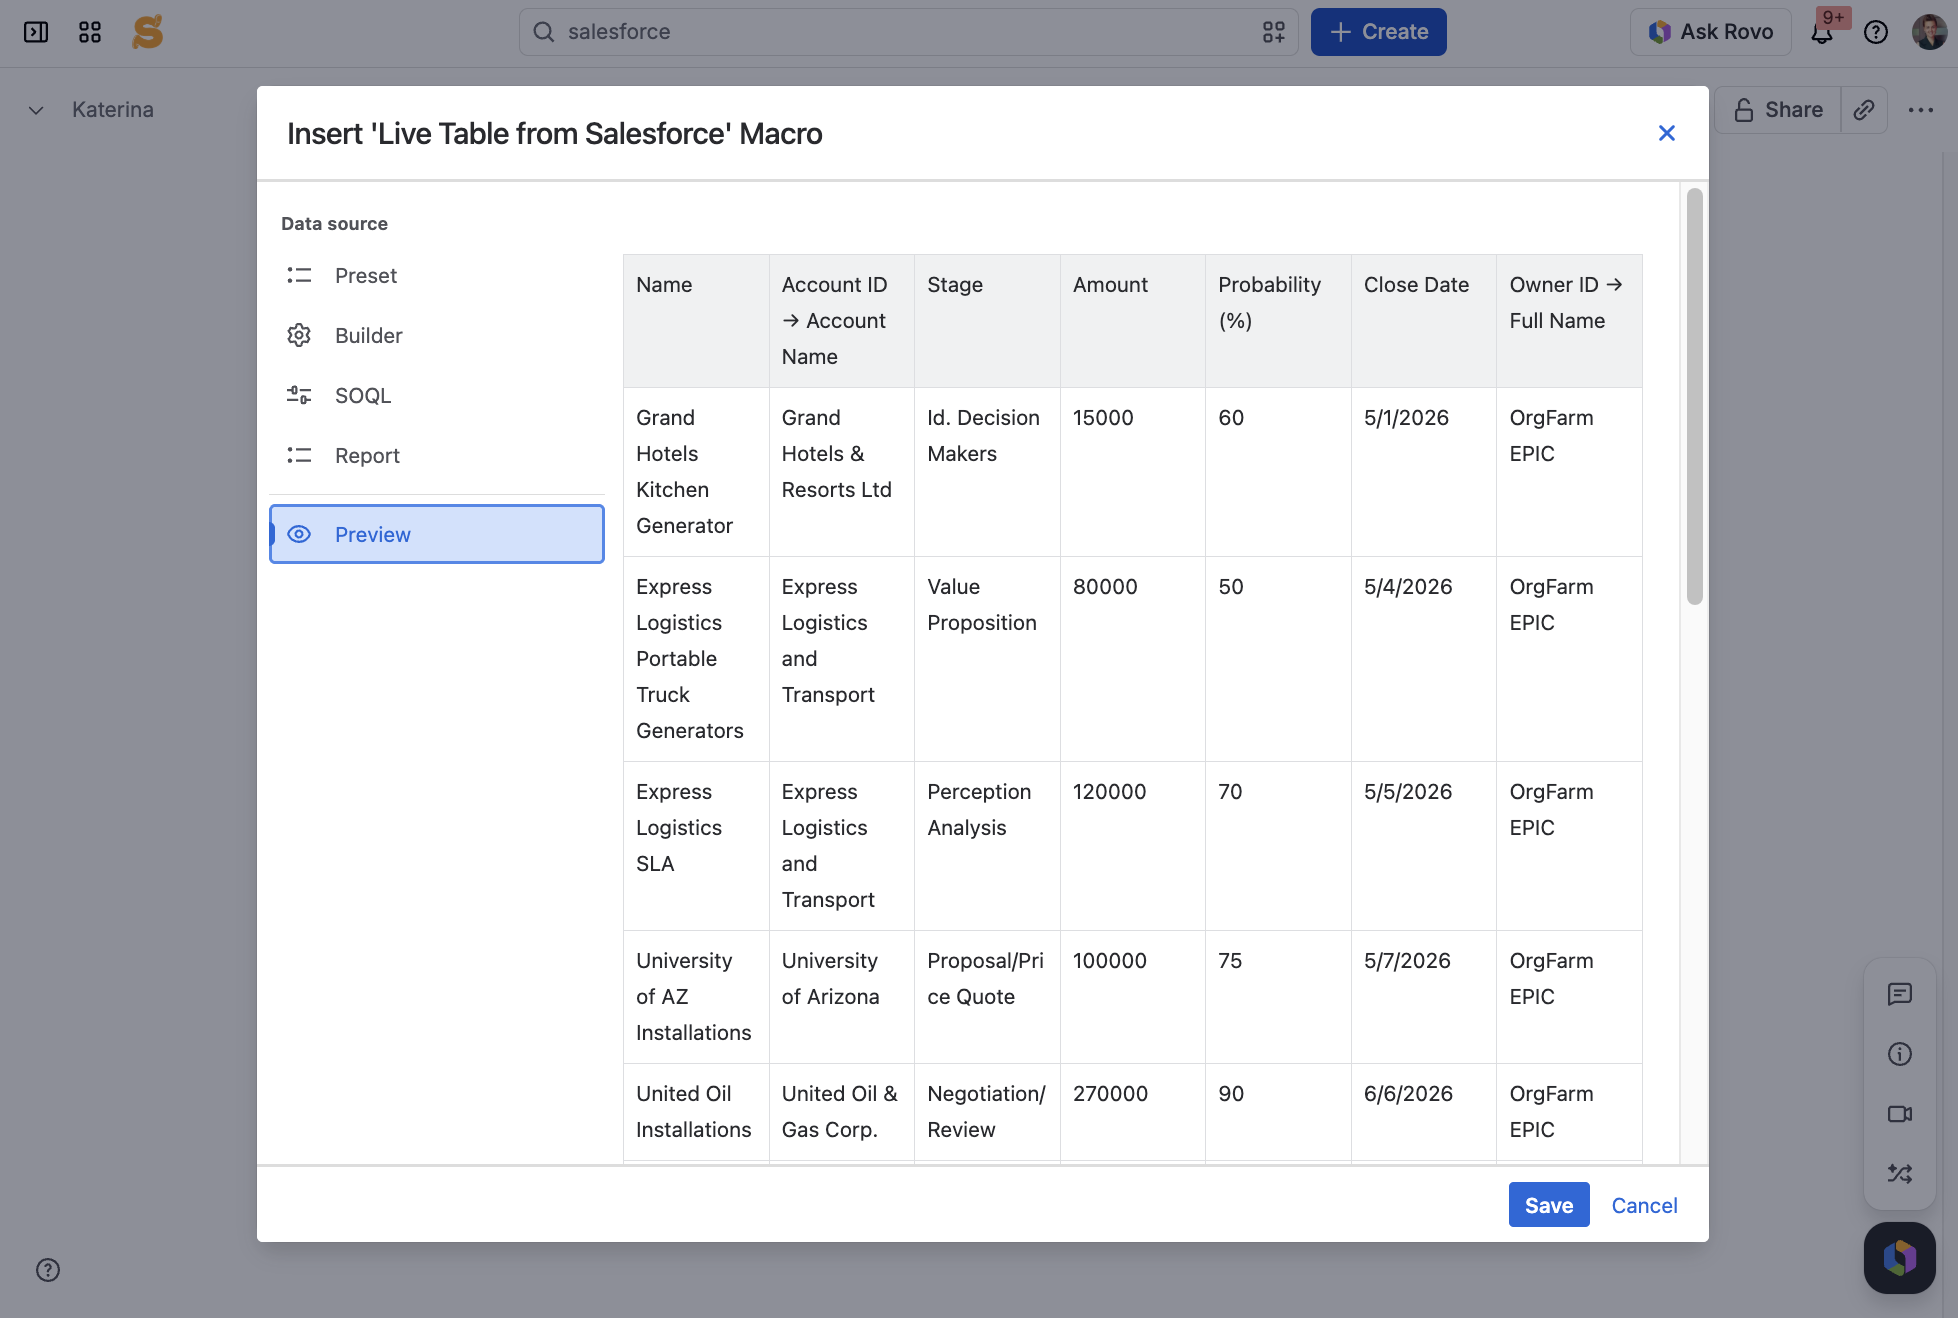
Live Tables from CSV & JSON for Confluence Current: Live Table from Salesforce PDF Download PDF Download page Live Table from Salesforce. Current page All pages Live Table from Salesforce The Live Table from Salesforce macro allows you to output a table from a Salesforce data source. Connecting Live Tables with Salesforce1. Open Salesforce as an admin.2. Switch to Saleforce Setup → Apps → External Client Apps → Settings.3. Press New Connected App.4. Fill in the mandatory fields as Connected App Name, API Name, Contact Email.5. Tick the Enable OAuth Settings option.6. To add Callback URL, copy it from Confluence Administration → Apps → Live Tables → Salesforce → OAuth callback URL.7. Add the following OAuth Scopes:Access the identity URL service (id, profile, email, address, phone)Access unique user identifiers (openid)Manage user data via APIs (api)Perform requests at any time (refresh_token, offline_access).8. Save a New Connected app in Salesforce. 9. Switch to Apps → App Manager in Salesforce.10. Find Your_connected_app_name, click View under .11. Press Manage Consumer Details.12. Verify the identity.13. Copy Customer Key and Consumer Secret.14. Paste them in Confluence Administration → Apps → Live Tables → Salesforce.15. Switch to Settings → My Domain.16. Paste it in Confluence Administration → Apps → Live Tables → Salesforce starting with https://17. Save Salesforce OAuth configuration in Confluence. Using the Live Table from Salesforce macroAdd the Live Table from Salesforce macro on a Confluence page:1. Start entering /Live Table from Salesforce, select the macro.2. Press the Connect to Salesforce button → Continue → Allow. 3. Save the macro.4. Choose a Preset, Report, Object to display data as a table.5. Use SOQL if you need a custom query.6. Publish the page. The tables generated by the macro display the latest data from the connected Salesforce. Combine the Live Table from Salesforce macro with Table Filter, Charts & Spreadsheets macros via the Table Toolbox macro to process table data. Your browser does not support the HTML5 video element *Insert the Live Table from Salesforce macro as a source data inside Table Toolbox. ×