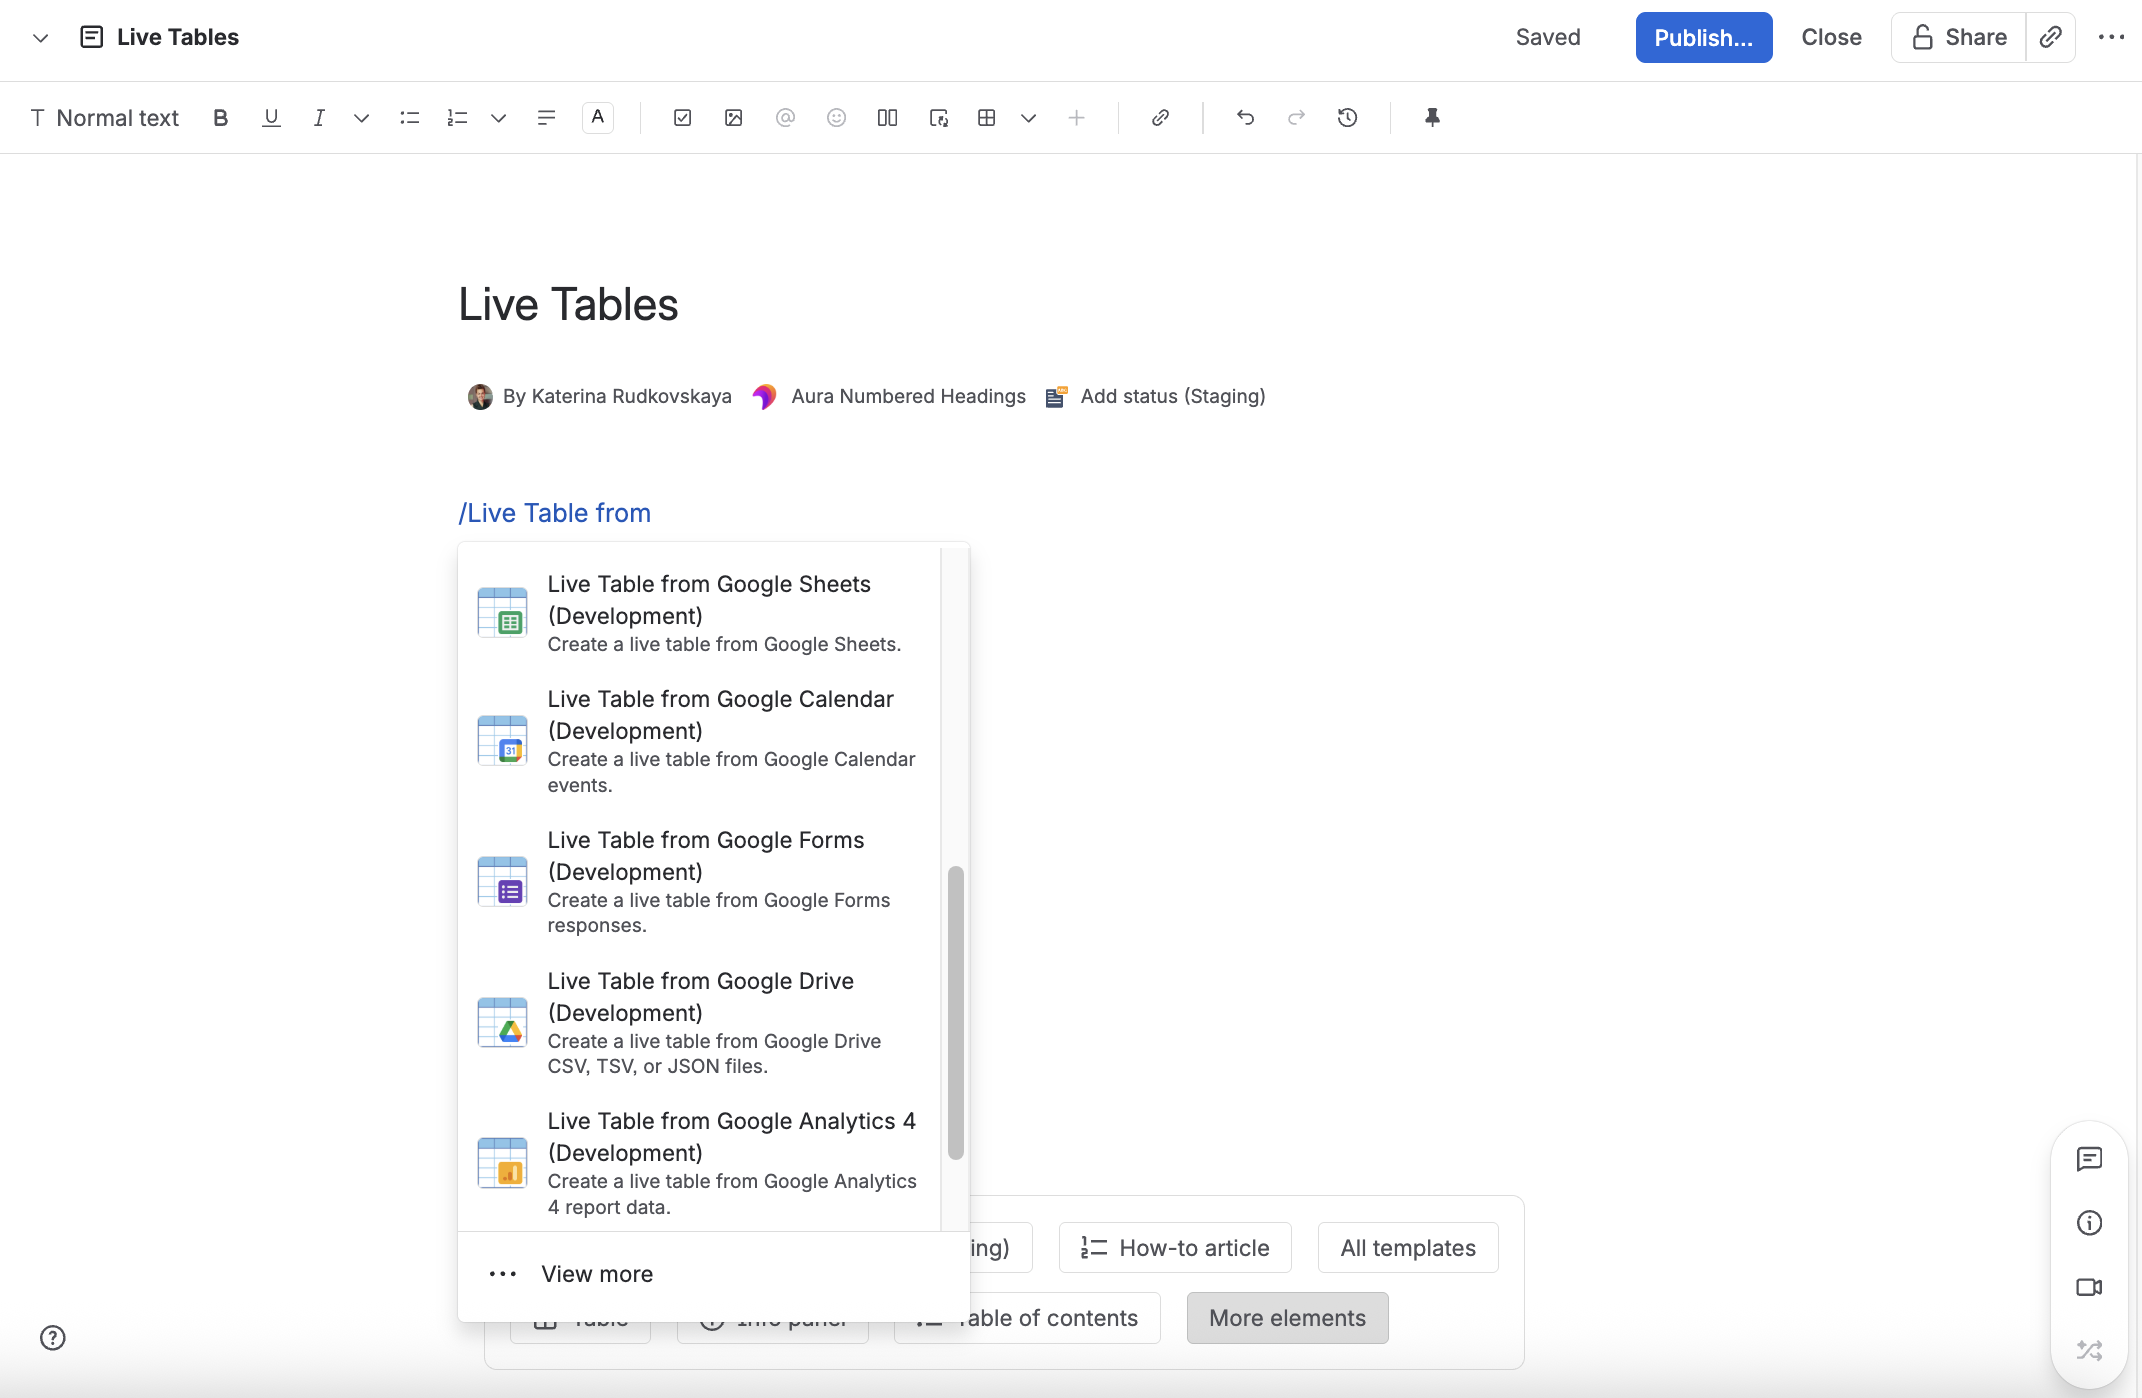
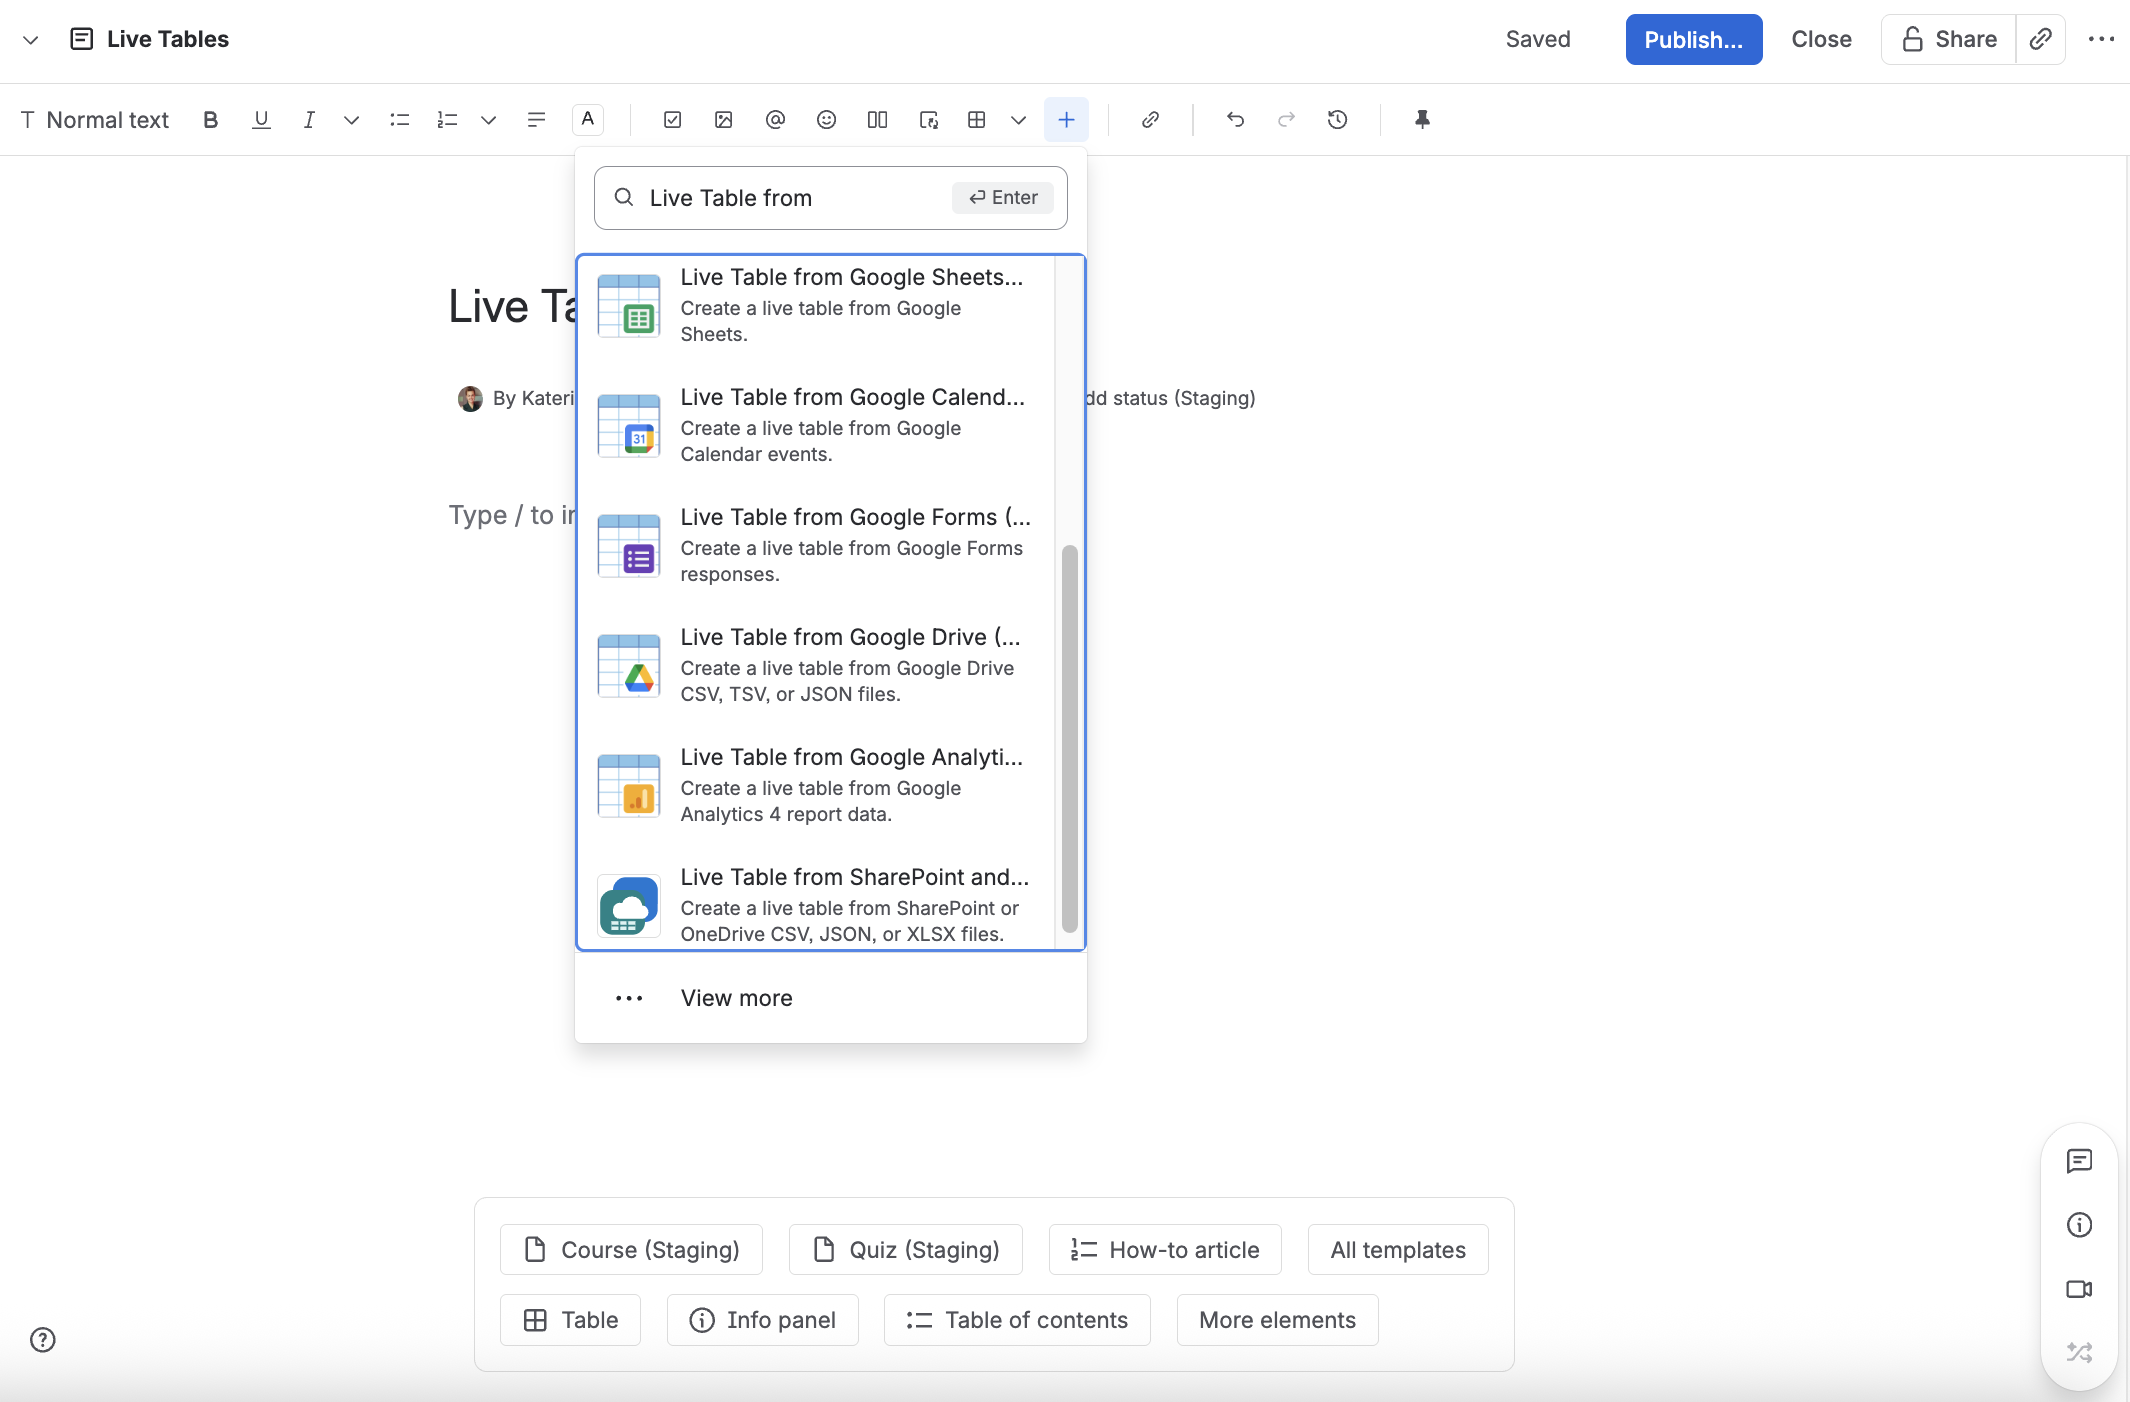
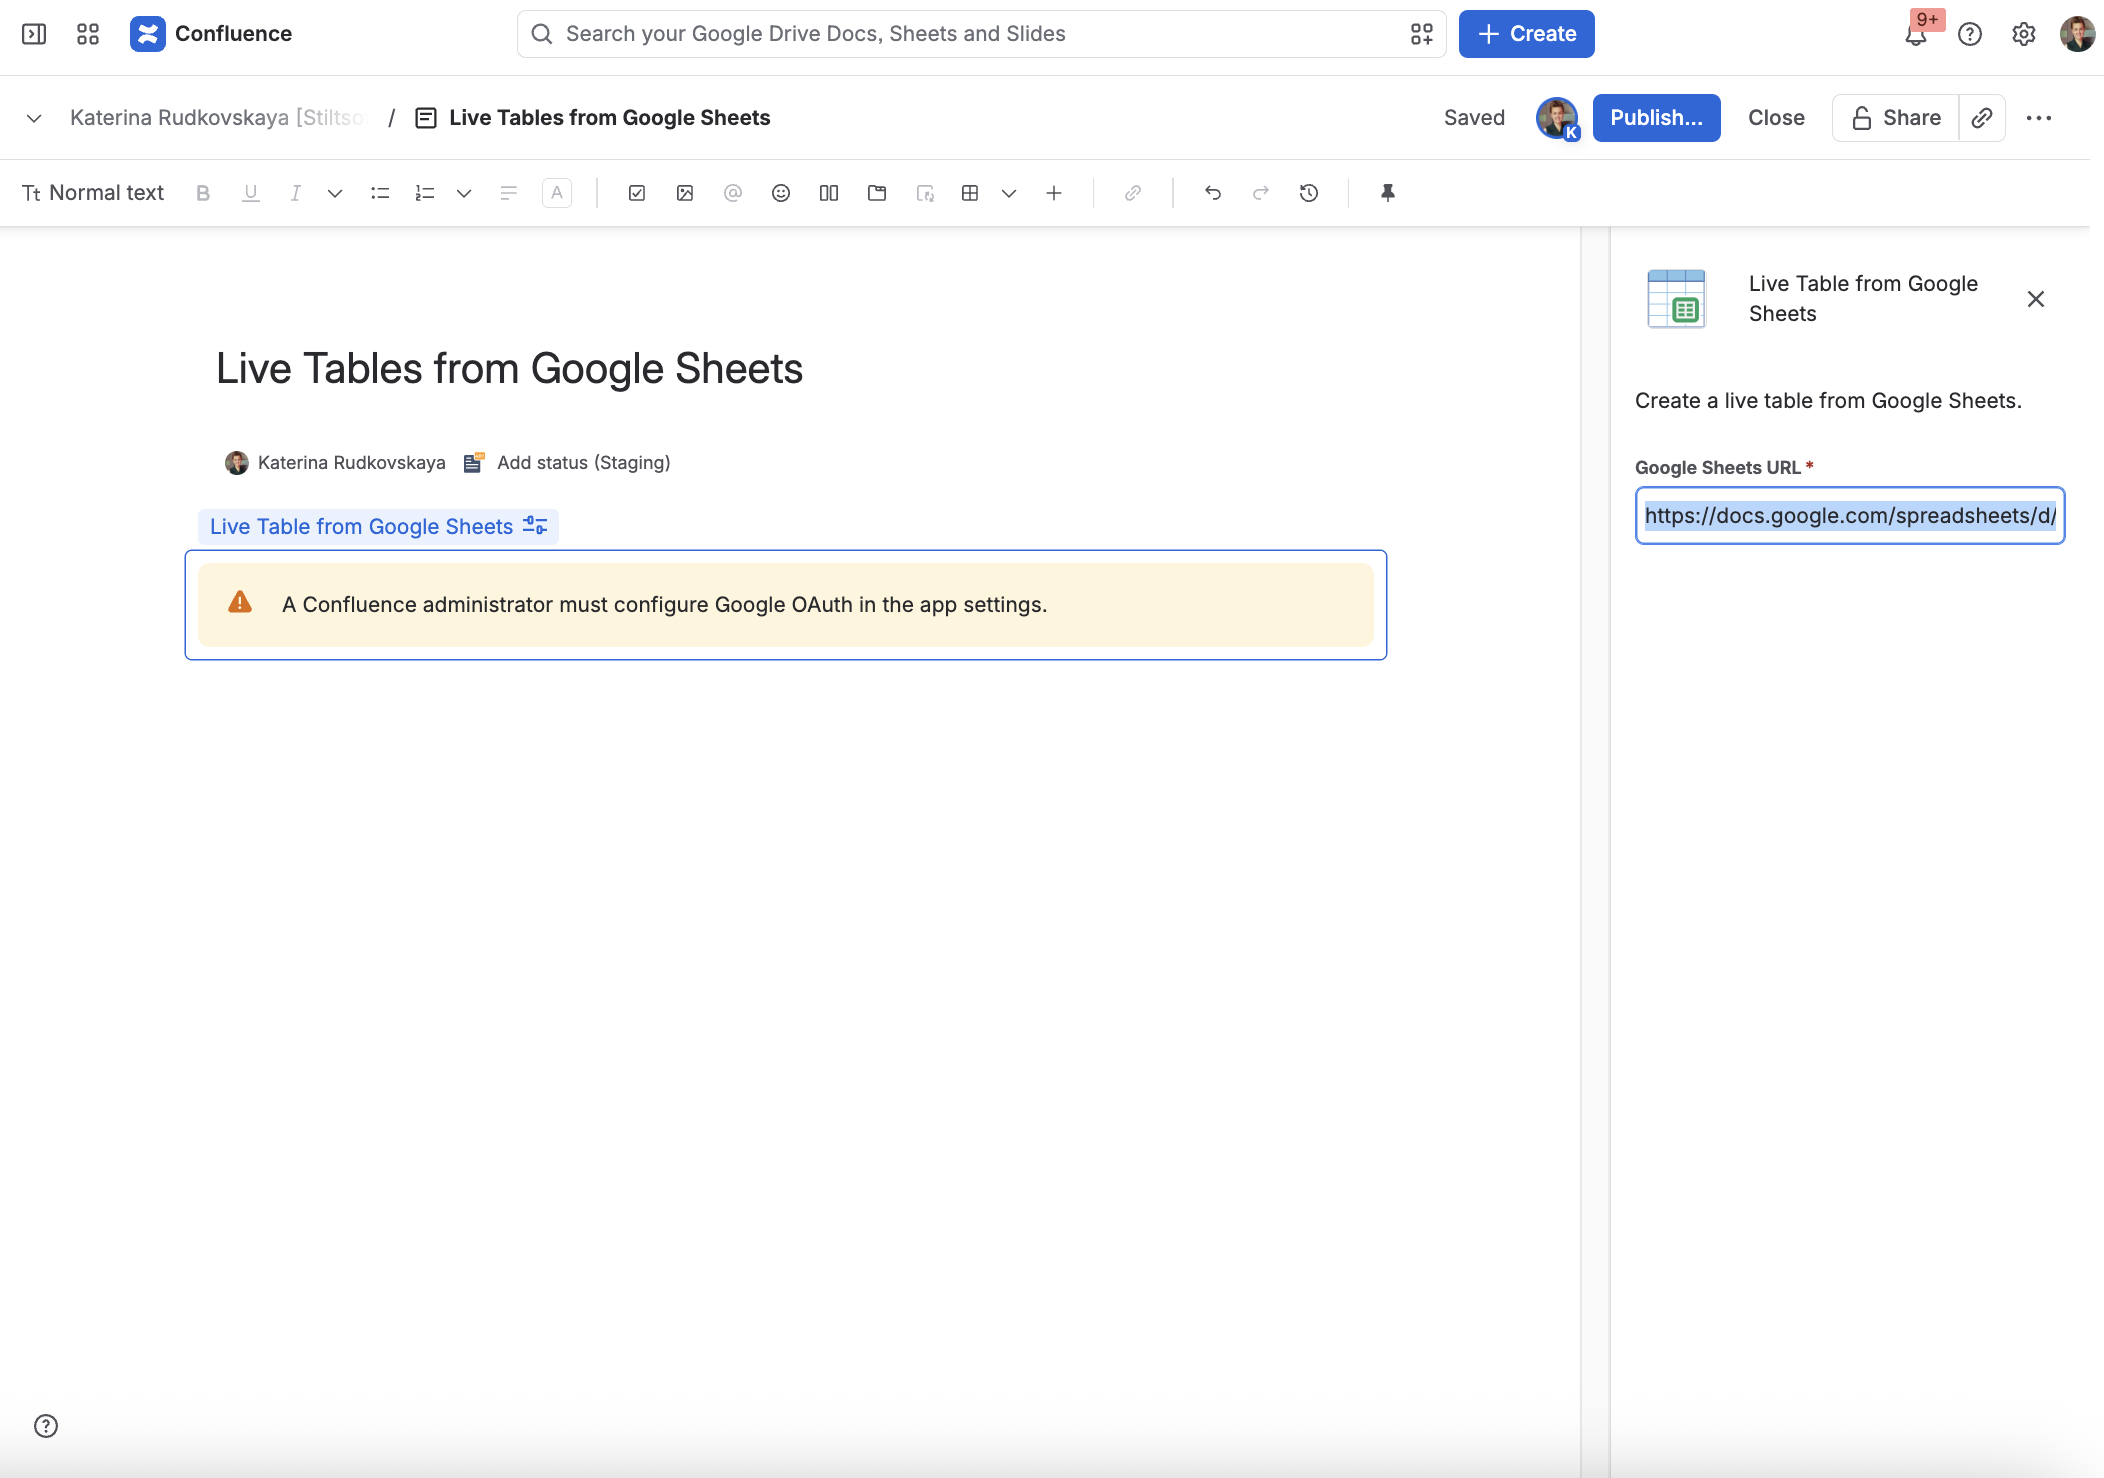
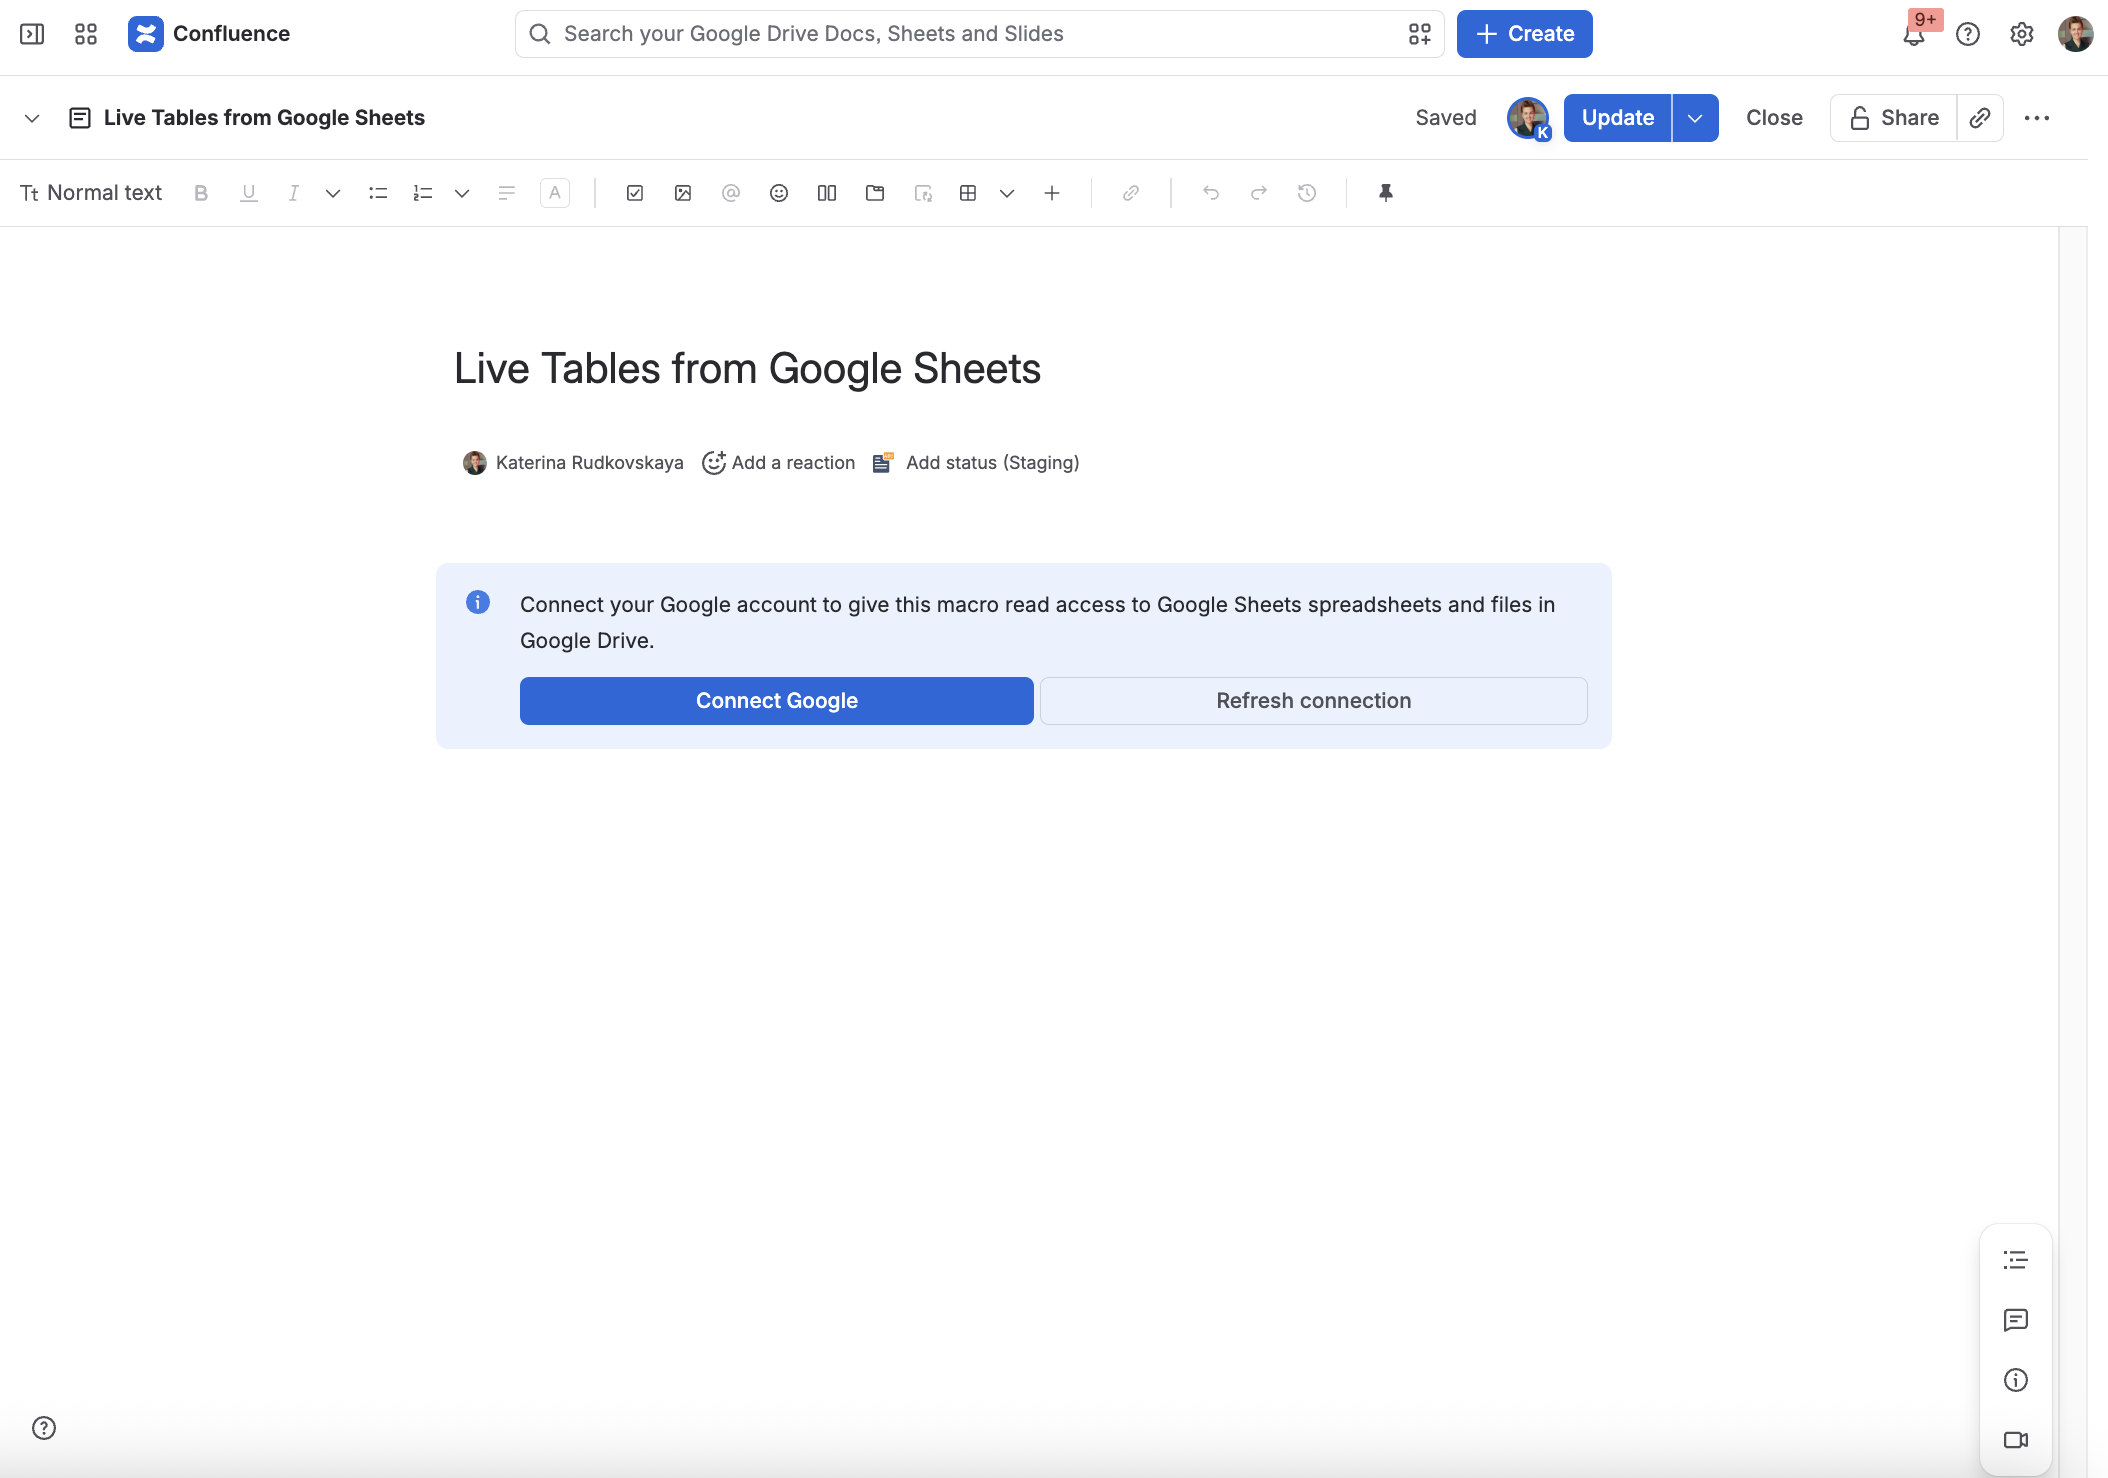
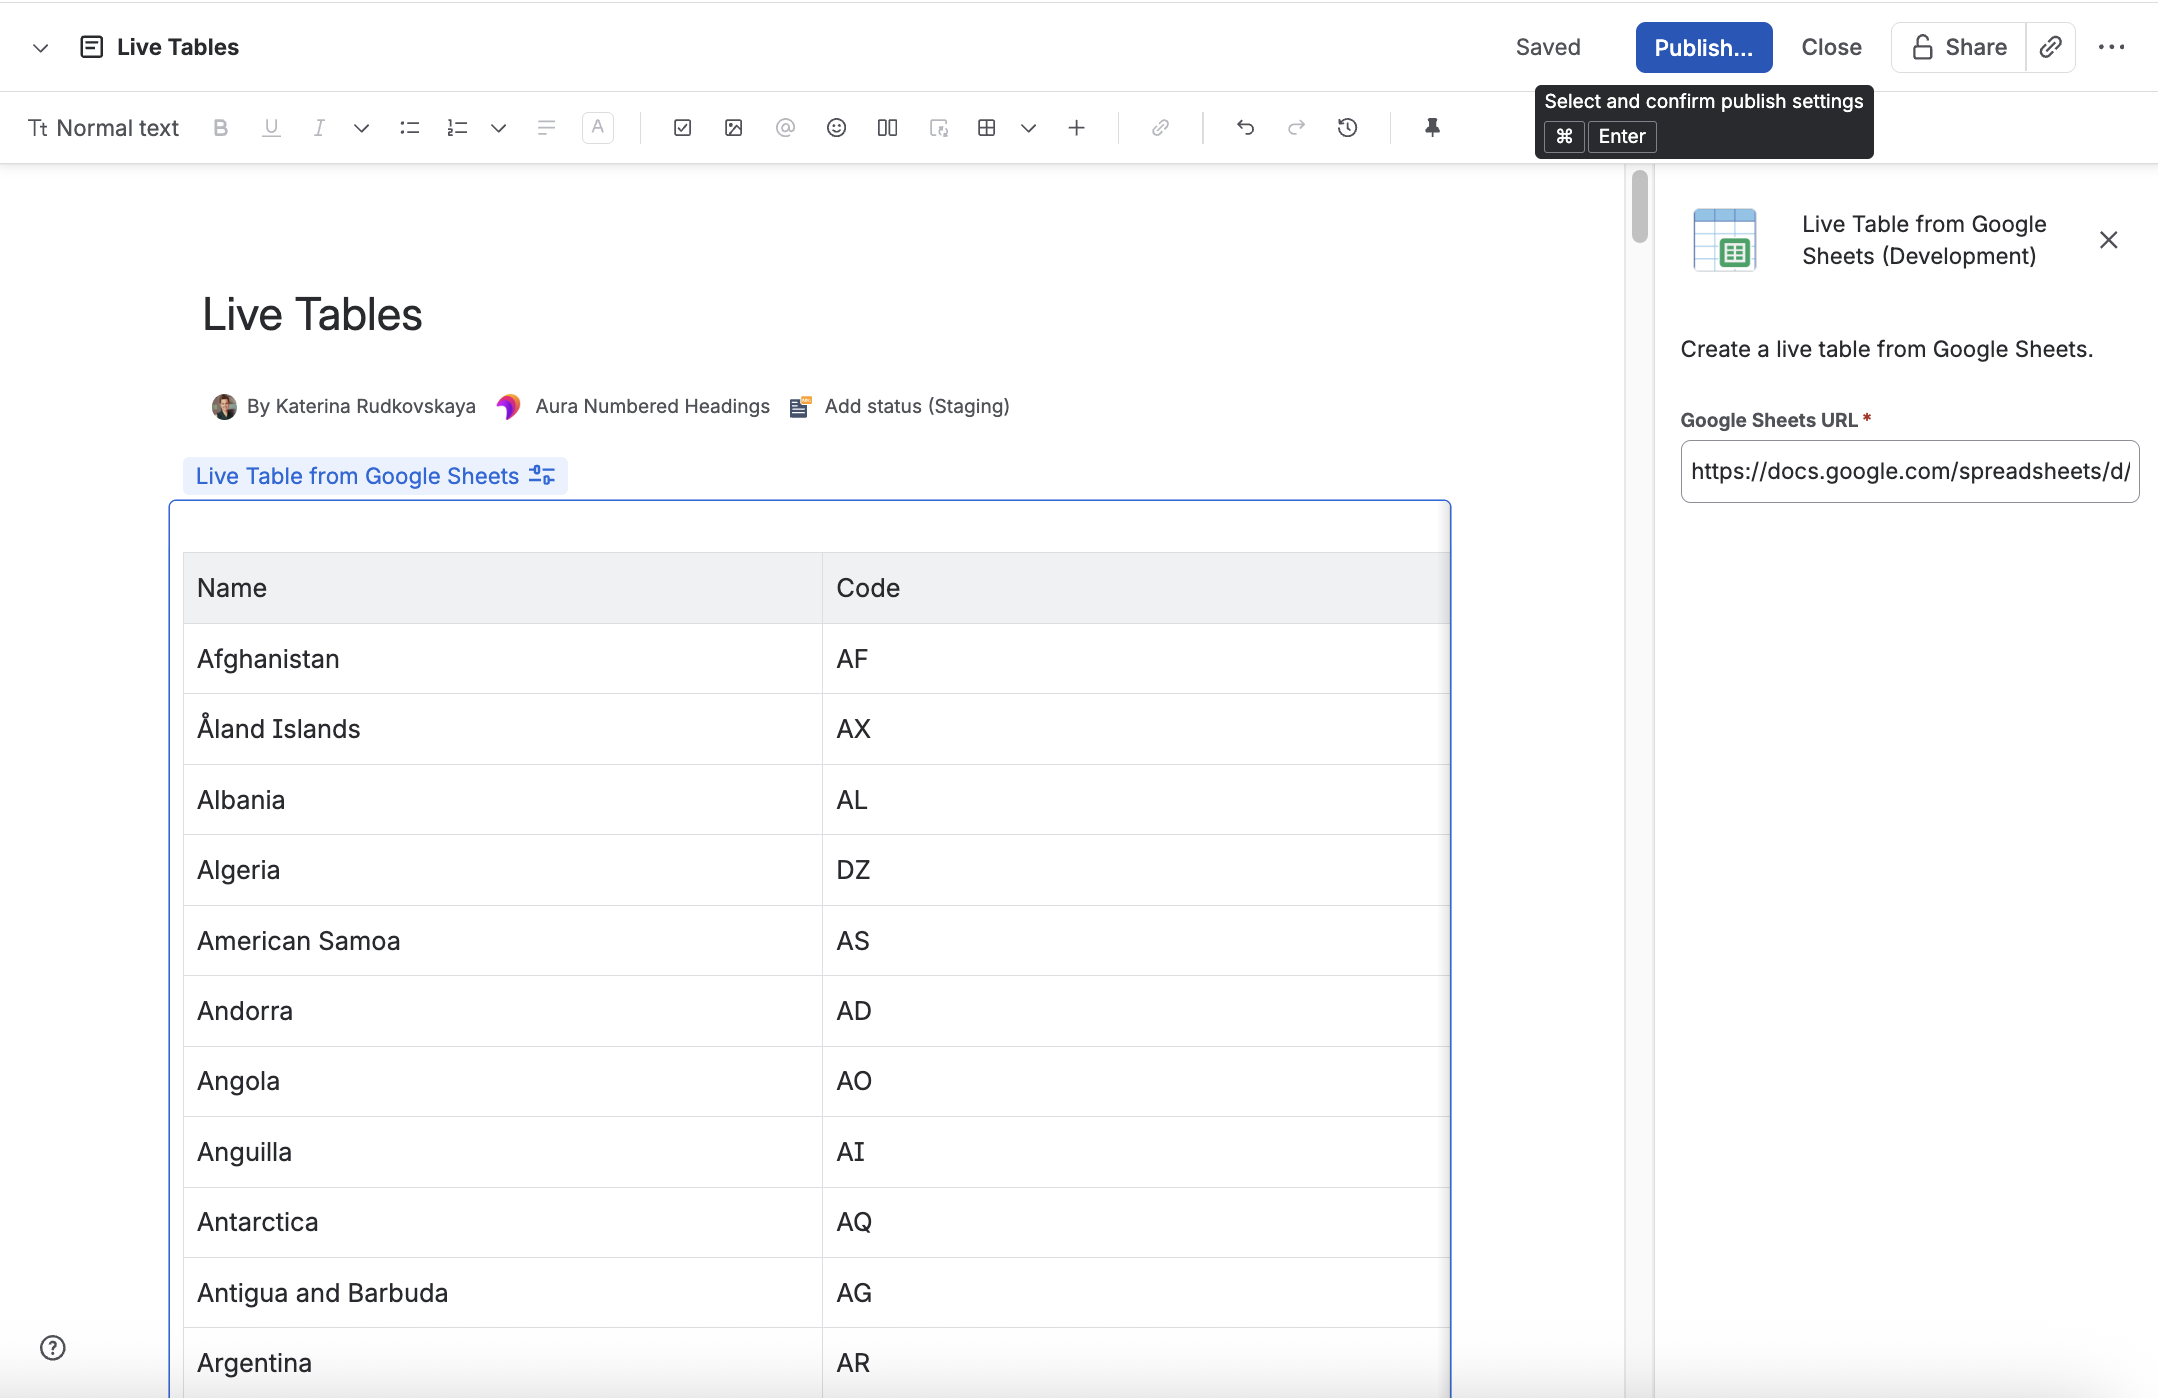
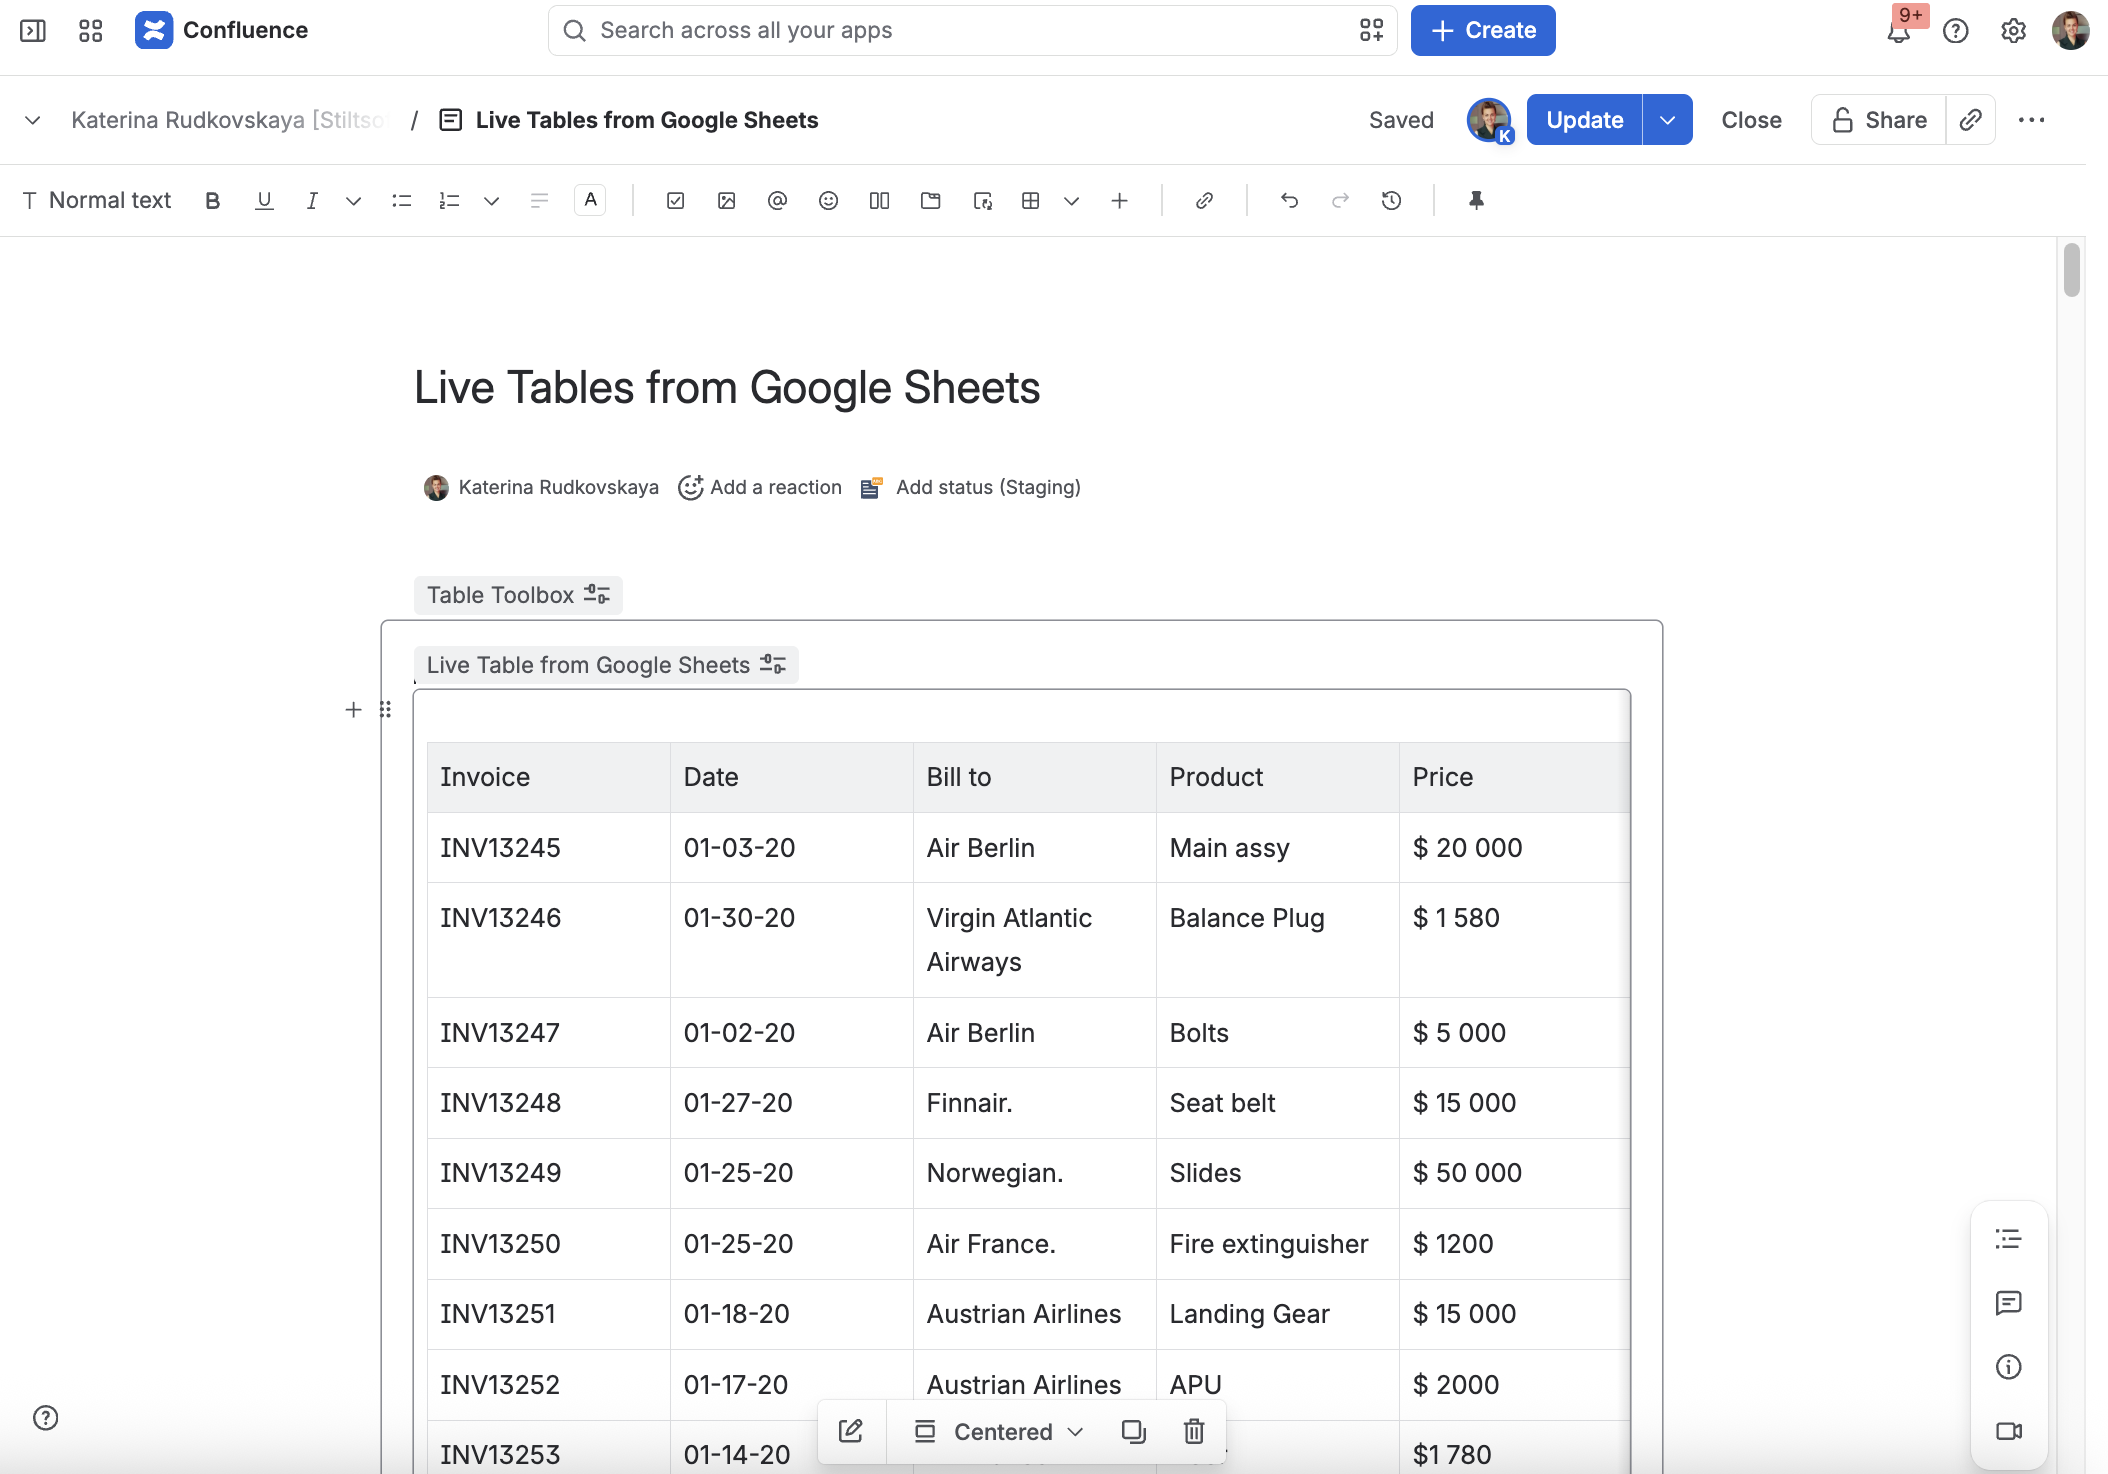
macro allows you to output a table from a Google Sheets data source.
Connecting Live Tables with Google
1. Open Google Cloud console https://console.cloud.google.com/.
2. Open a project picker.
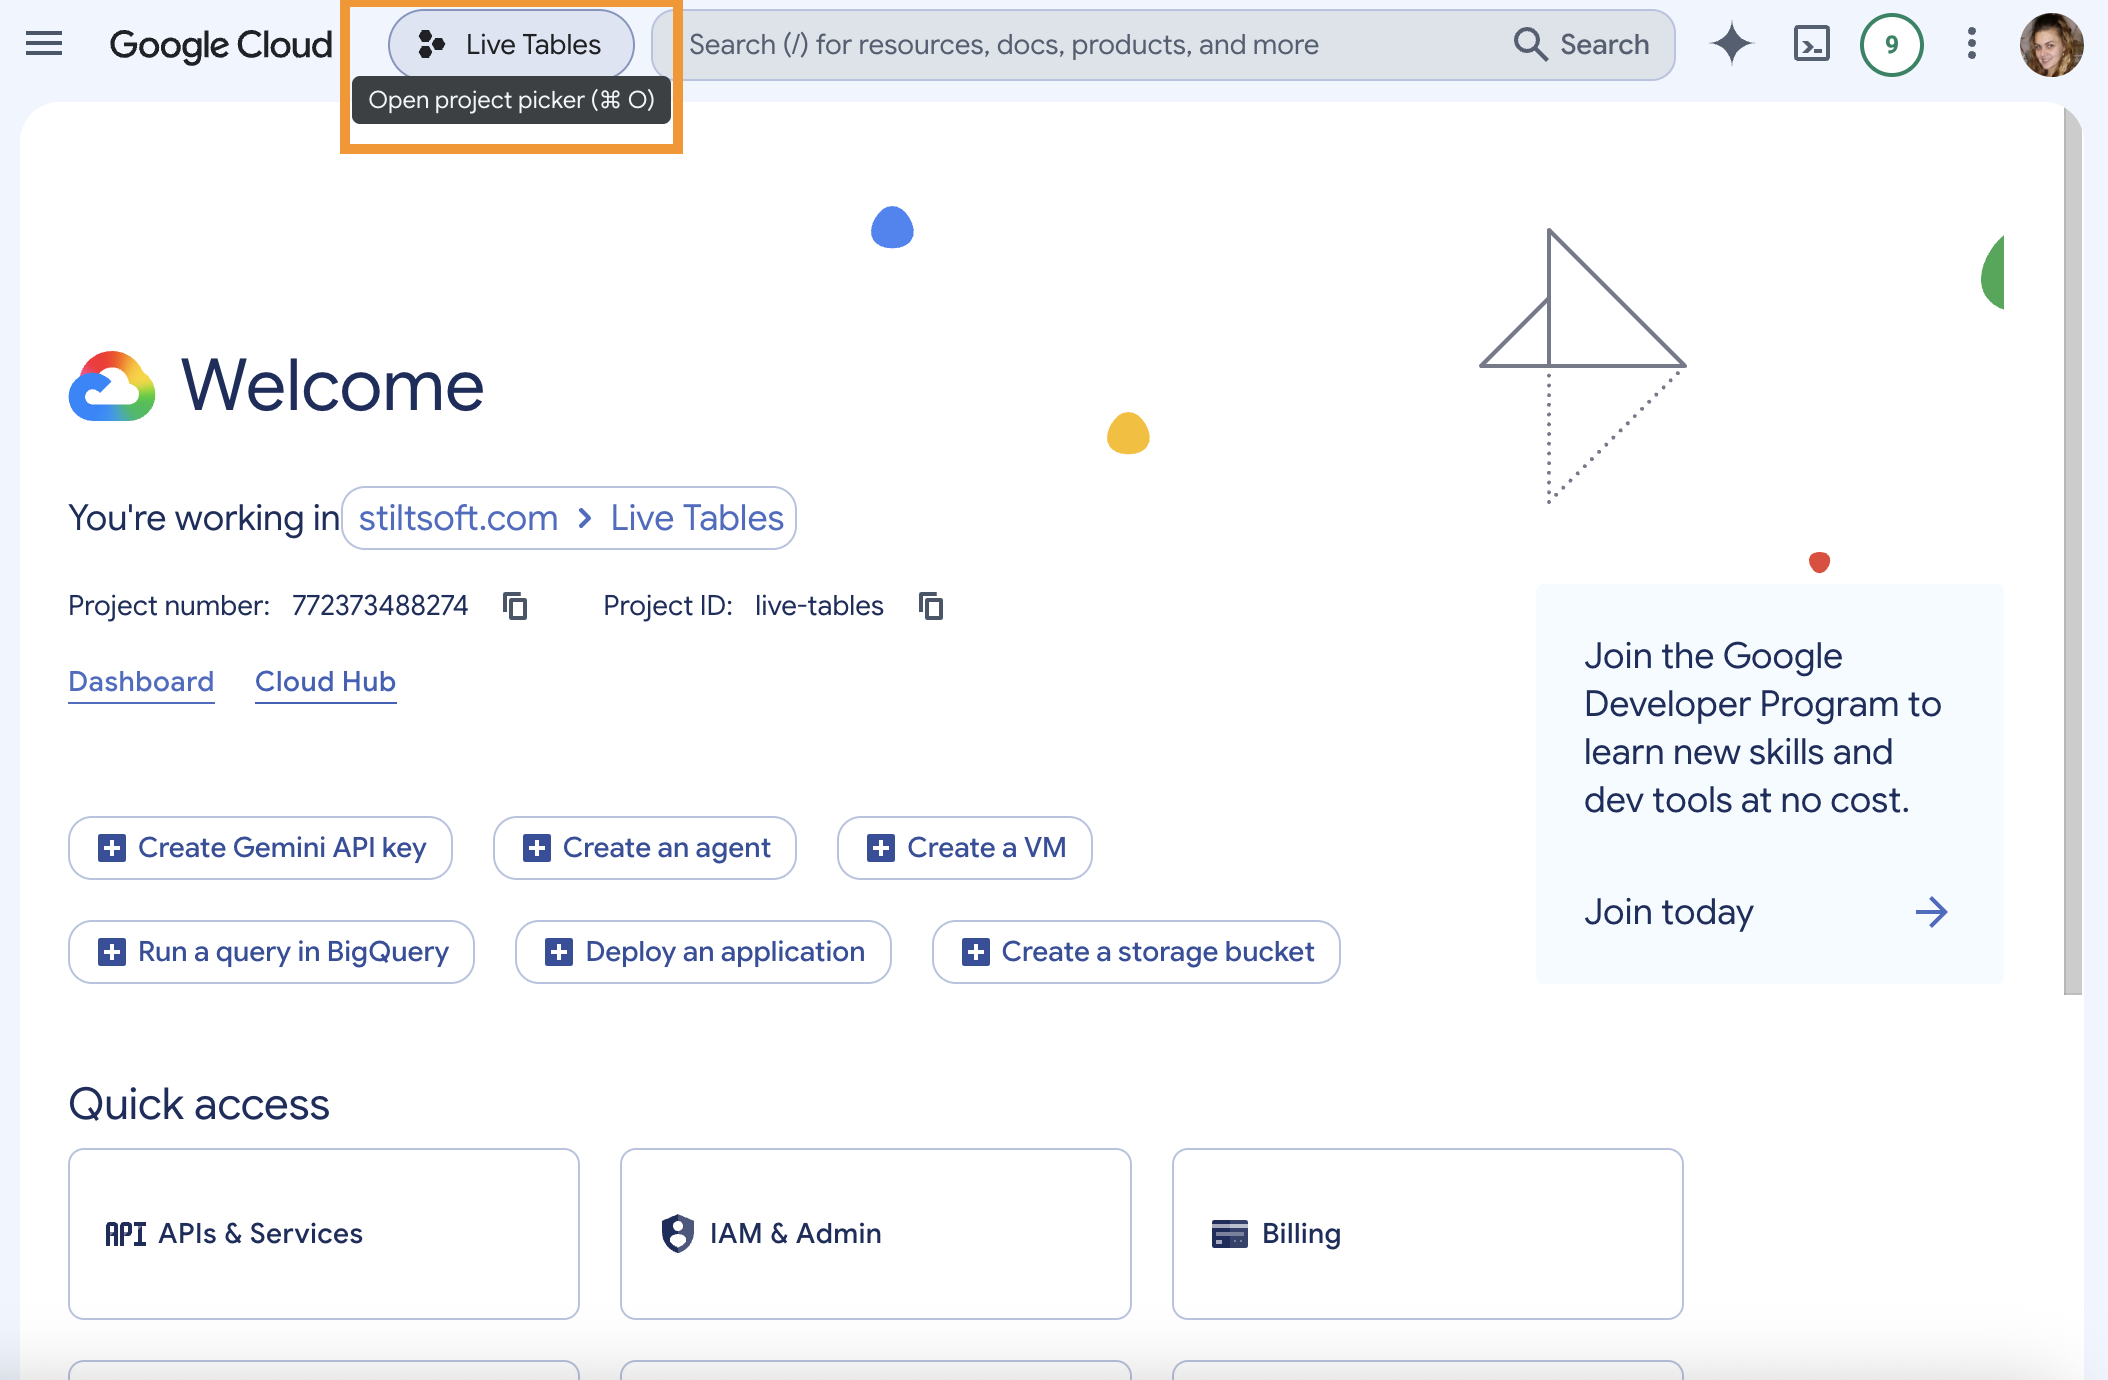
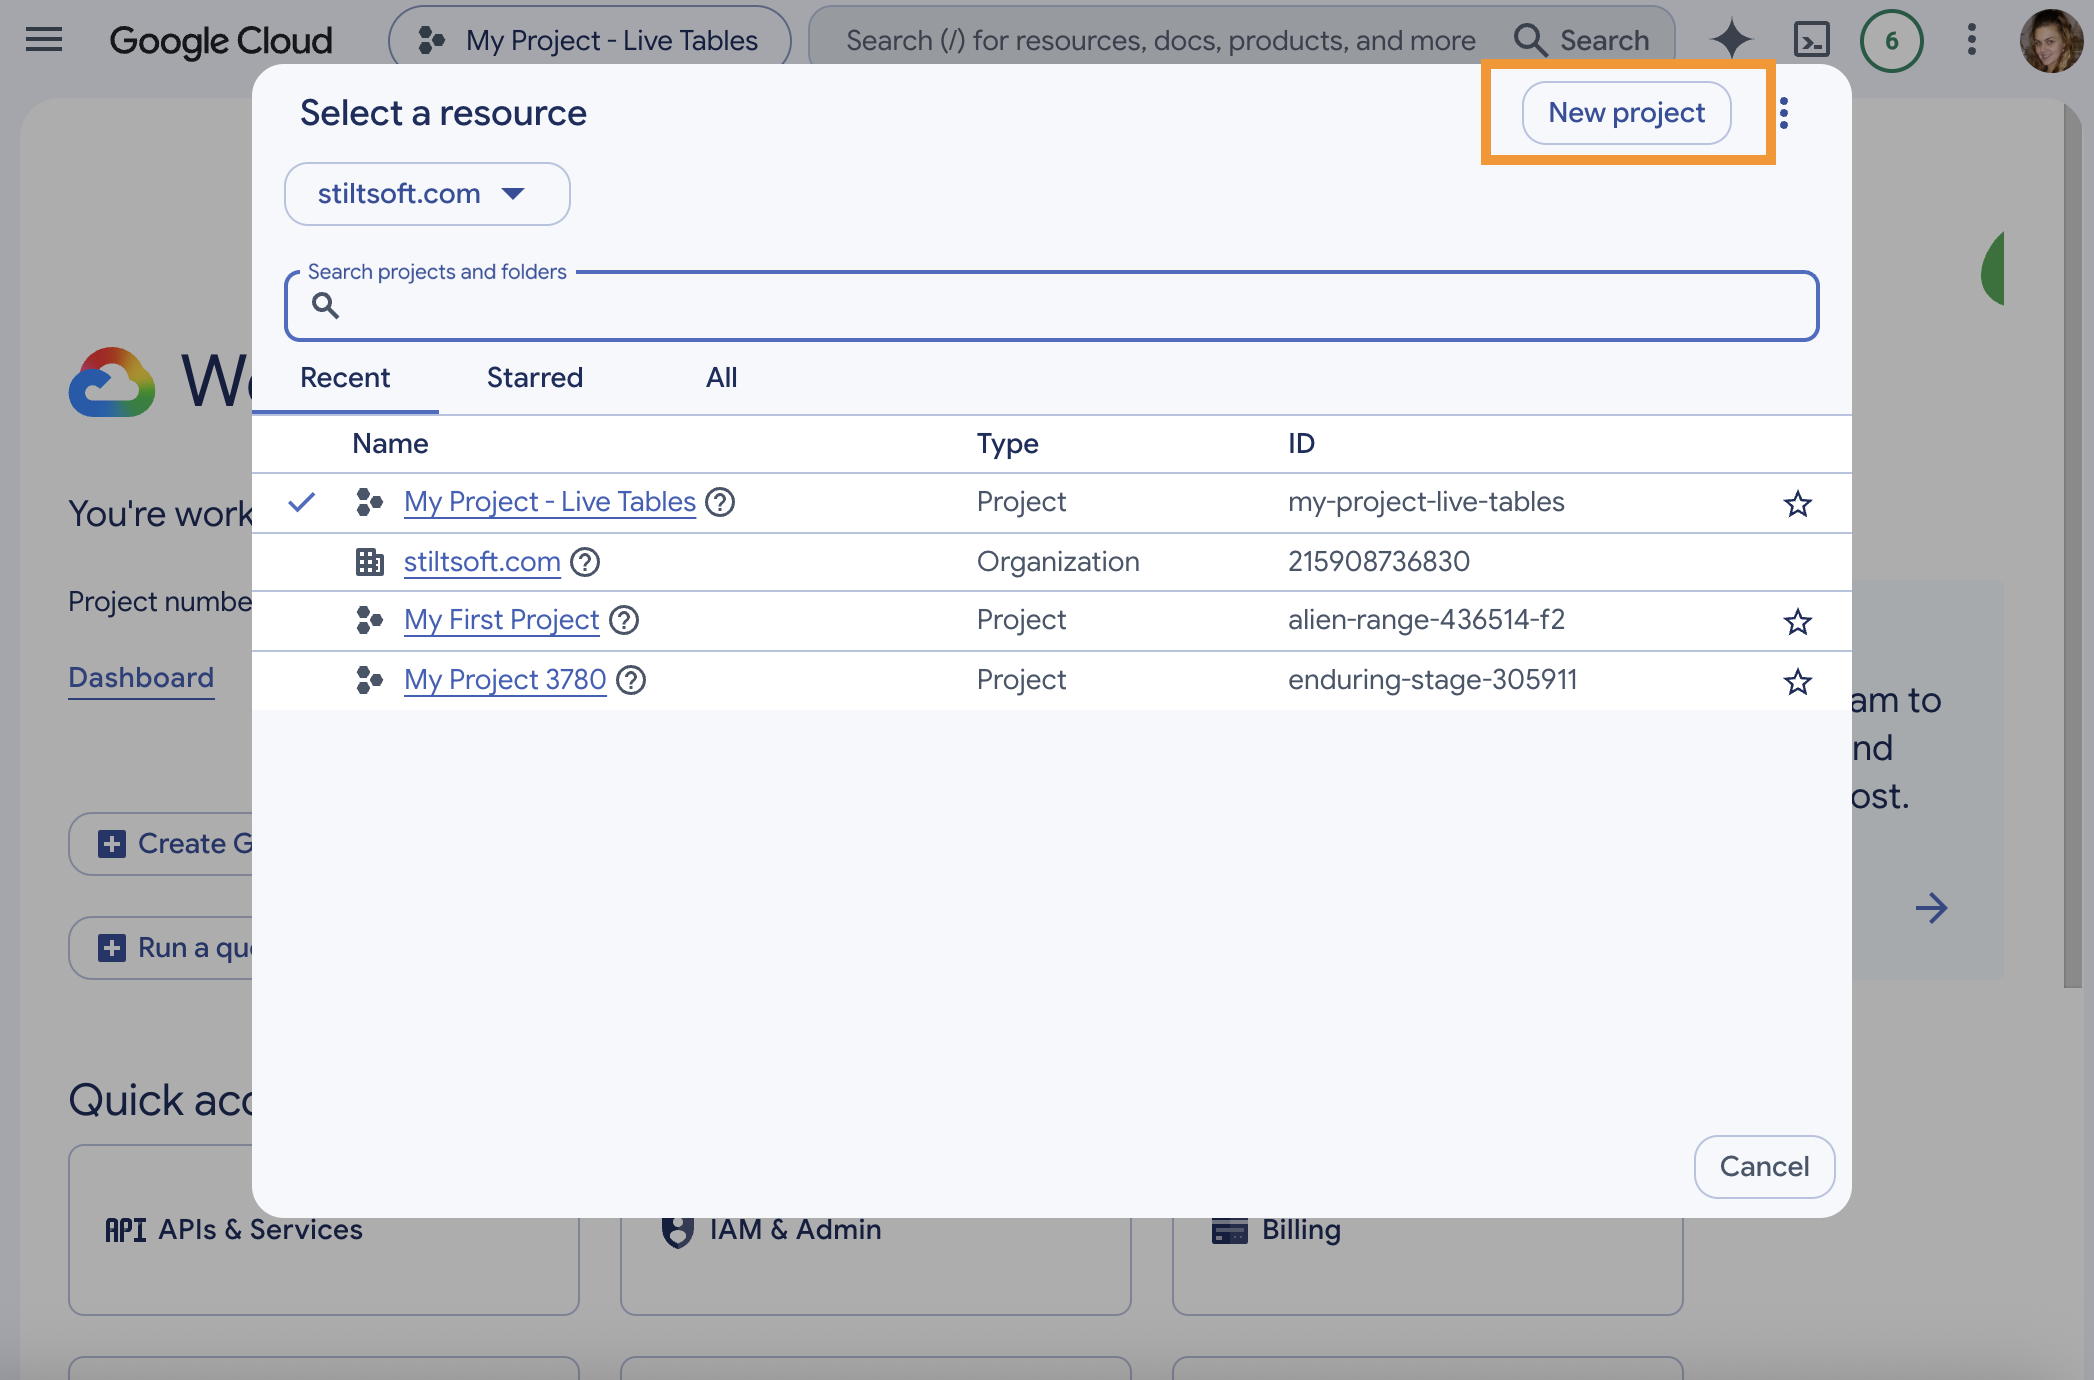
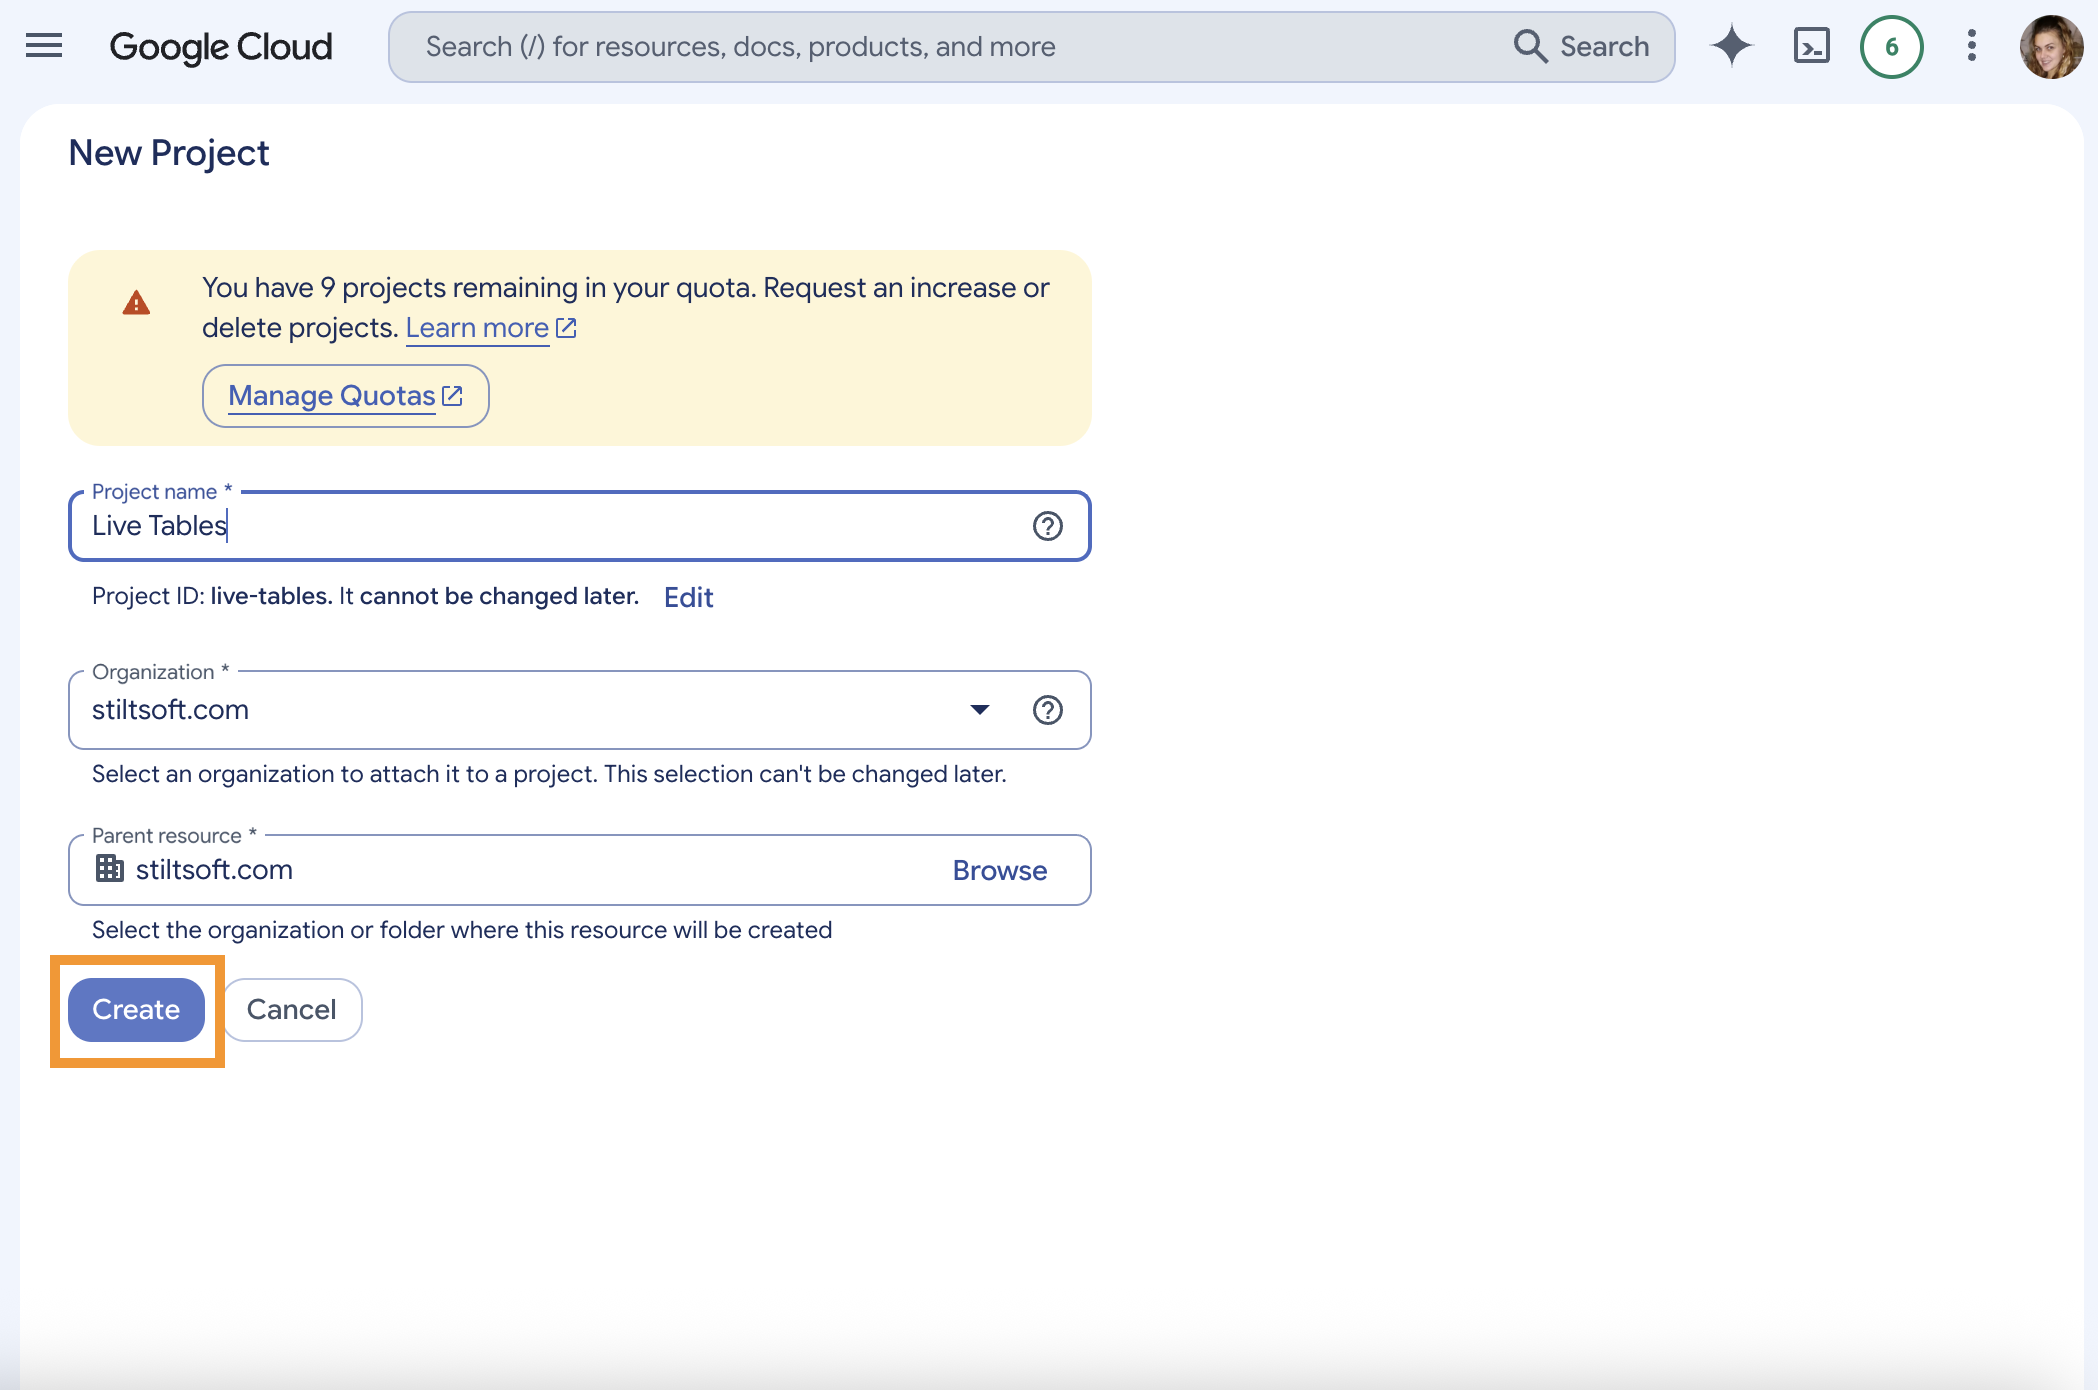
3. Create a new project.
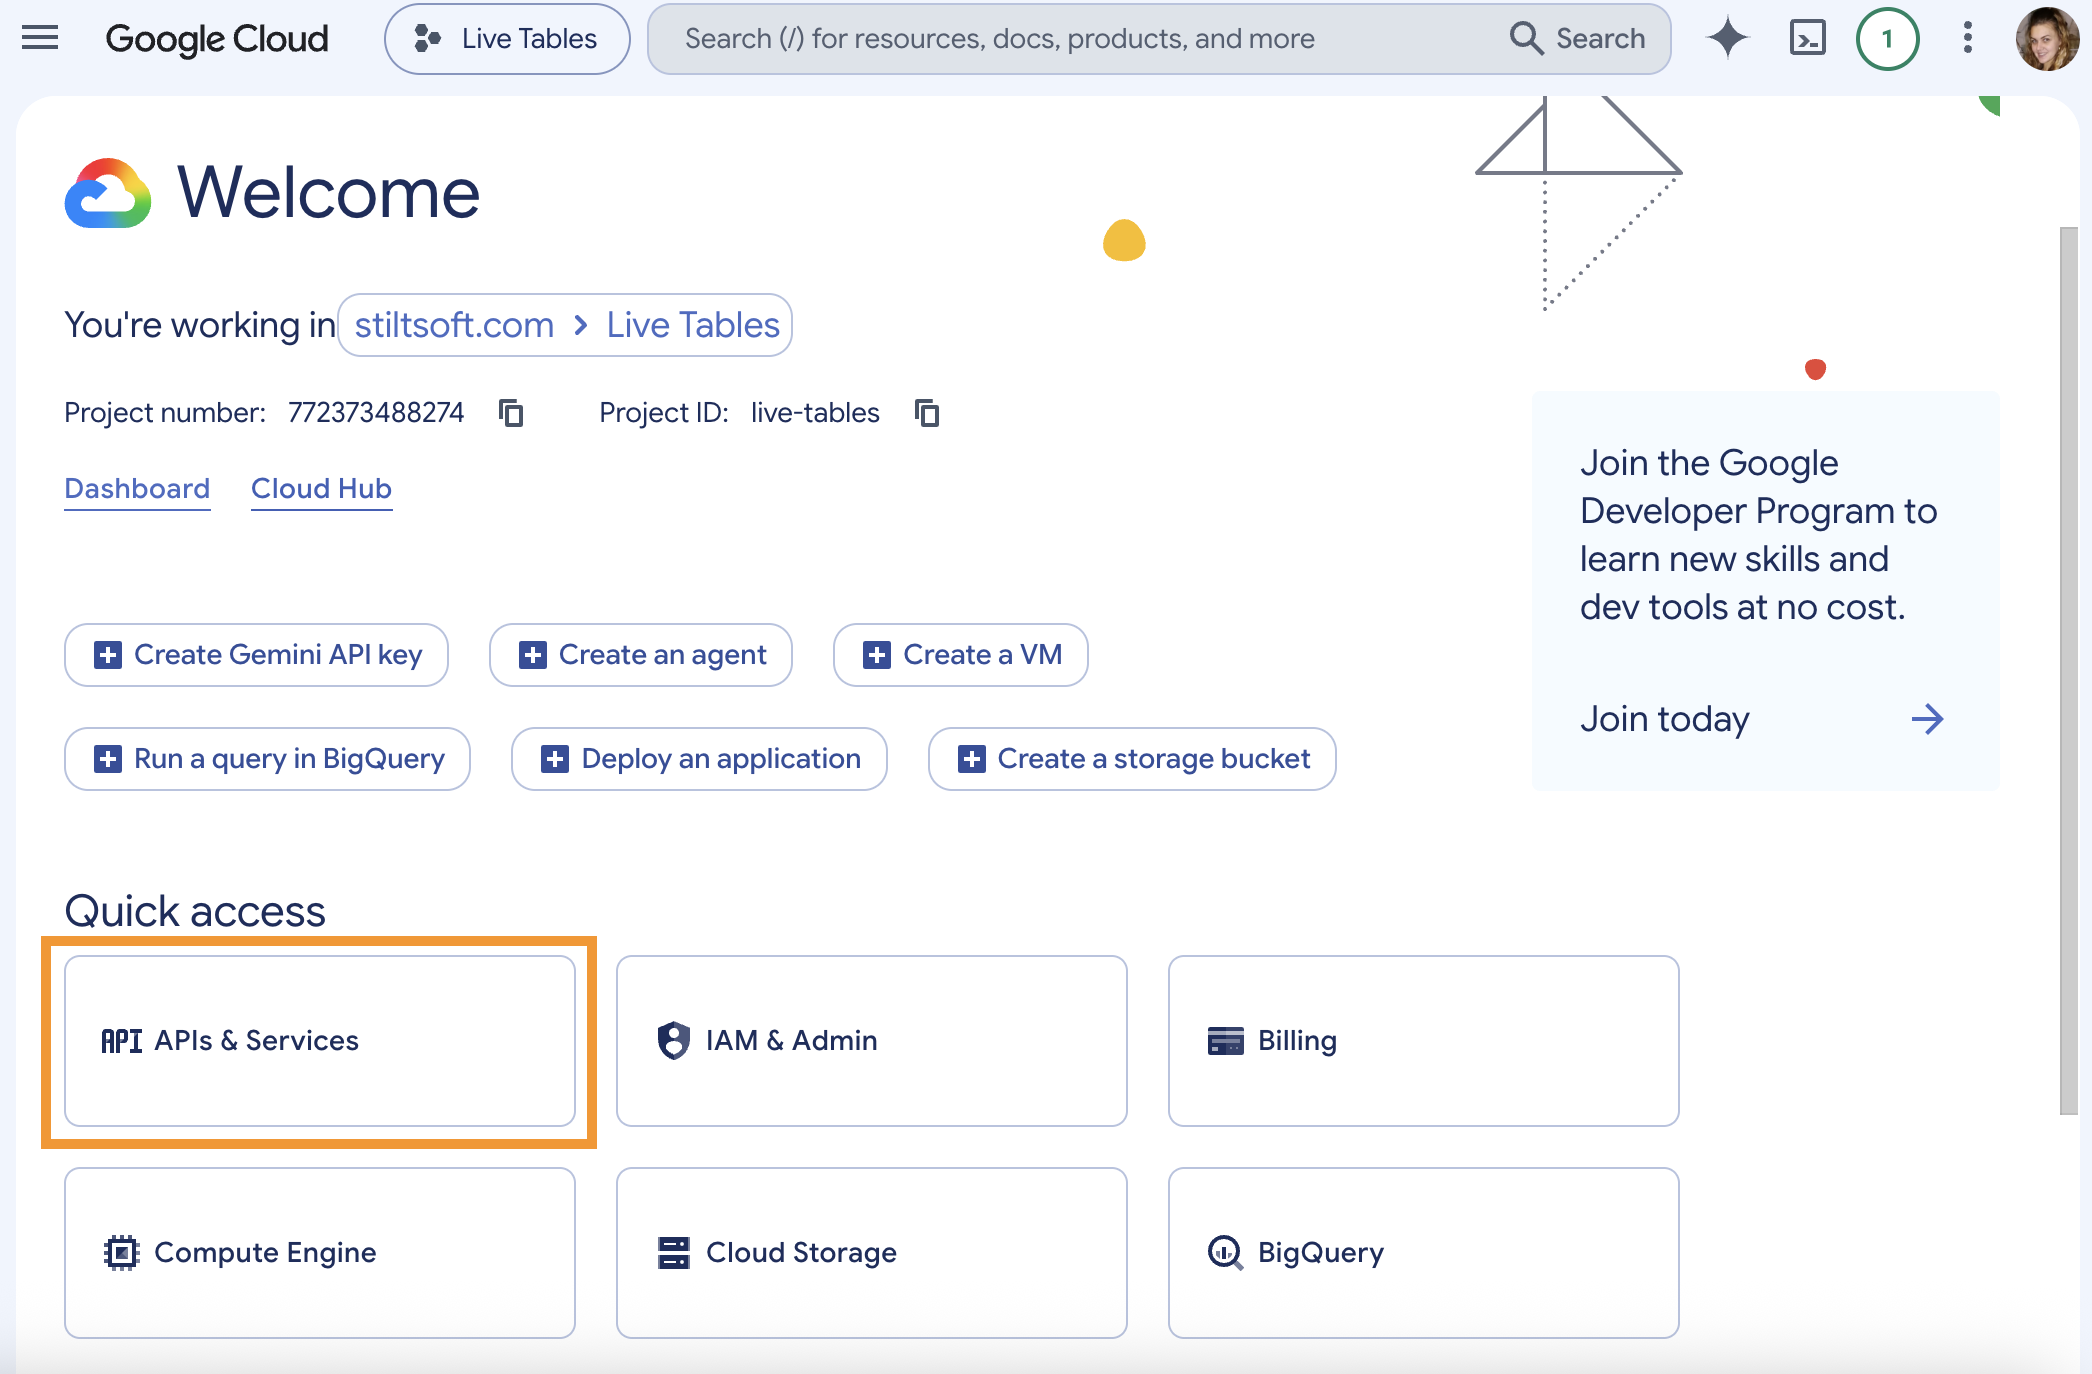
4. Switch to the APIs & Services section from the created project.
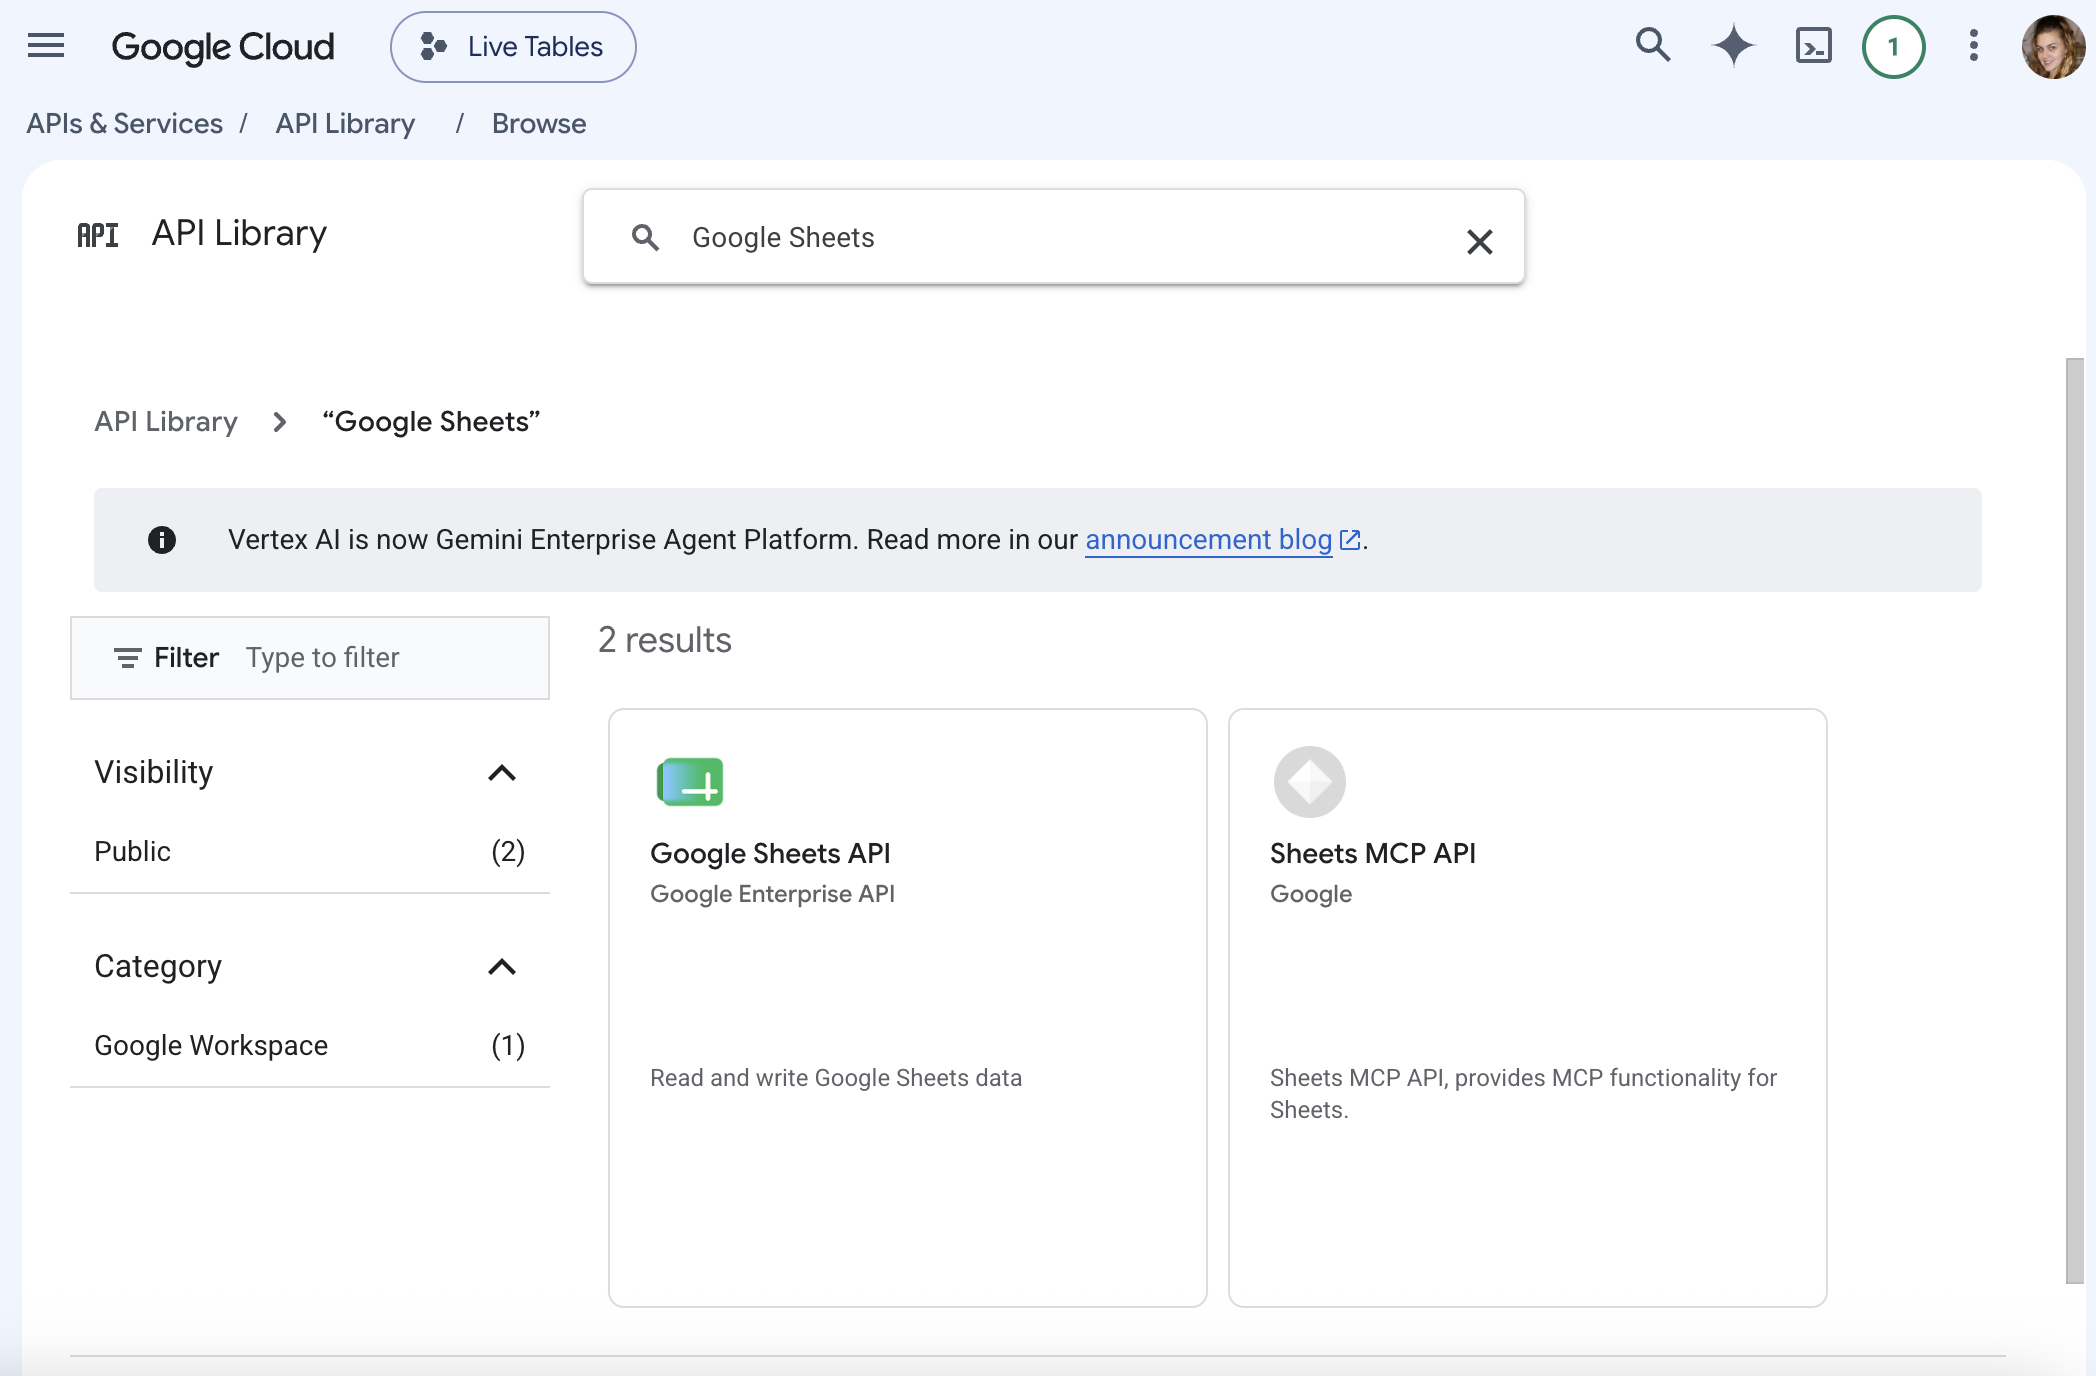
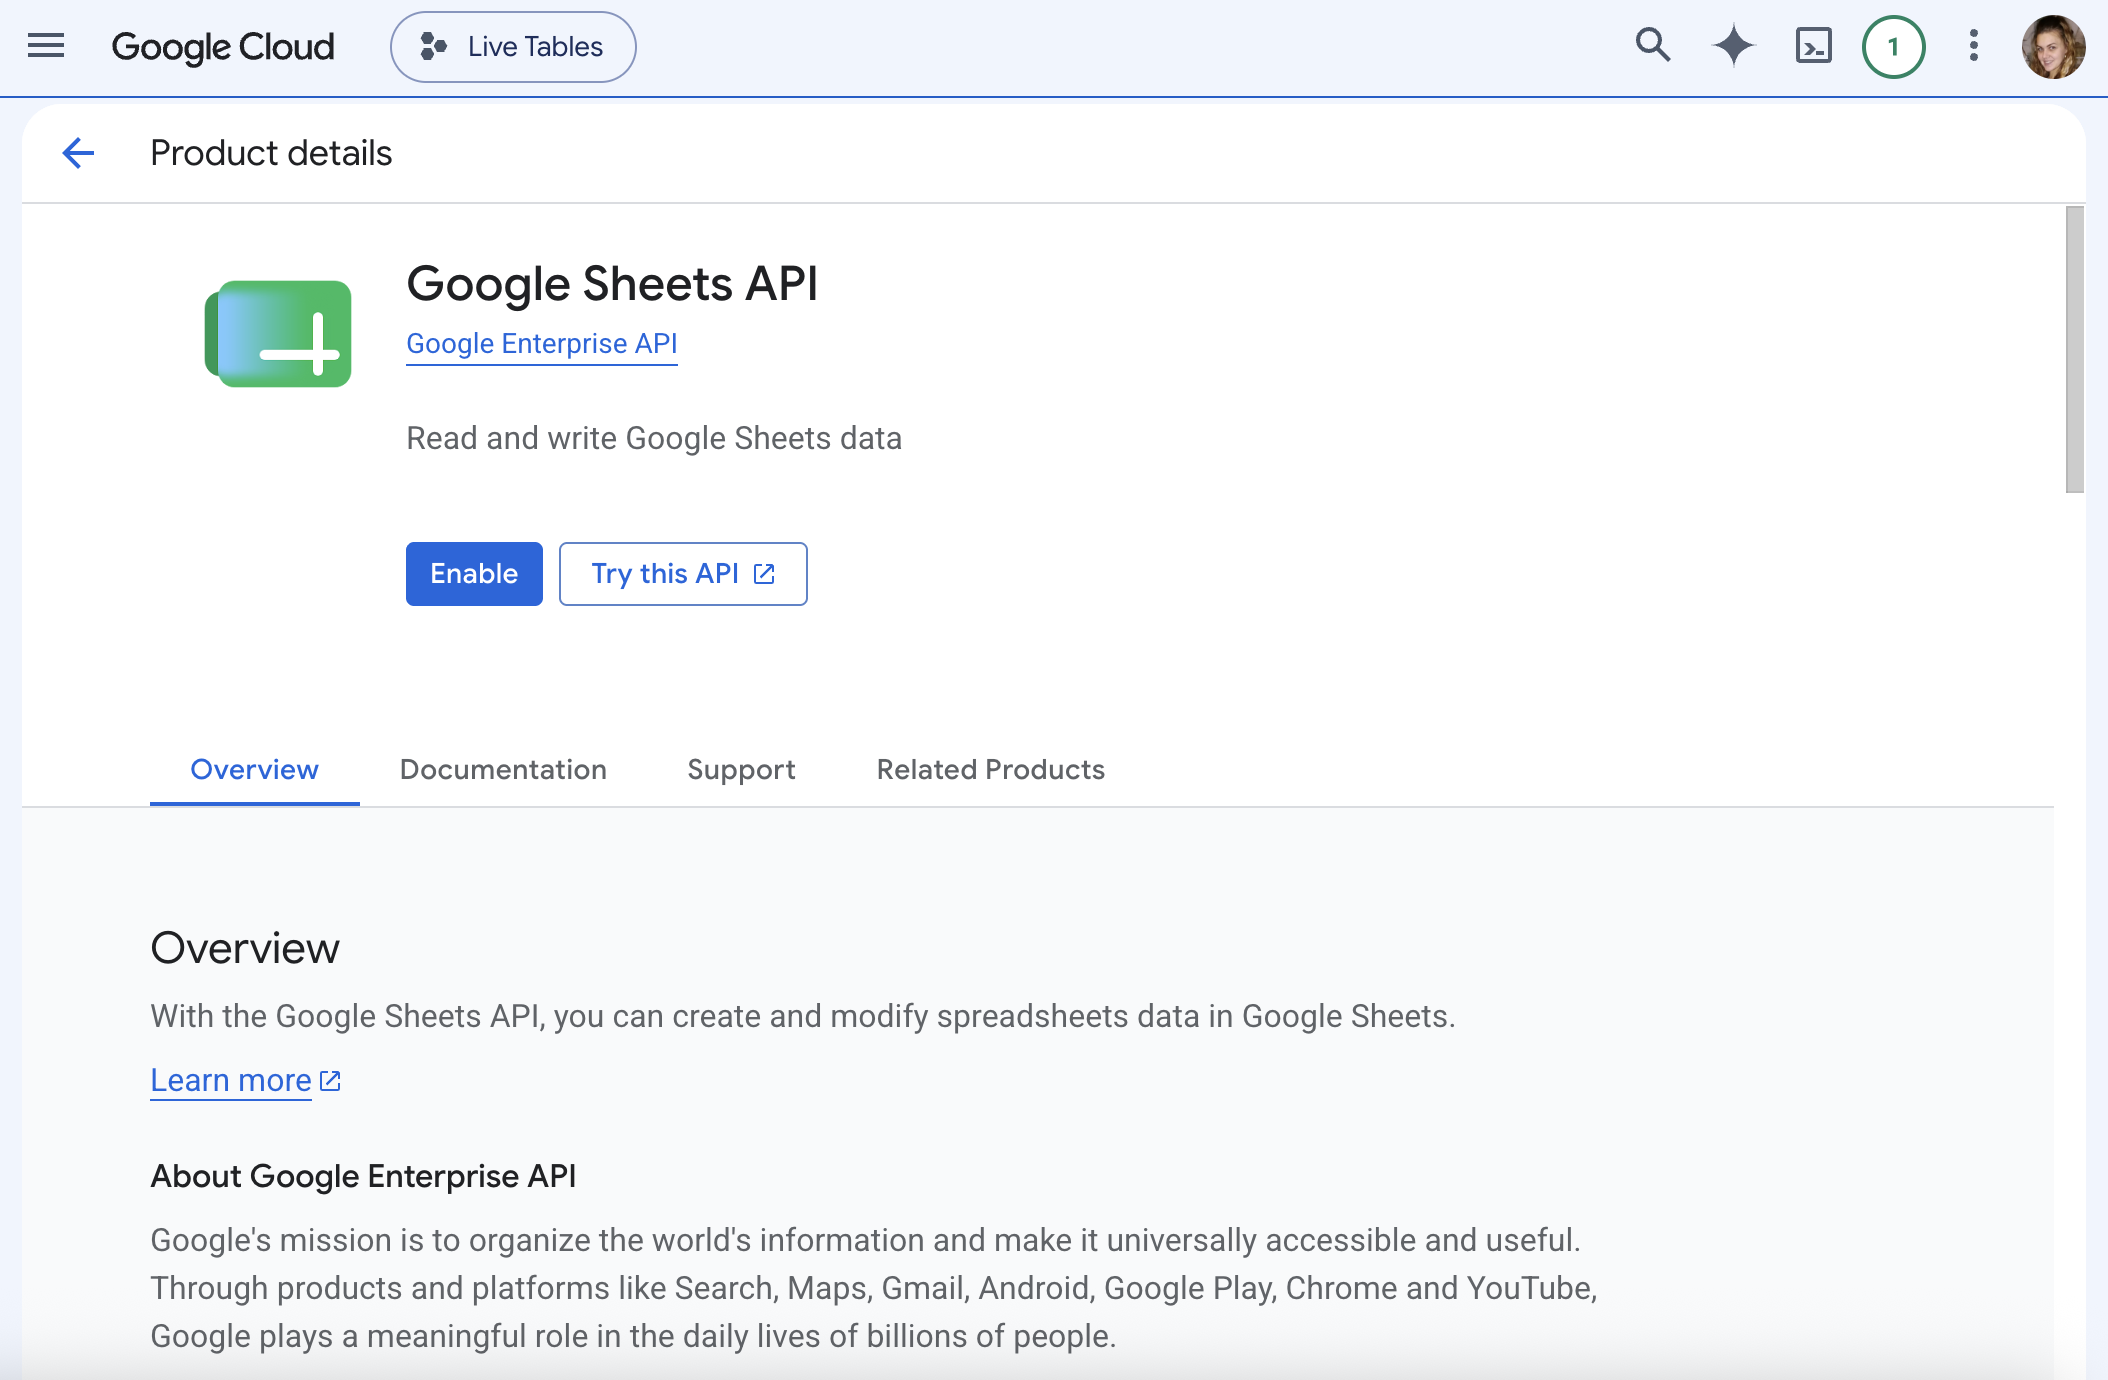
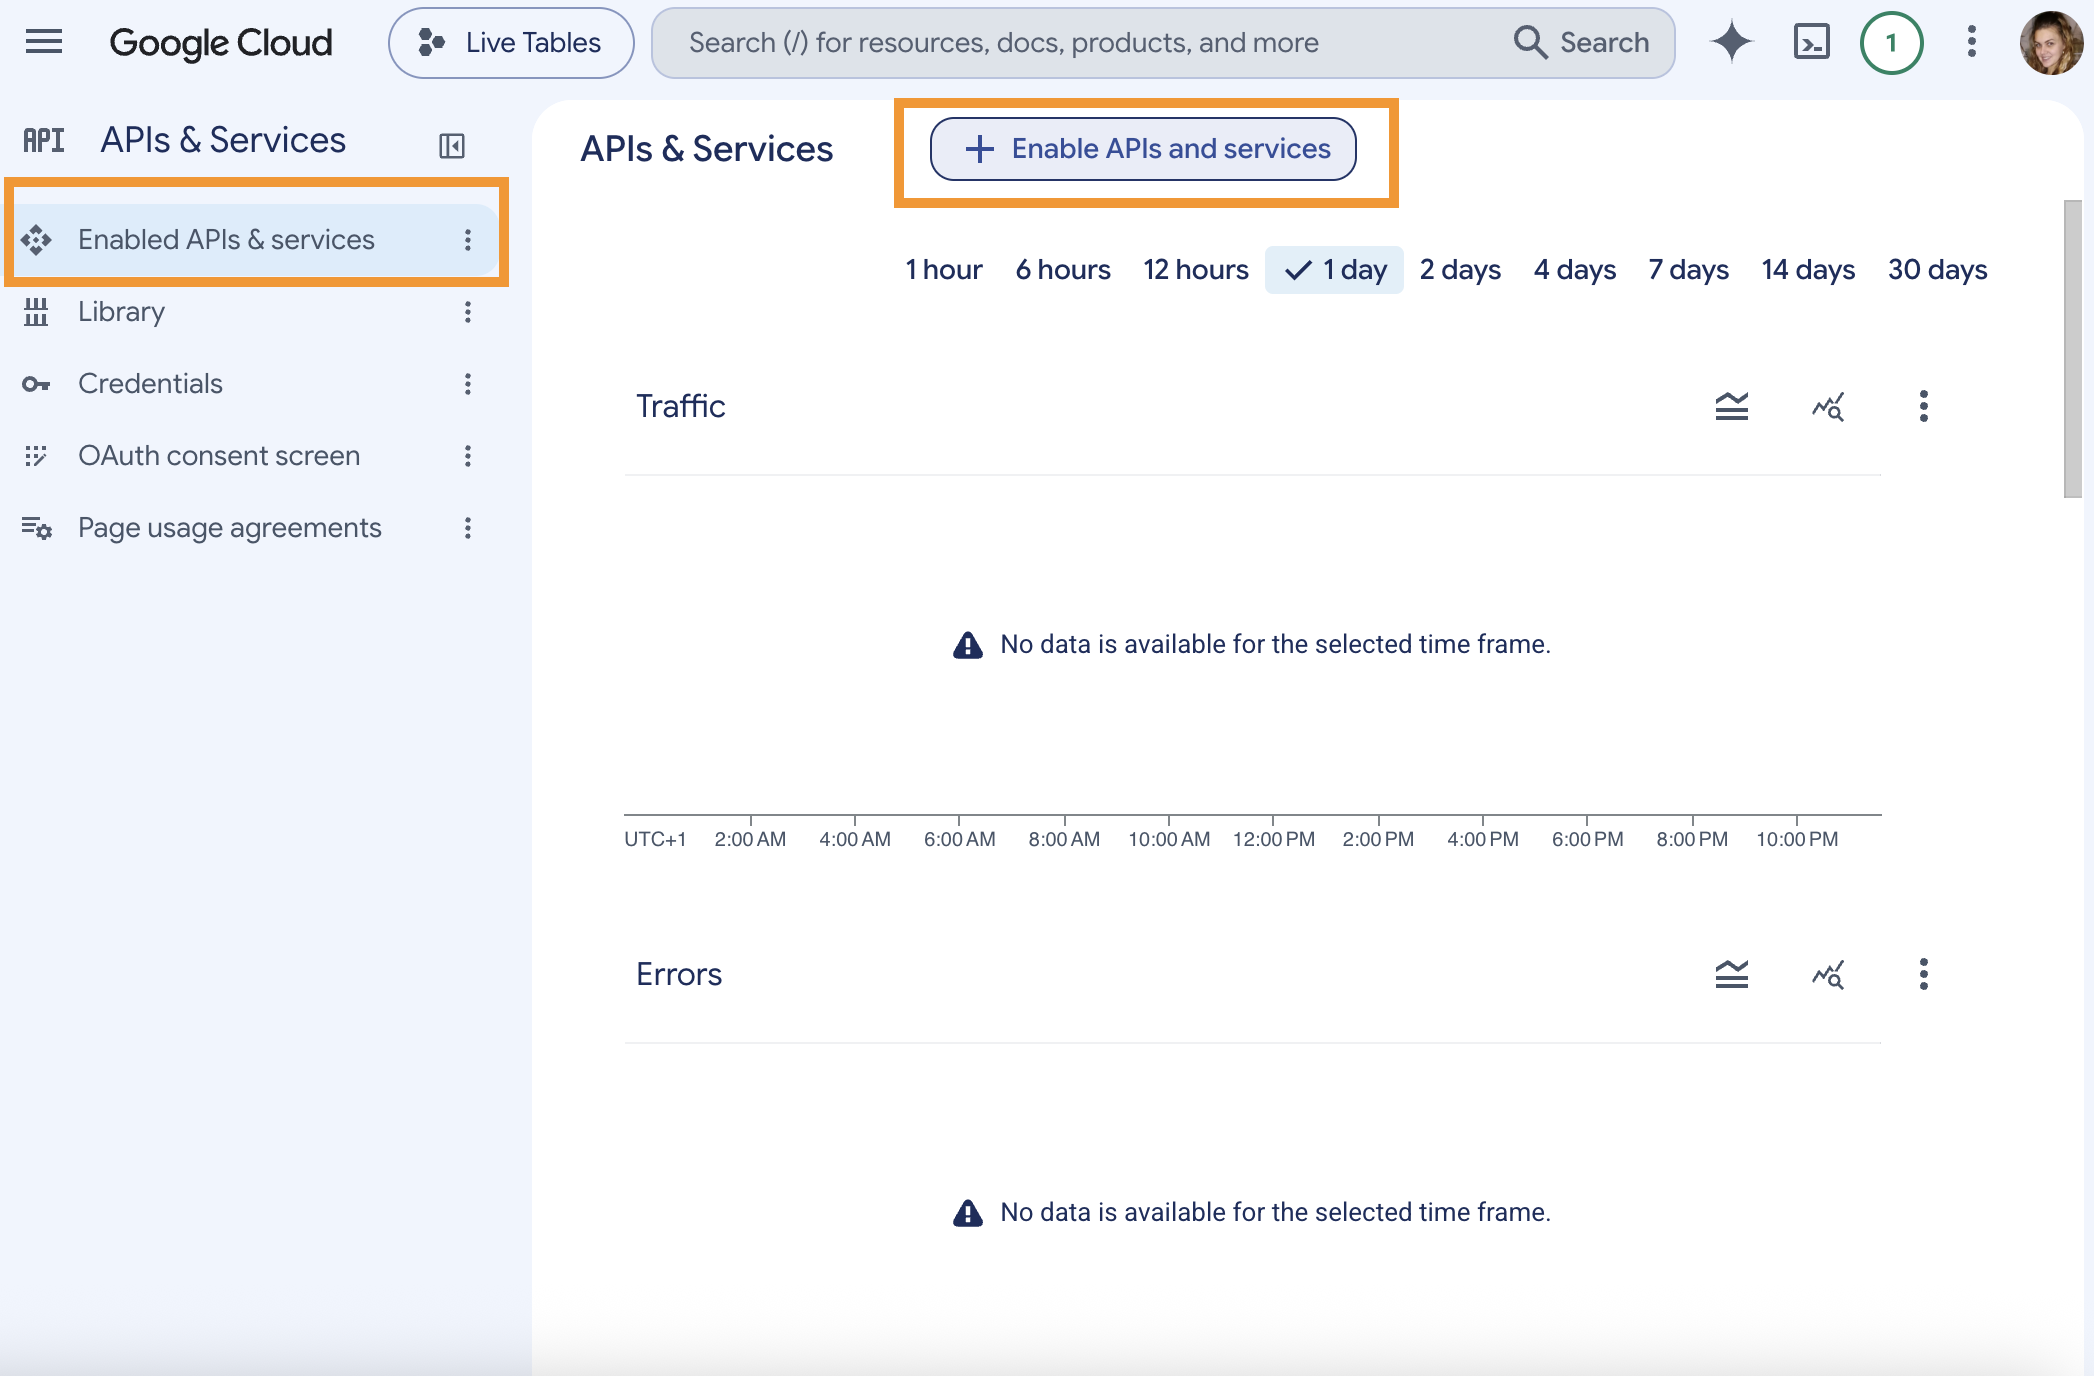
5. Open the Enabled APIs & services section.6. Click the Enable APIs and services button.
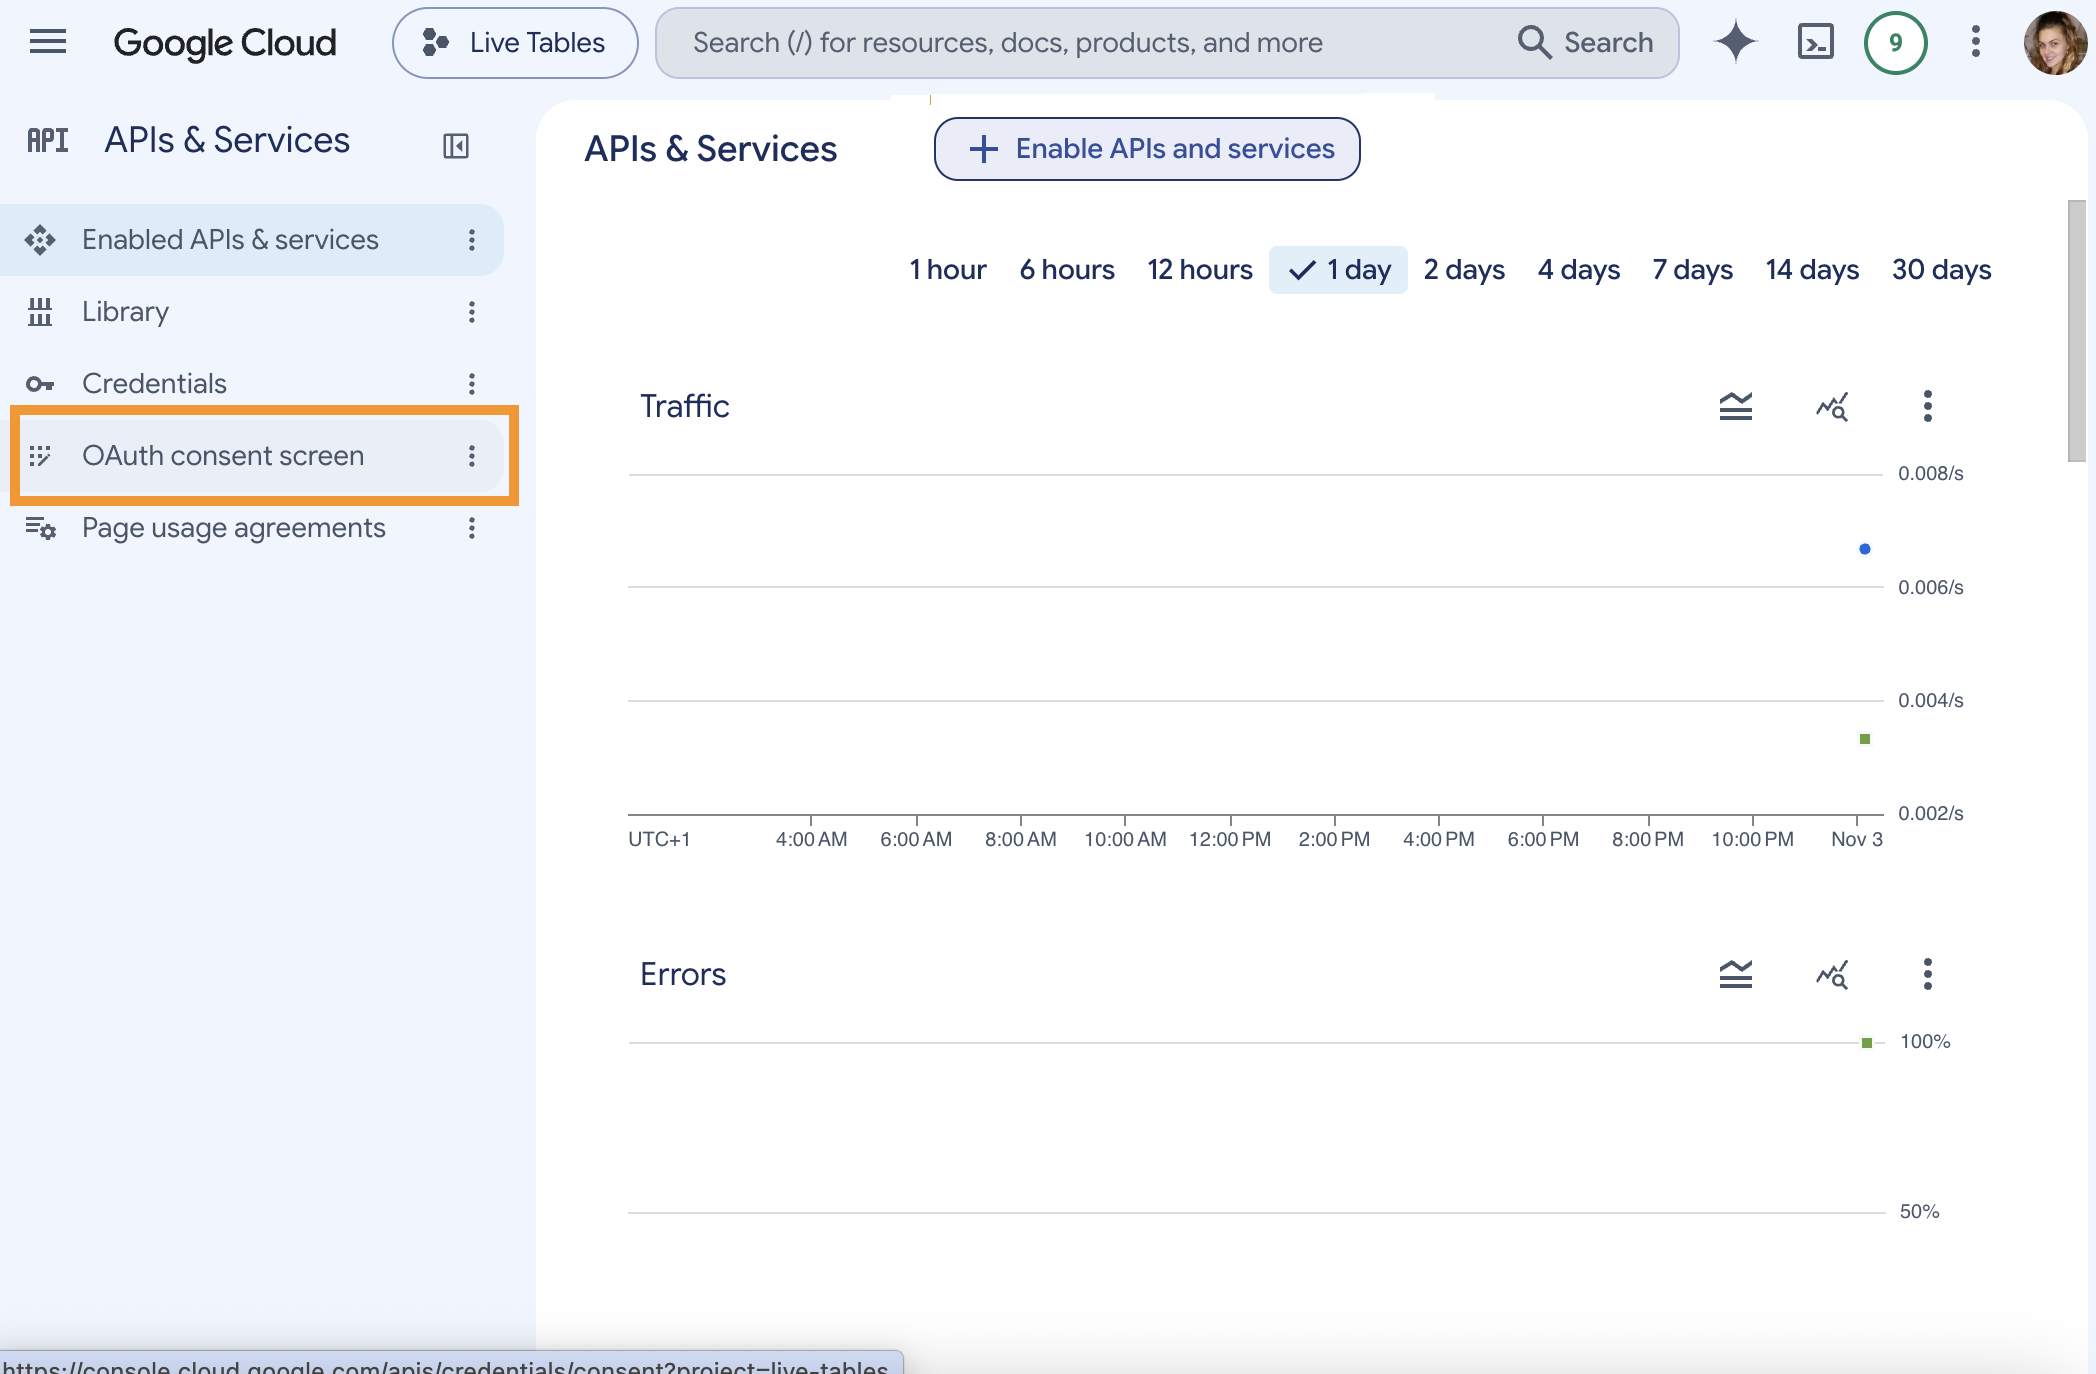
9. Click OAuth consent screen in the APIs & Services section.
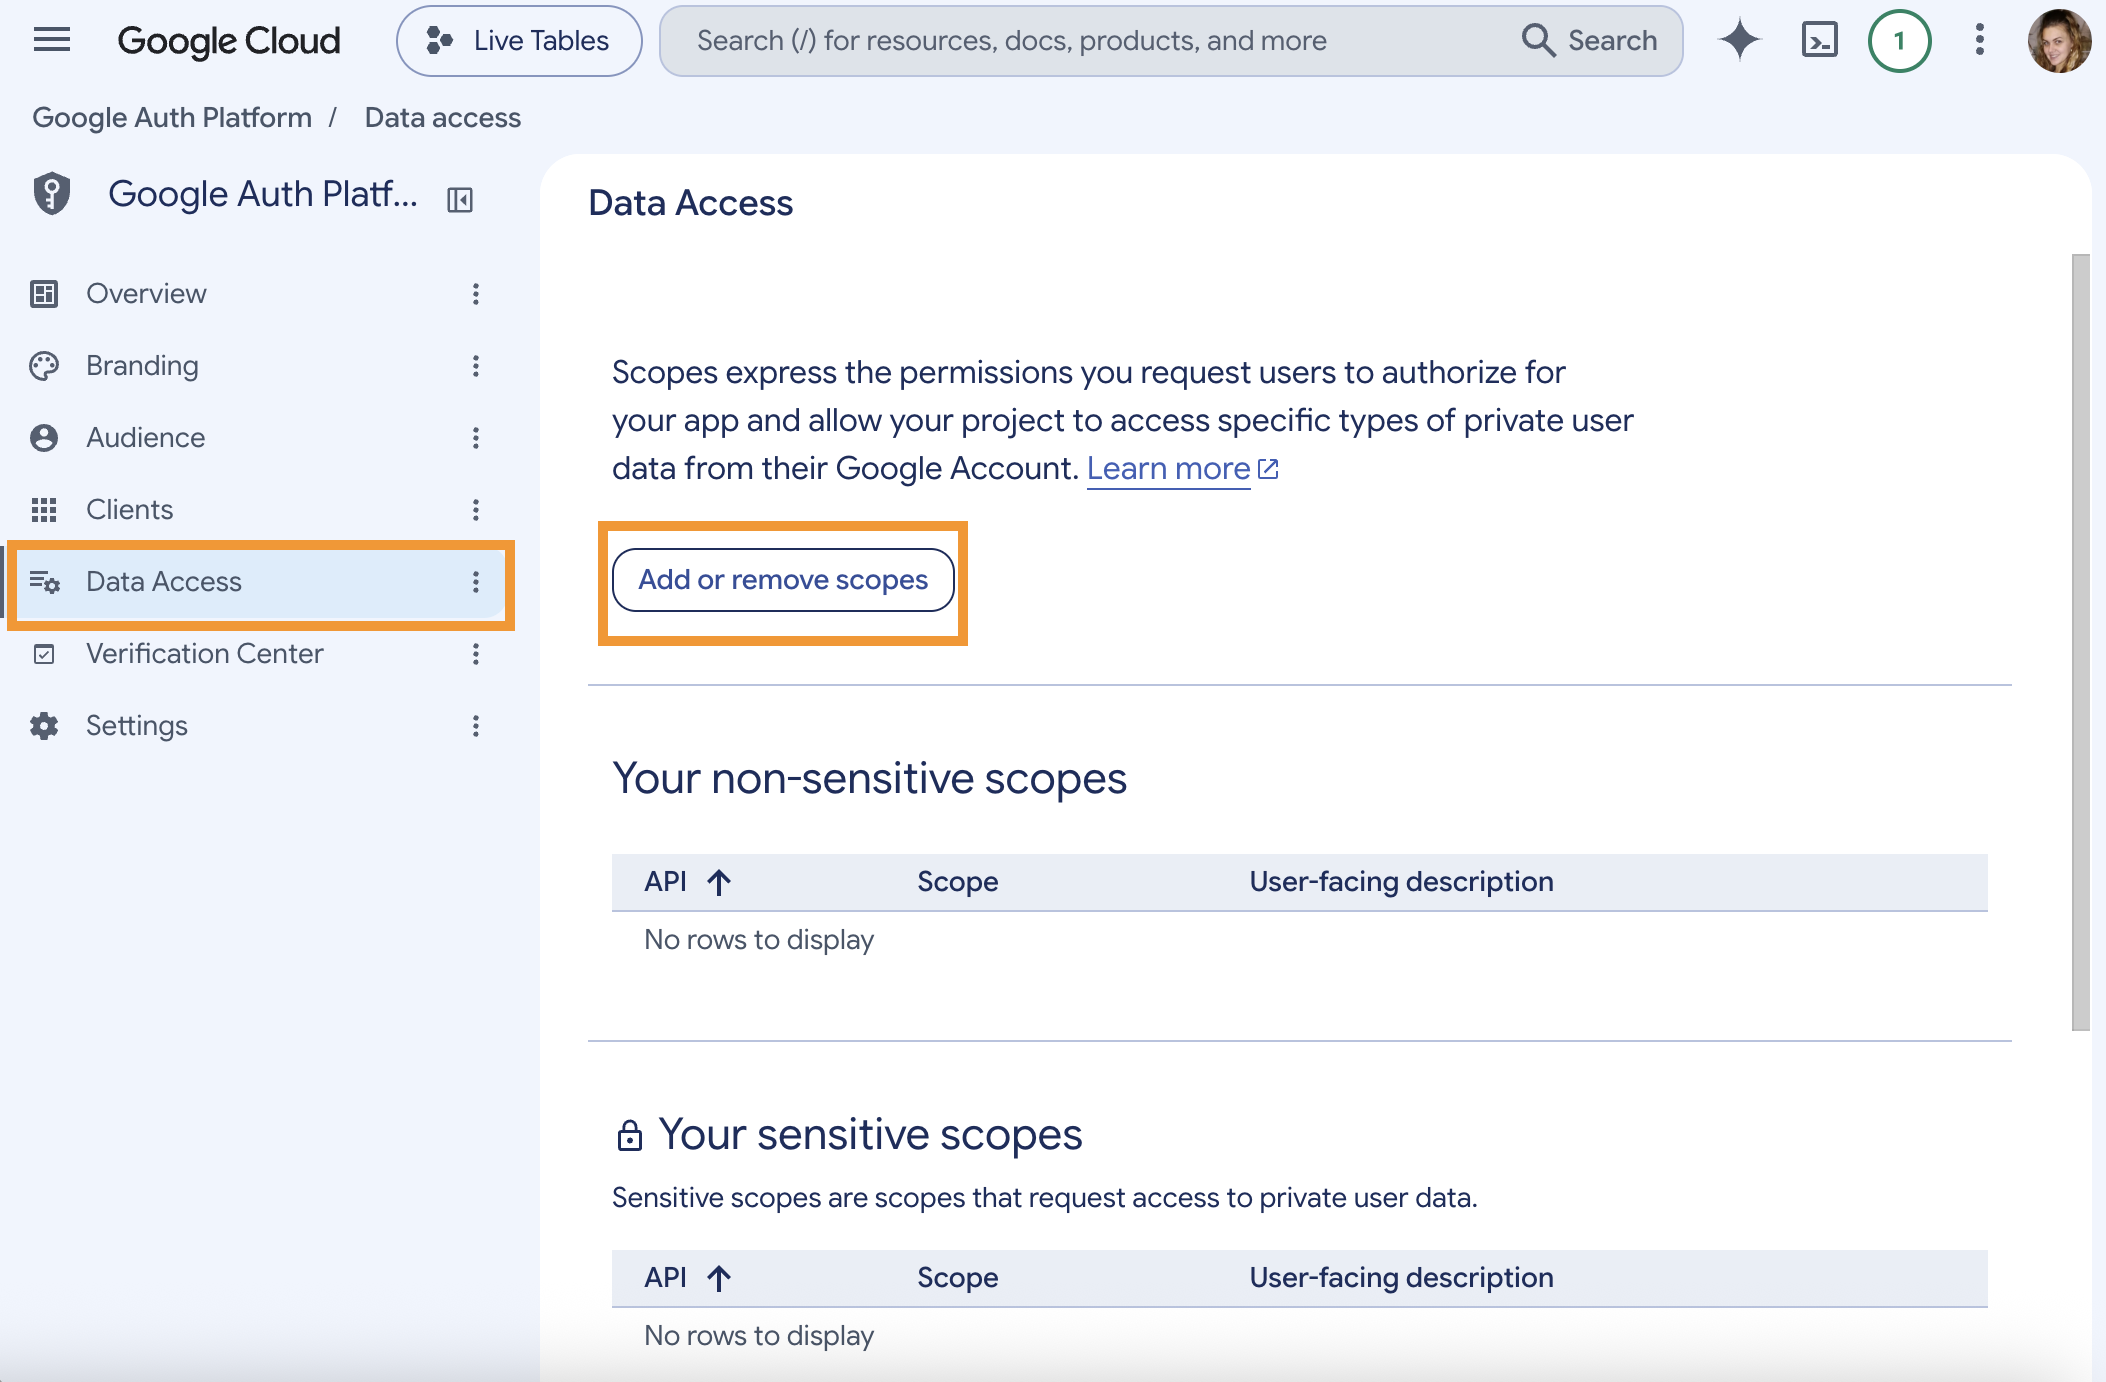
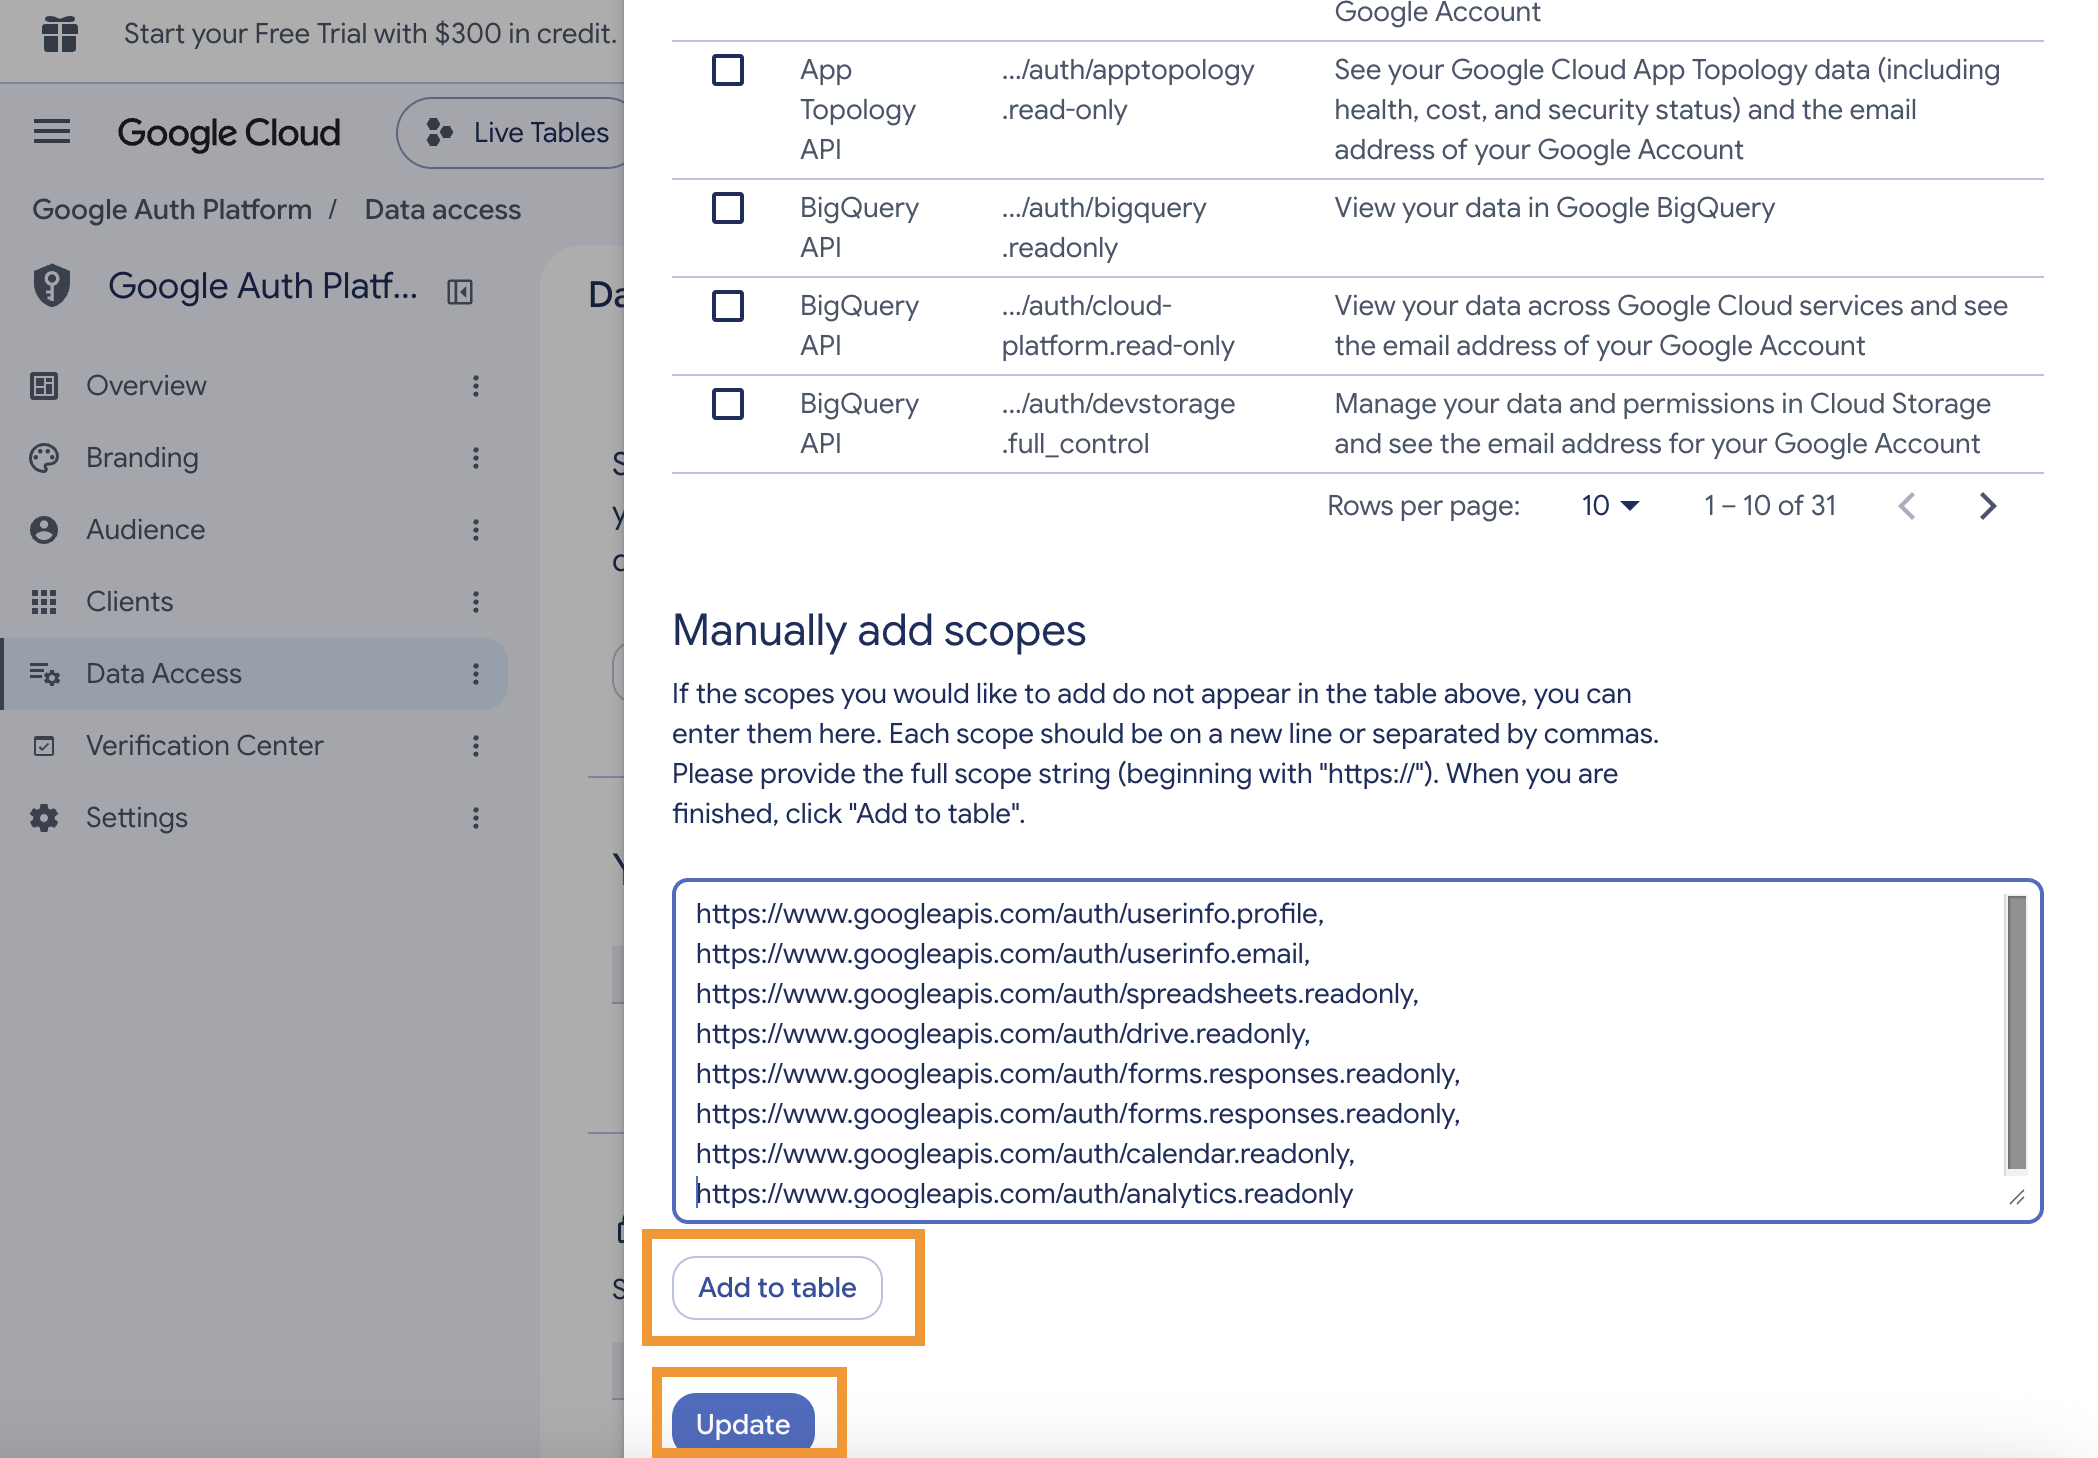
10. Choose Data Access → Add or remove scopes.
11. Copy the following scopes:
https://www.googleapis.com/auth/userinfo.profile,

https://www.googleapis.com/auth/userinfo.email,

https://www.googleapis.com/auth/spreadsheets.readonly,

https://www.googleapis.com/auth/drive.readonly,

https://www.googleapis.com/auth/forms.responses.readonly,

https://www.googleapis.com/auth/forms.responses.readonly,

https://www.googleapis.com/auth/calendar.readonly,

https://www.googleapis.com/auth/analytics.readonly
CODE
12. Click Add to table → Update
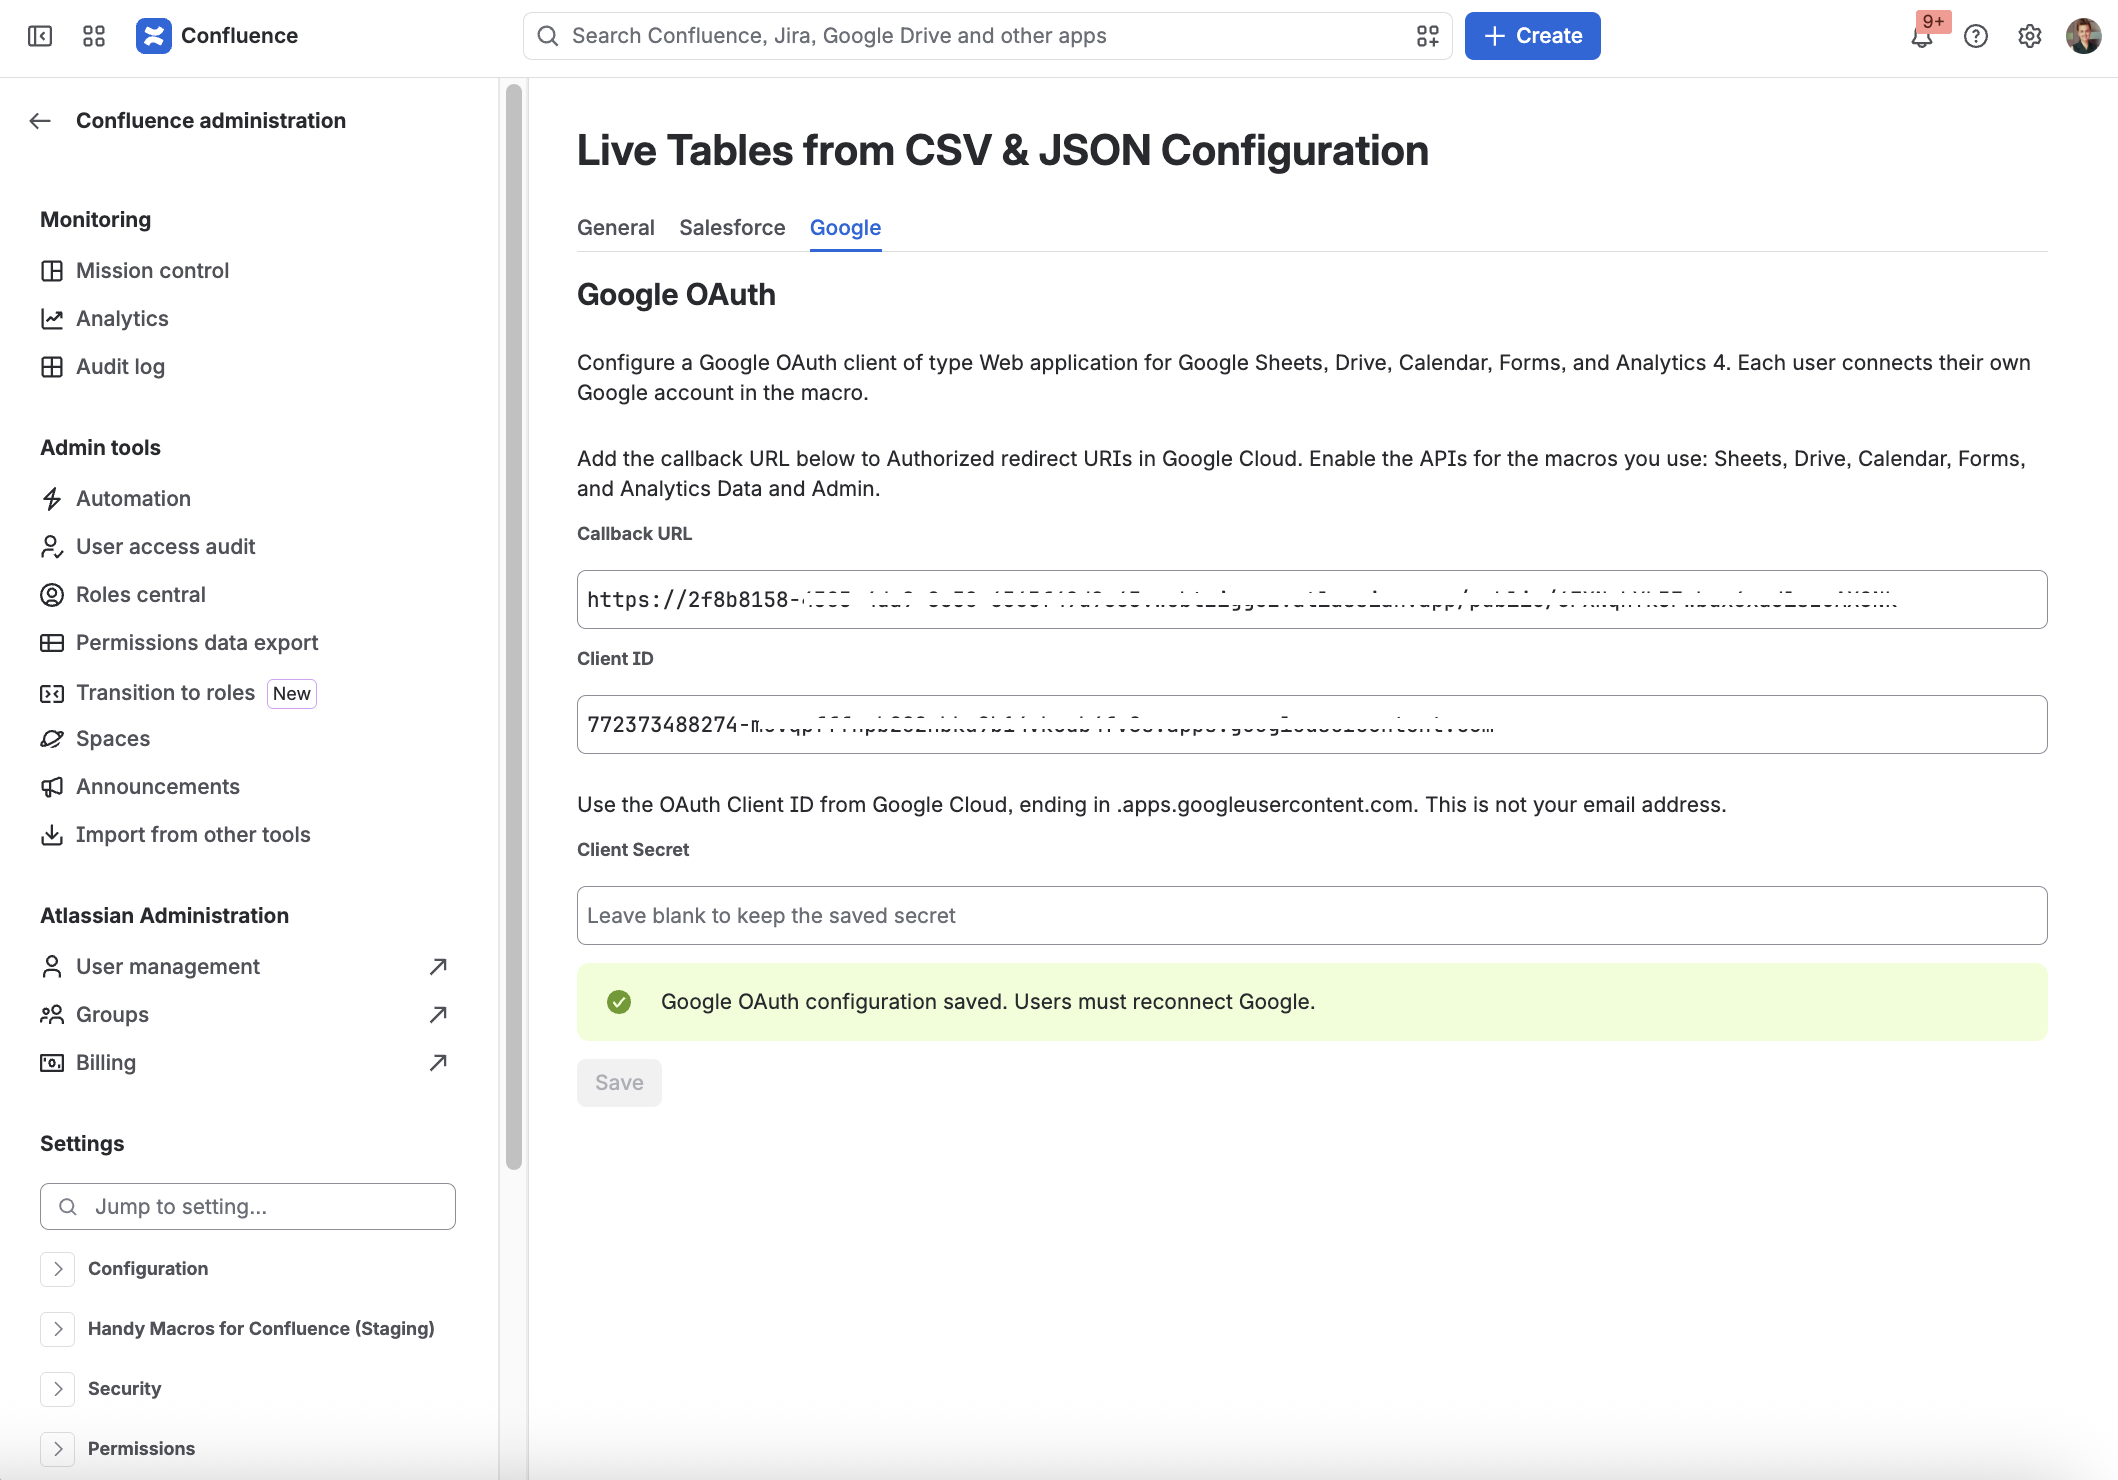
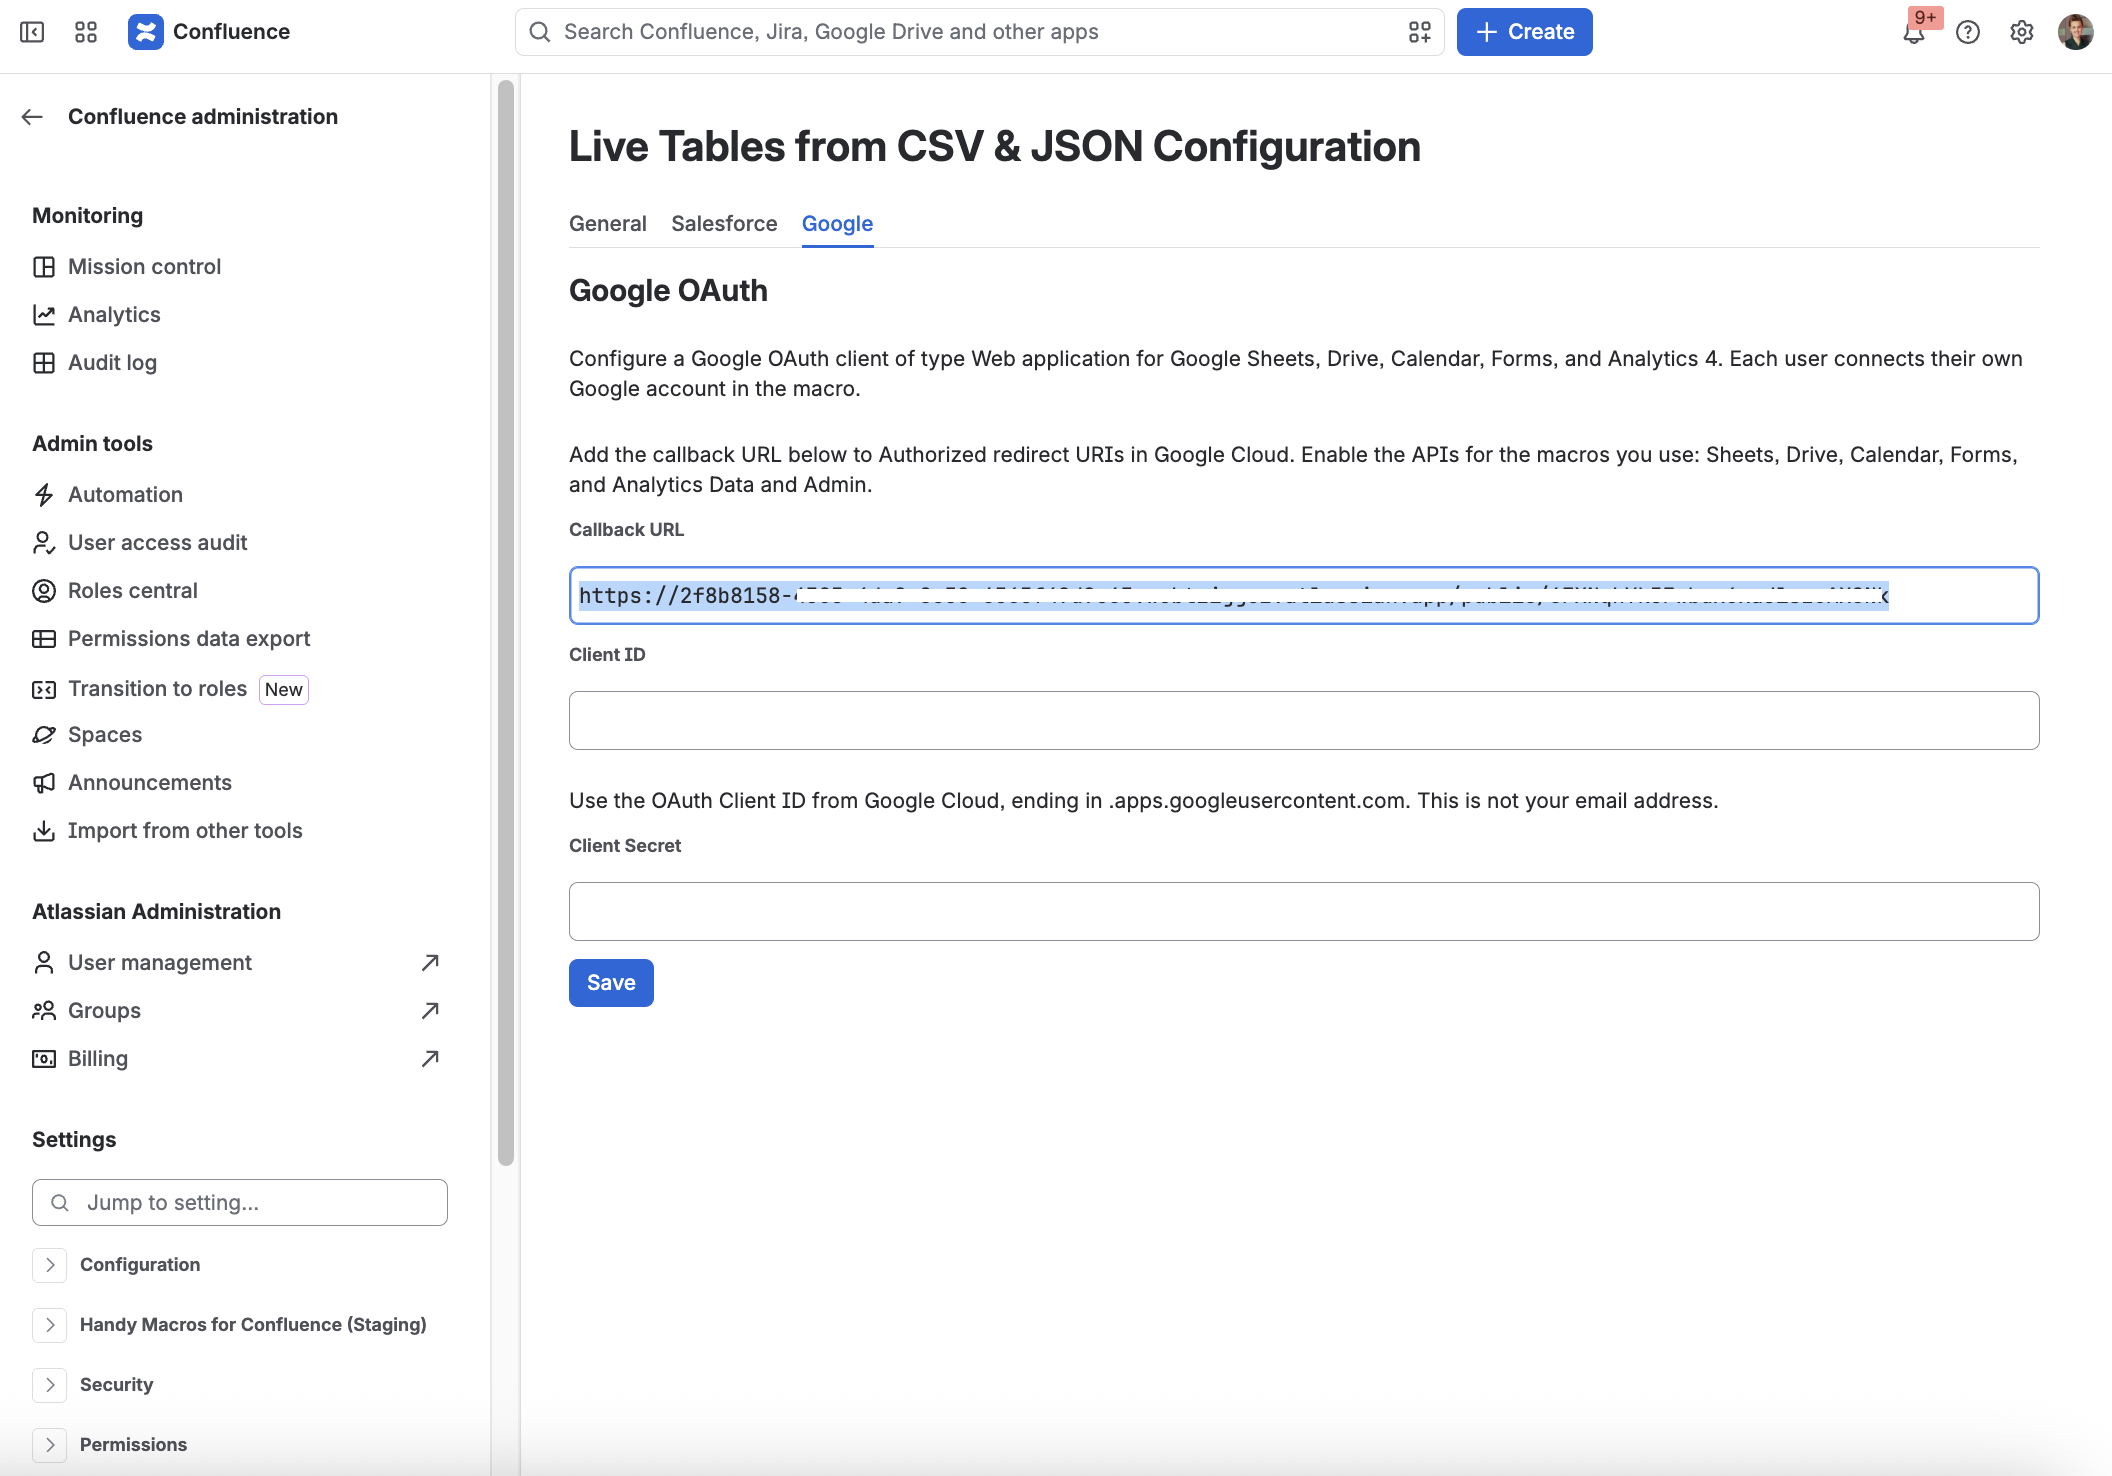
13. Copy Callback URL from Confluence Administration → Apps → Live Tables → Google → Callback URL.
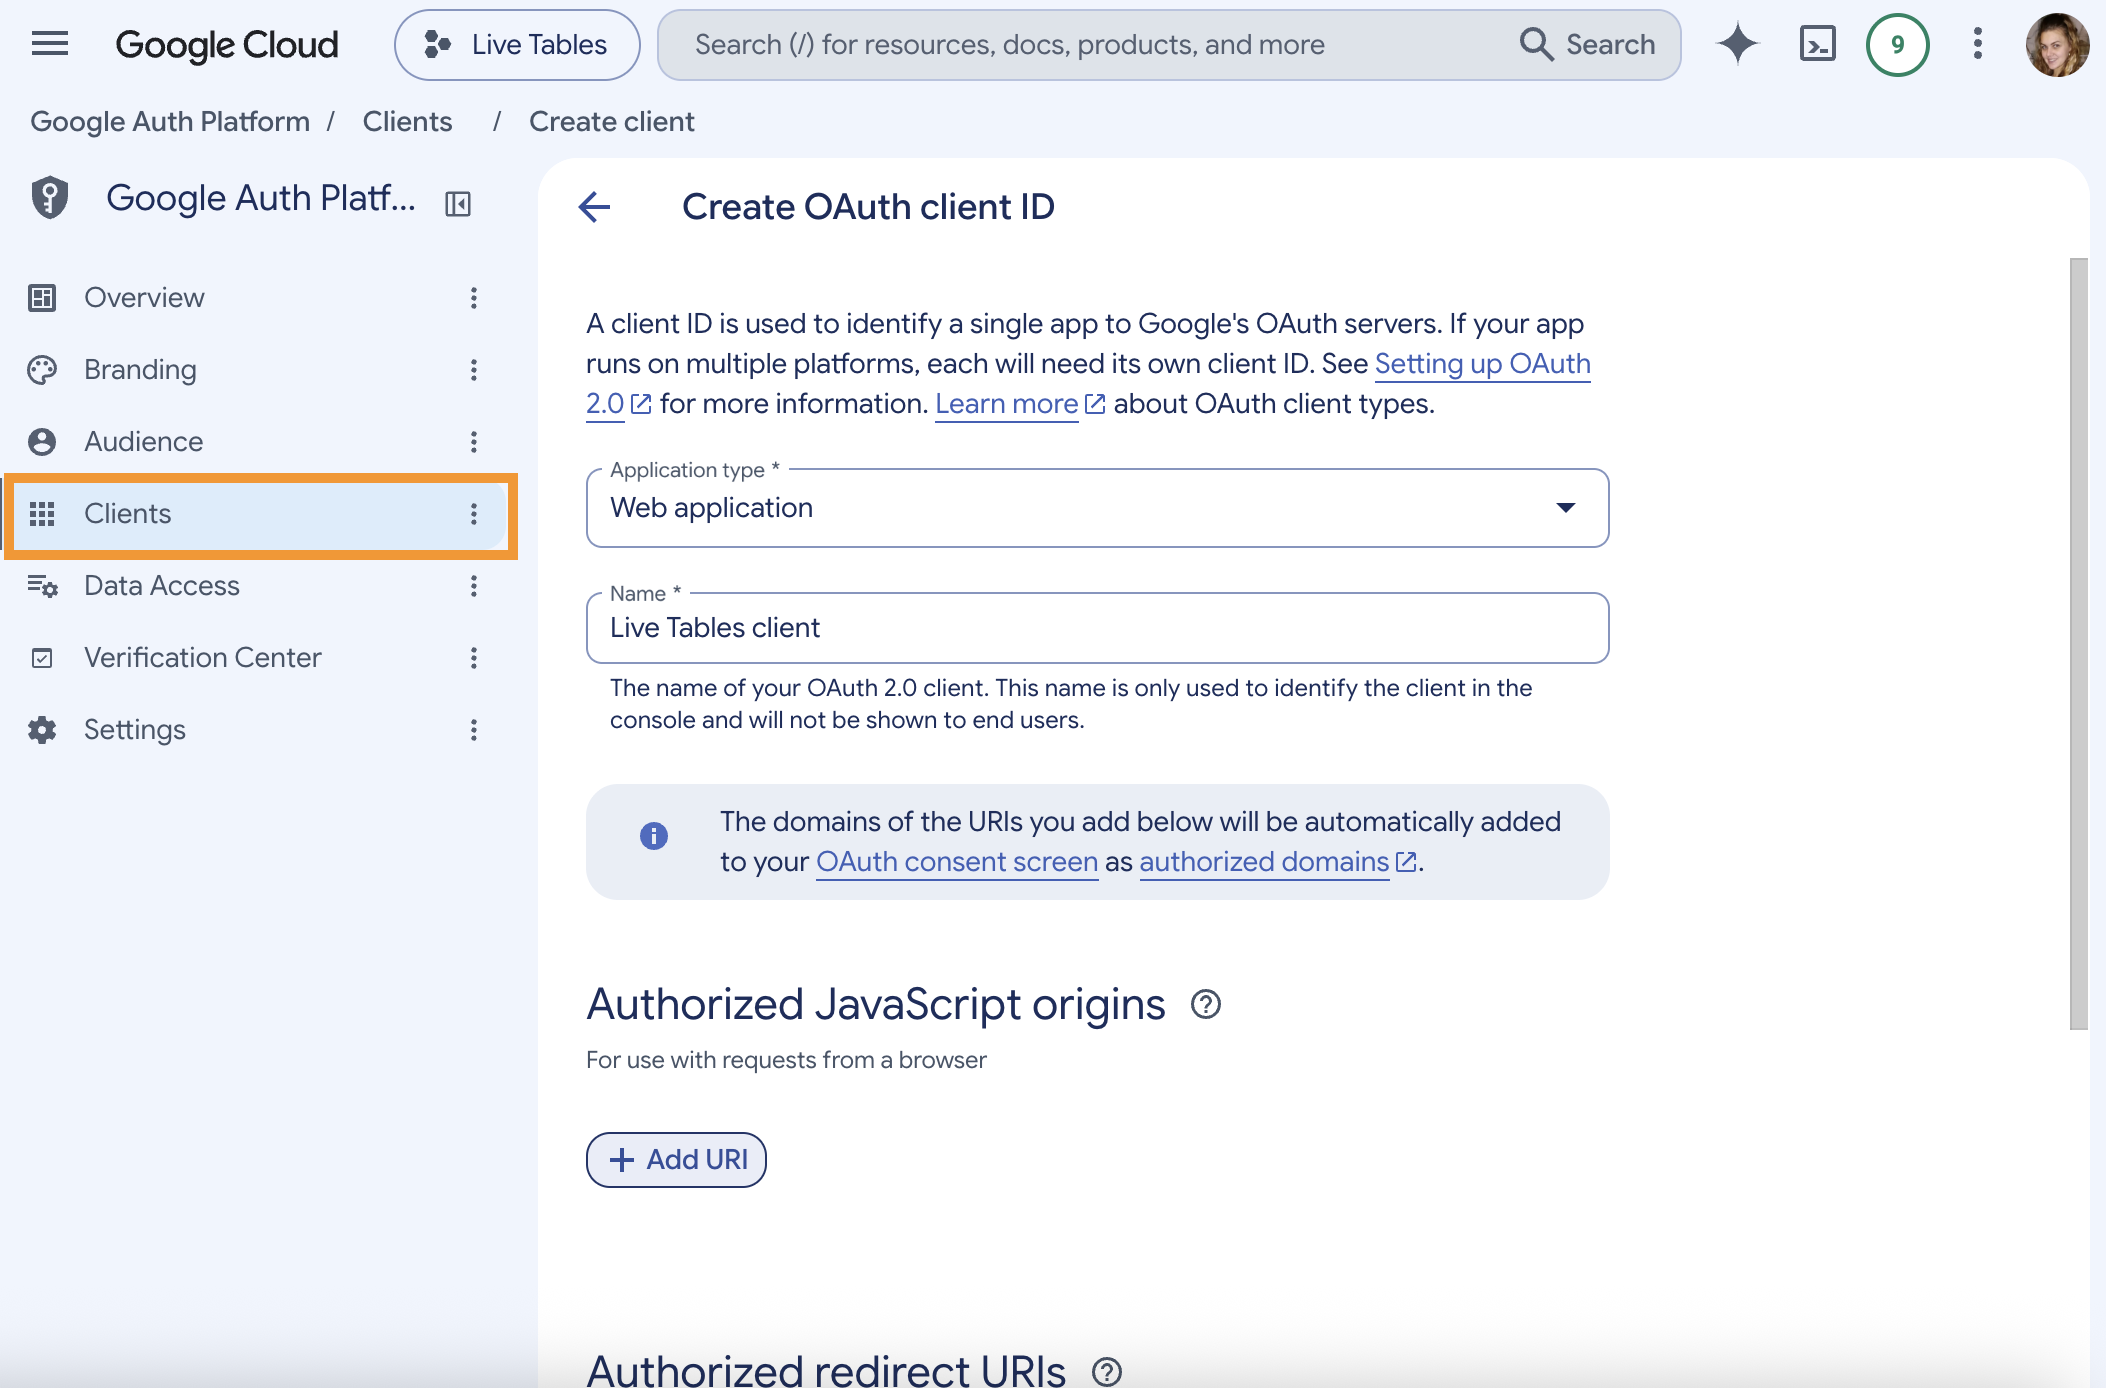
14. Switch to the Clients tab in the the Google Auth Platform section in Google Cloud:
- Choose Application type: Web application
- Add a Client name
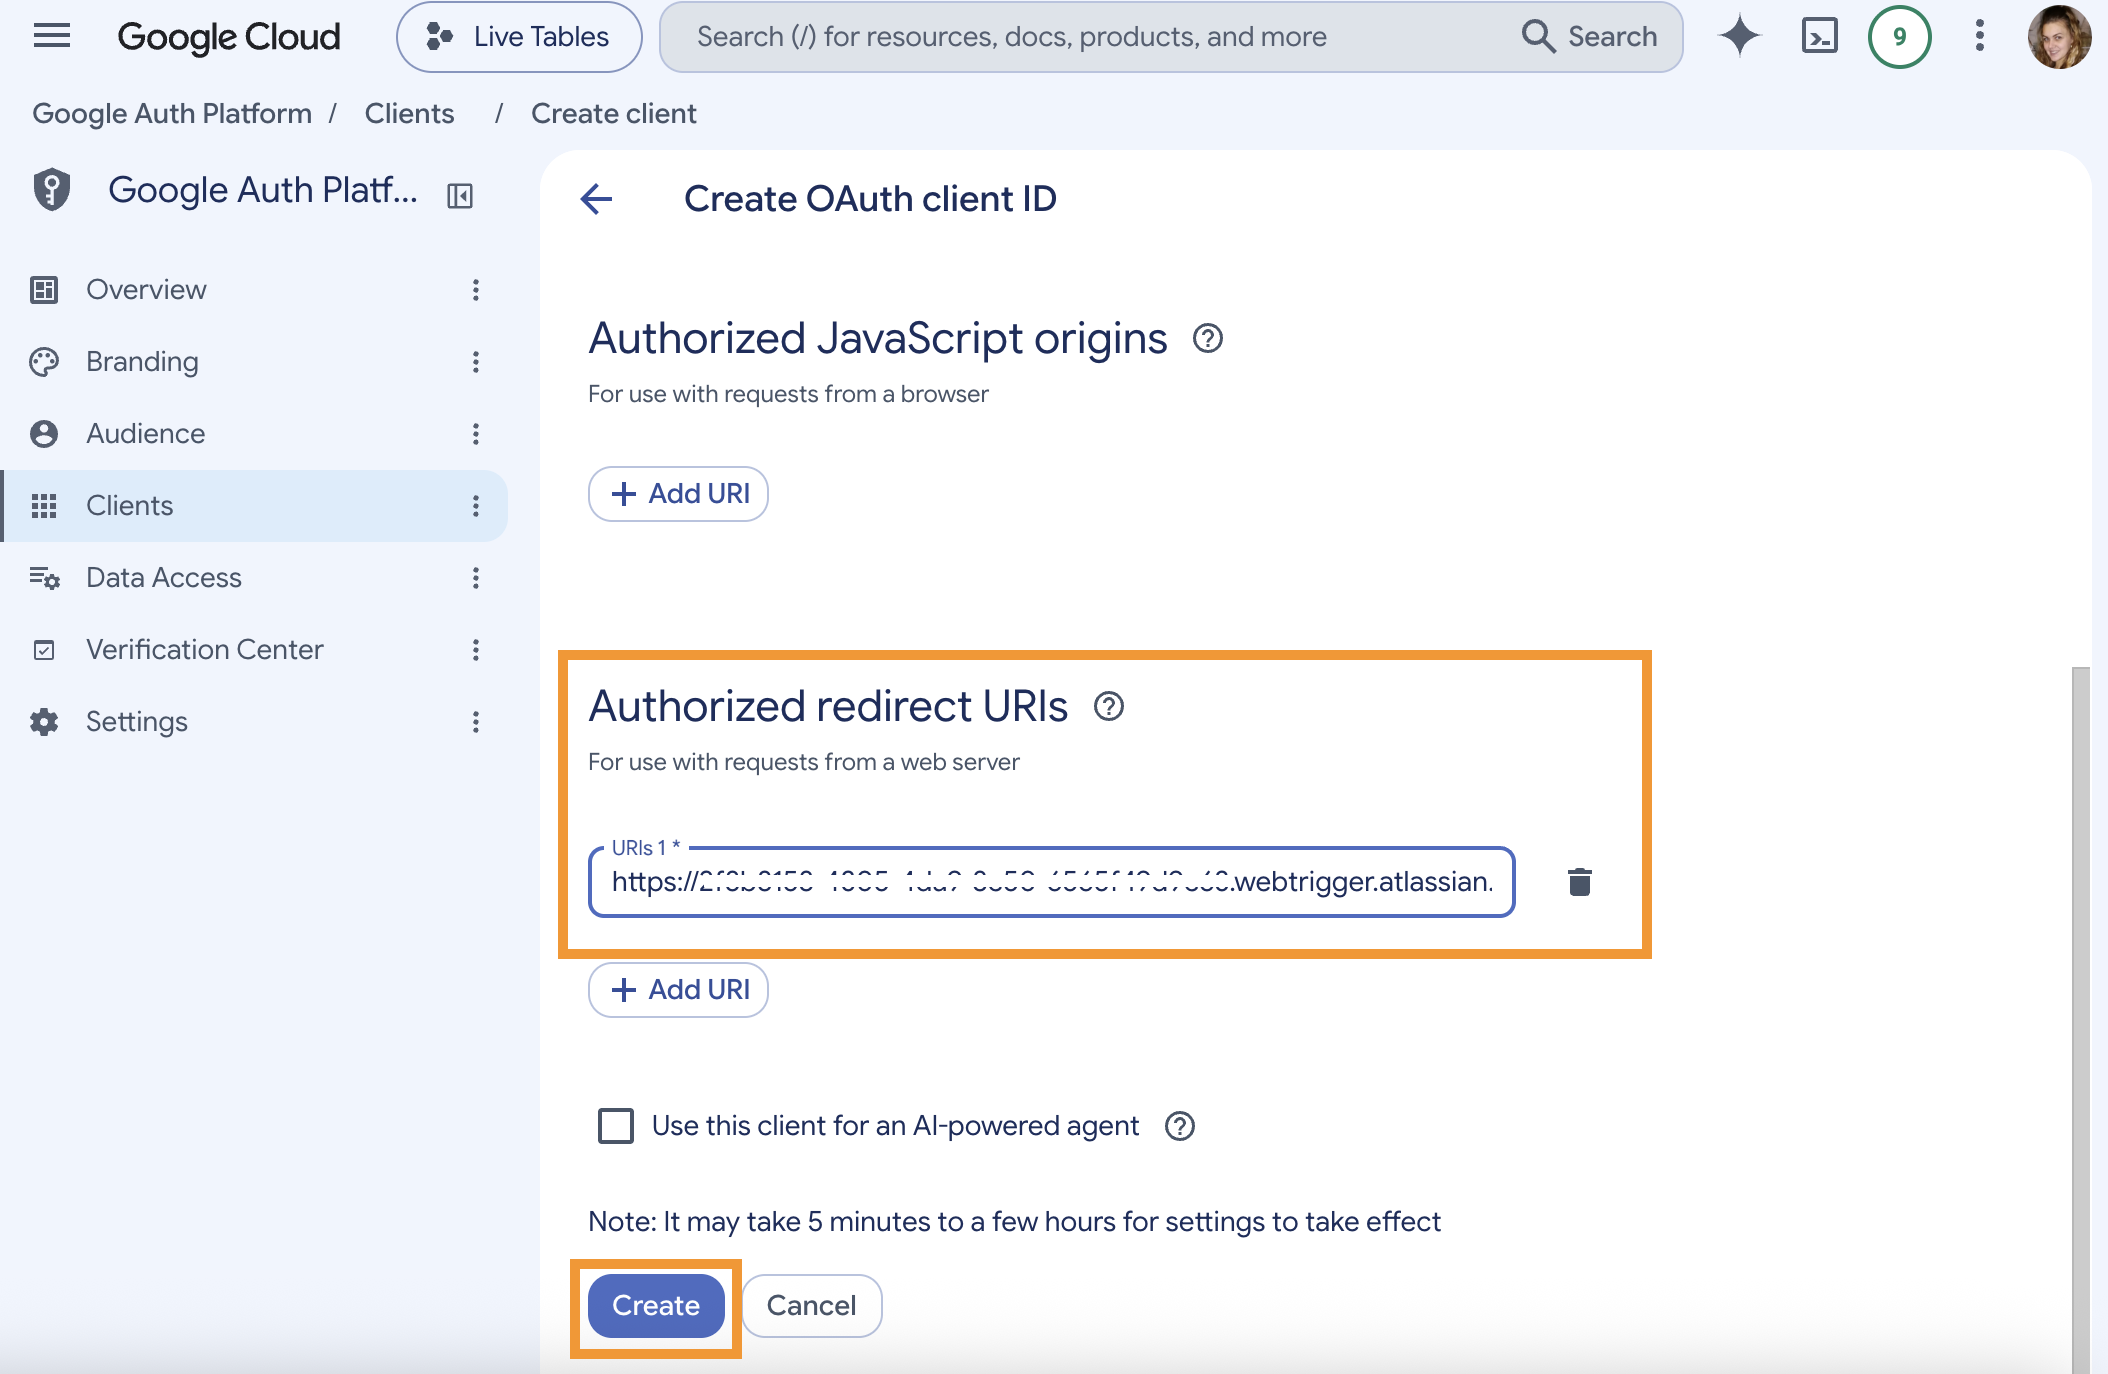
15. Paste Callback URL in the Authorized redirect URLs.
16. Create OAuth client ID.
17. Copy Client ID and Client secret.
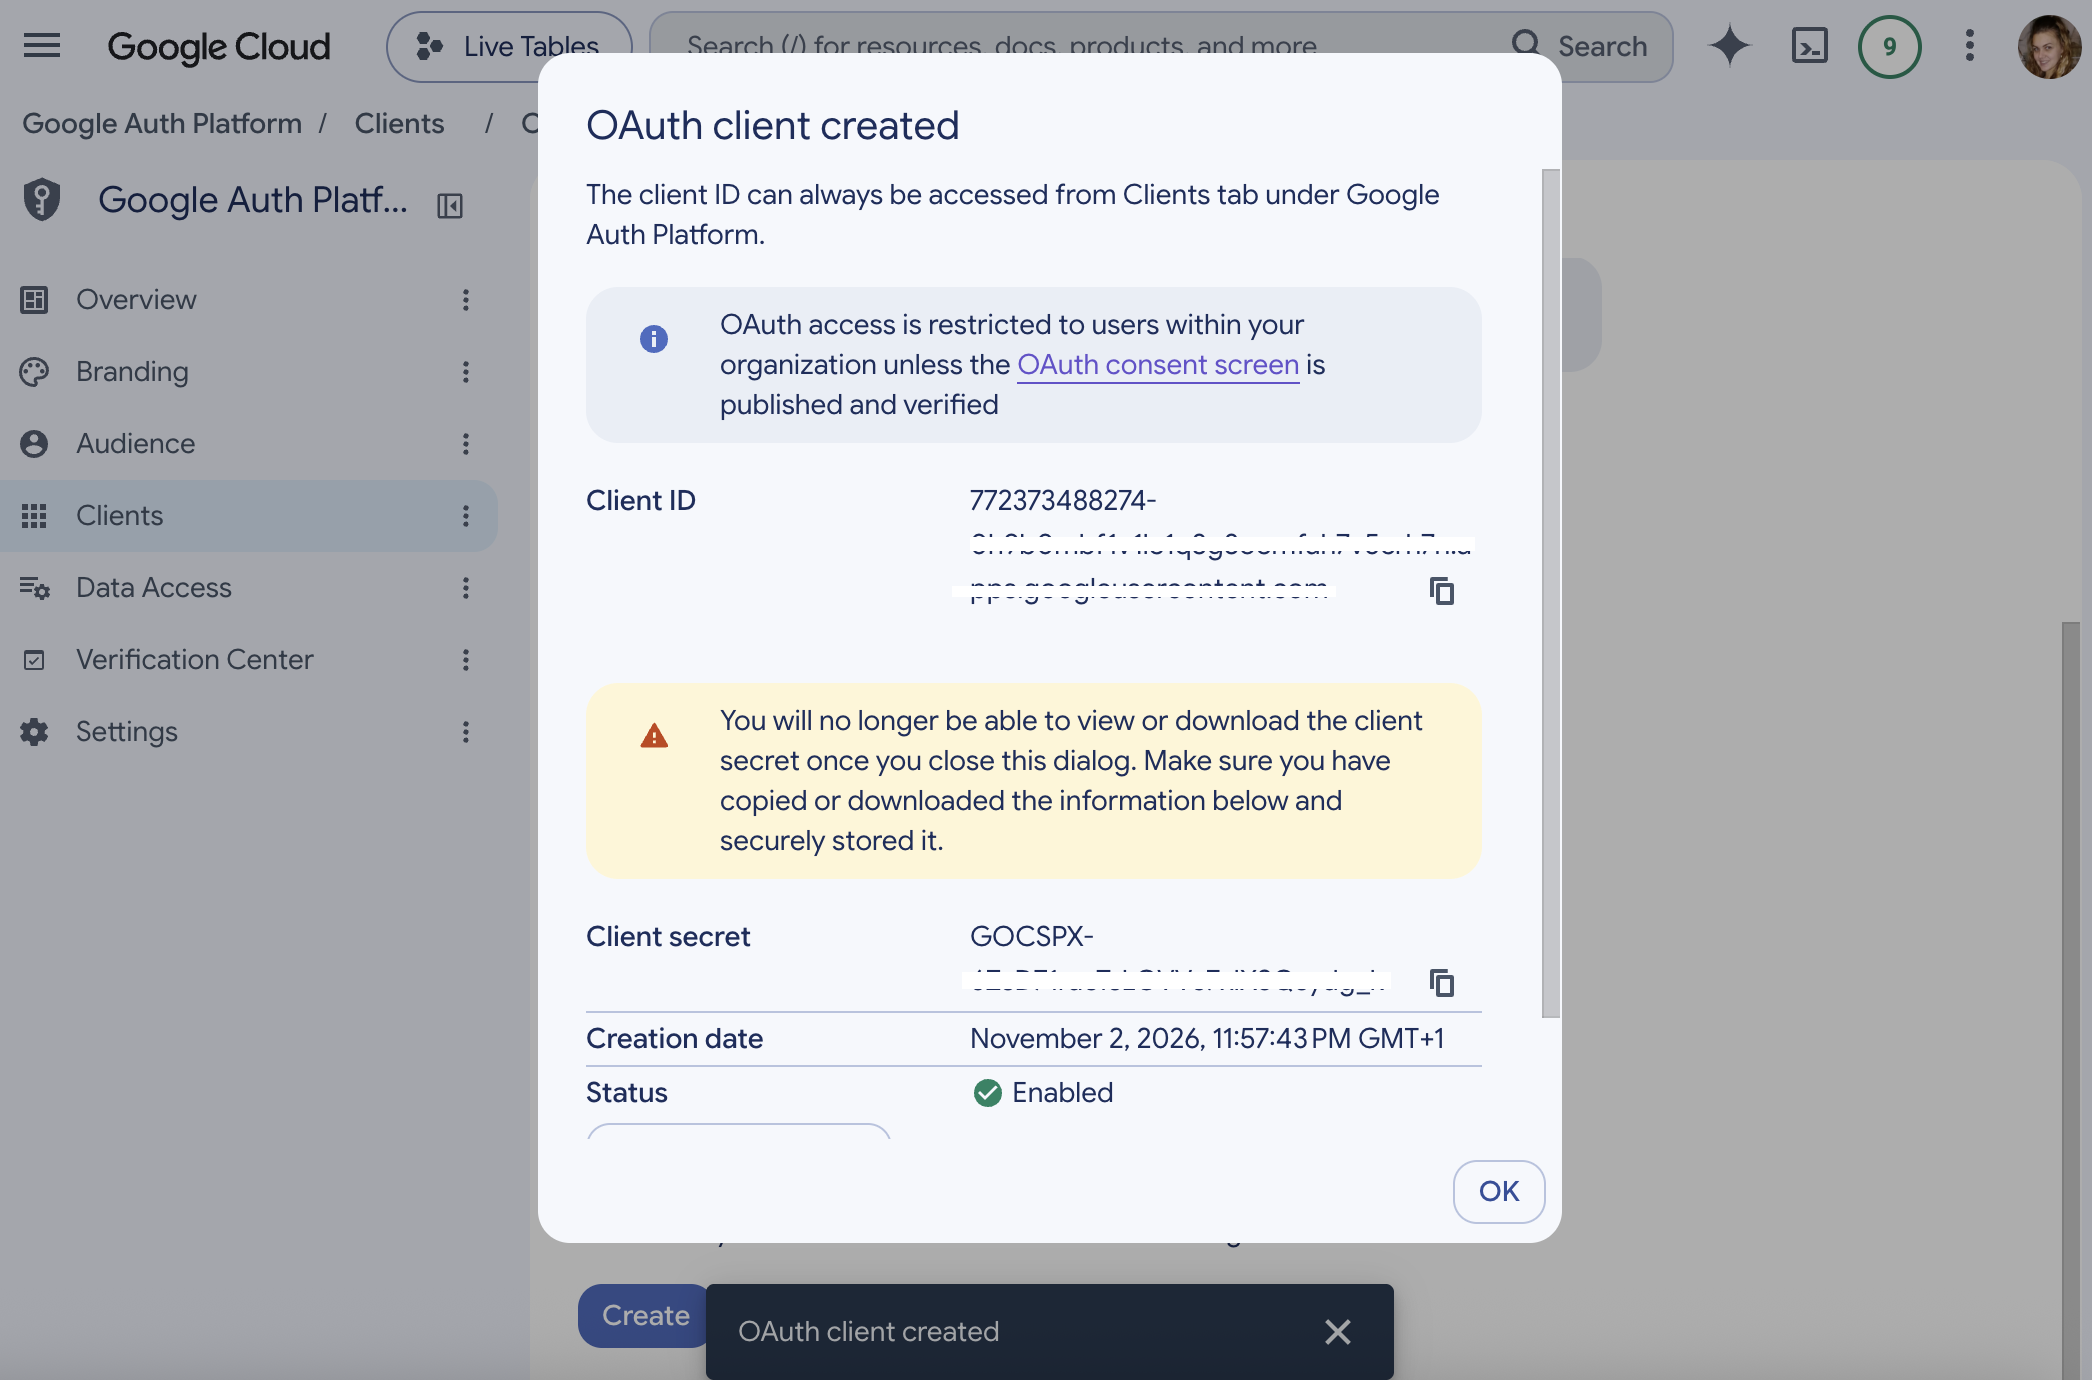
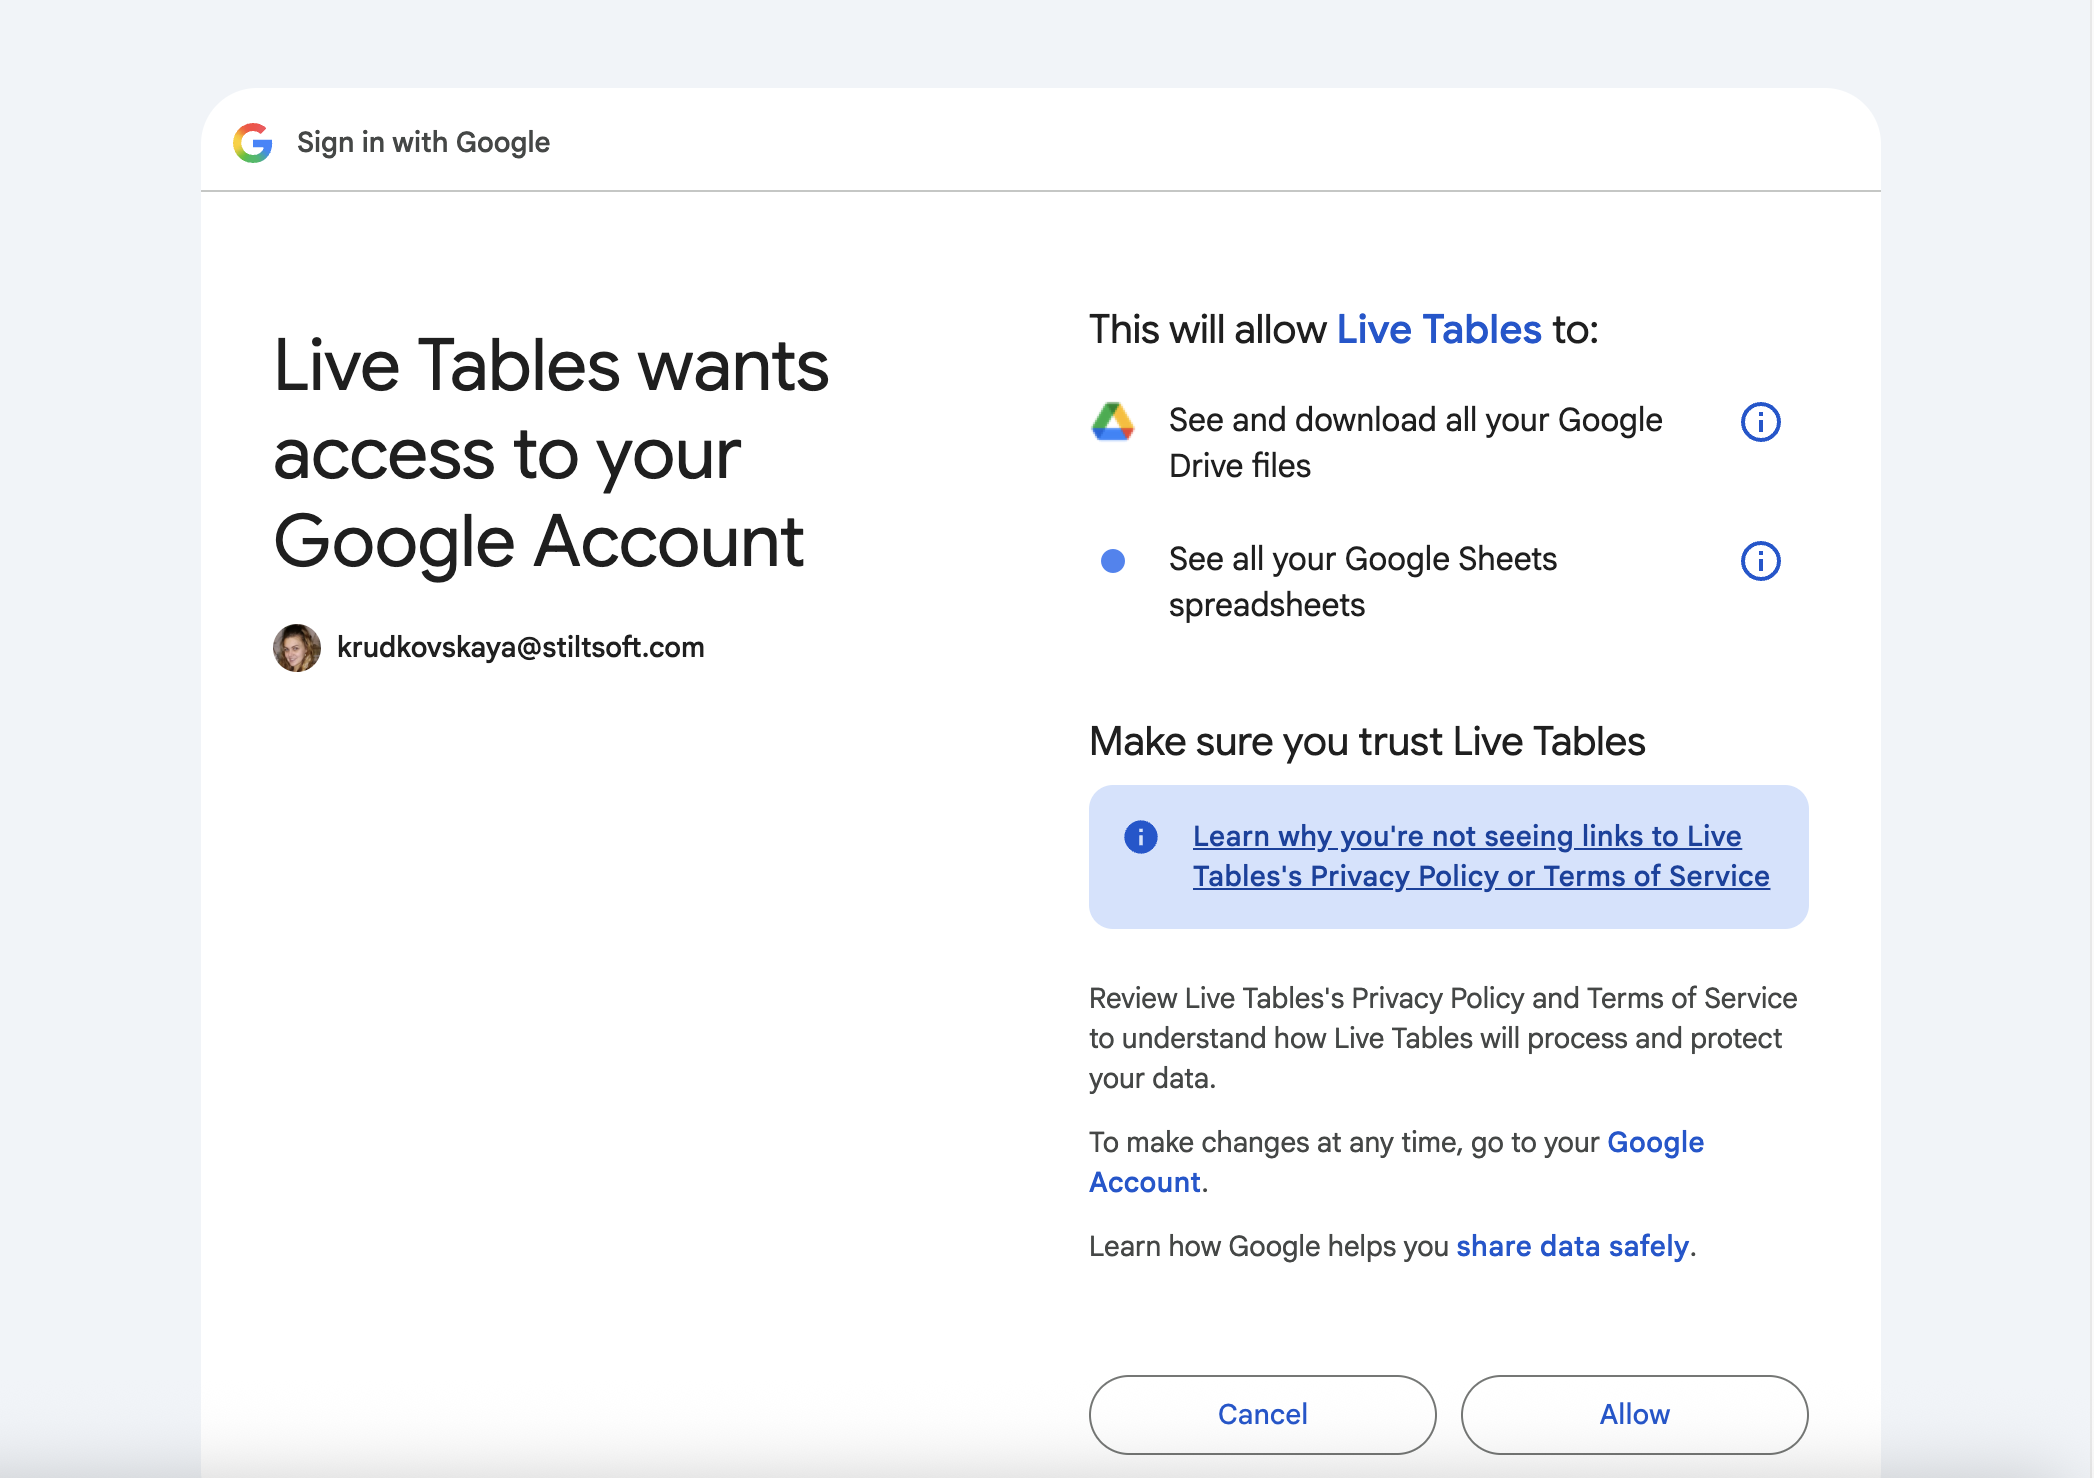
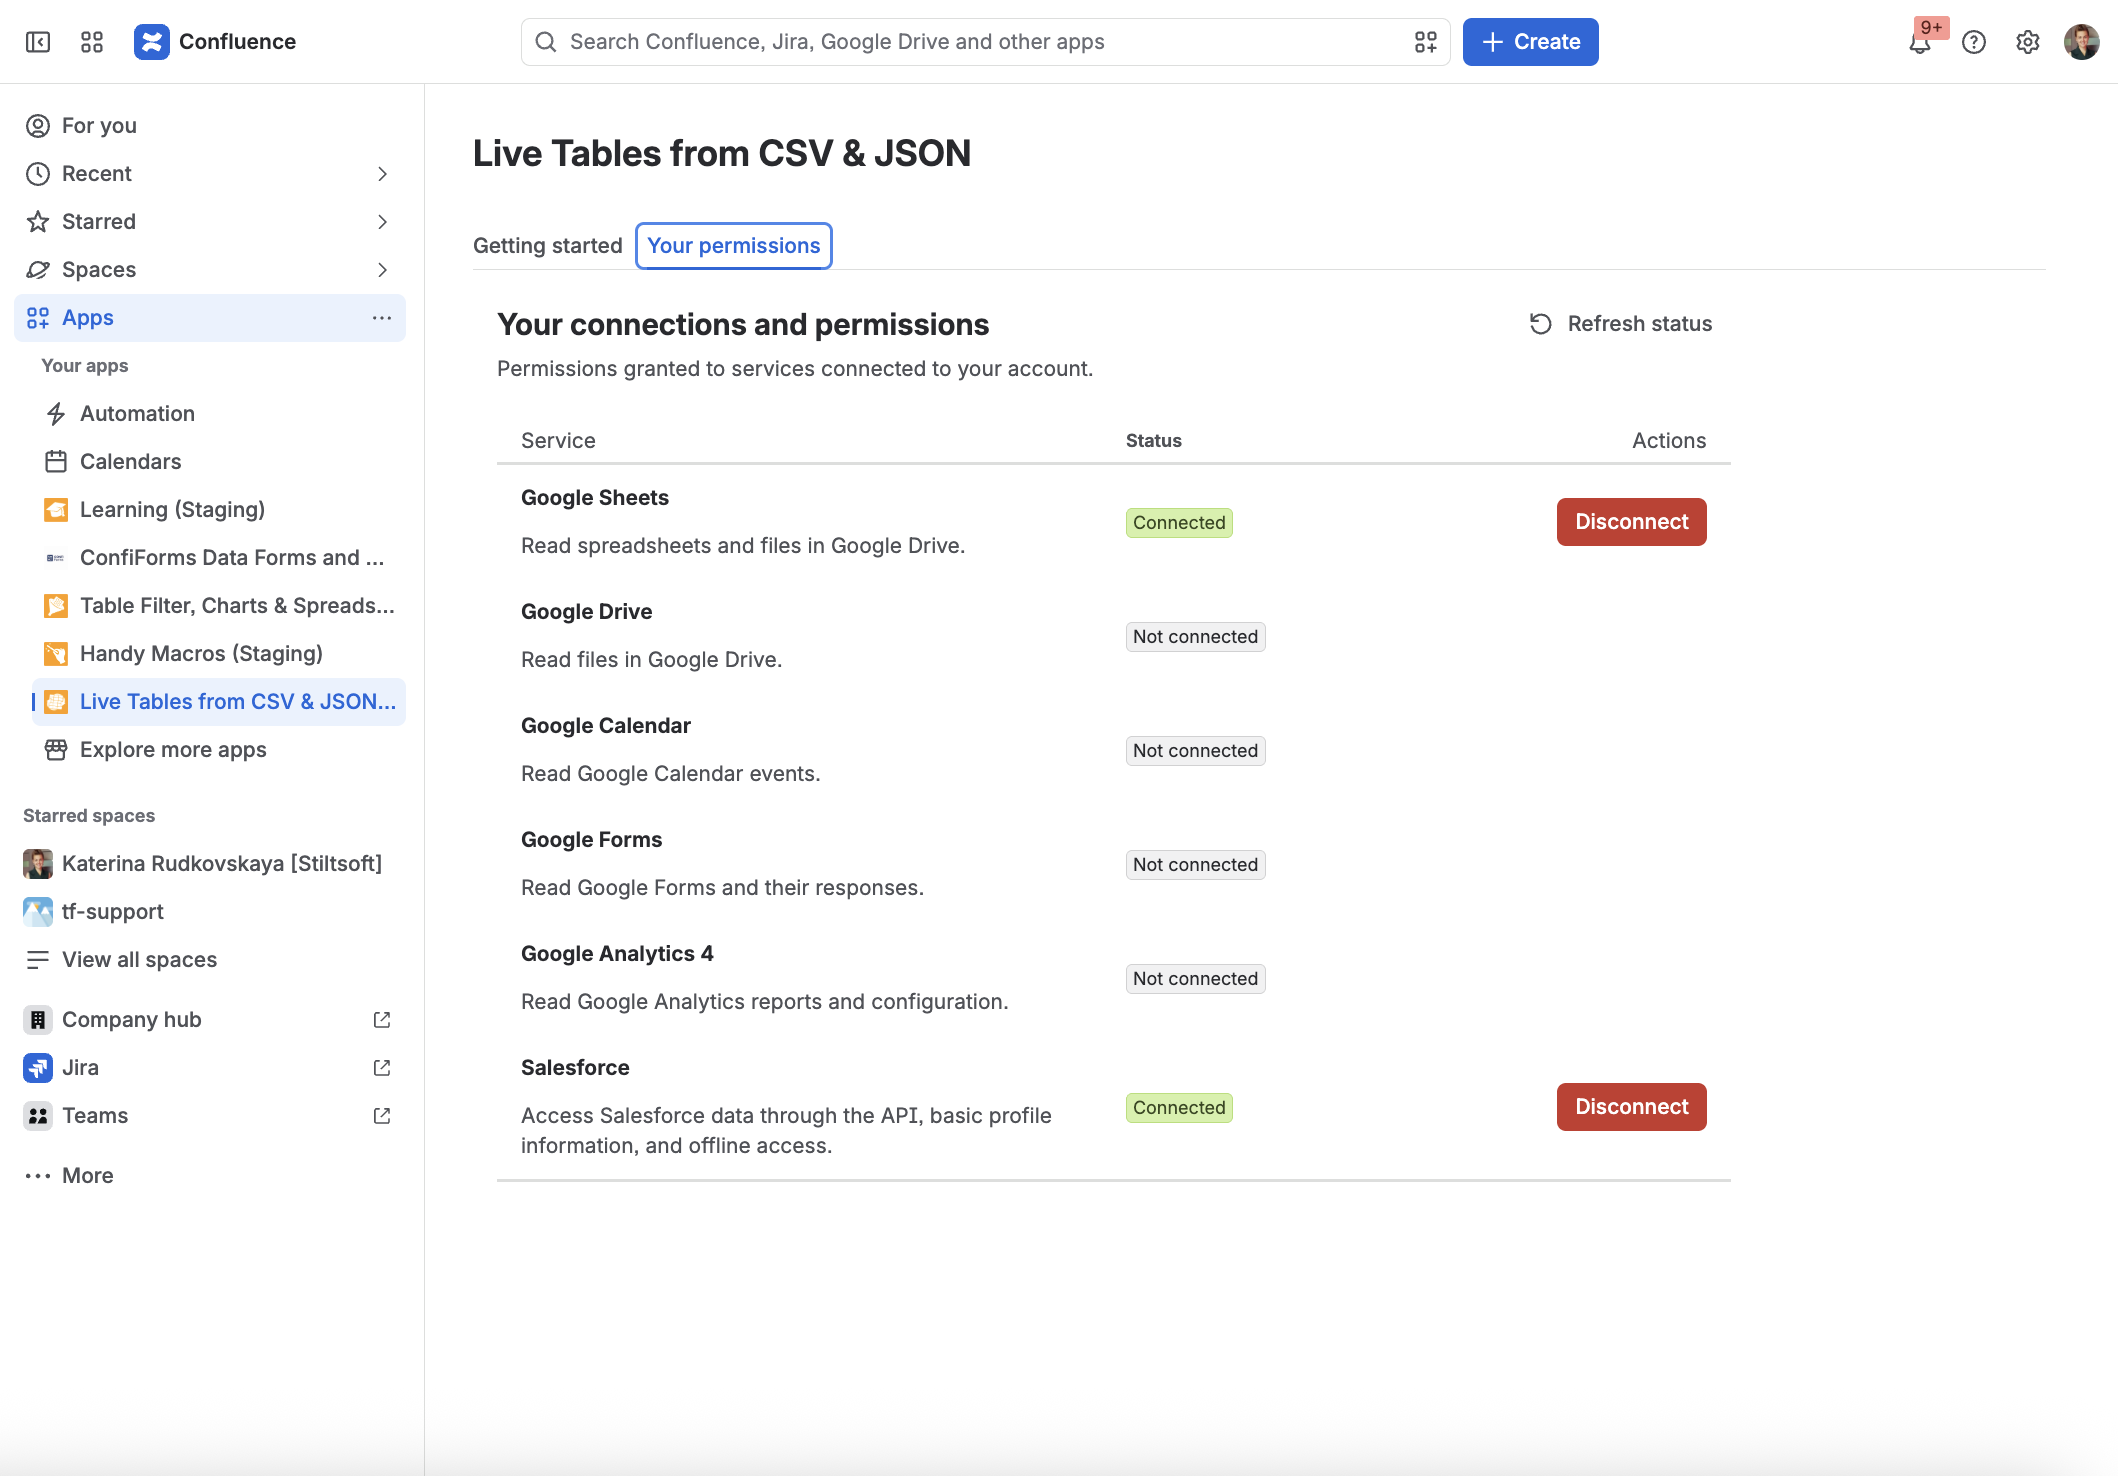
18. Paste in Confluence Administration → Apps → Live Tables → Google
19. Save Google OAuth configuration.