Download PDF
Download page Live Table from Google Drive.
Live Table from Google Drive
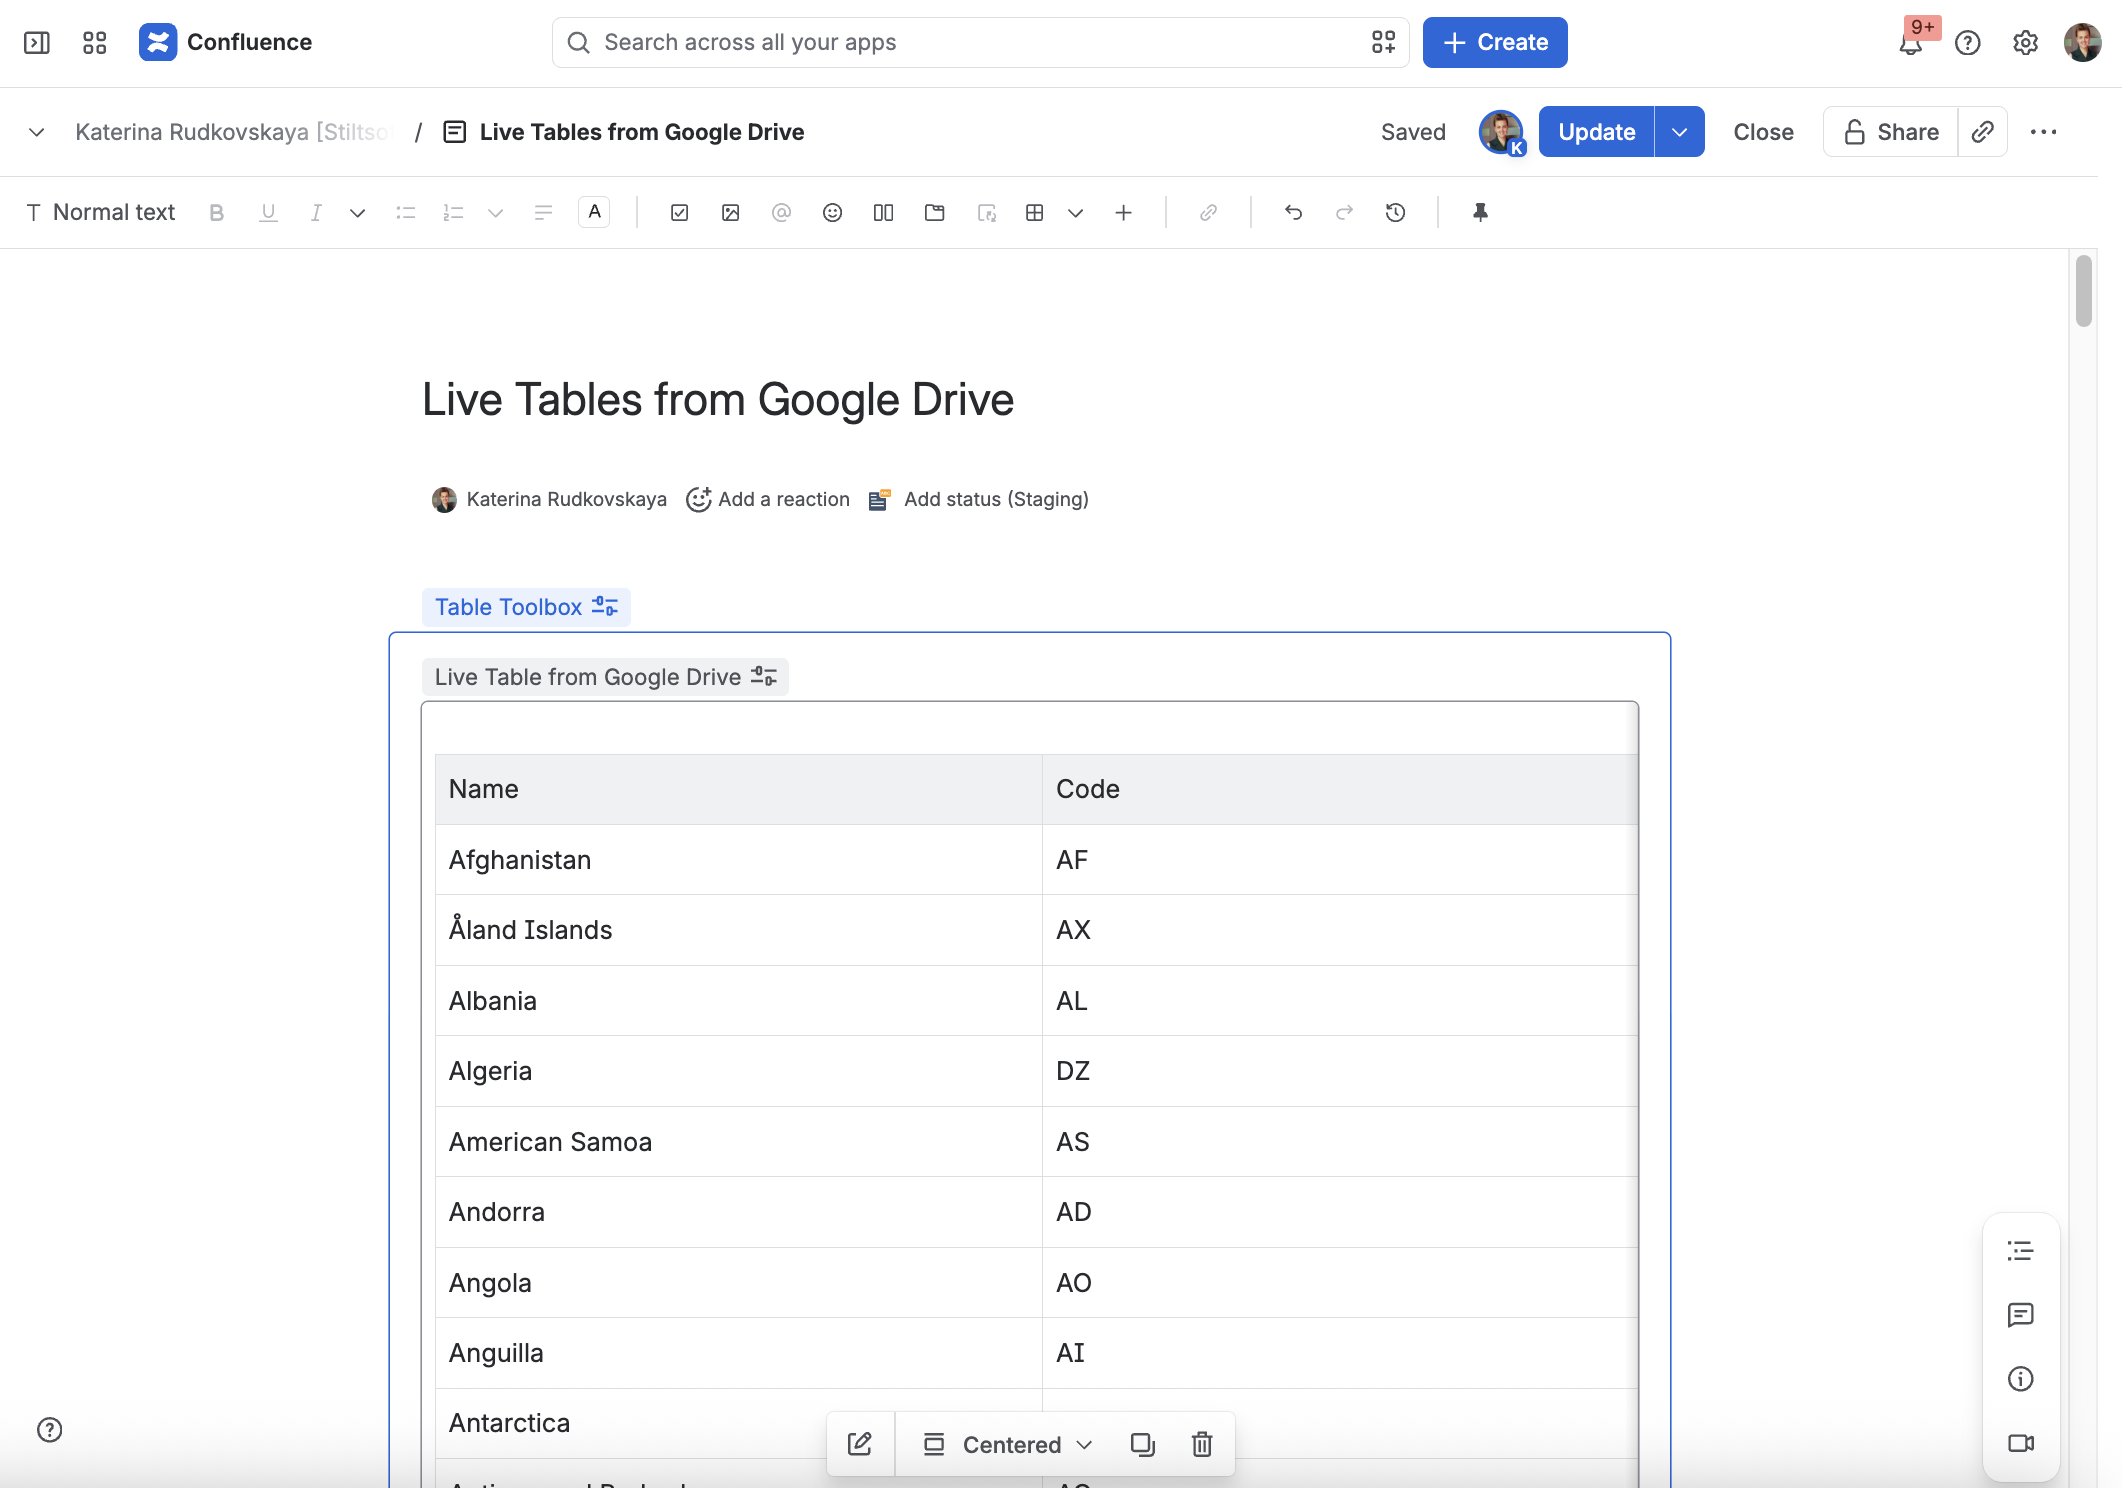
The Live Table from Google Drive macro allows you to output a table from a Google Drive CSV, JSON, or XLSX files.
Connecting Live Tables with Google
1. Open Google Cloud console https://console.cloud.google.com/.
2. Open a project picker.
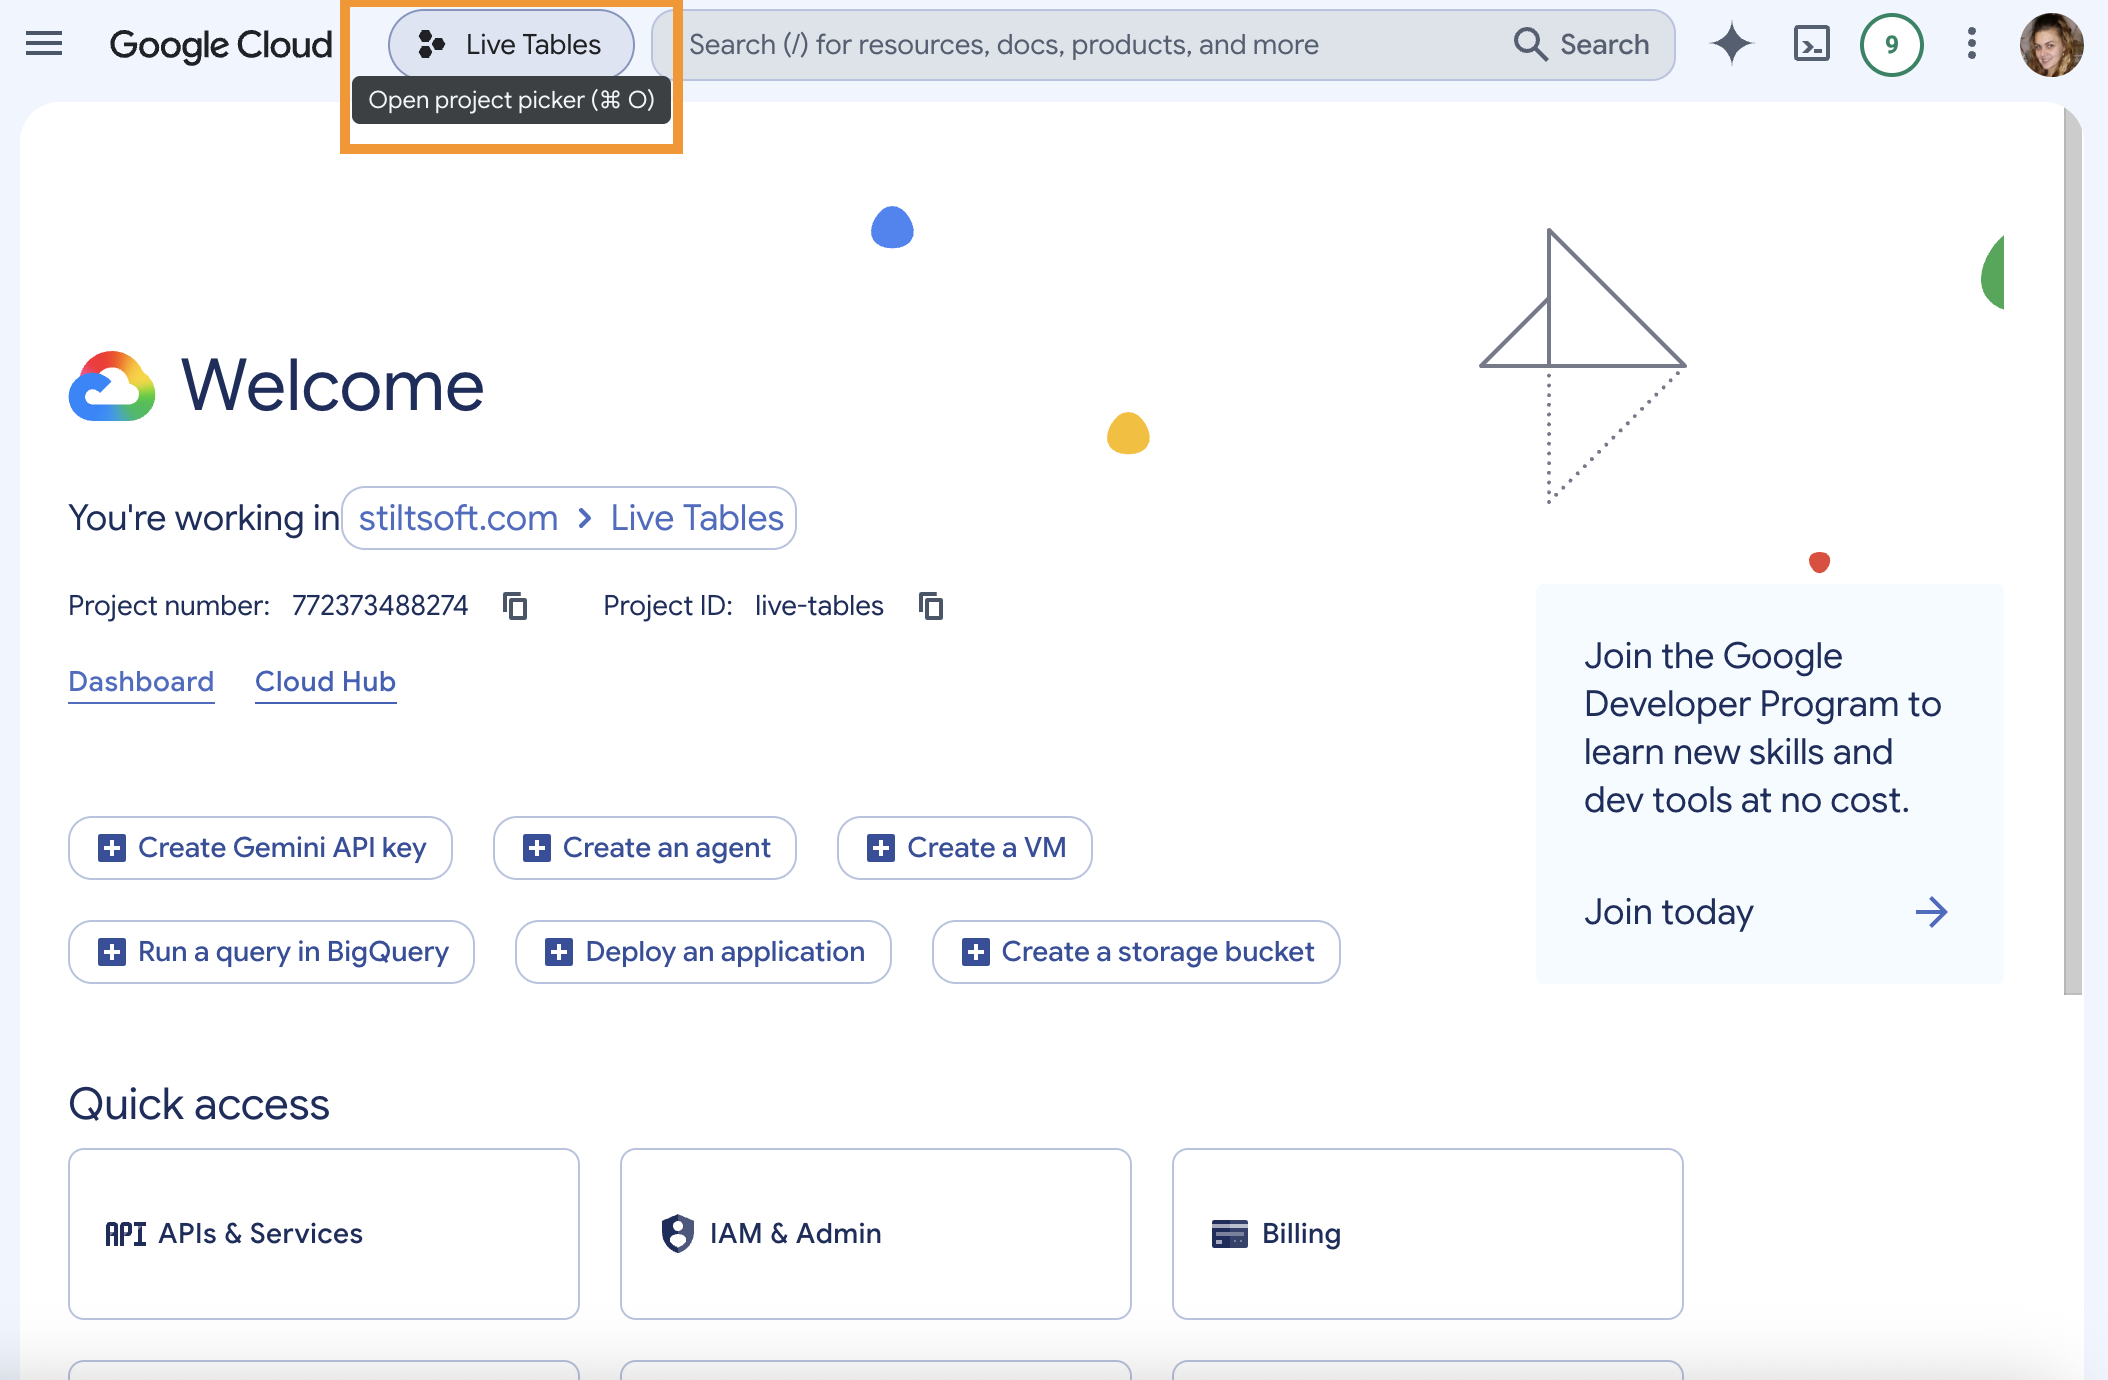
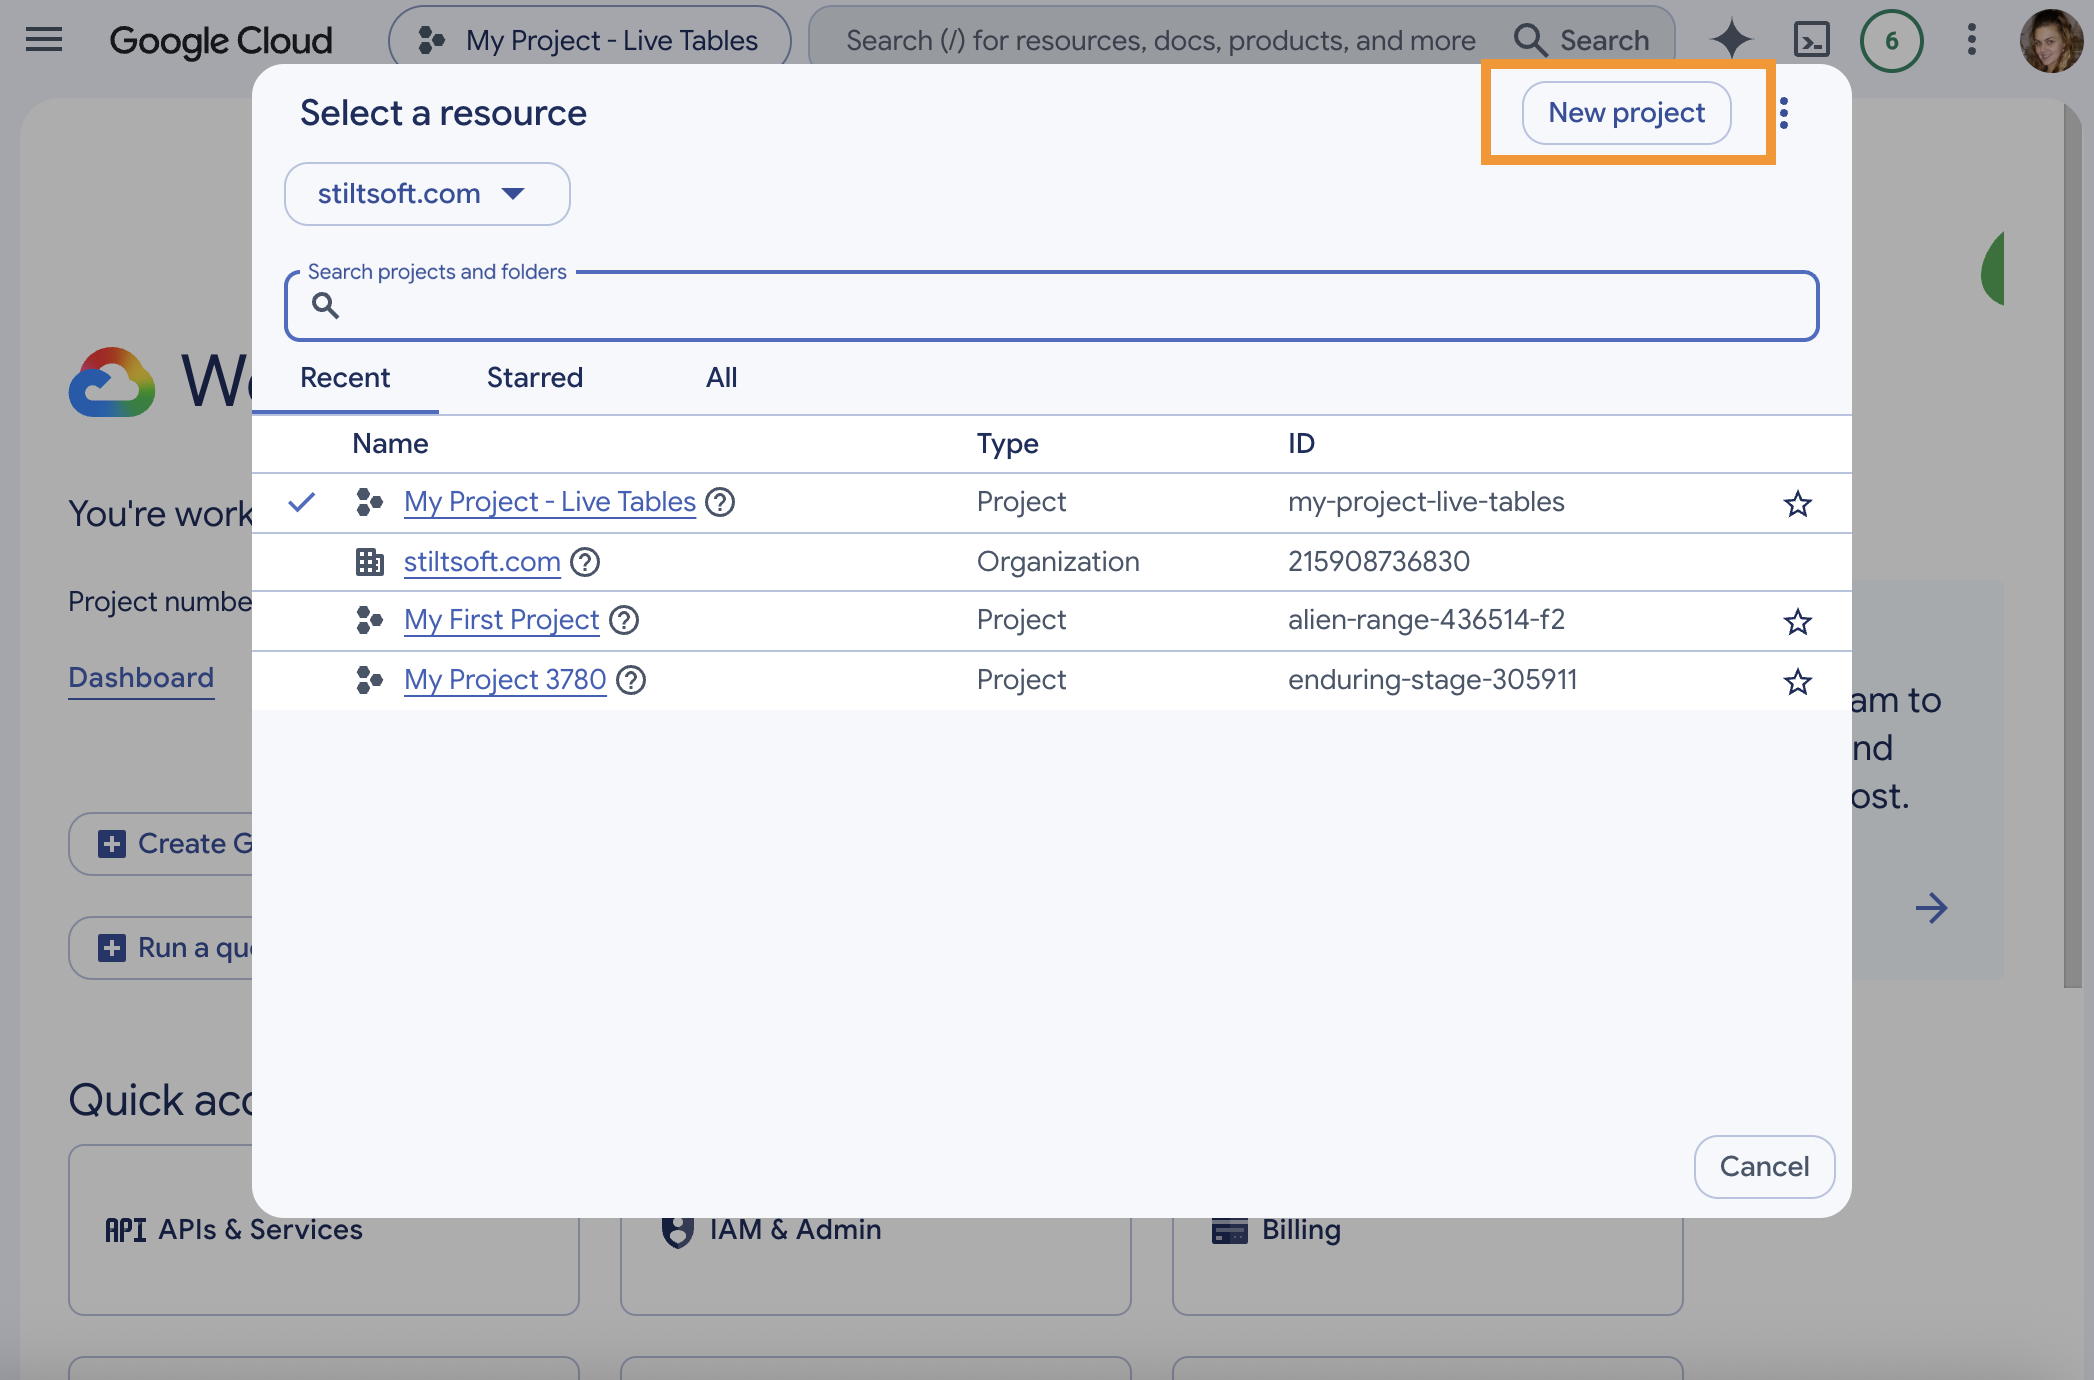
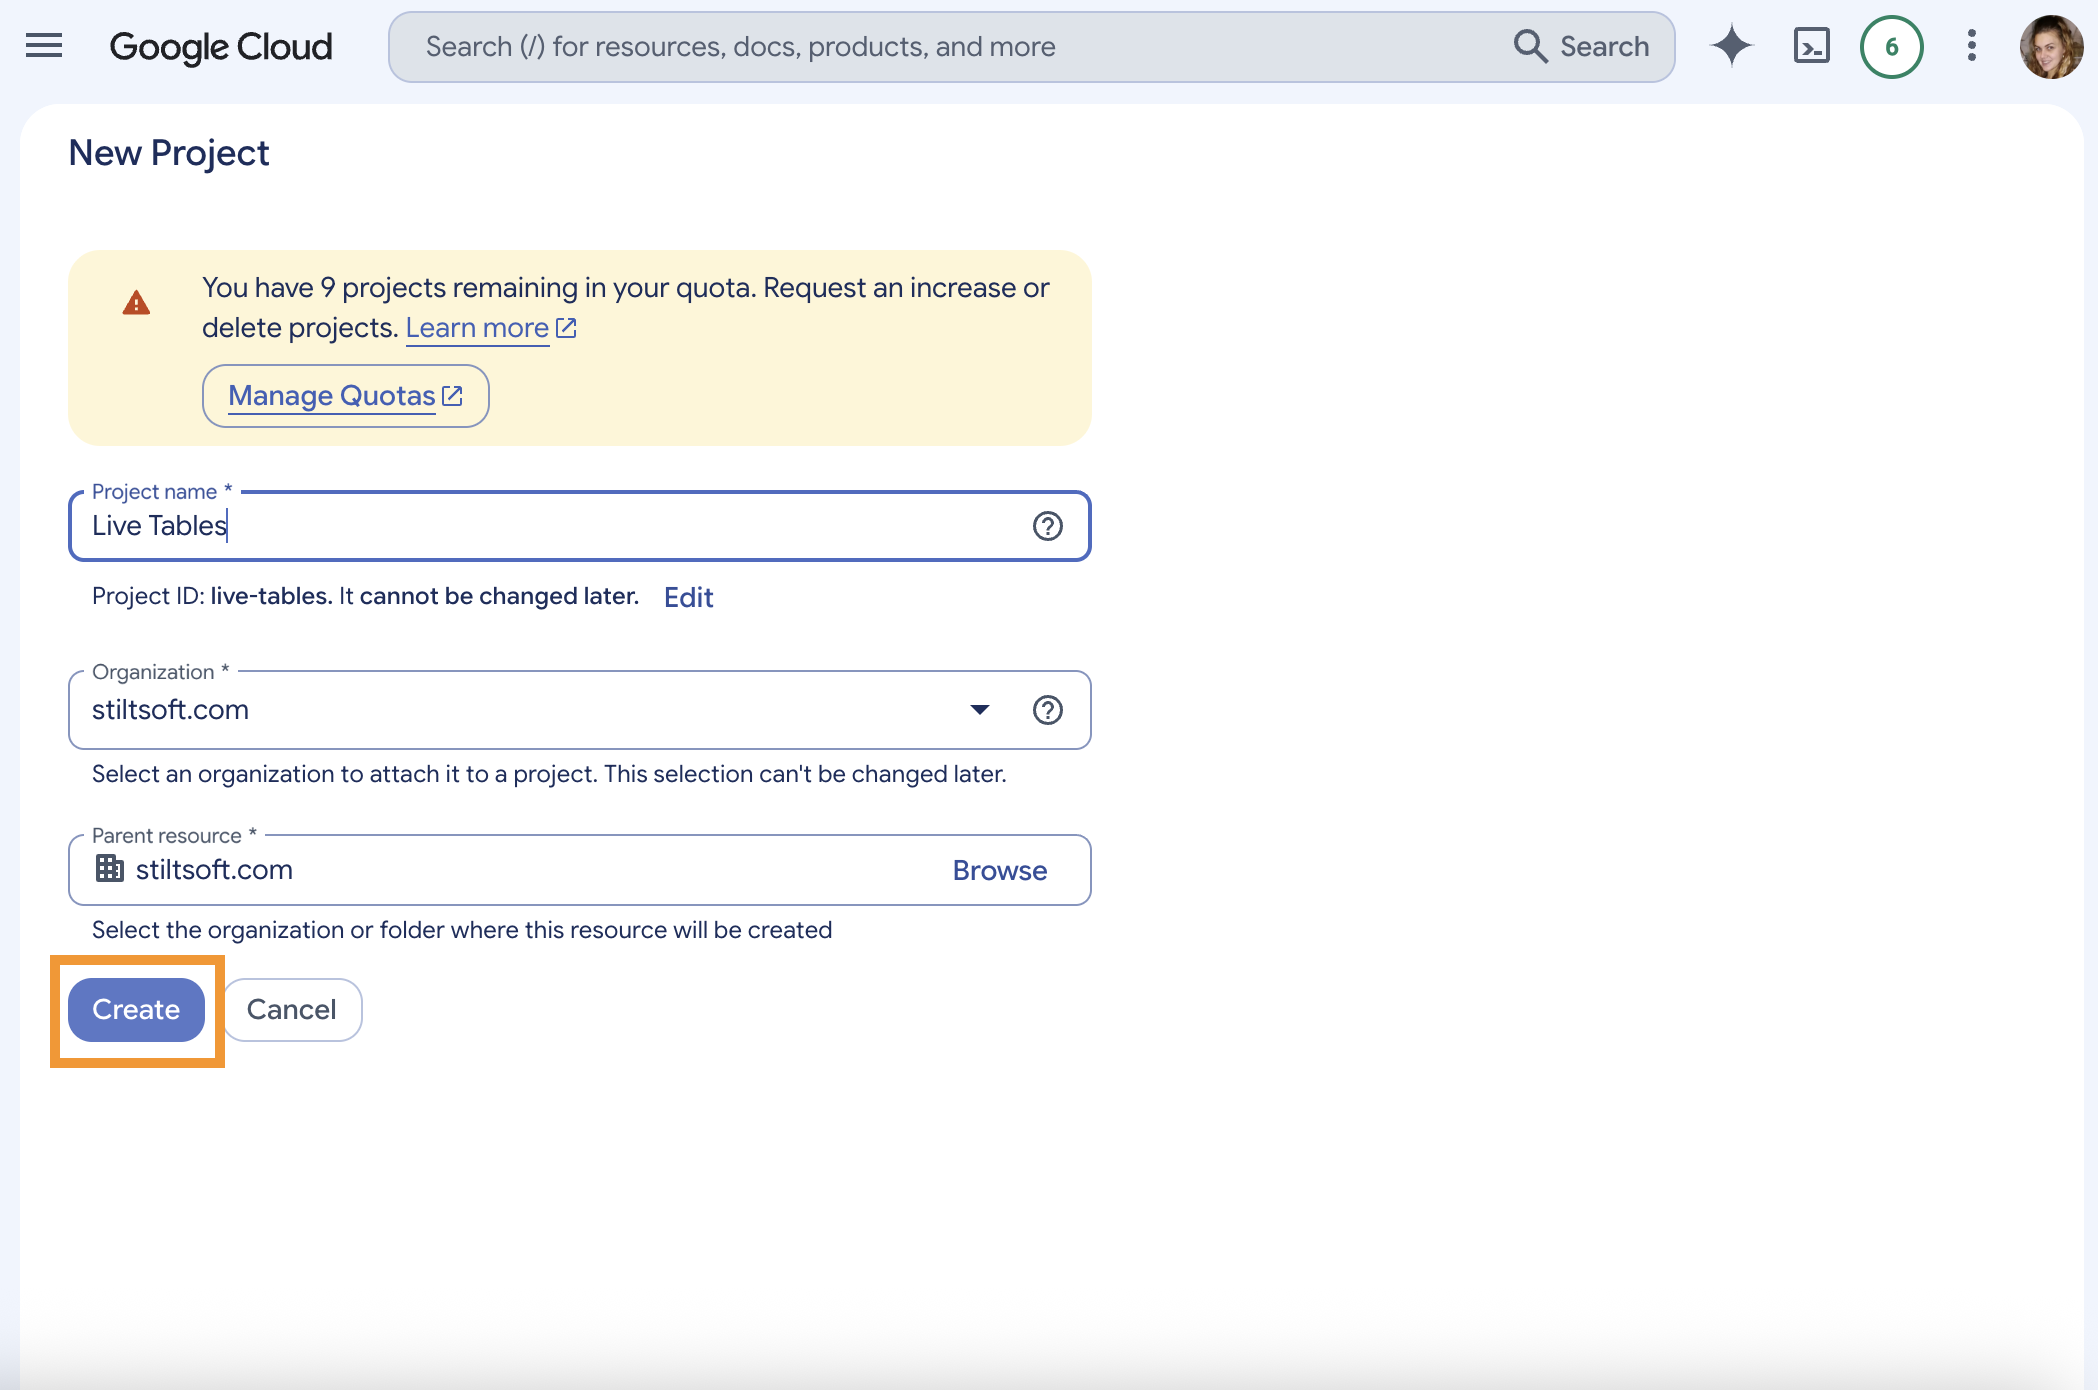
3. Create a new project.
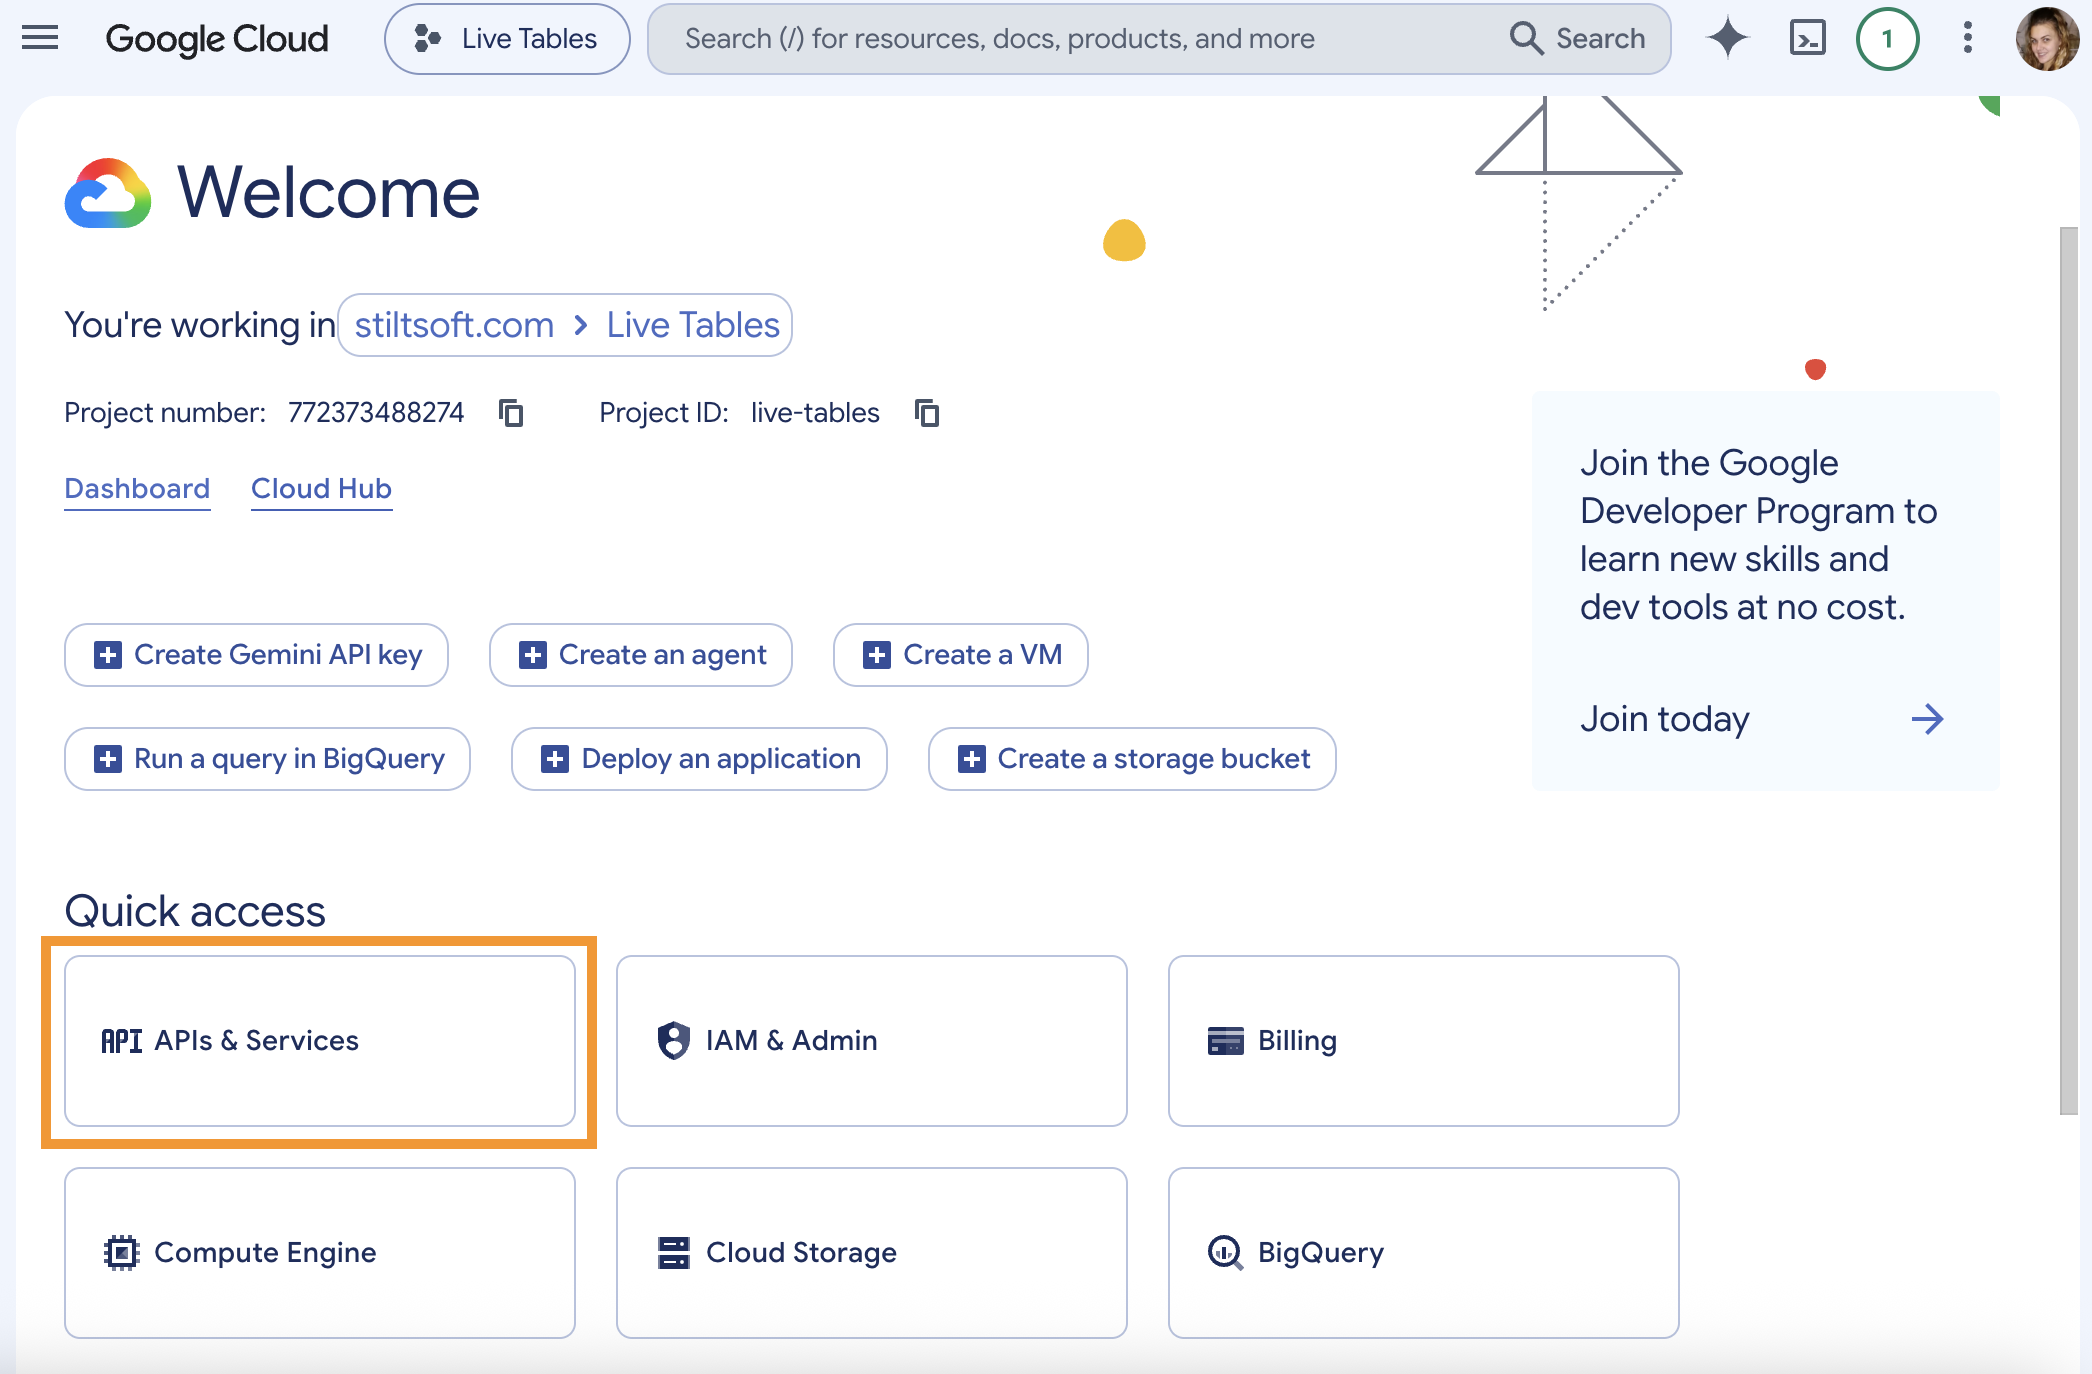
4. Switch to the APIs & Services section from the created project.
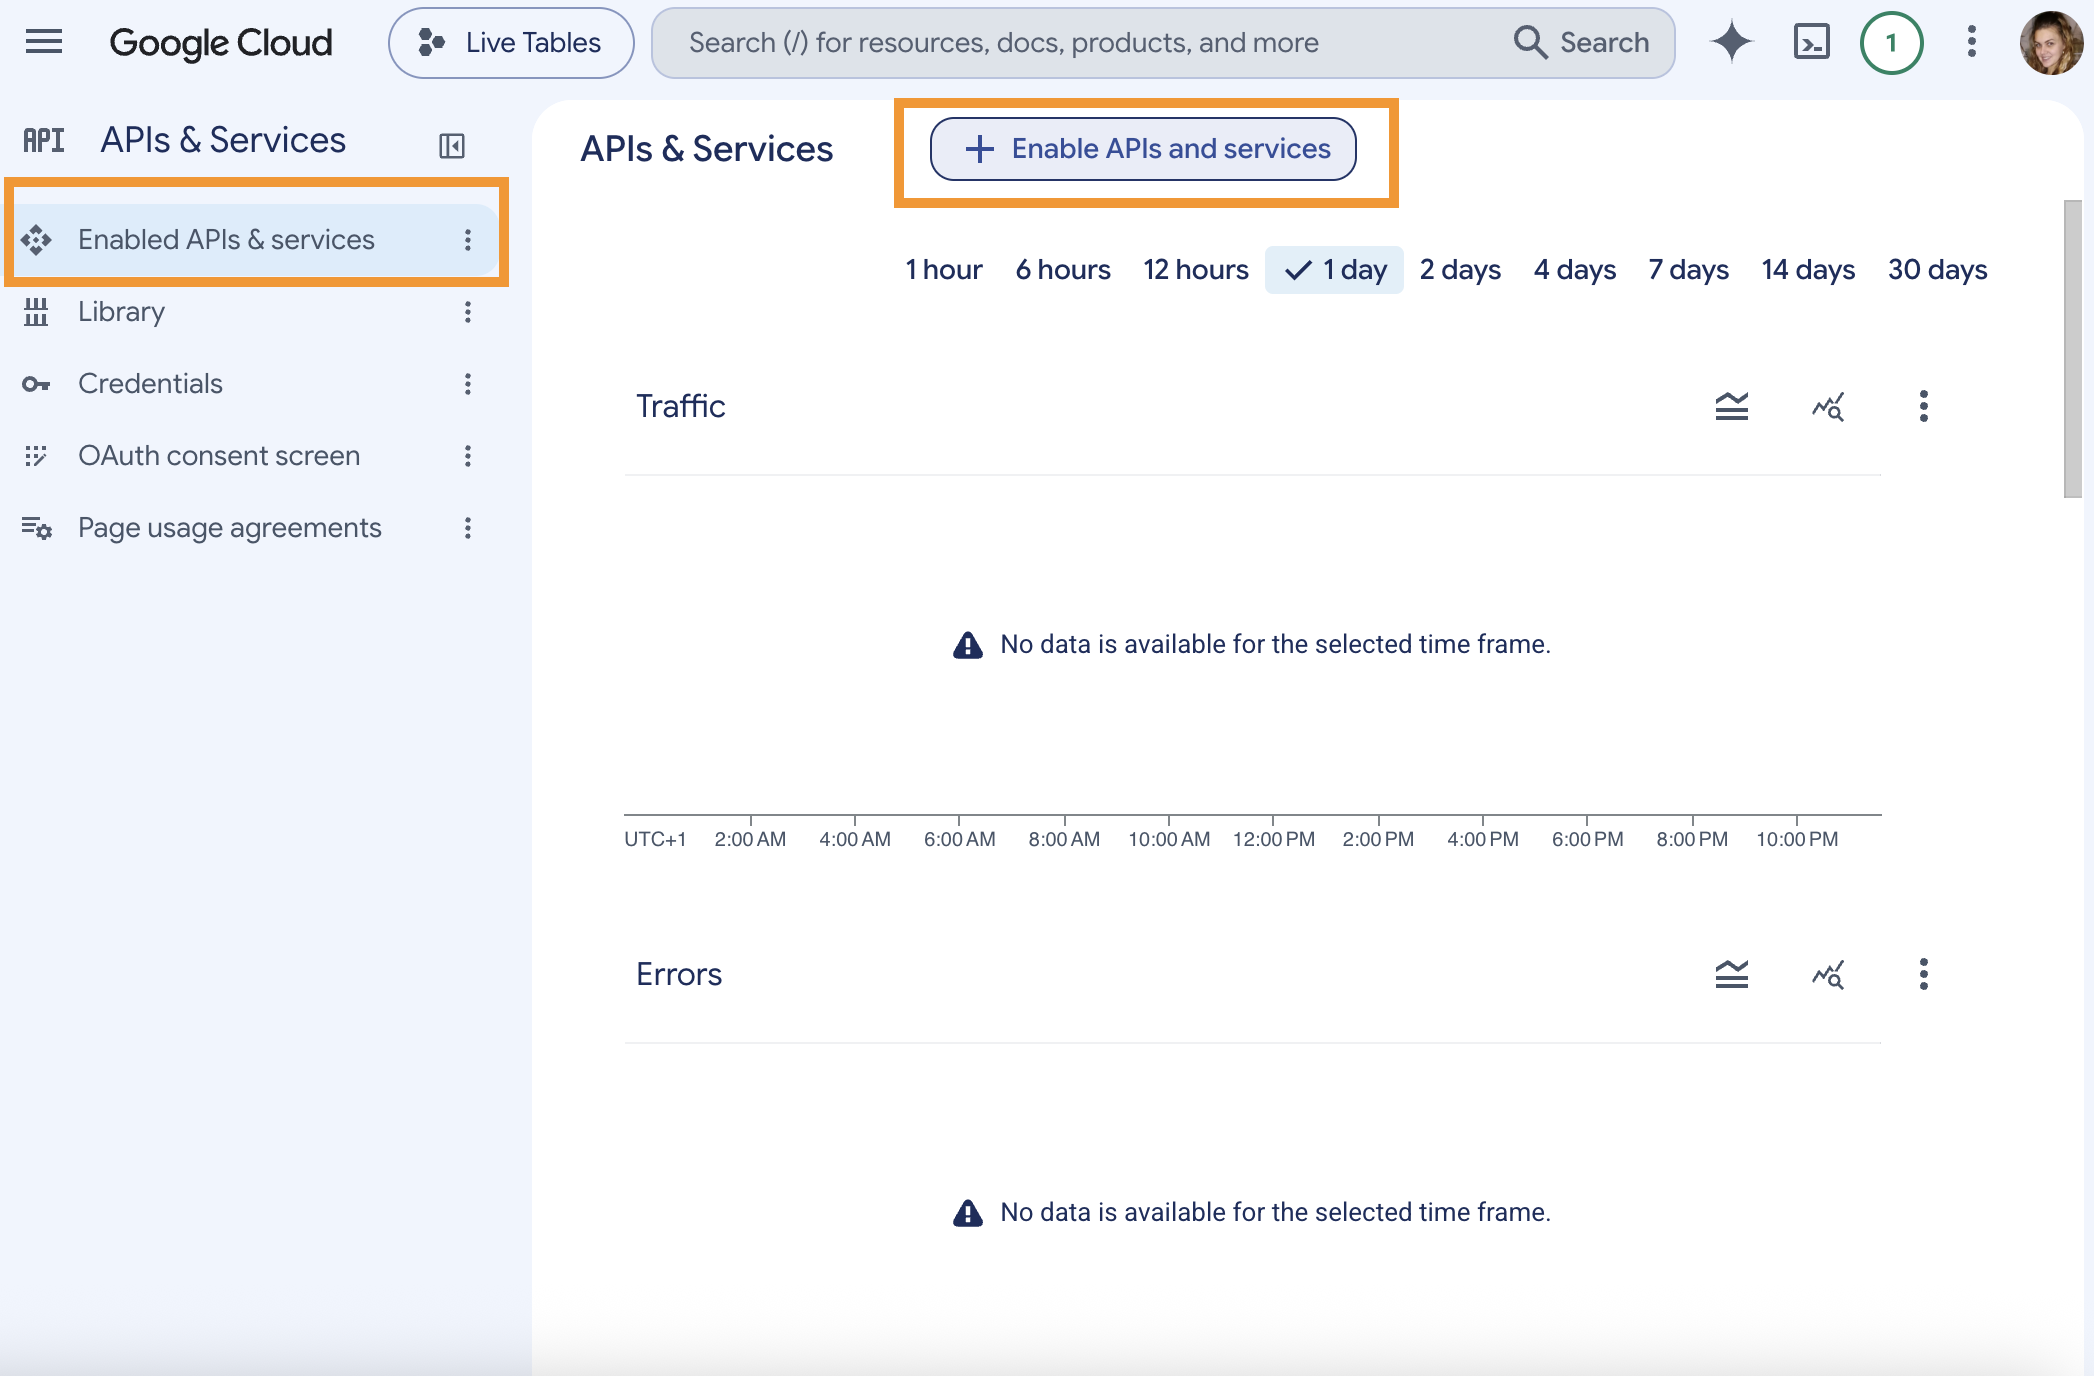
5. Open the Enabled APIs & services section.6. Click the Enable APIs and services button.
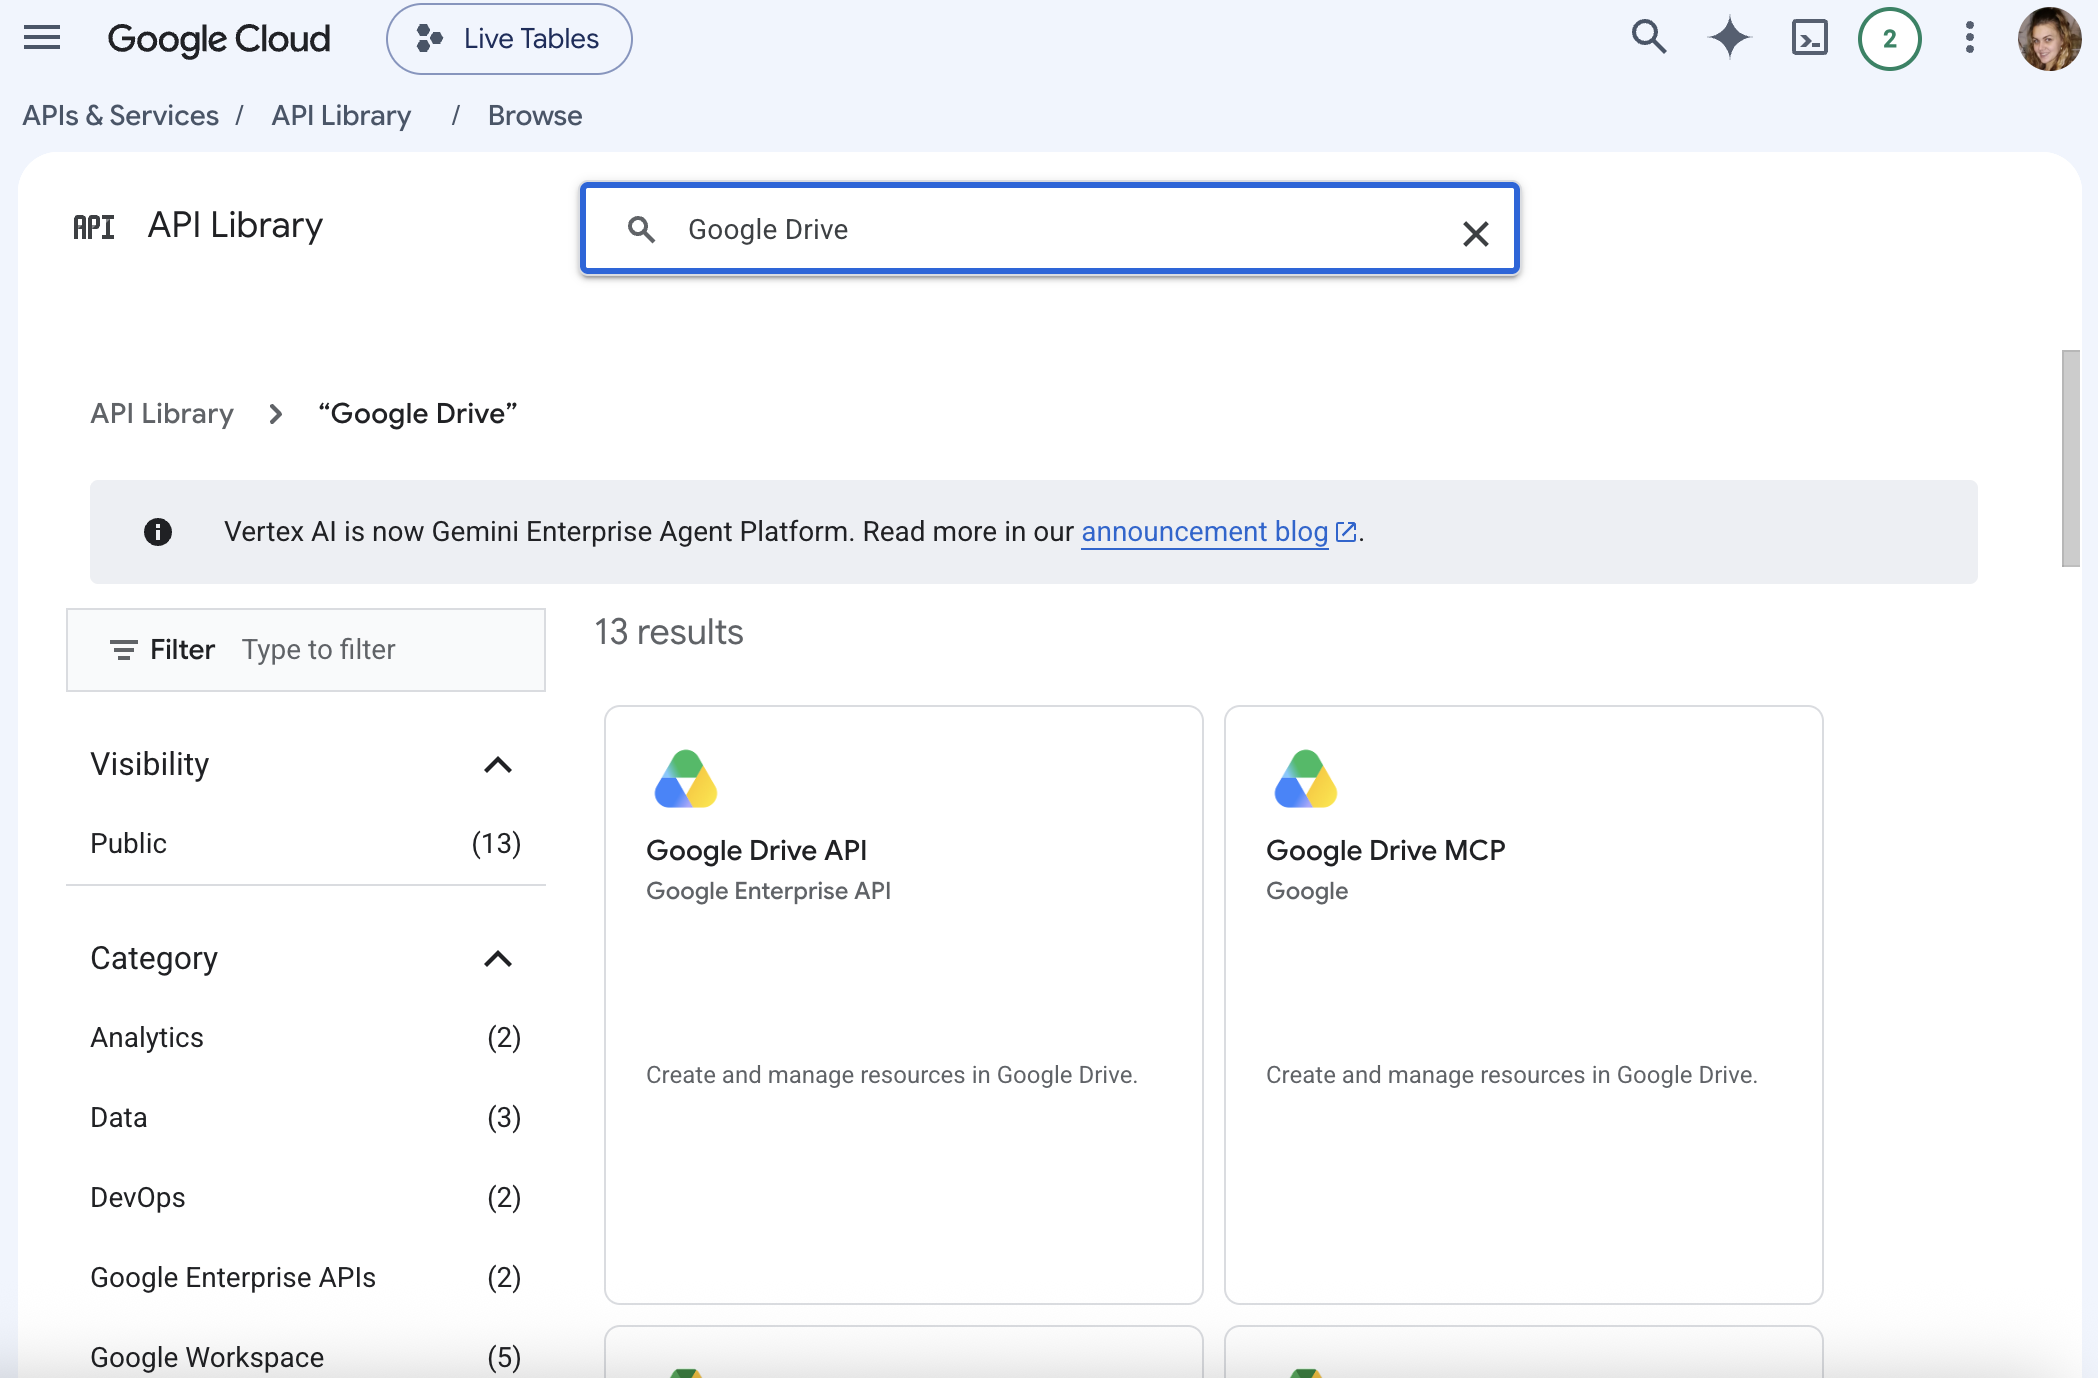
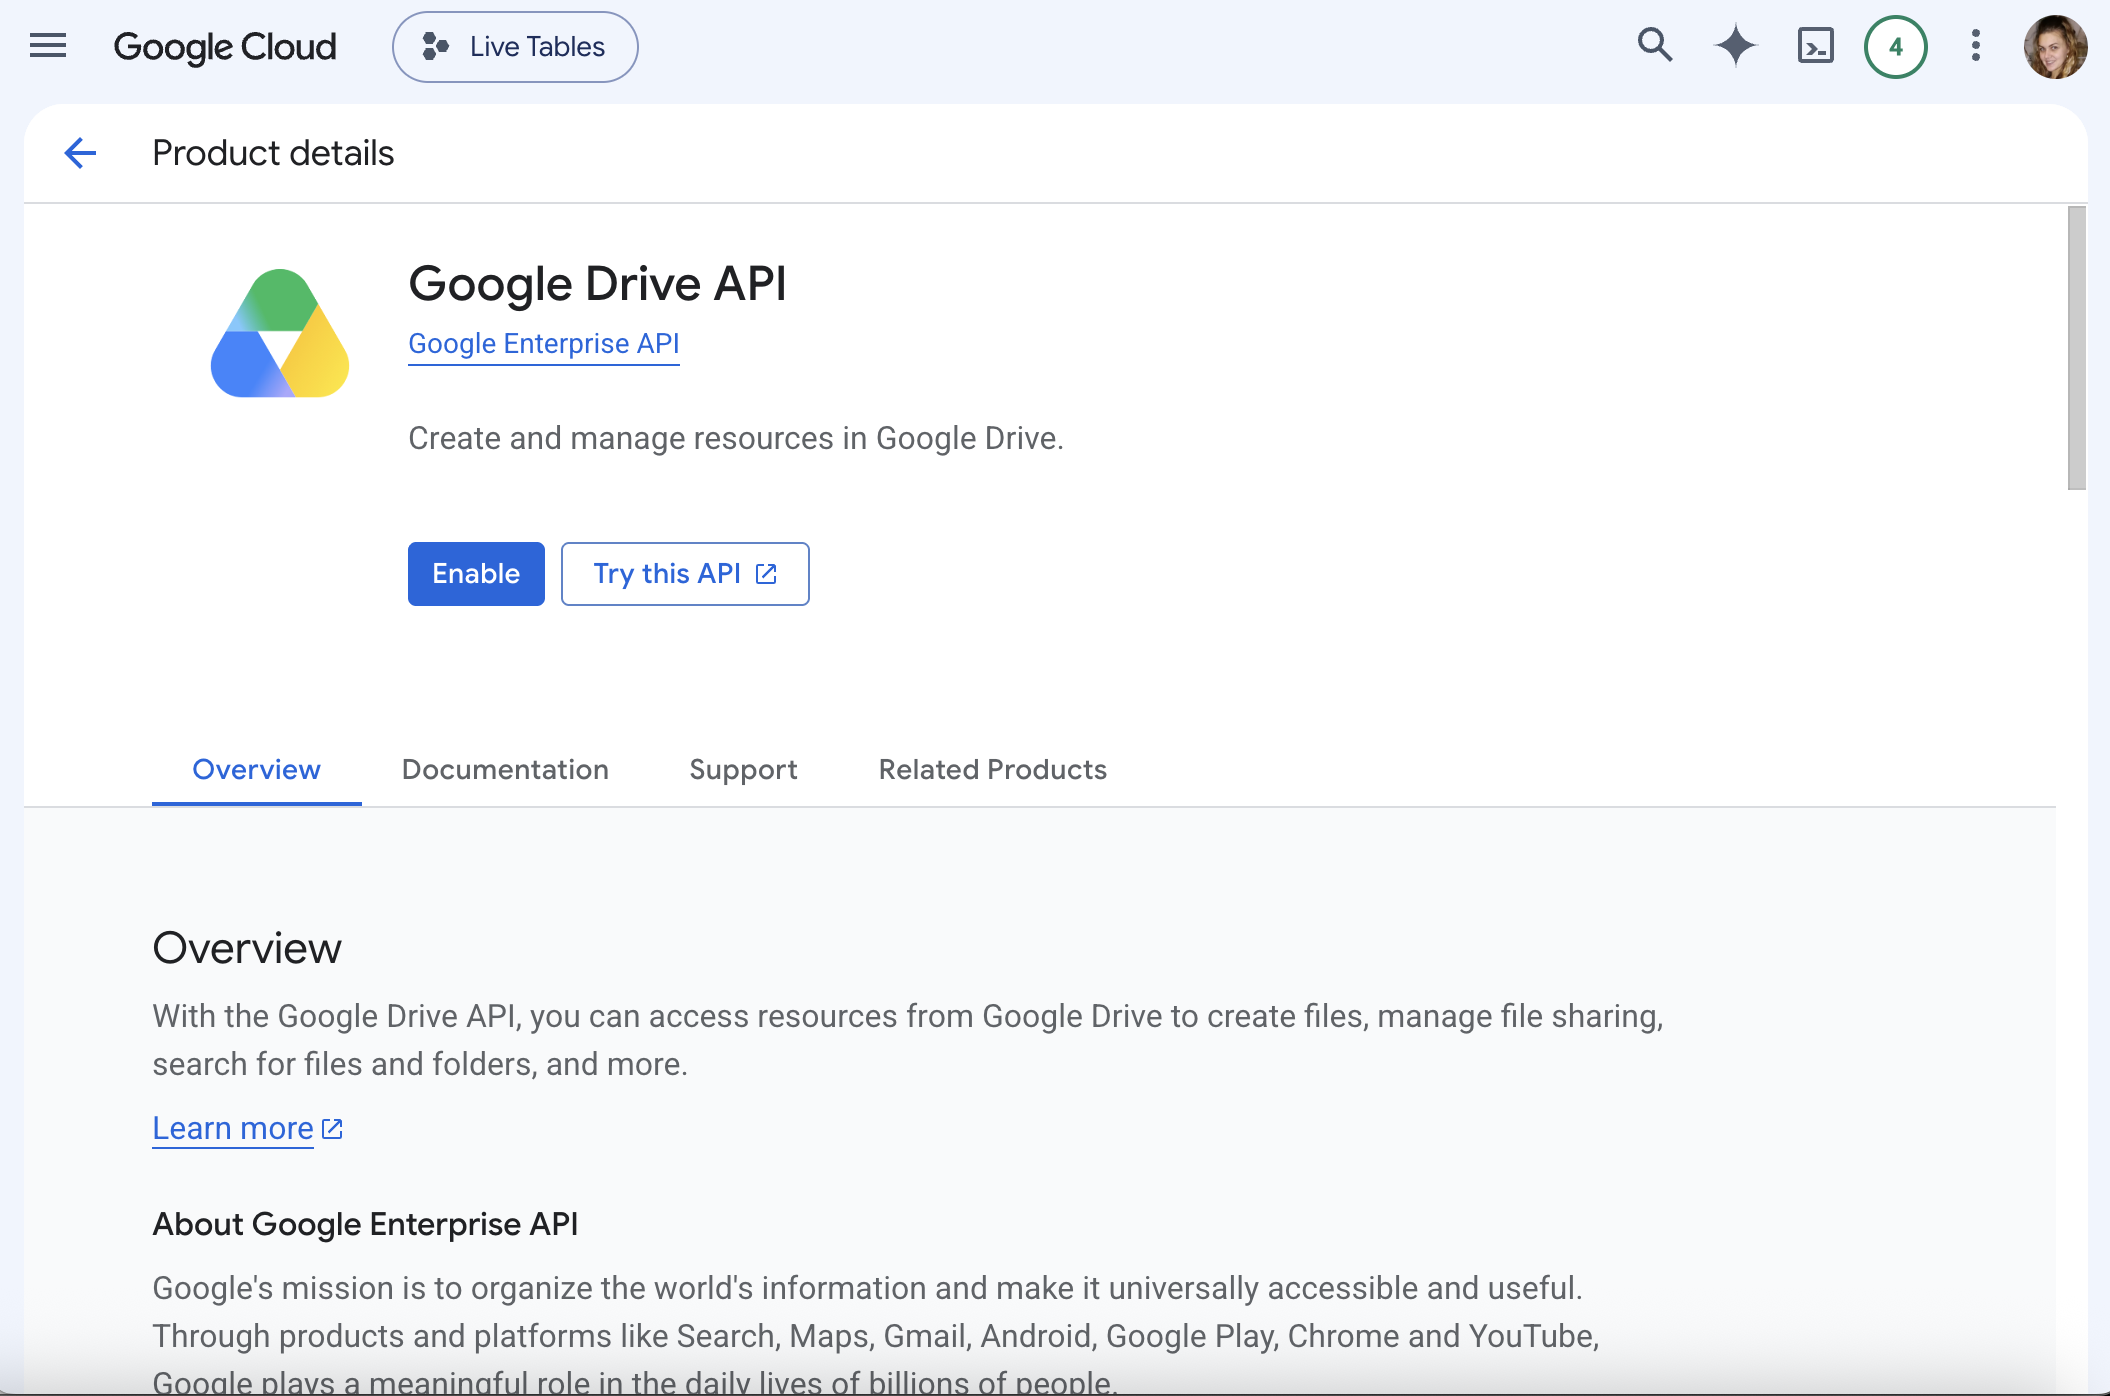
7. Search Google Drive API in API Library and click Enable.
8. Add more APIs to extend the app’s functionality:
Google Sheets API
Google Forms API
Google Calendar API
Google Analytics Data API
Google Analytics Admin API.
9. Click OAuth consent screen in the APIs & Services section.
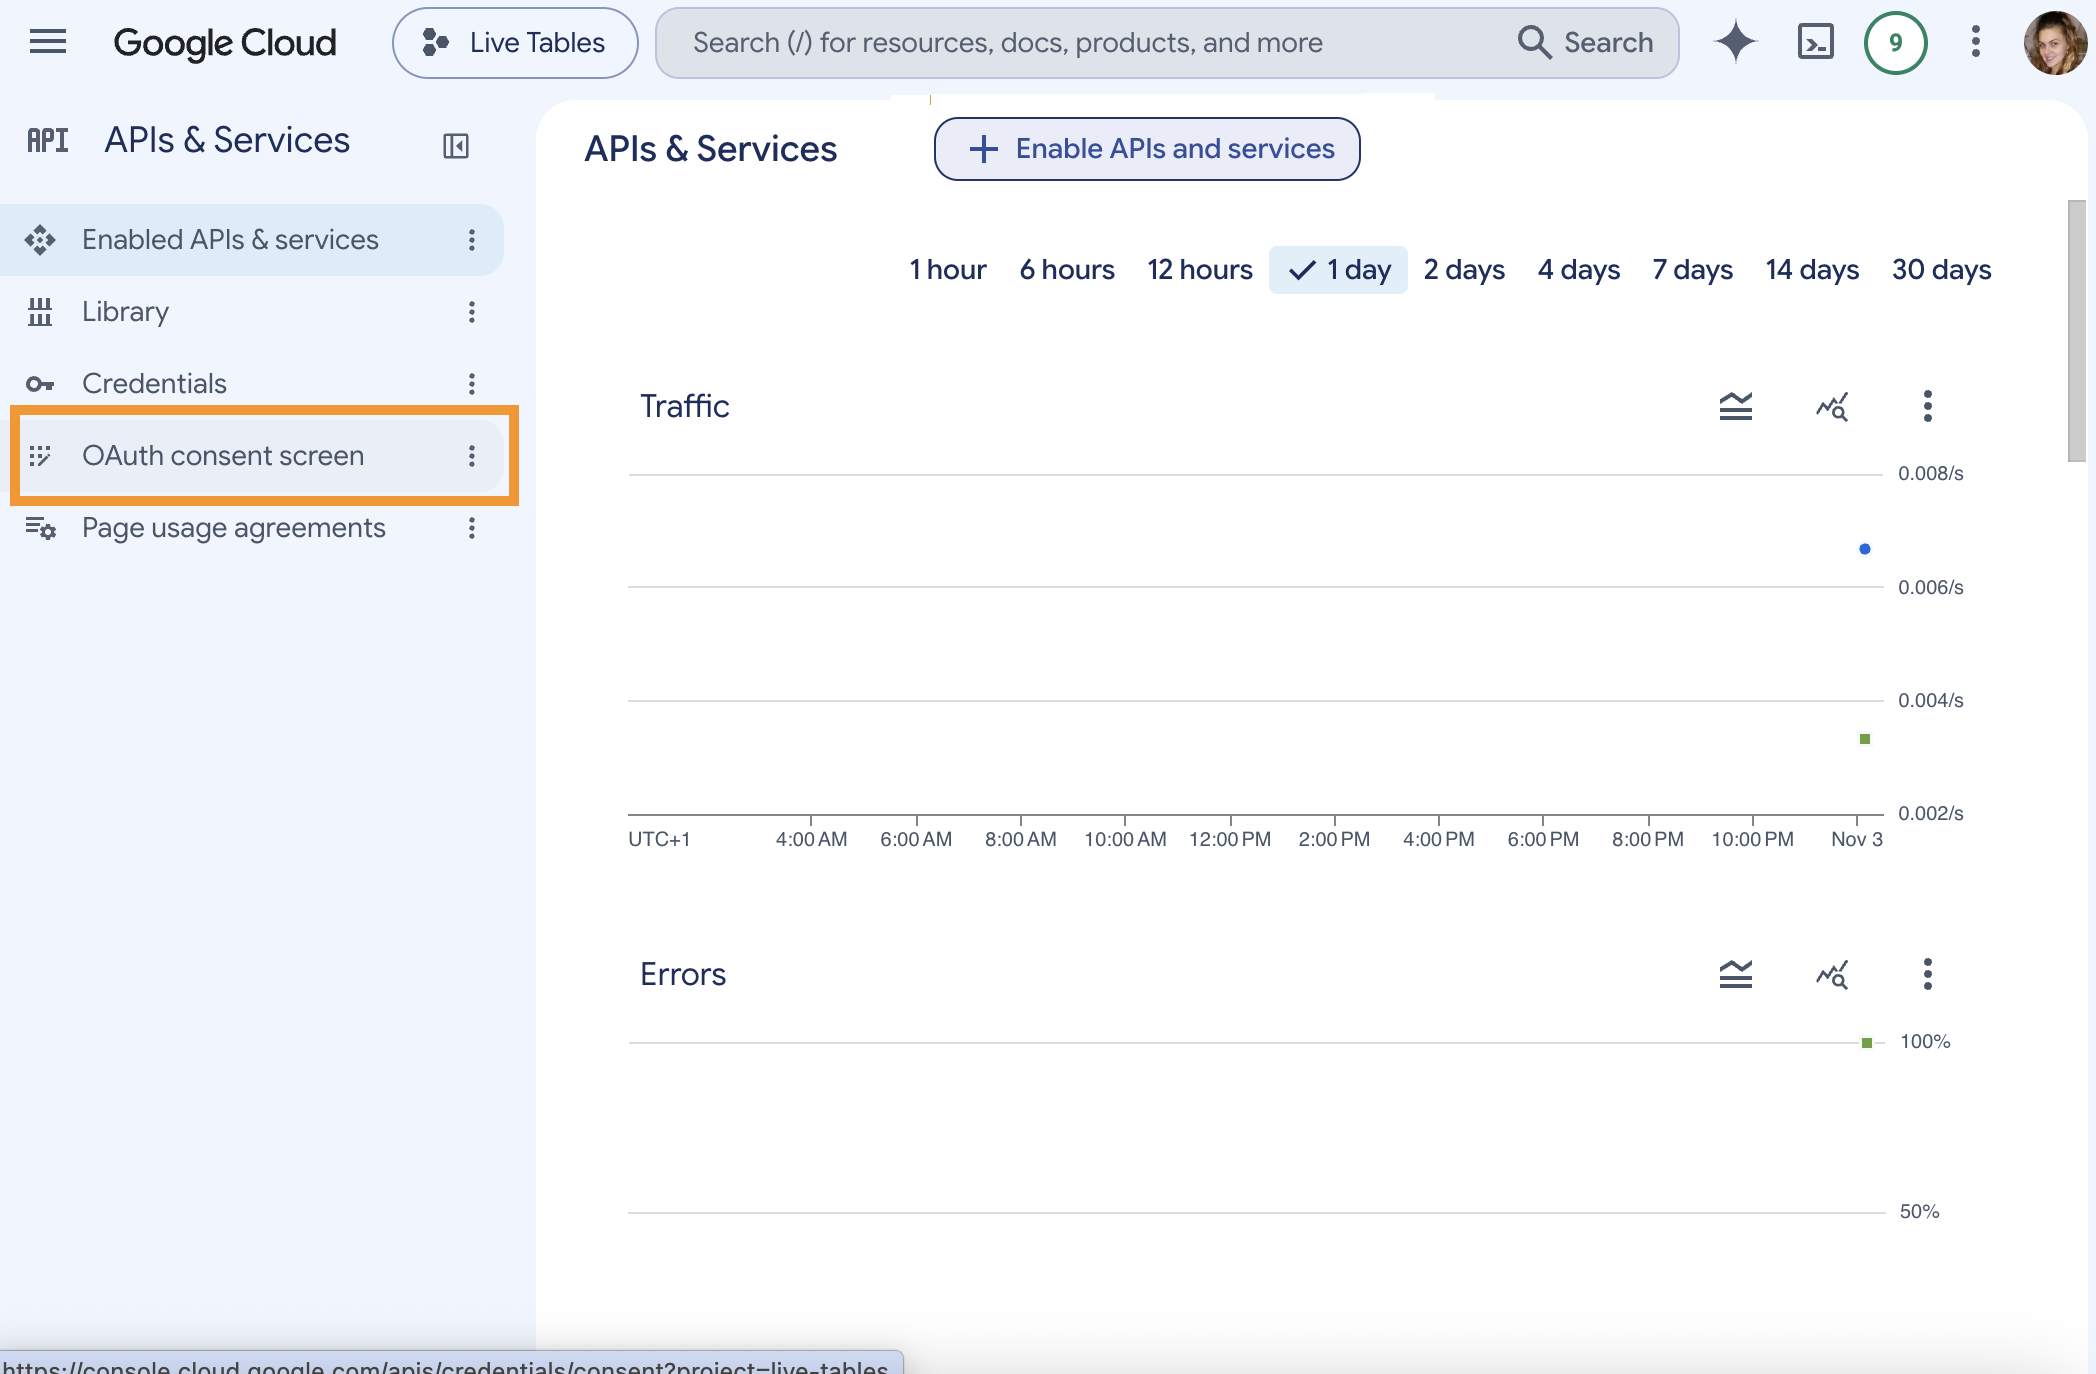
10. Choose Data Access → Add or remove scopes.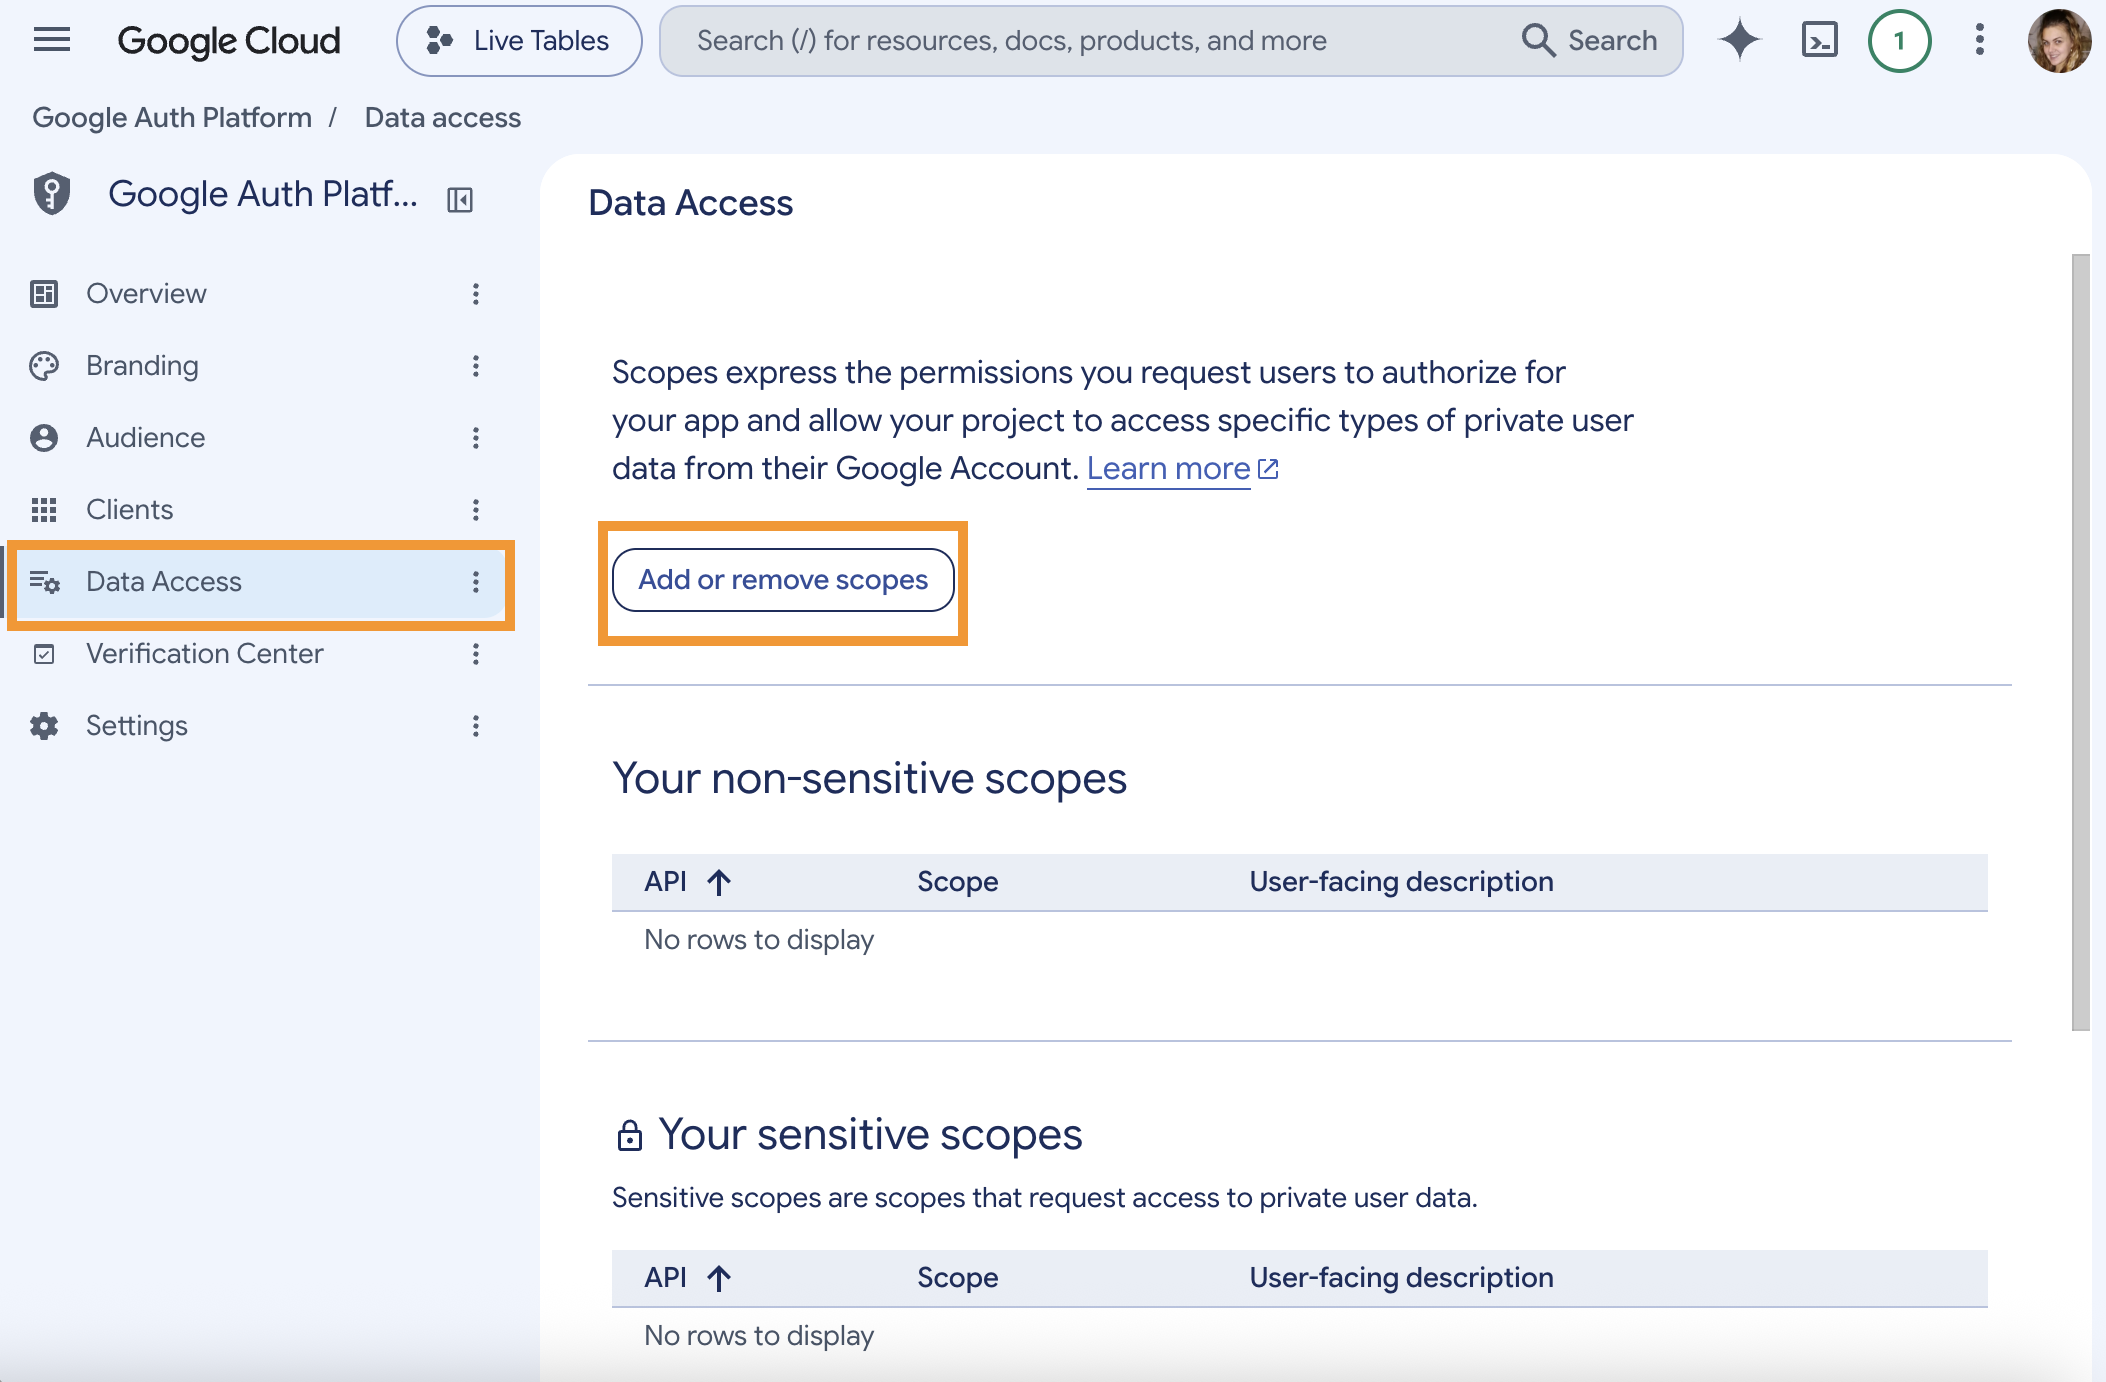
11. Copy the following scopes:
https://www.googleapis.com/auth/userinfo.profile,

https://www.googleapis.com/auth/userinfo.email,

https://www.googleapis.com/auth/spreadsheets.readonly,

https://www.googleapis.com/auth/drive.readonly,

https://www.googleapis.com/auth/forms.responses.readonly,

https://www.googleapis.com/auth/forms.responses.readonly,

https://www.googleapis.com/auth/calendar.readonly,

https://www.googleapis.com/auth/analytics.readonly
12. Click Add to table → Update
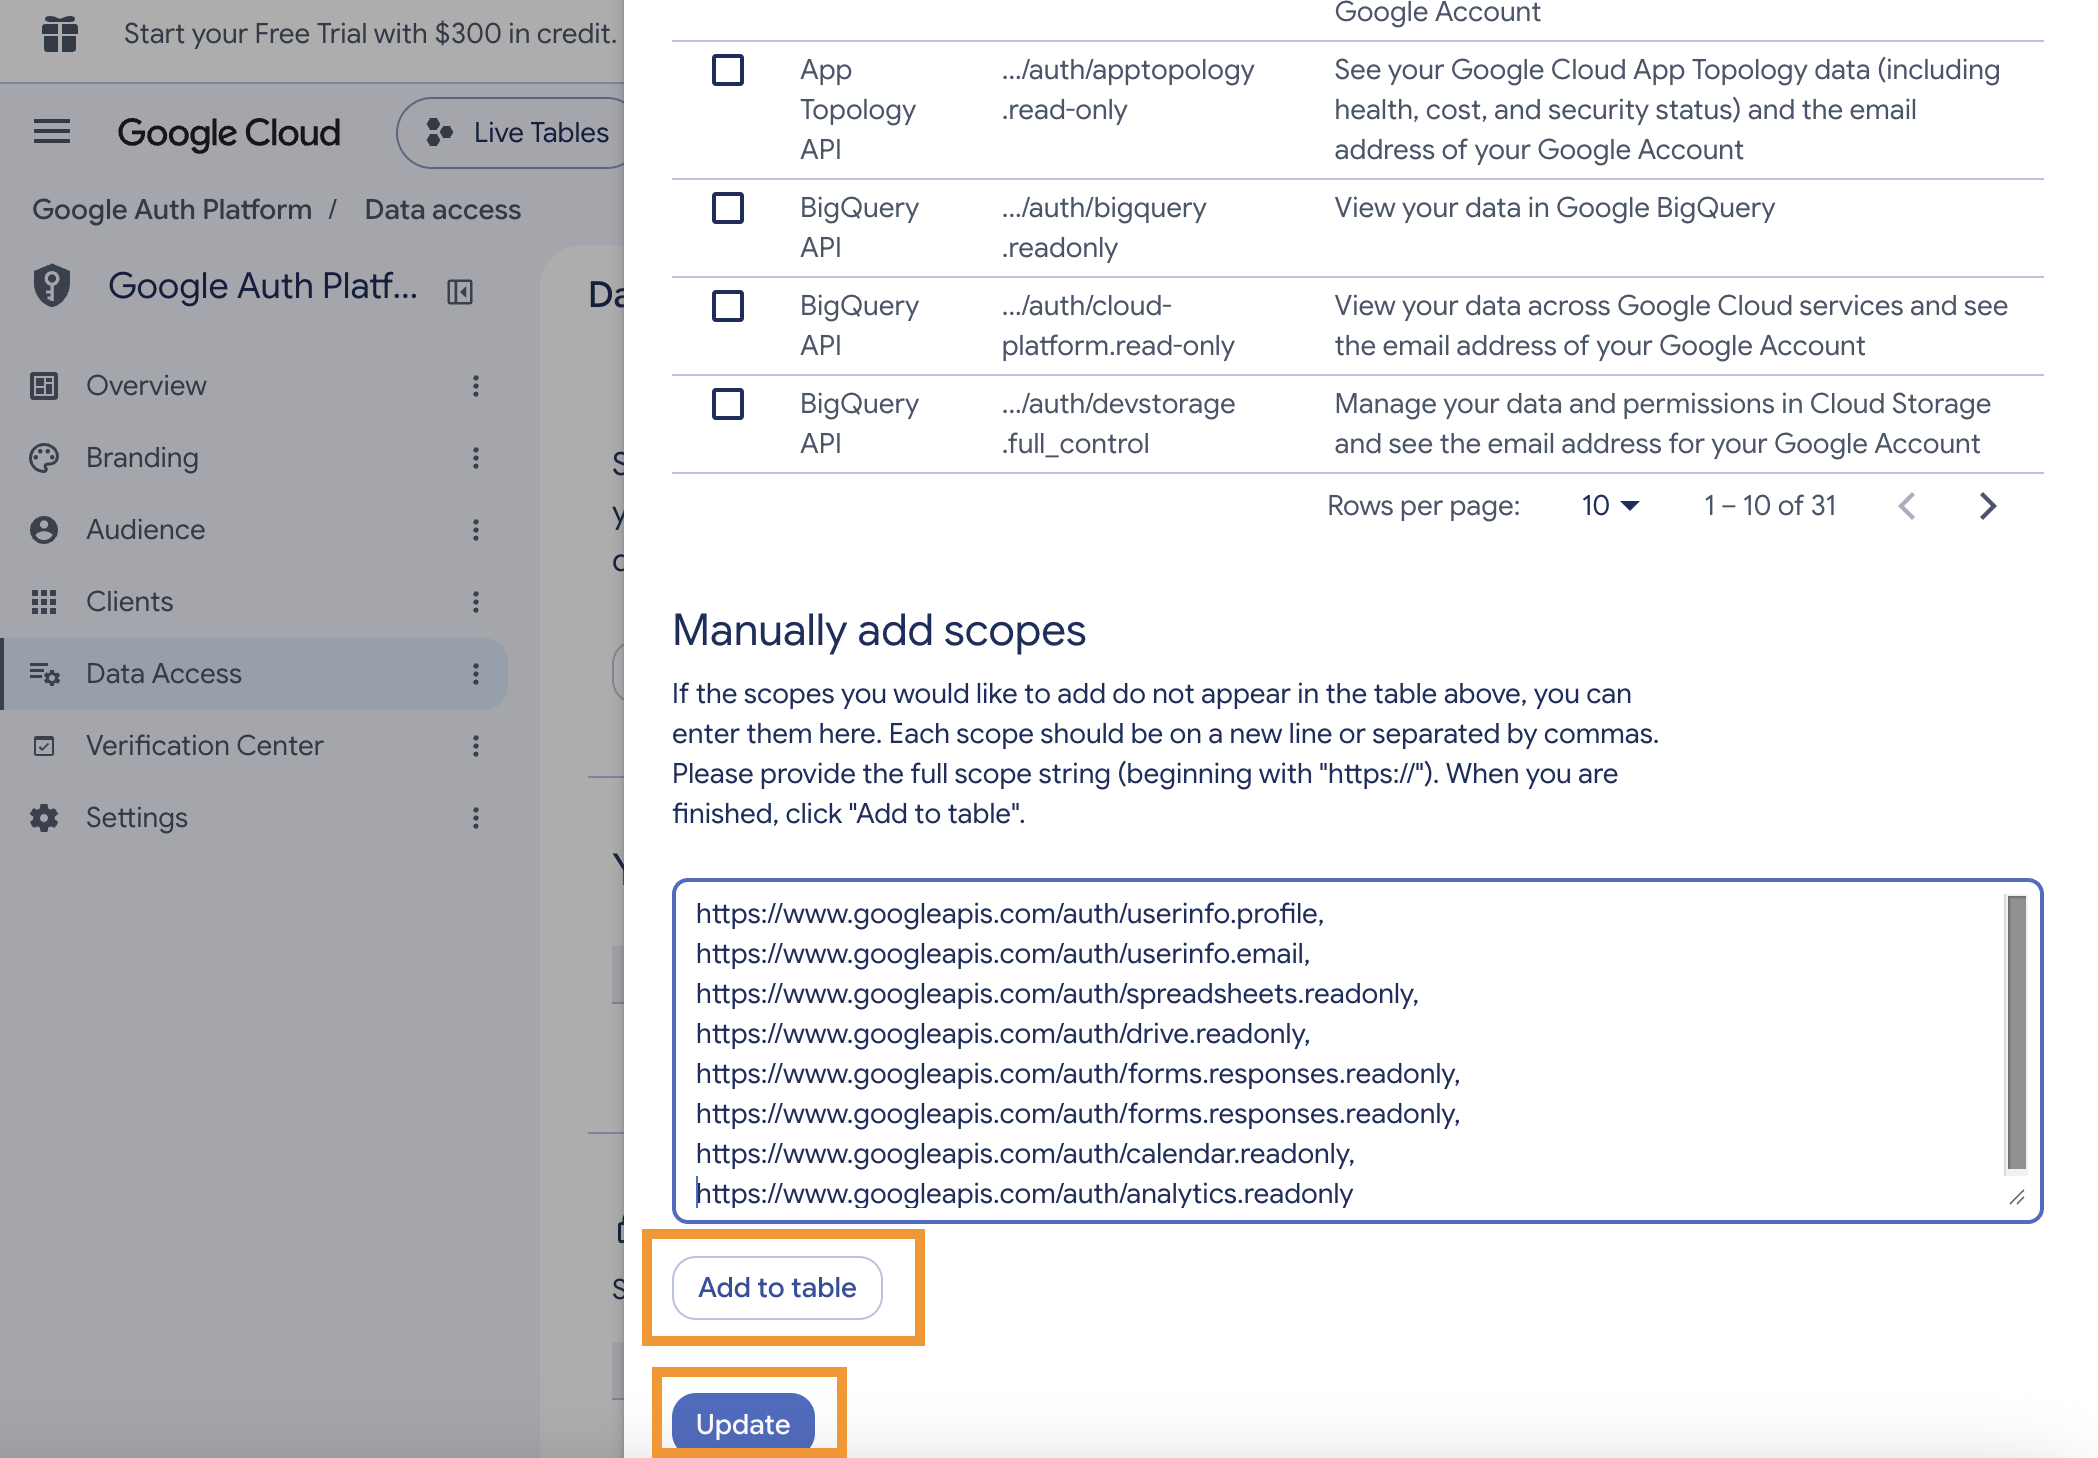
13. Copy Callback URL from Confluence Administration → Apps → Live Tables → Google → Callback URL.
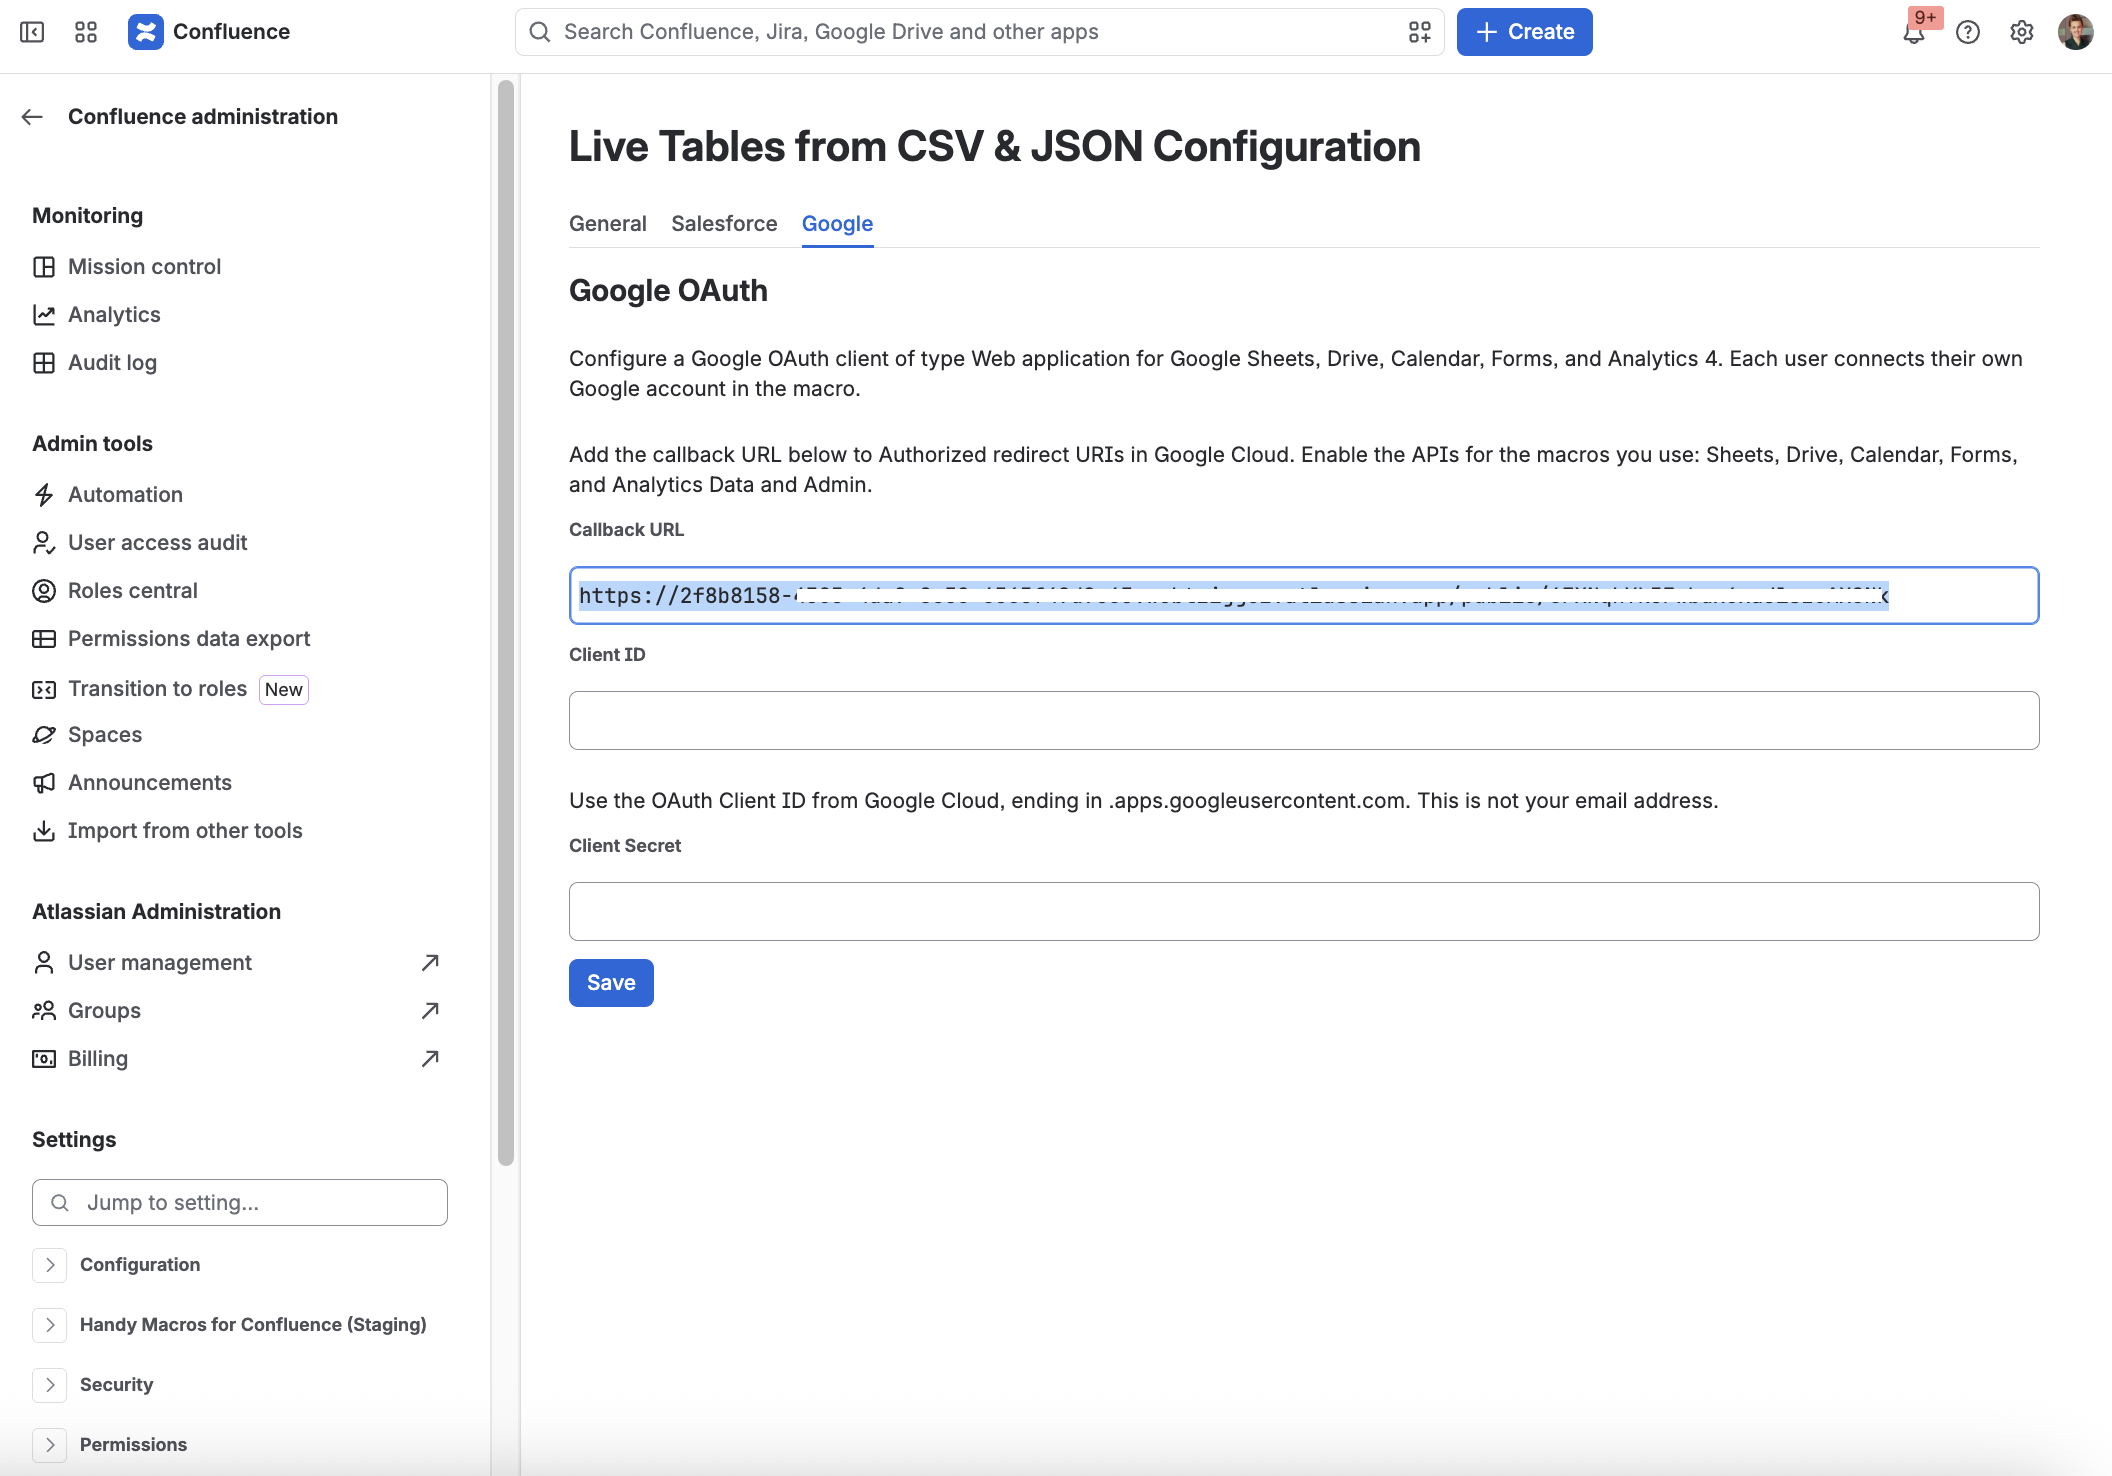
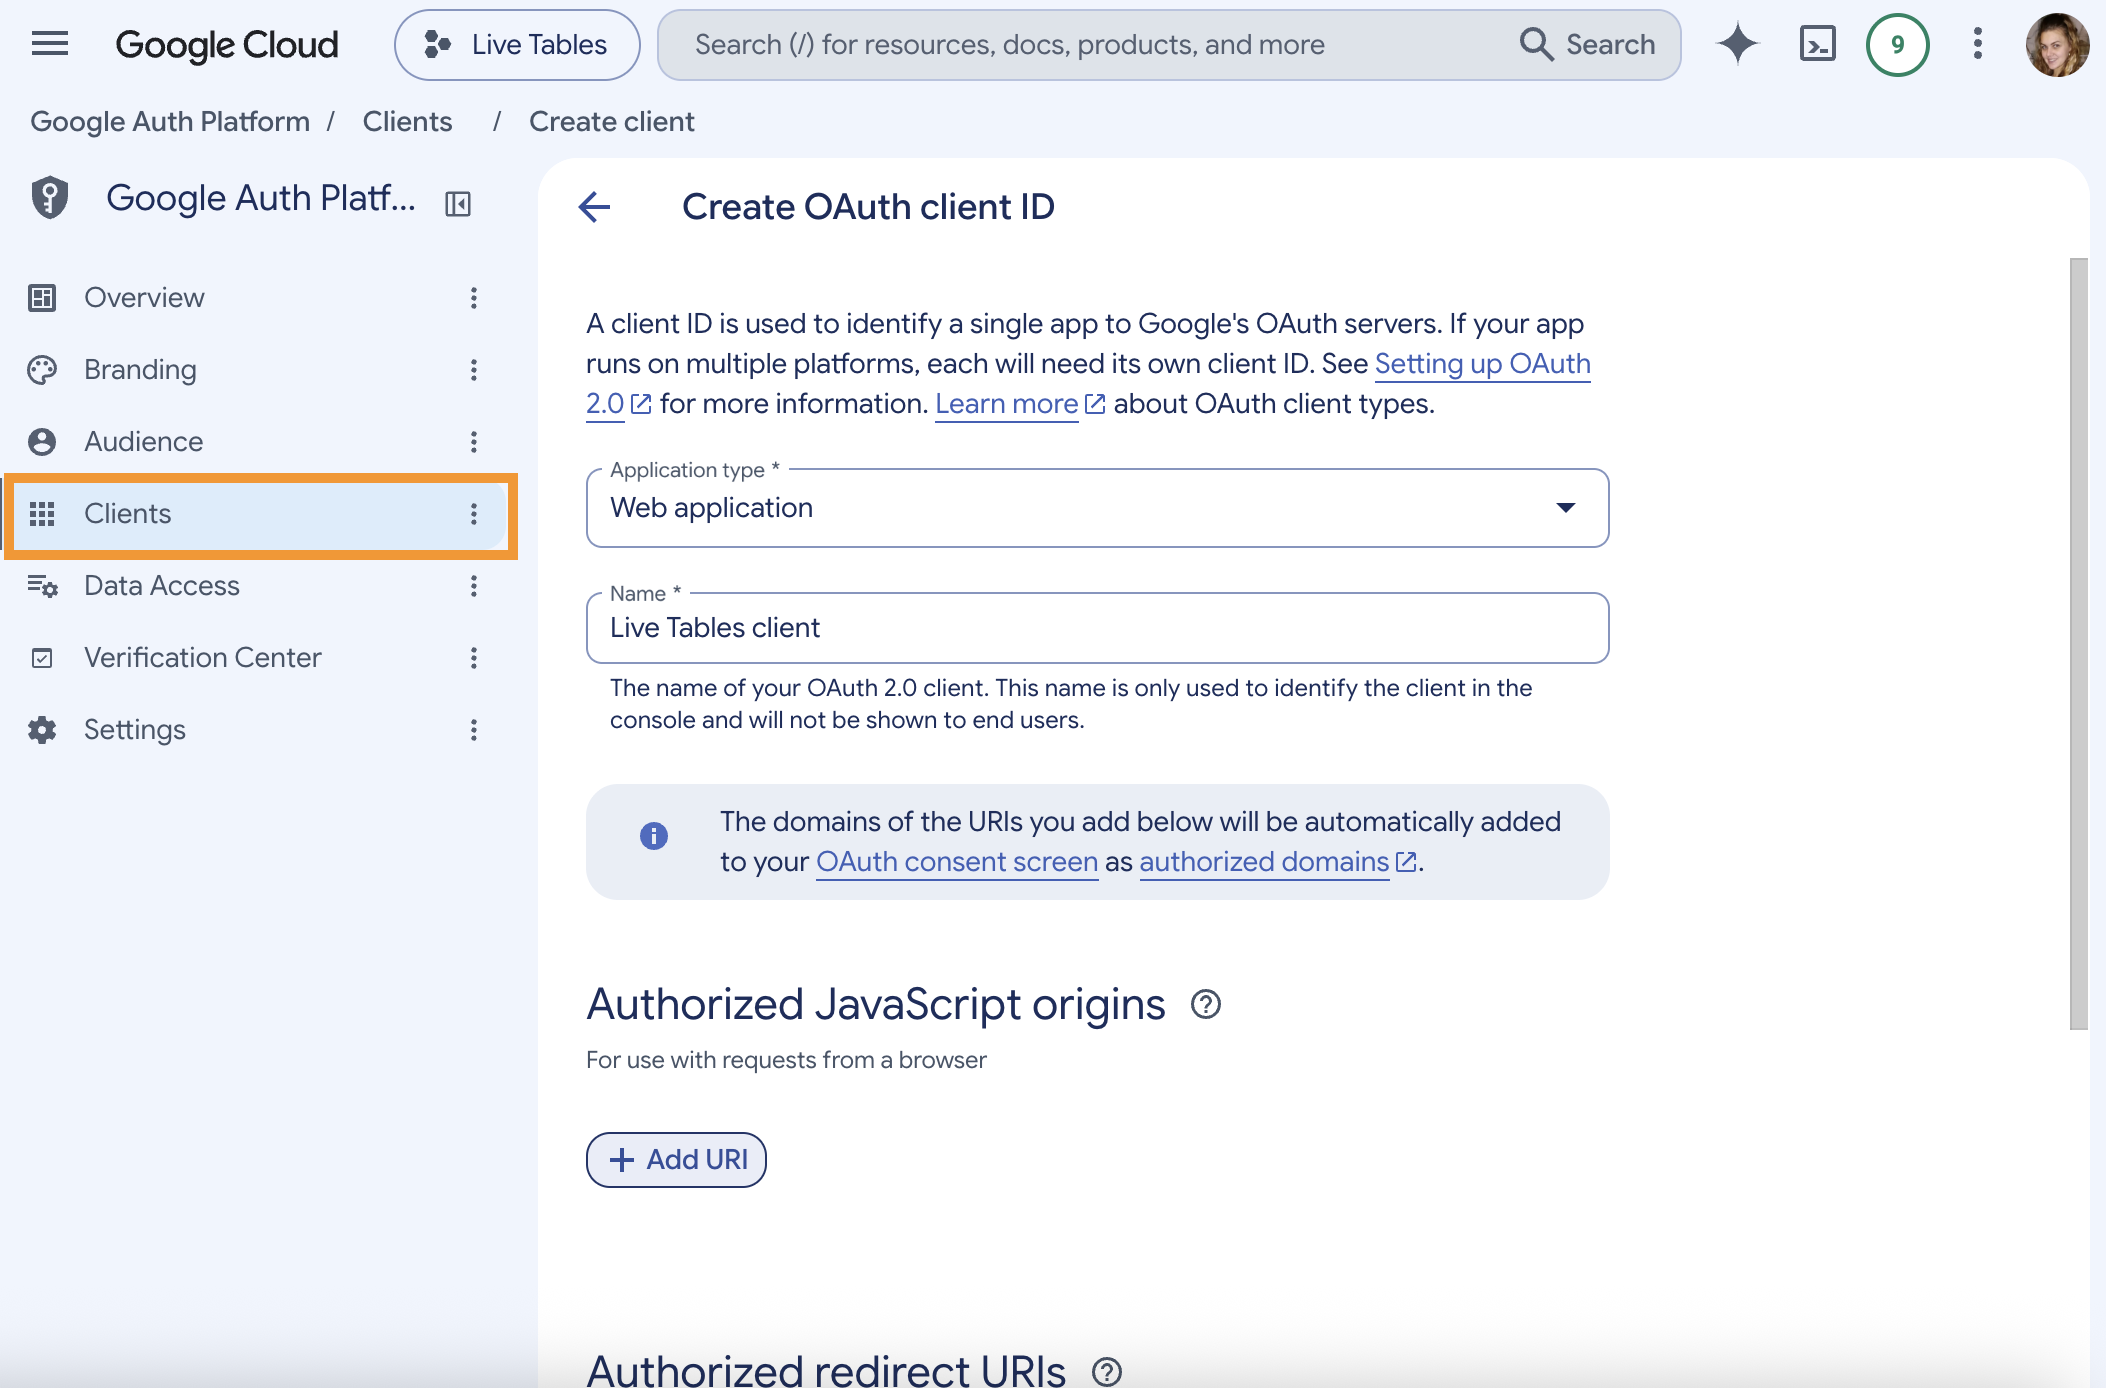
14. Switch to the Clients tab in the the Google Auth Platform section in Google Cloud:
- Choose Application type: Web application
- Add a Client name
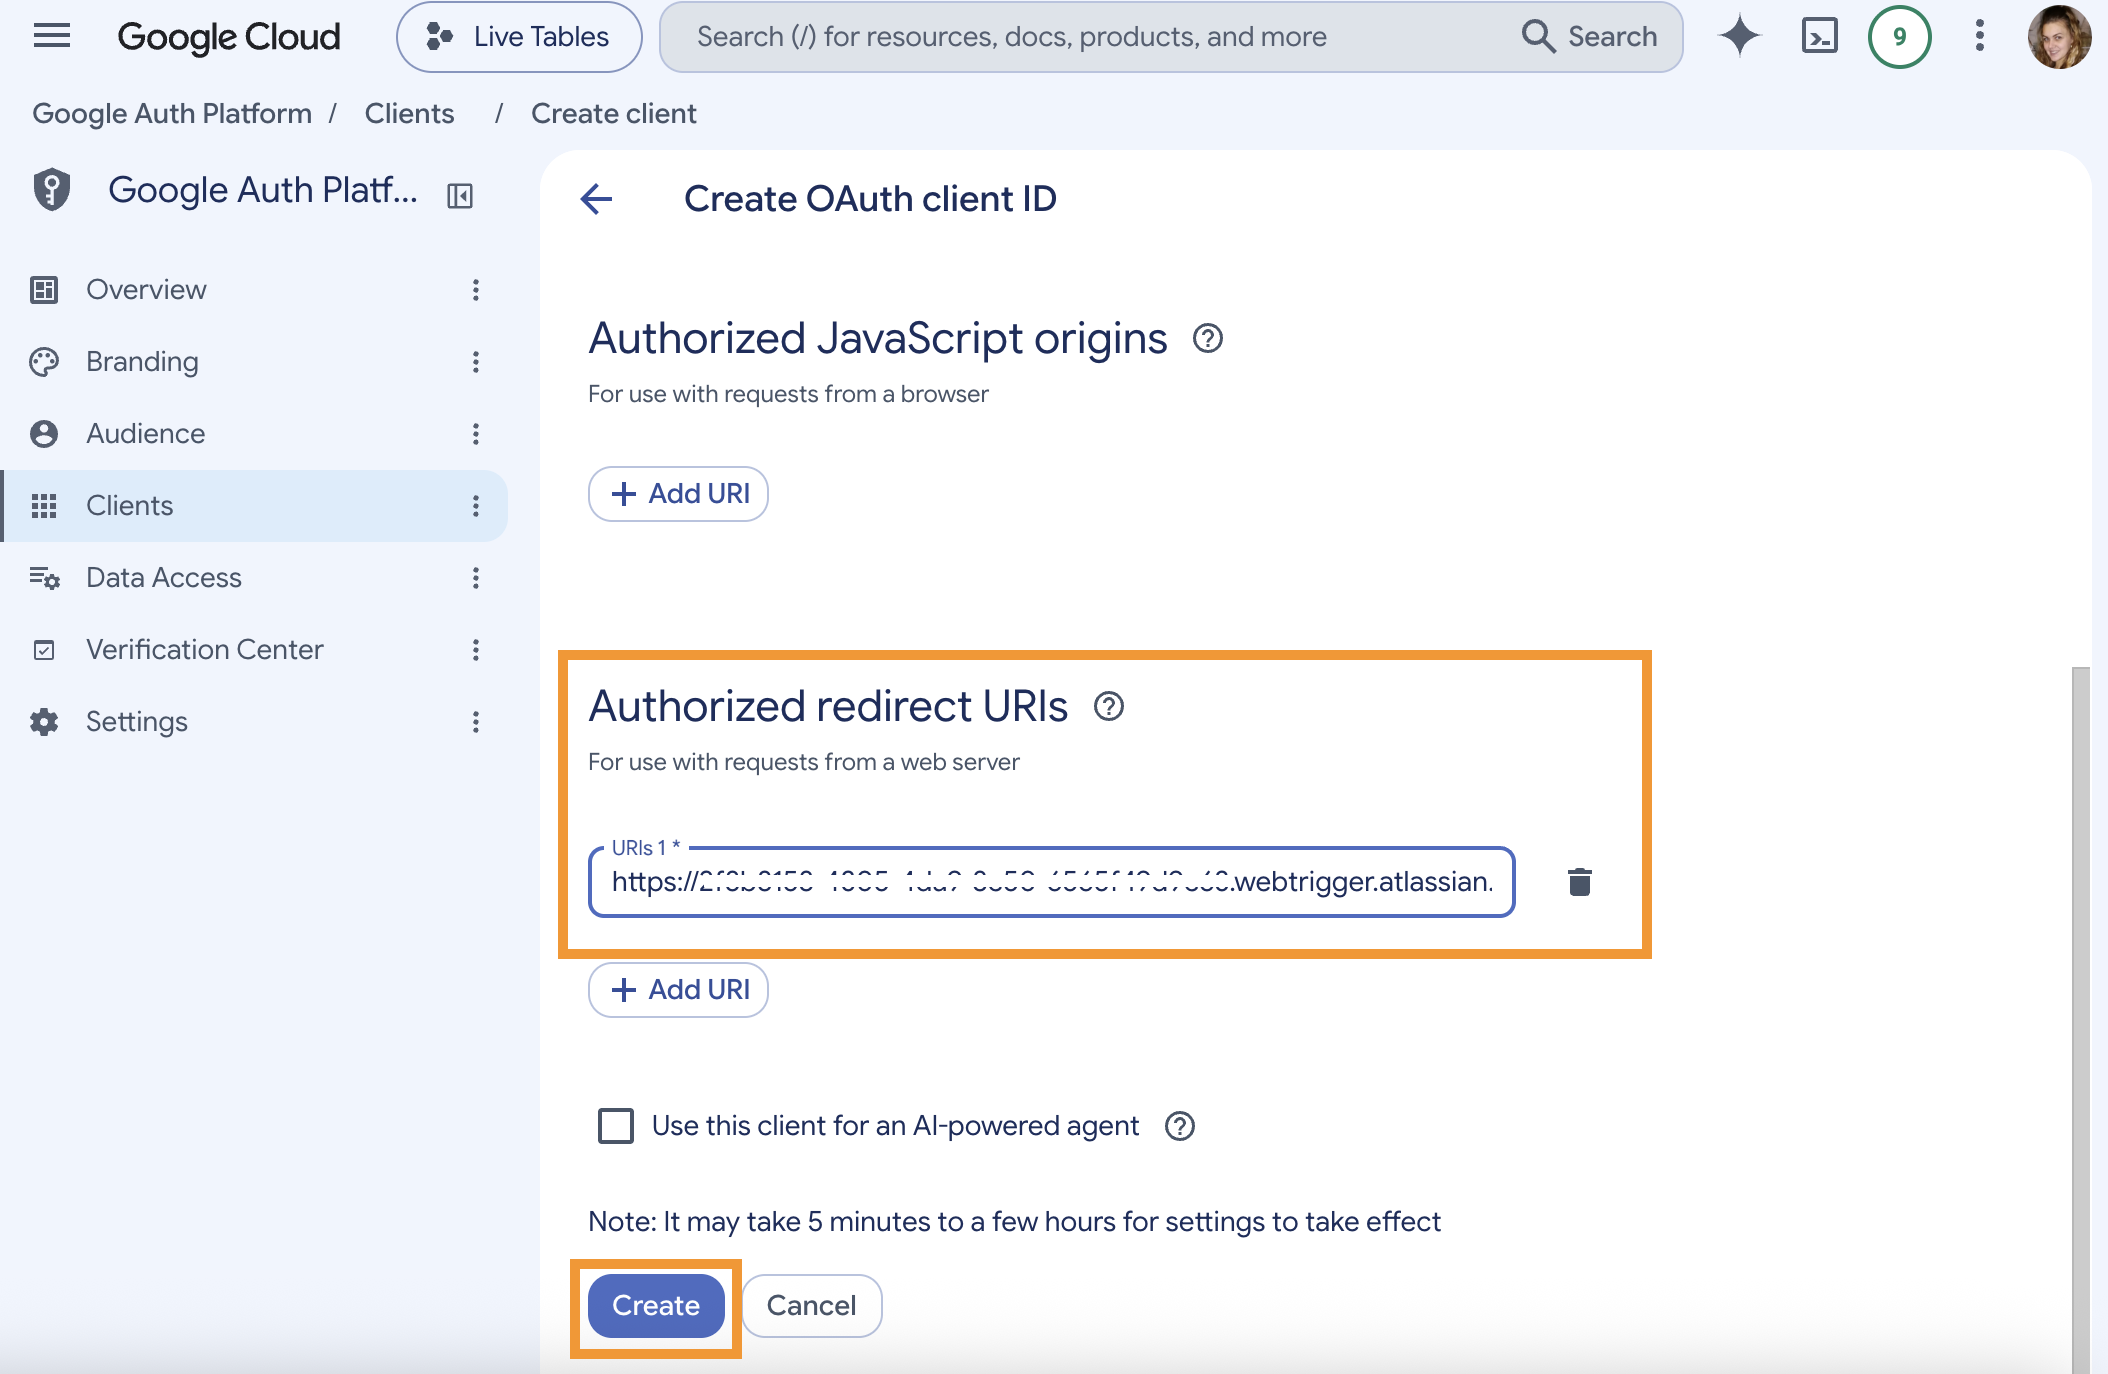
15. Paste Callback URL in the Authorized redirect URLs.
16. Create OAuth client ID.
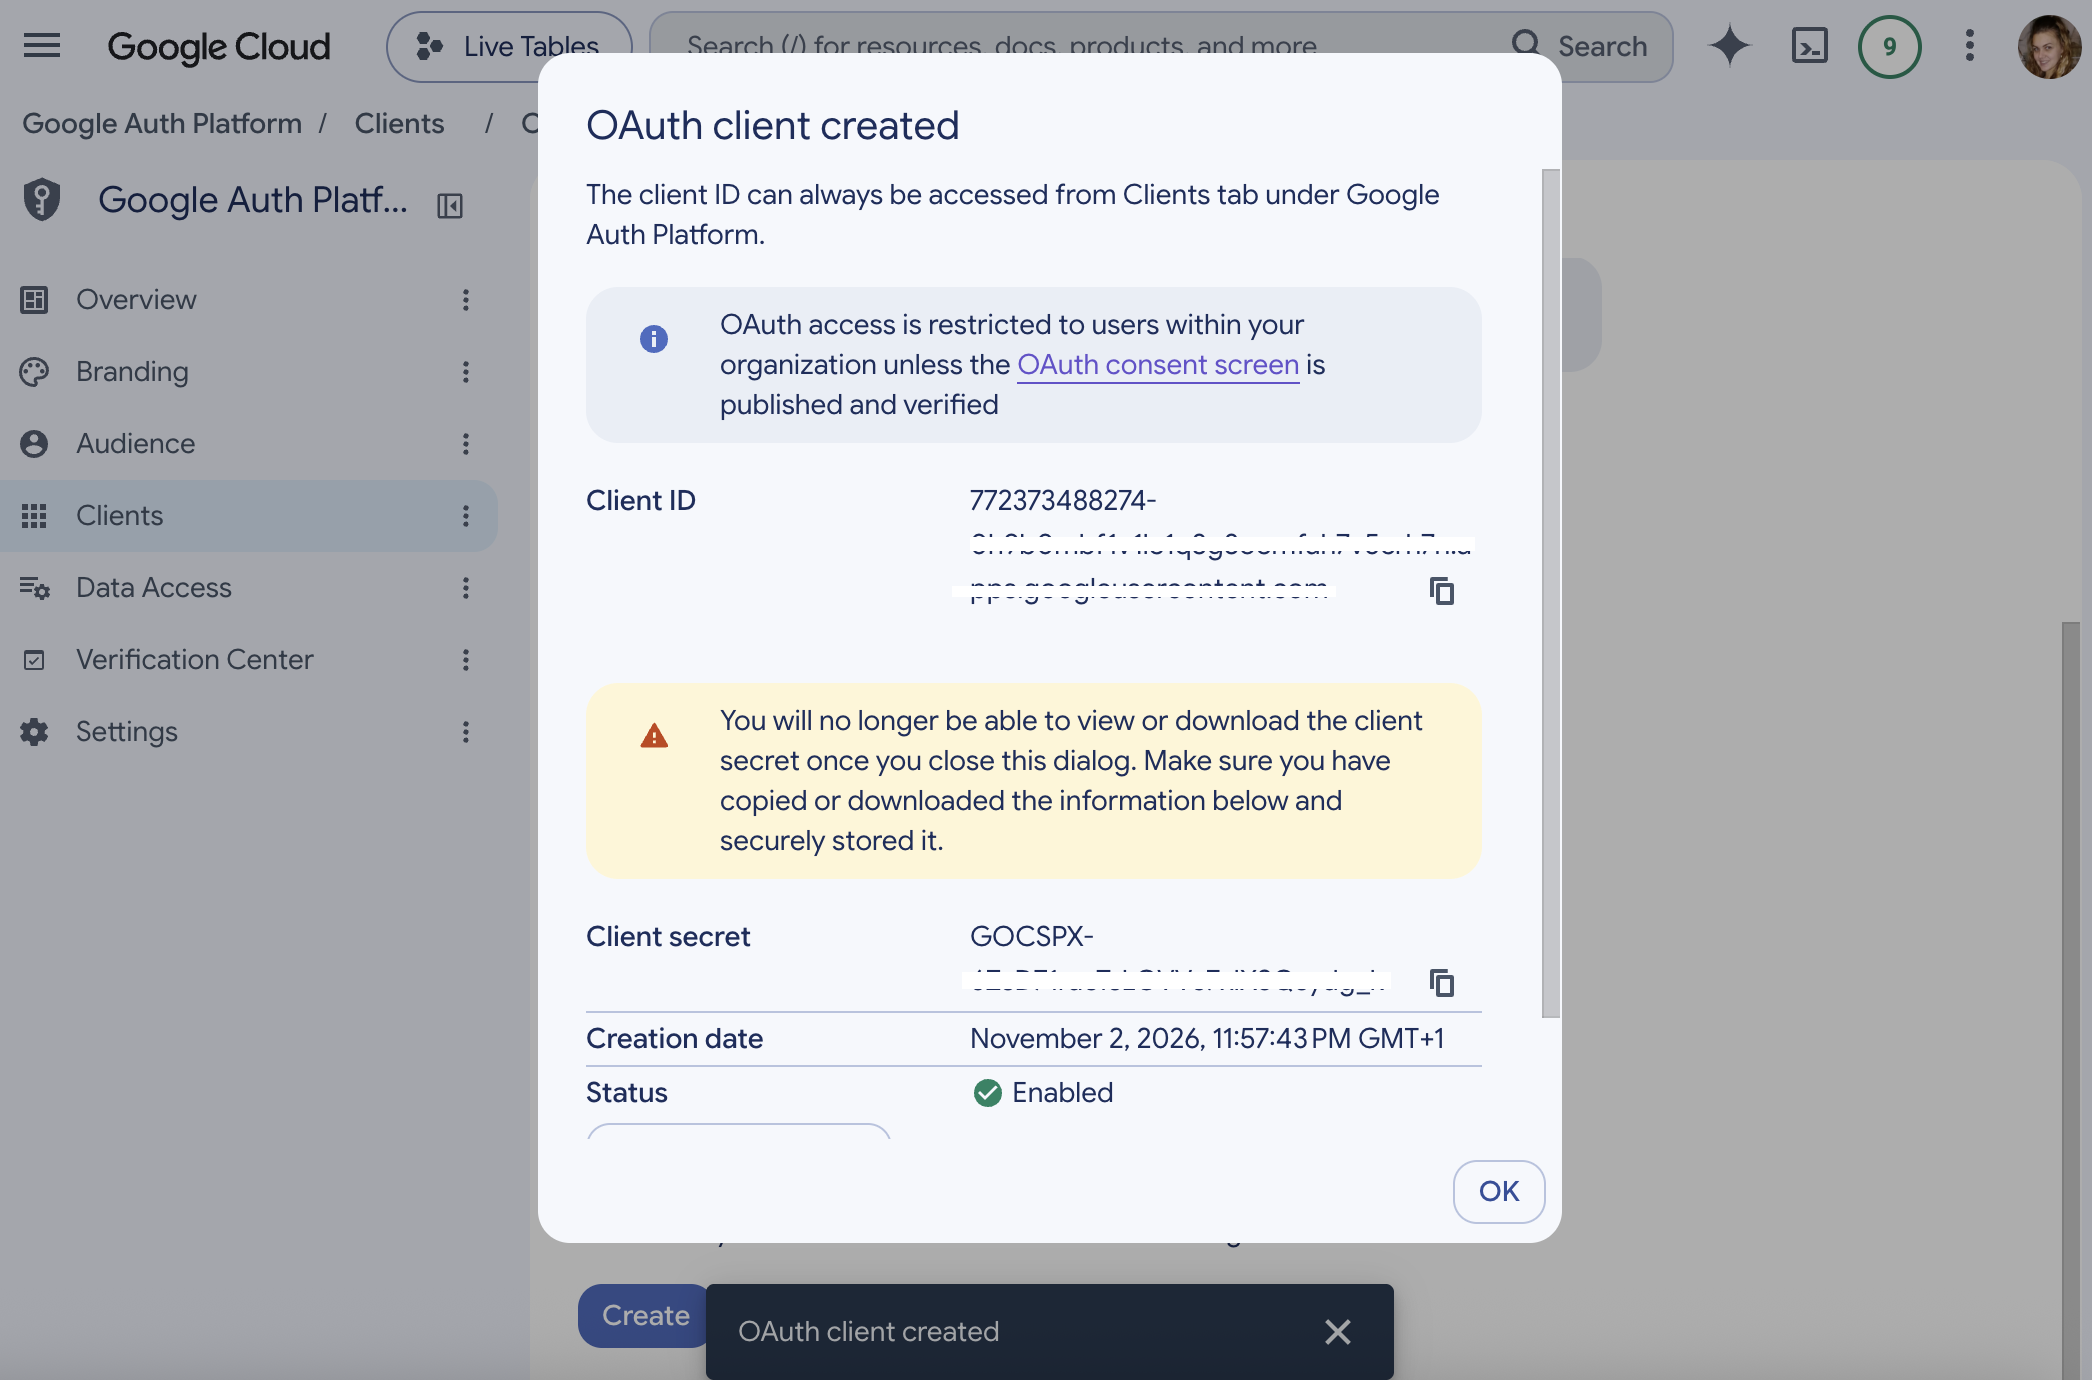
17. Copy Client ID and Client secret.
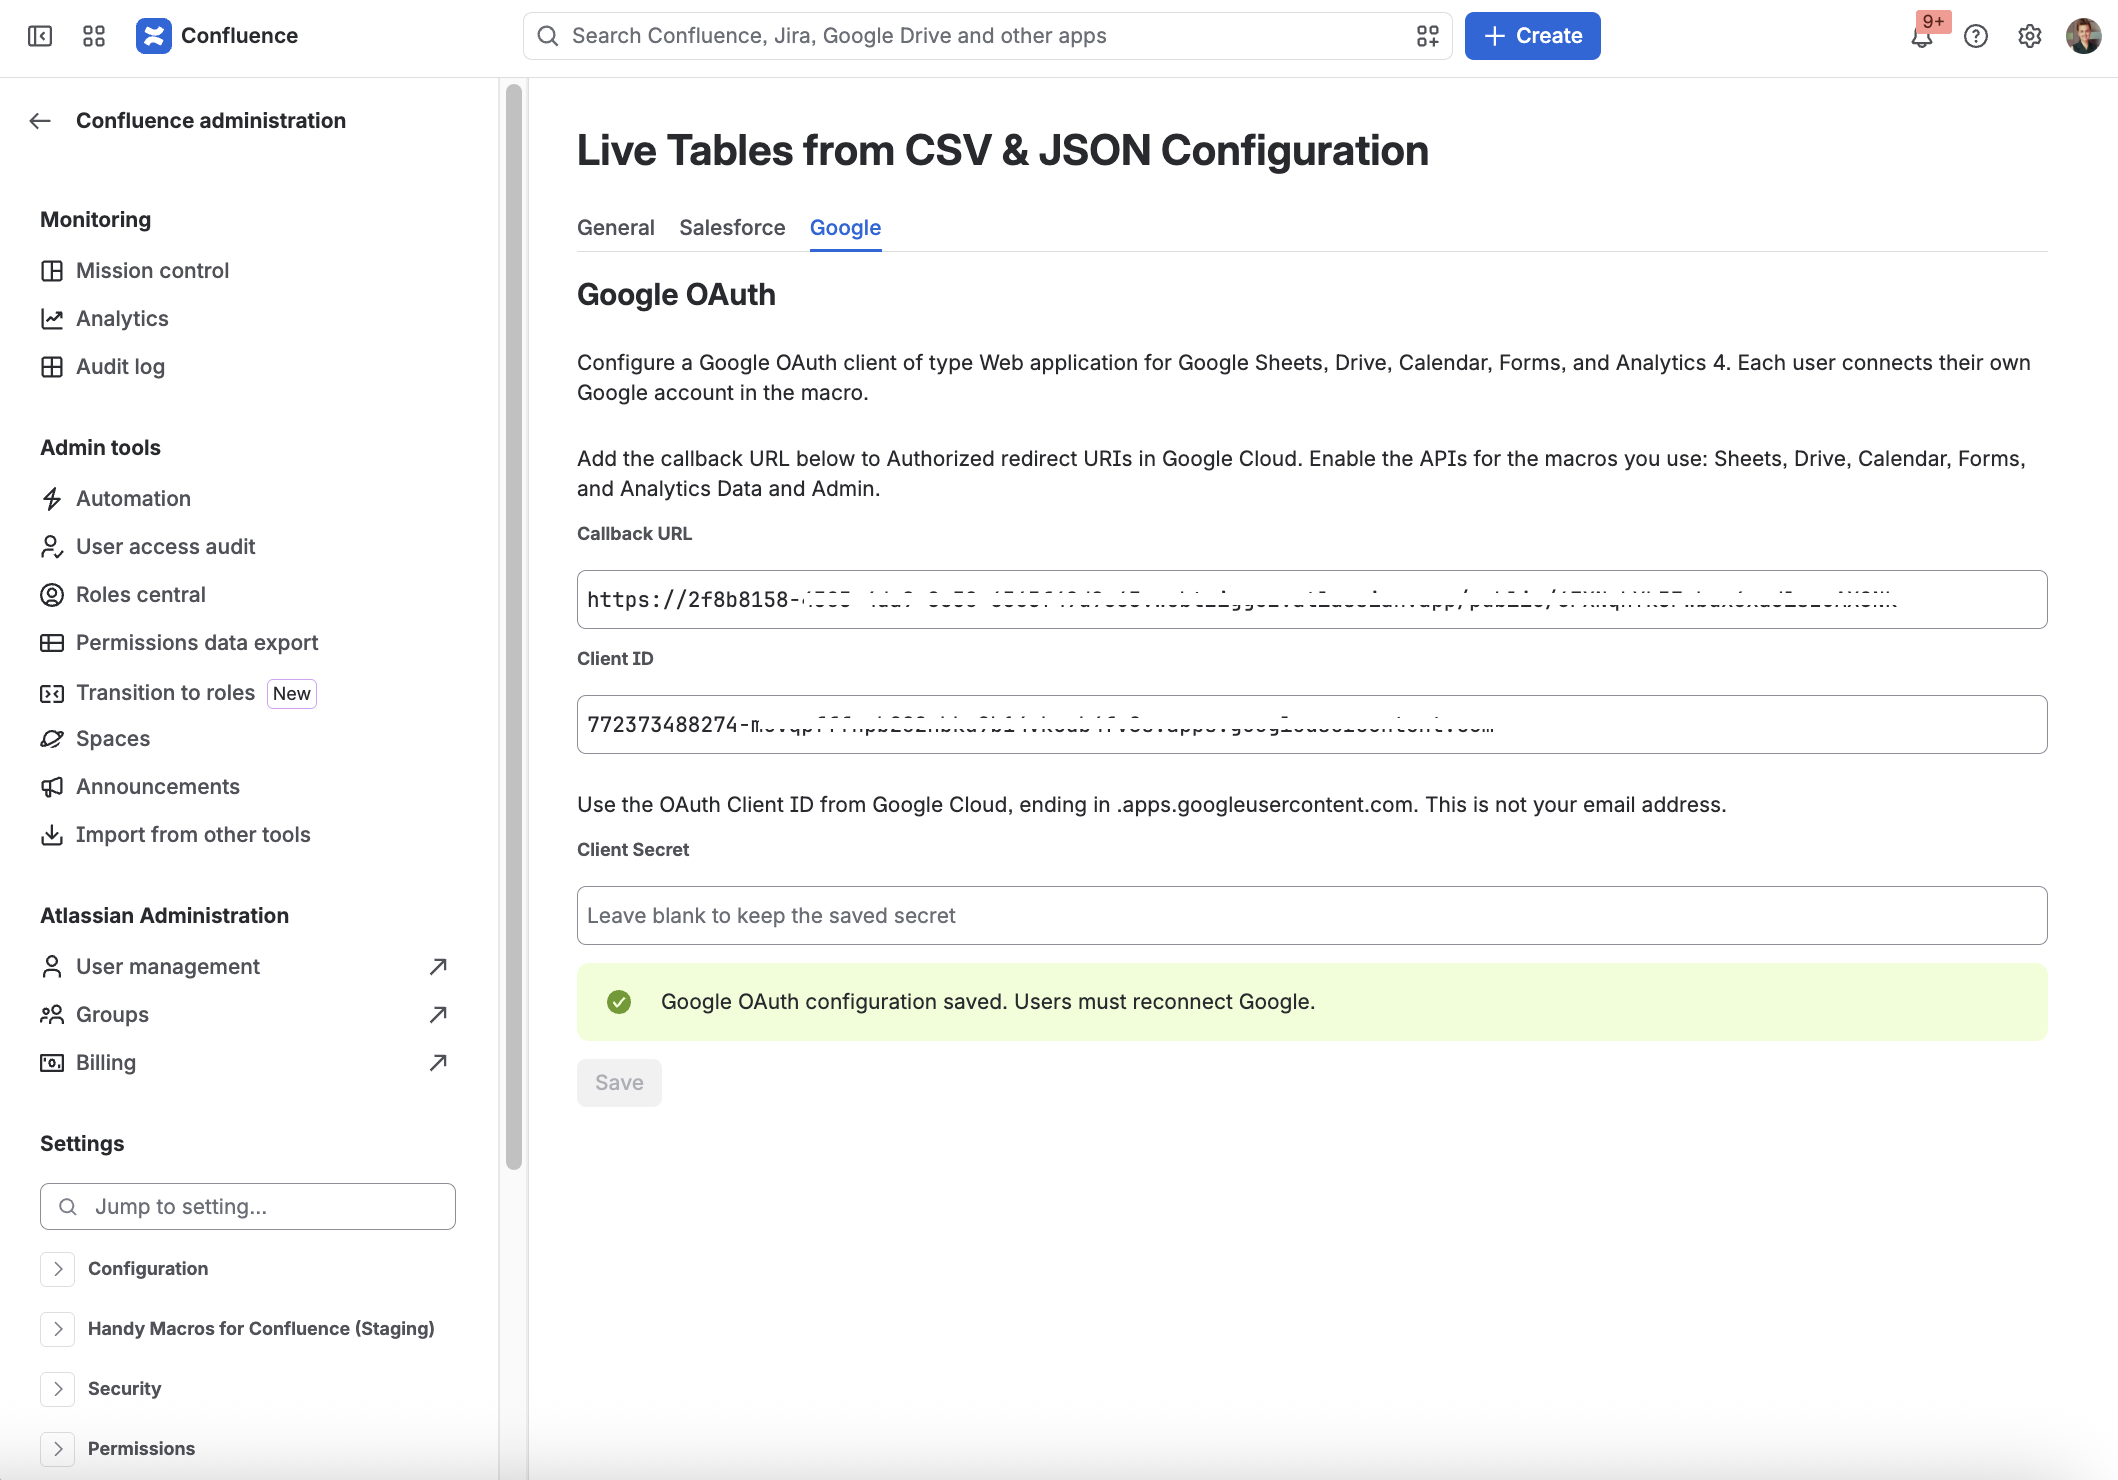
18. Paste in Confluence Administration → Apps → Live Tables → Google
19. Save Google OAuth configuration.
Using the Live Table from Google Drive macro
Add the Live Table from Google Drive macro on a Confluence page:
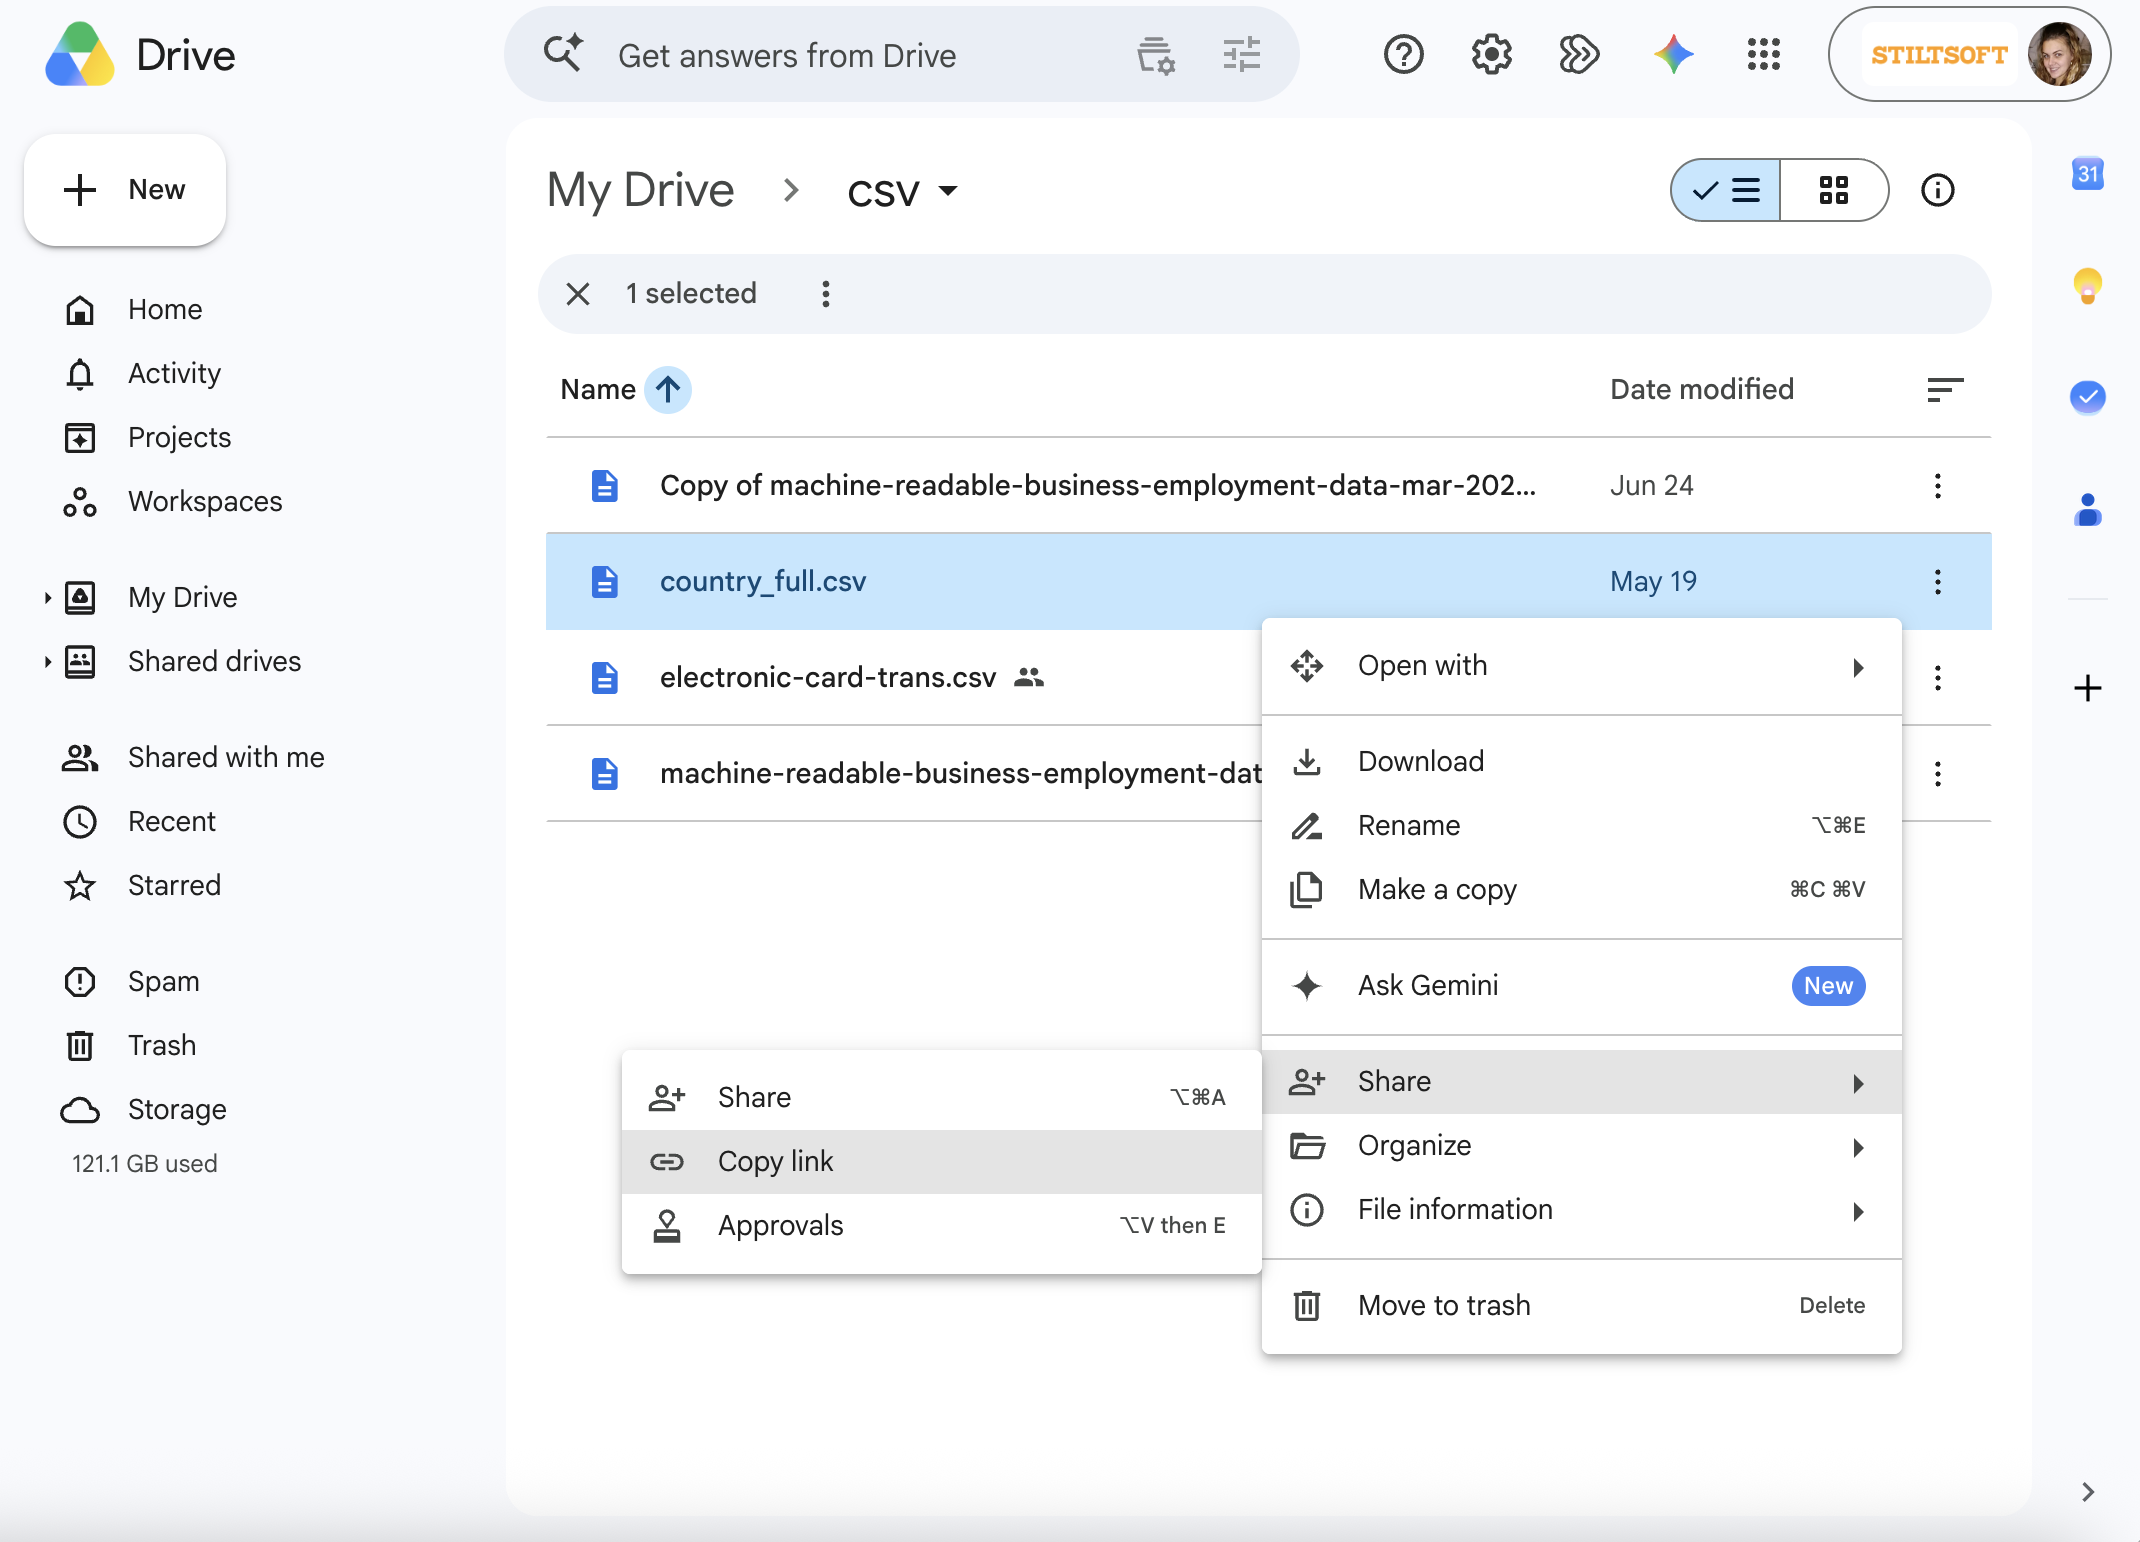
1. Copy and paste the URL of the Google Drive CSV, JSON, or XLSX file.
It will automatically be converted into the macro.
2. Or insert the macro on a page:
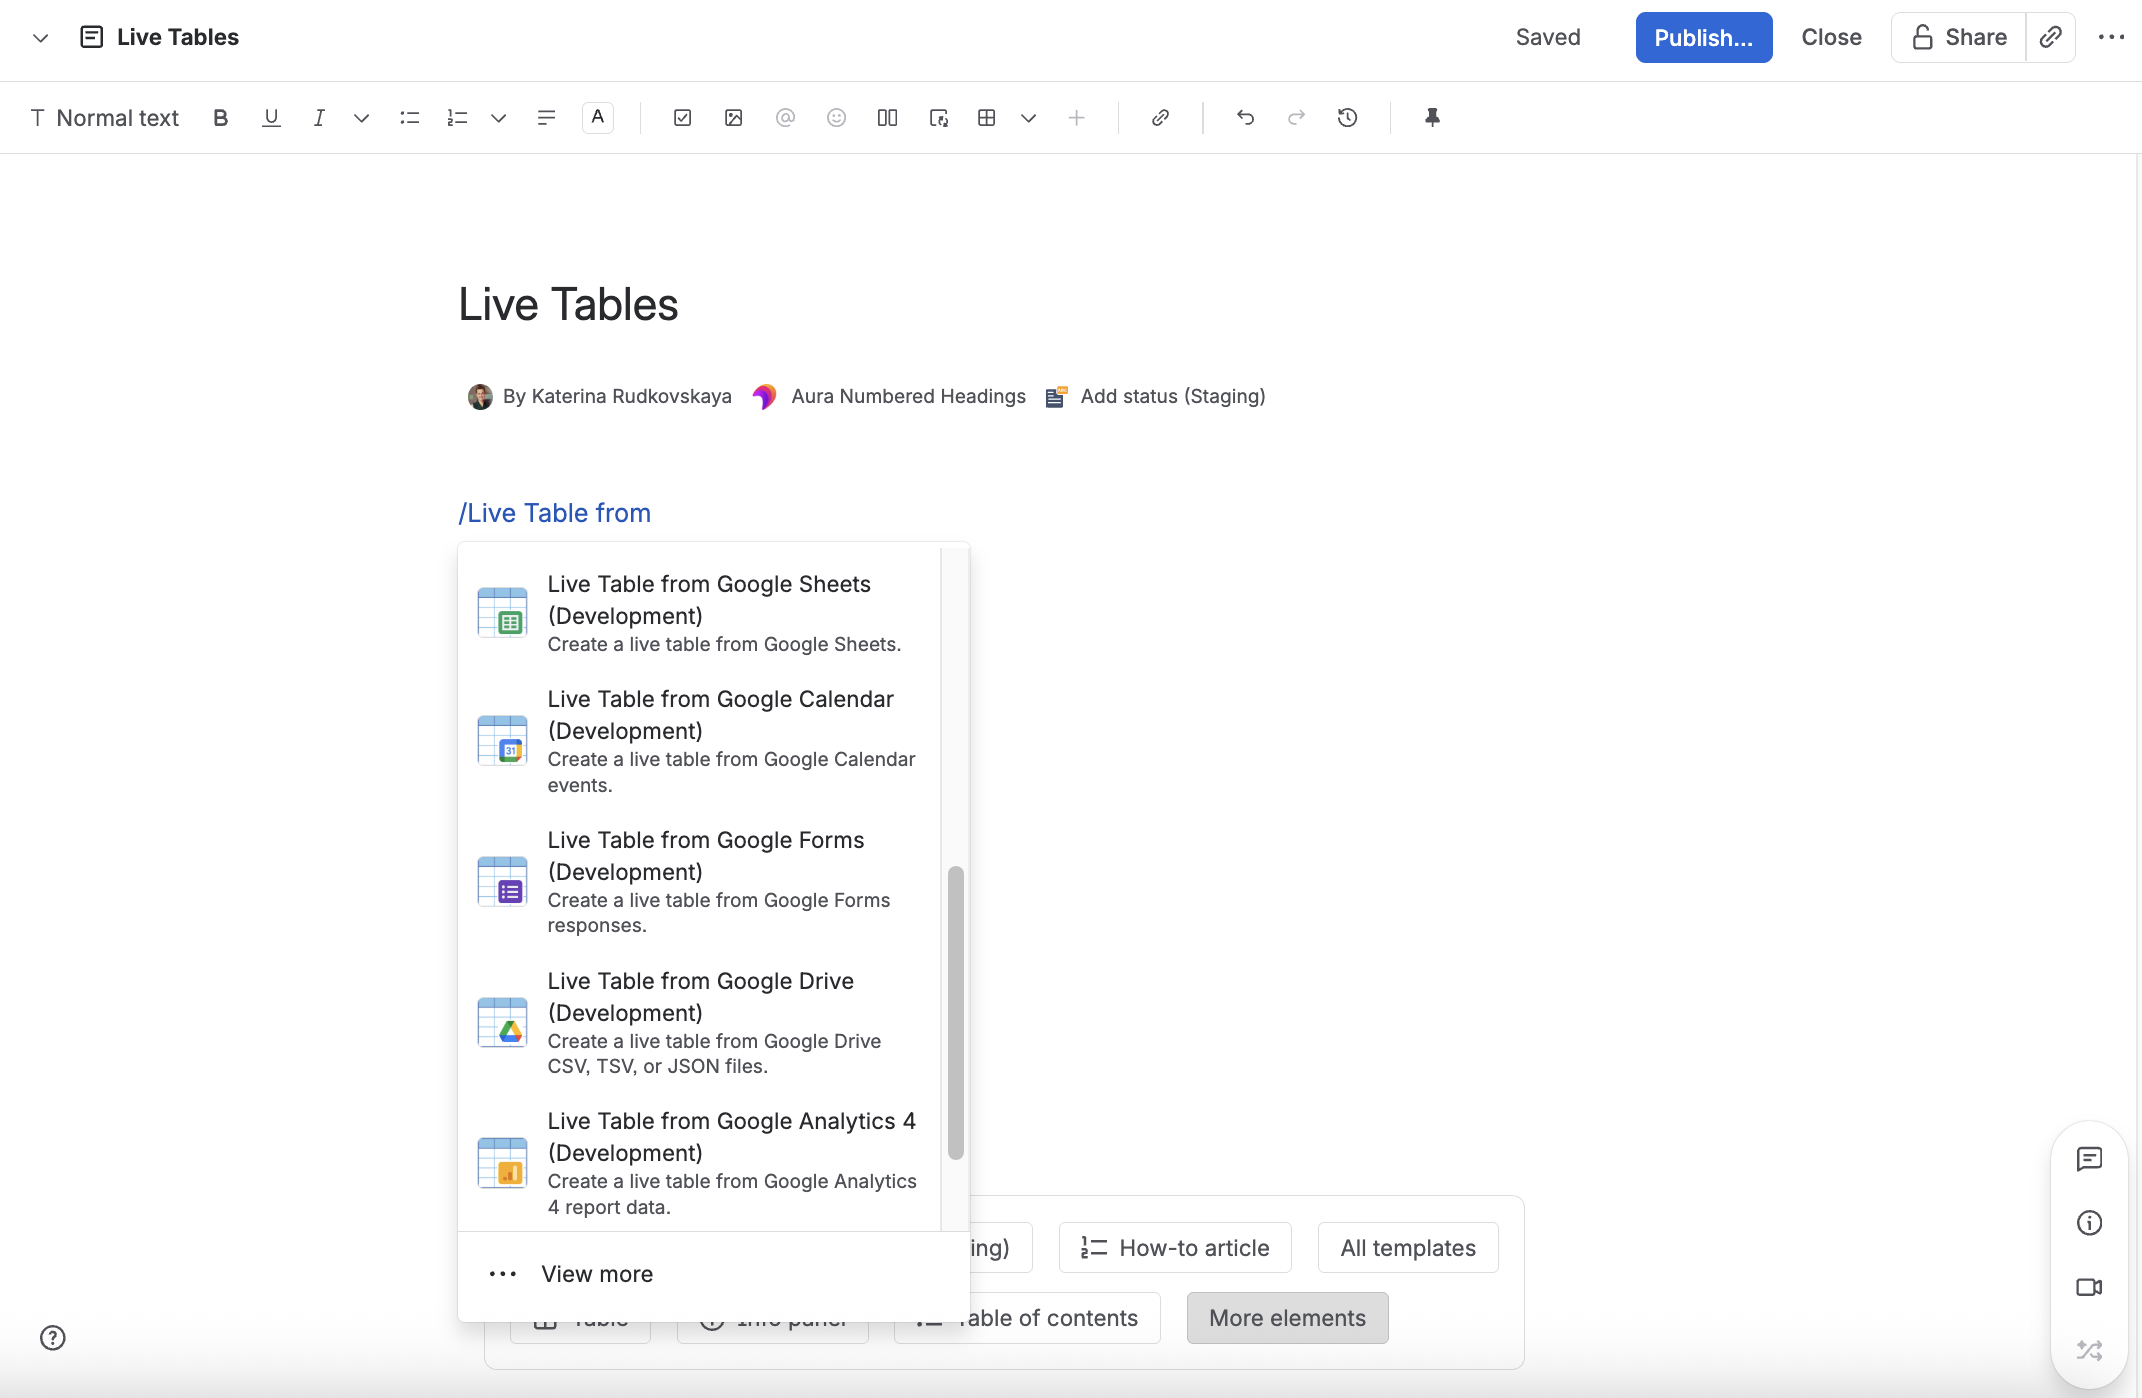
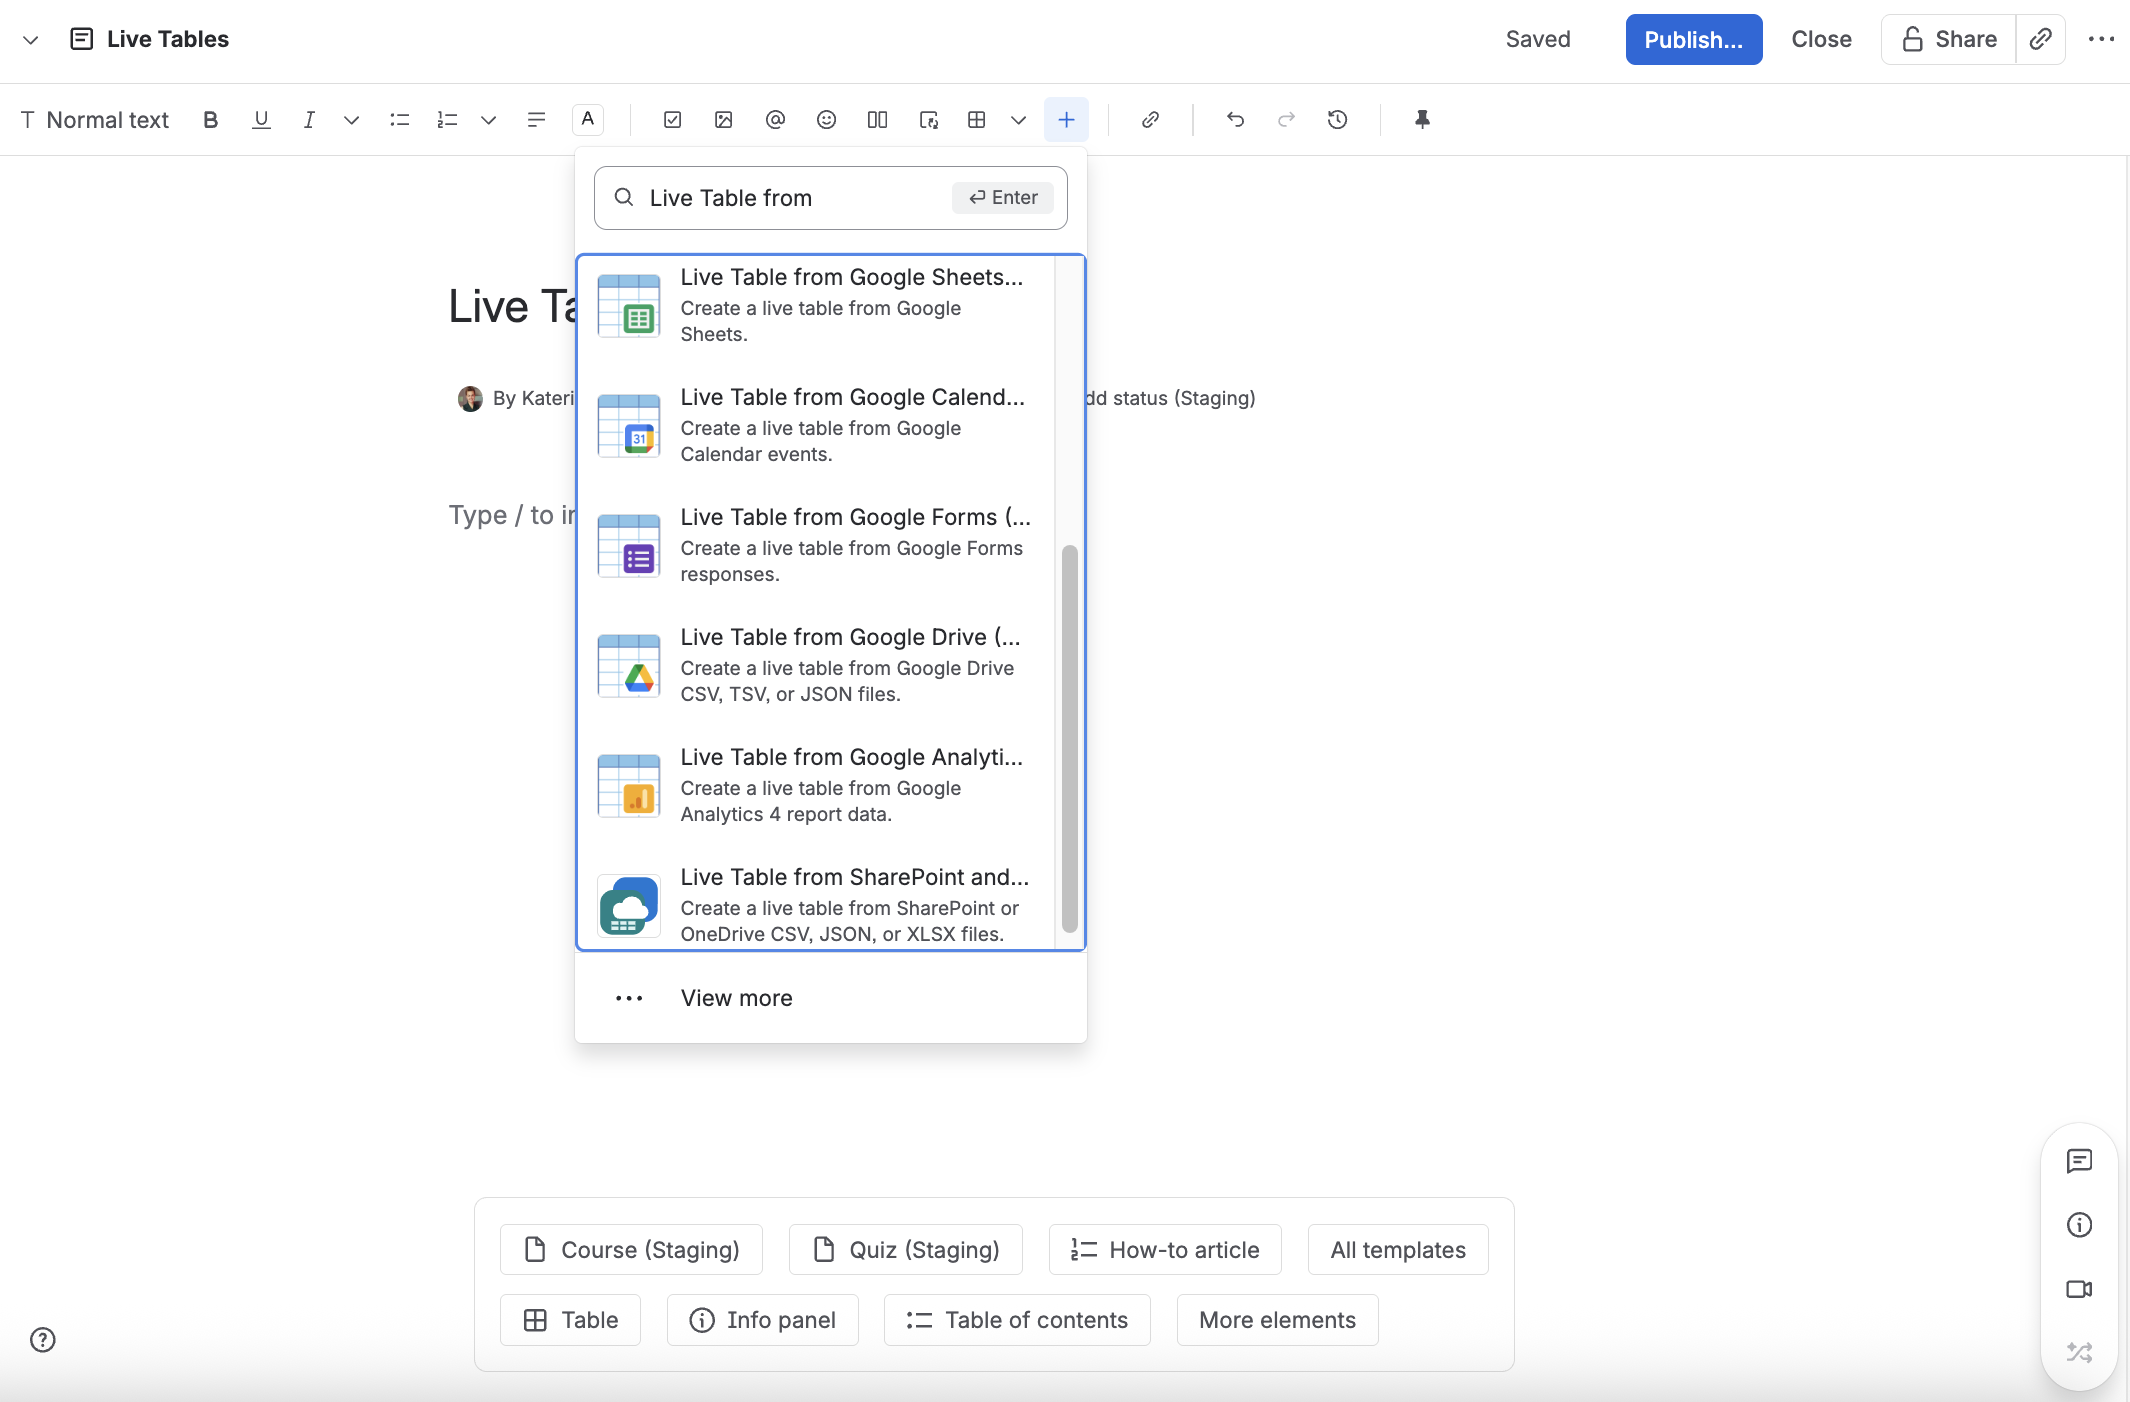
- Start entering /Live Table from Google Drive, select the macro.
- Or, in the editor pane, click Insert elements -> View more, find the macro, and insert it on the page.
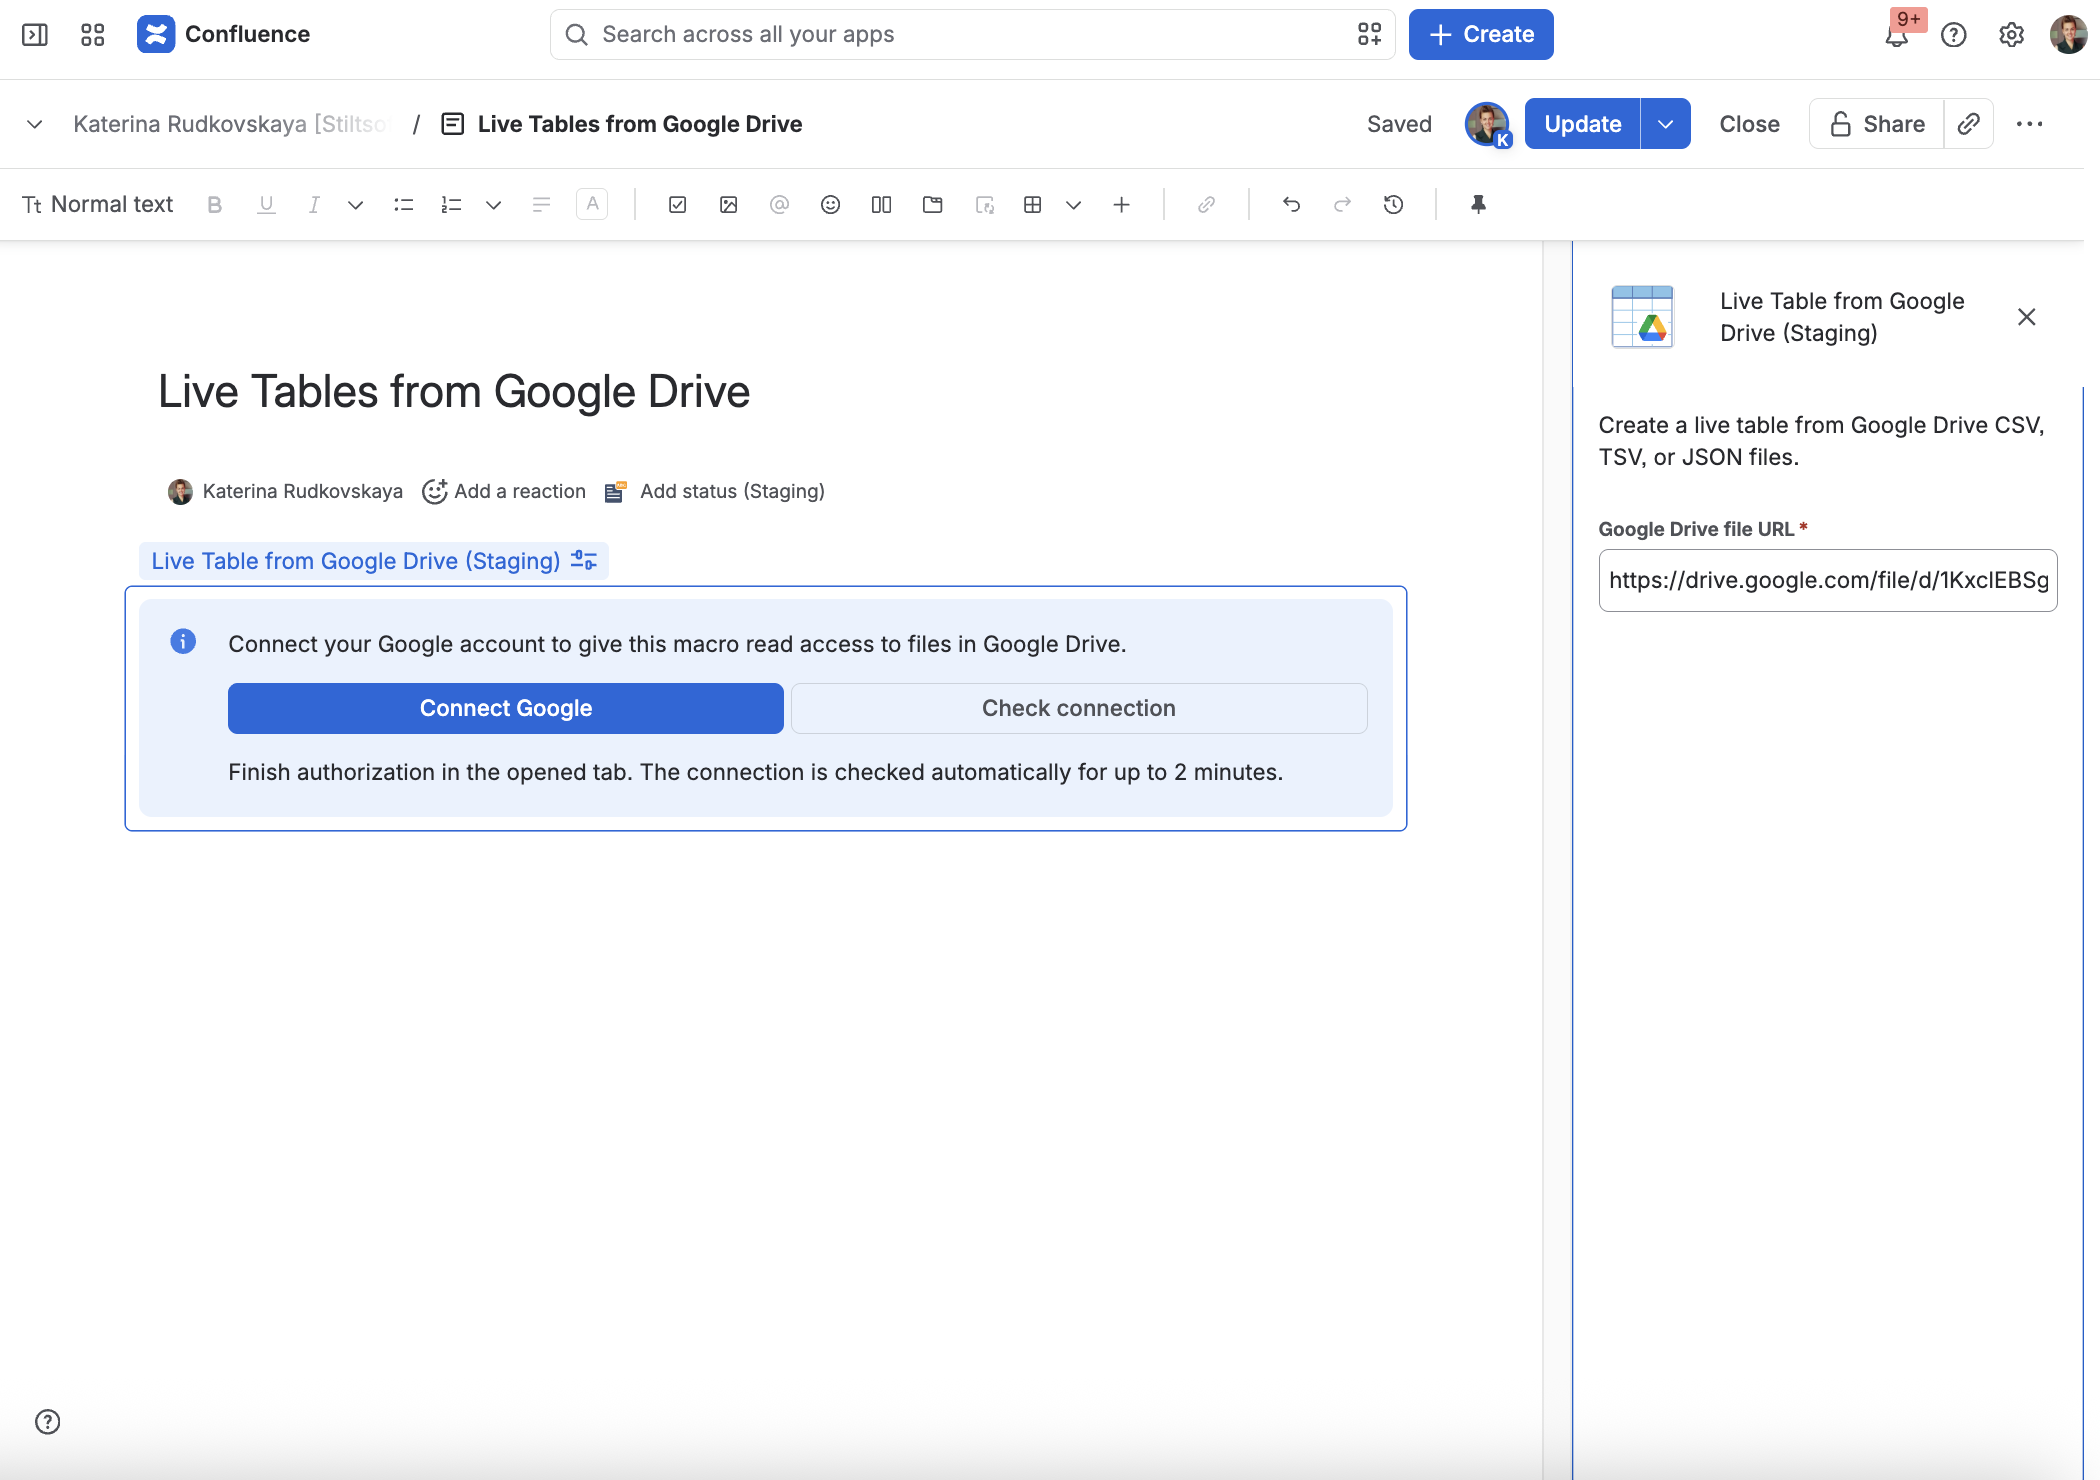
- Insert the Google Drive URL.
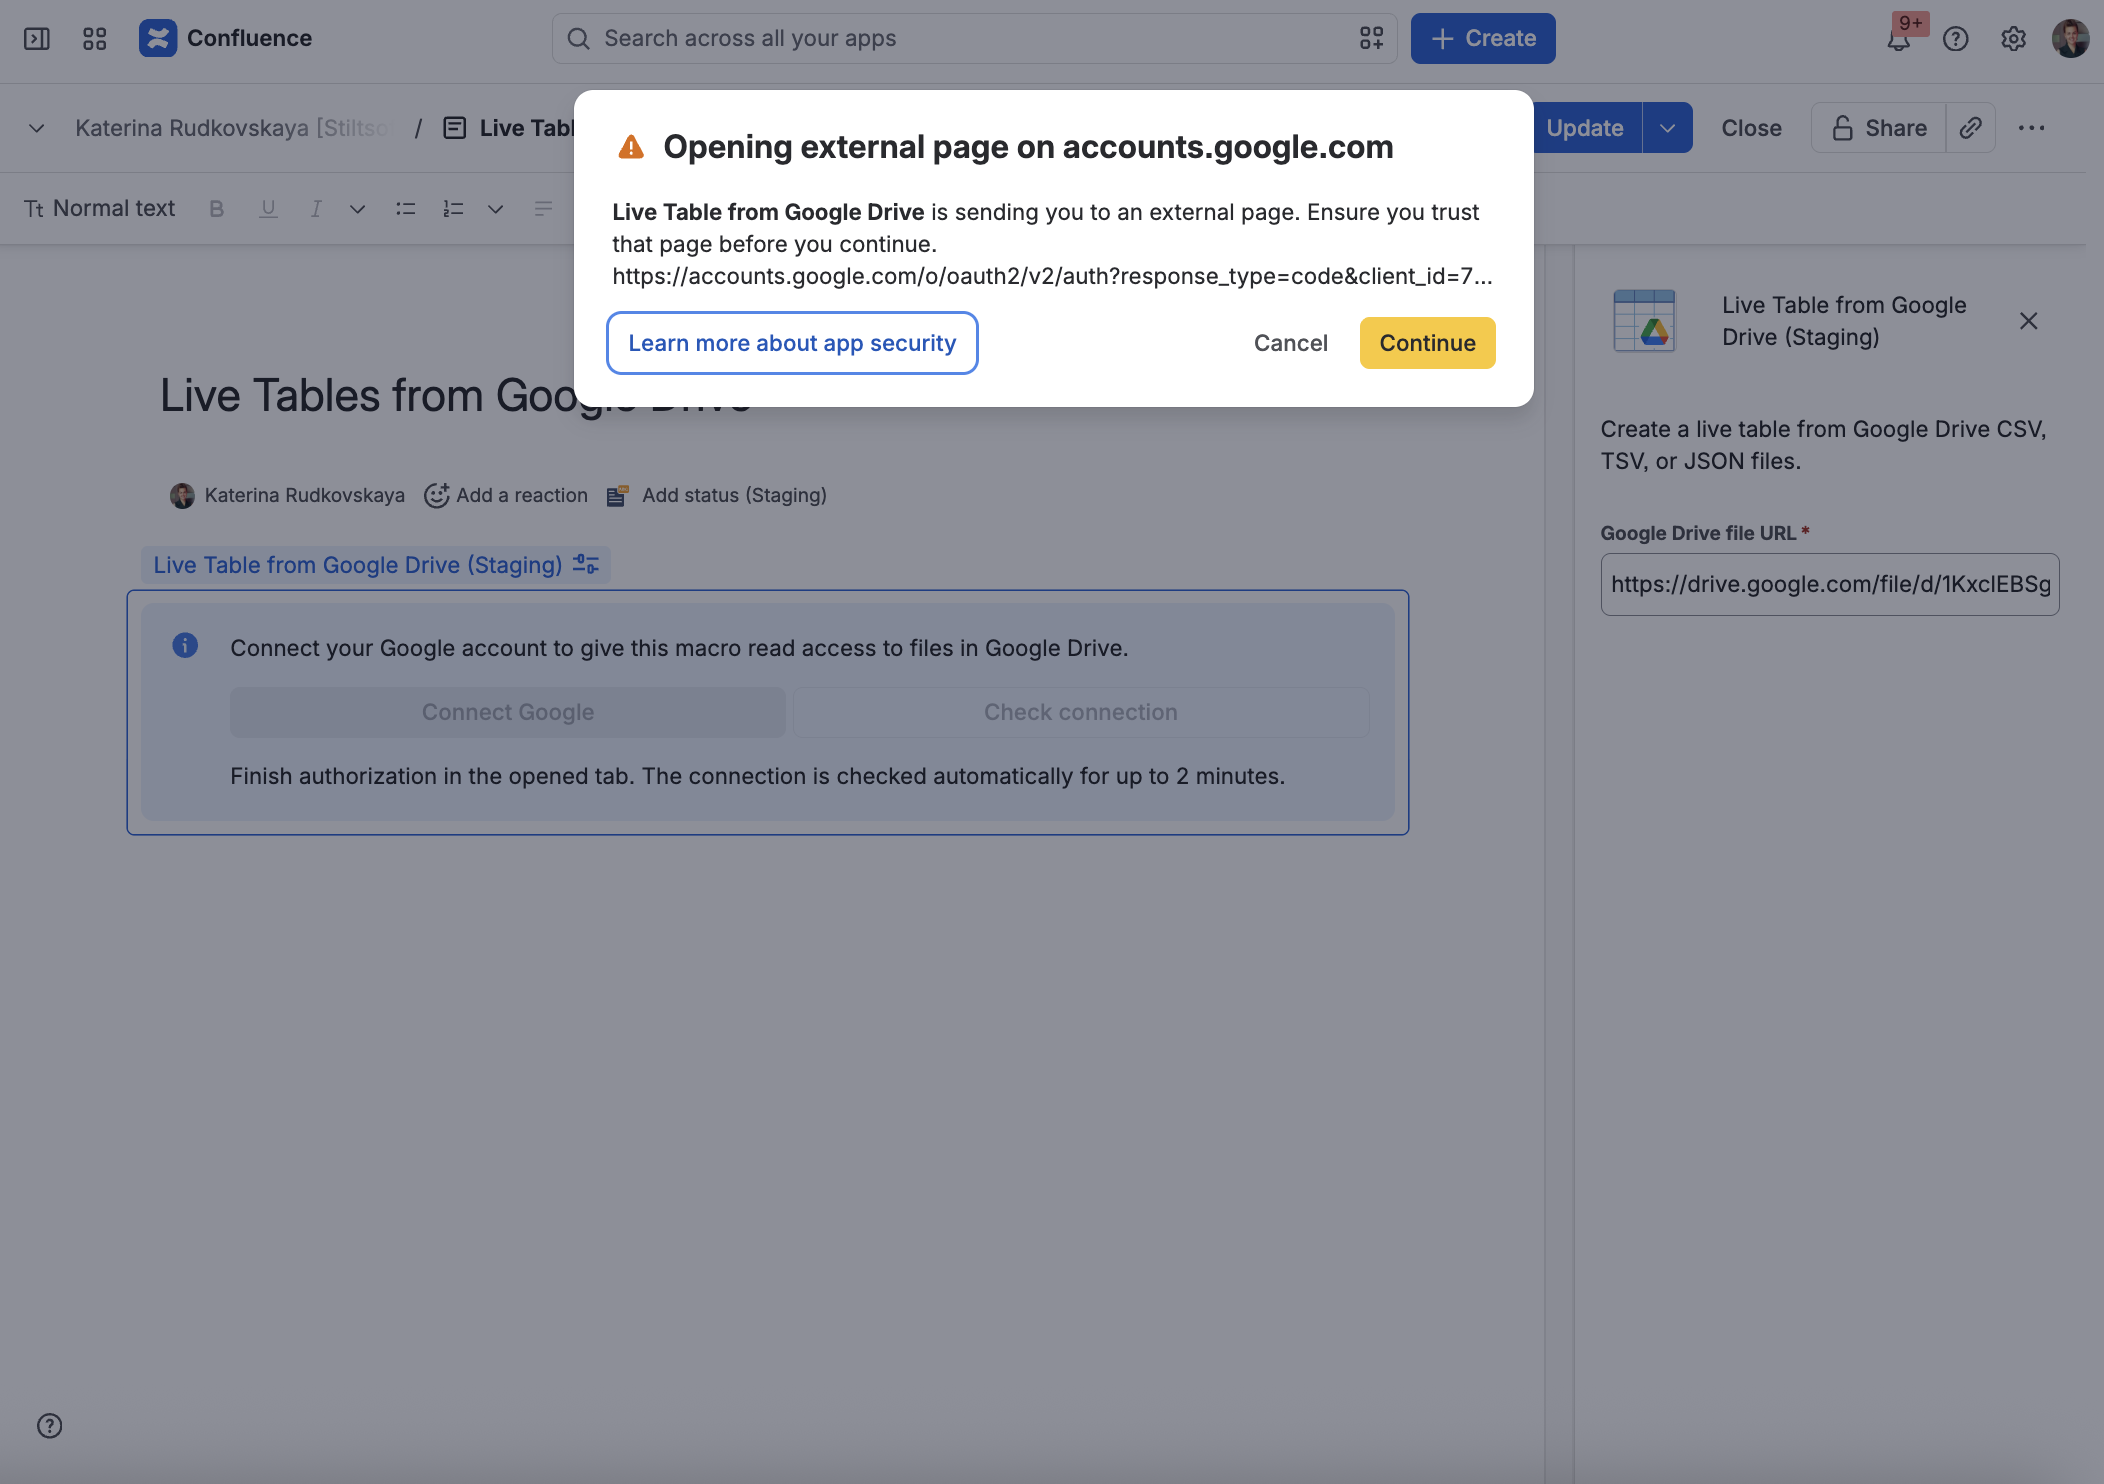
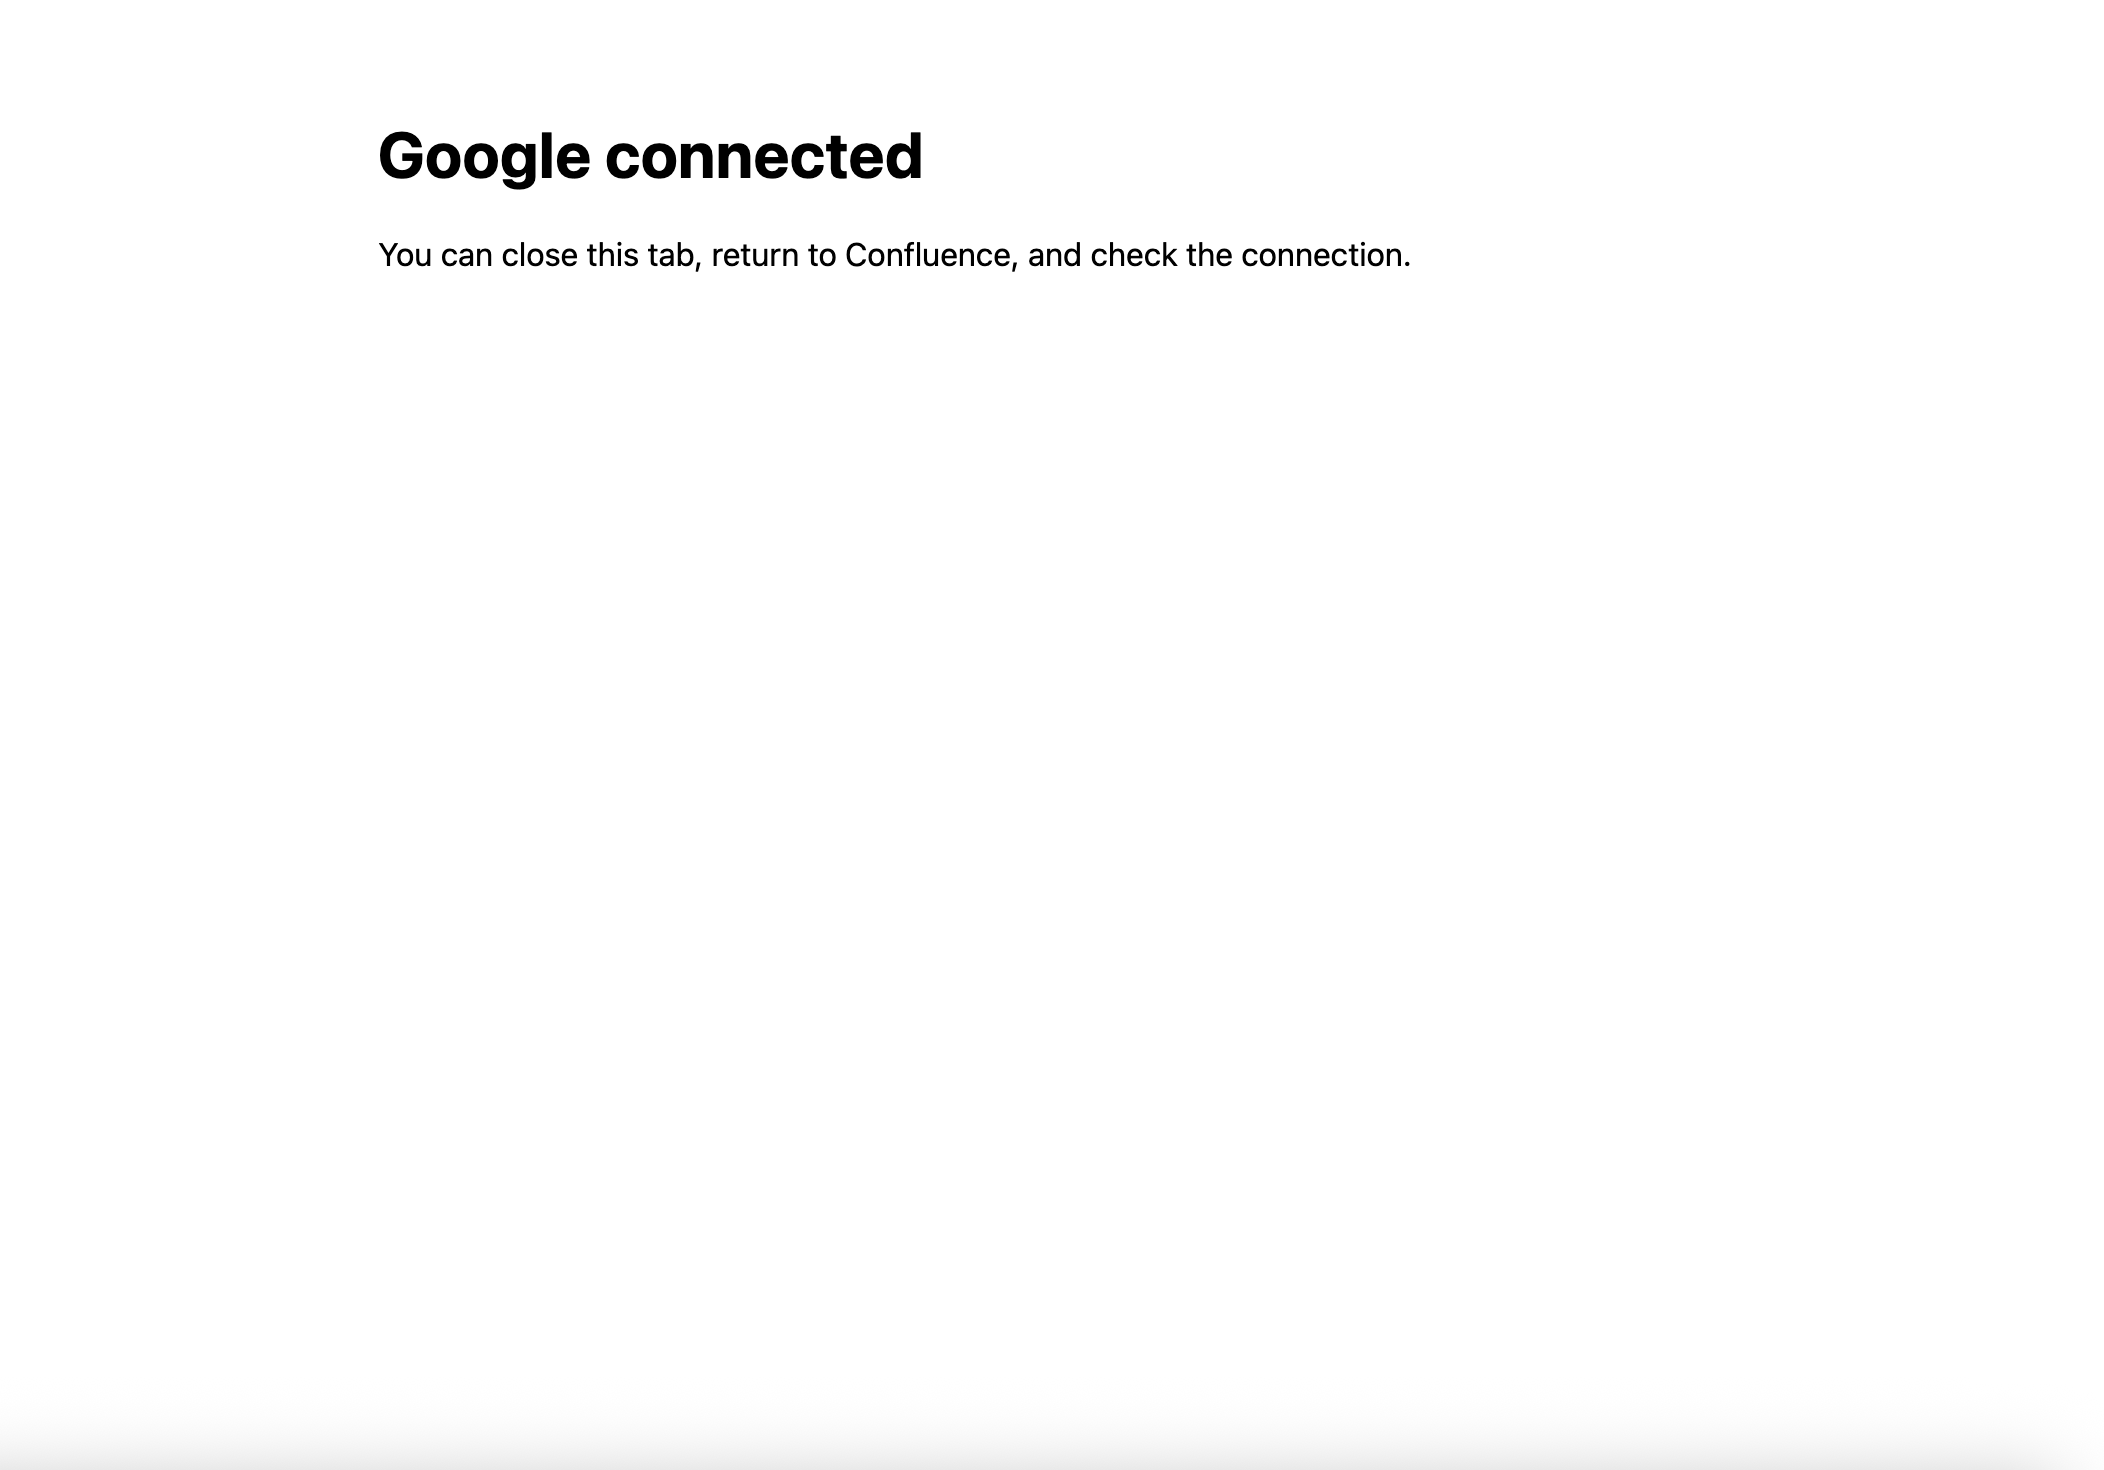
3. Click the Connect Google button once Google OAuth is configured.
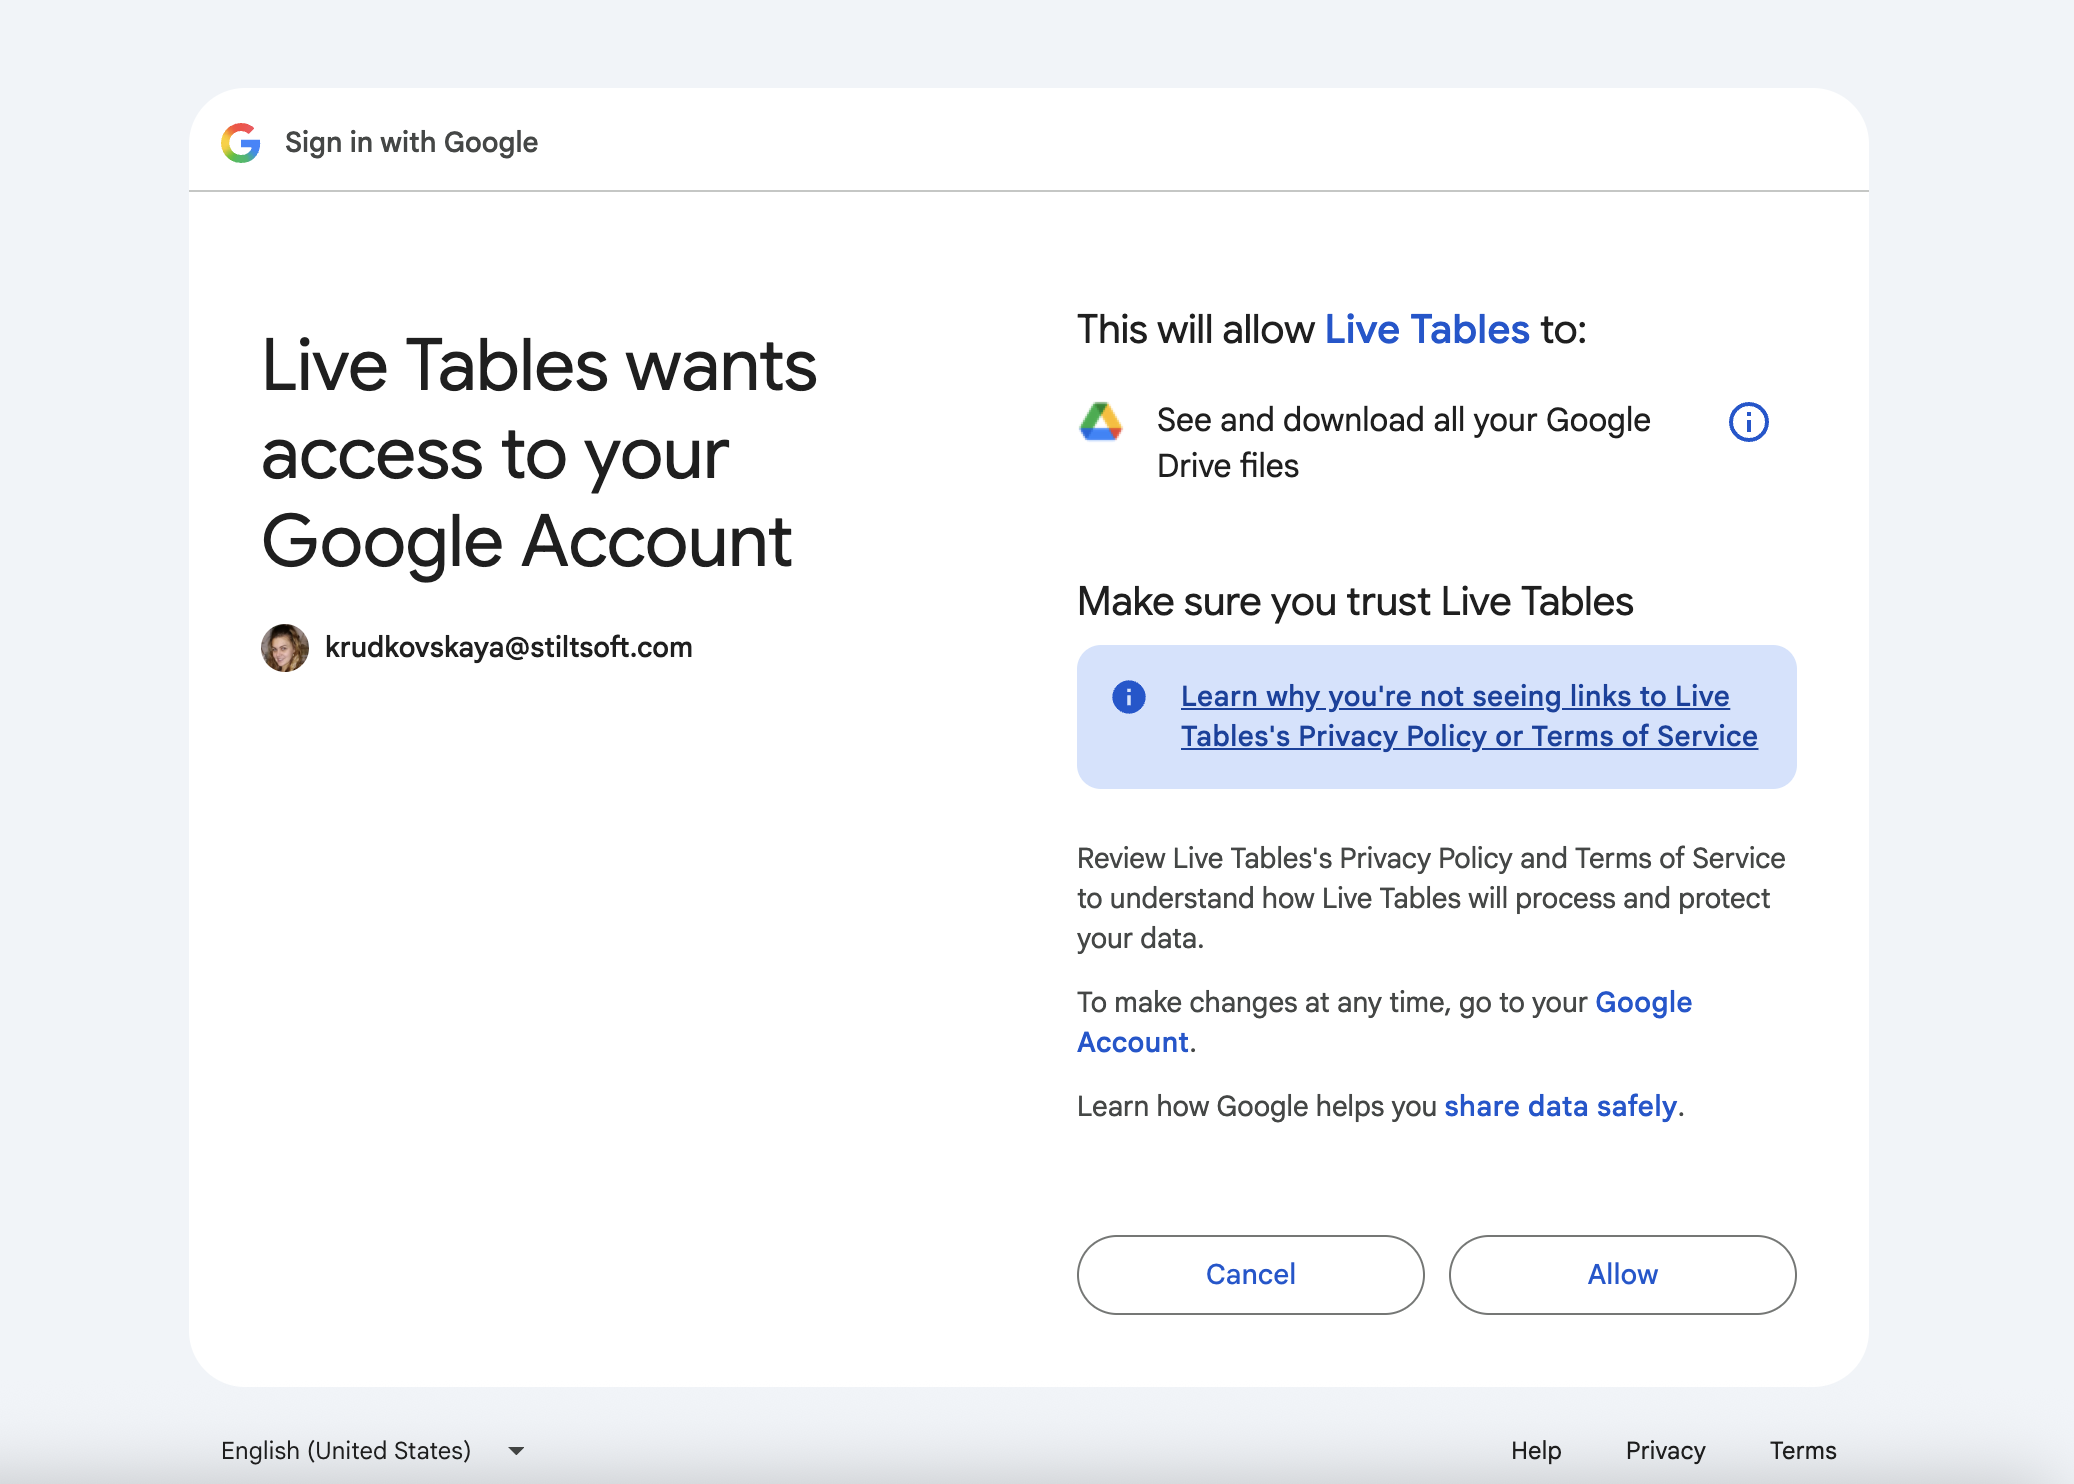
4. Allow the app access to your Google account once.
5. Specify Delimiter, Quote, Encoding, Data format fields if needed.
6. Publish the page.
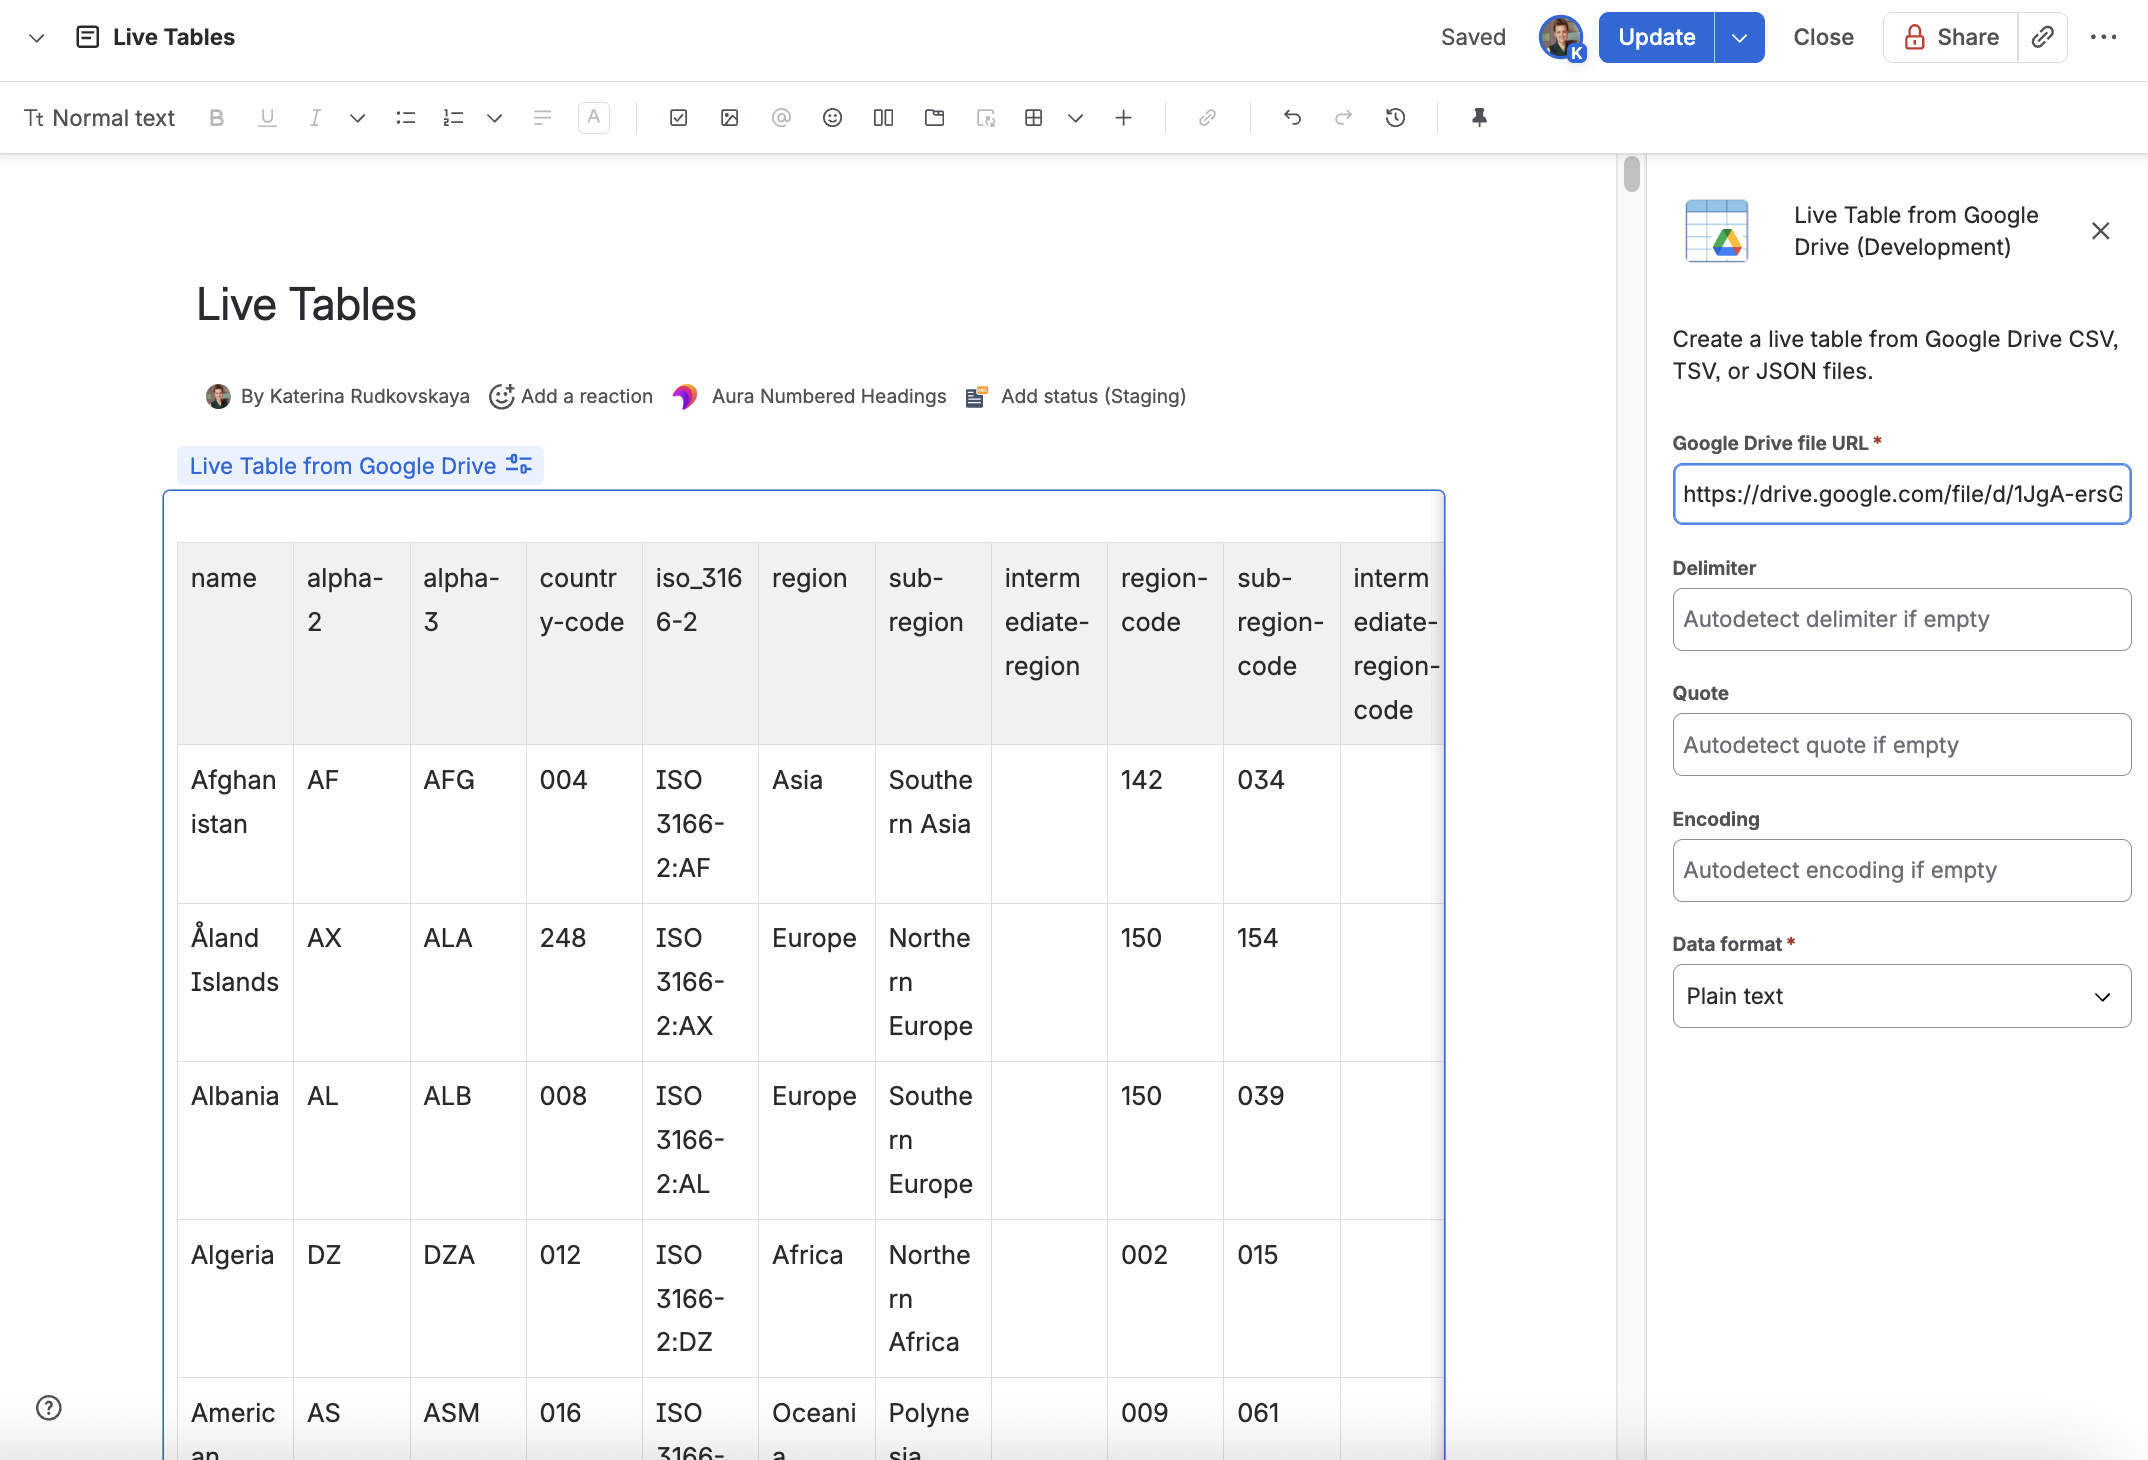

The tables generated by the macro in Confluence automatically update to reflect changes in the connected Google Drive.

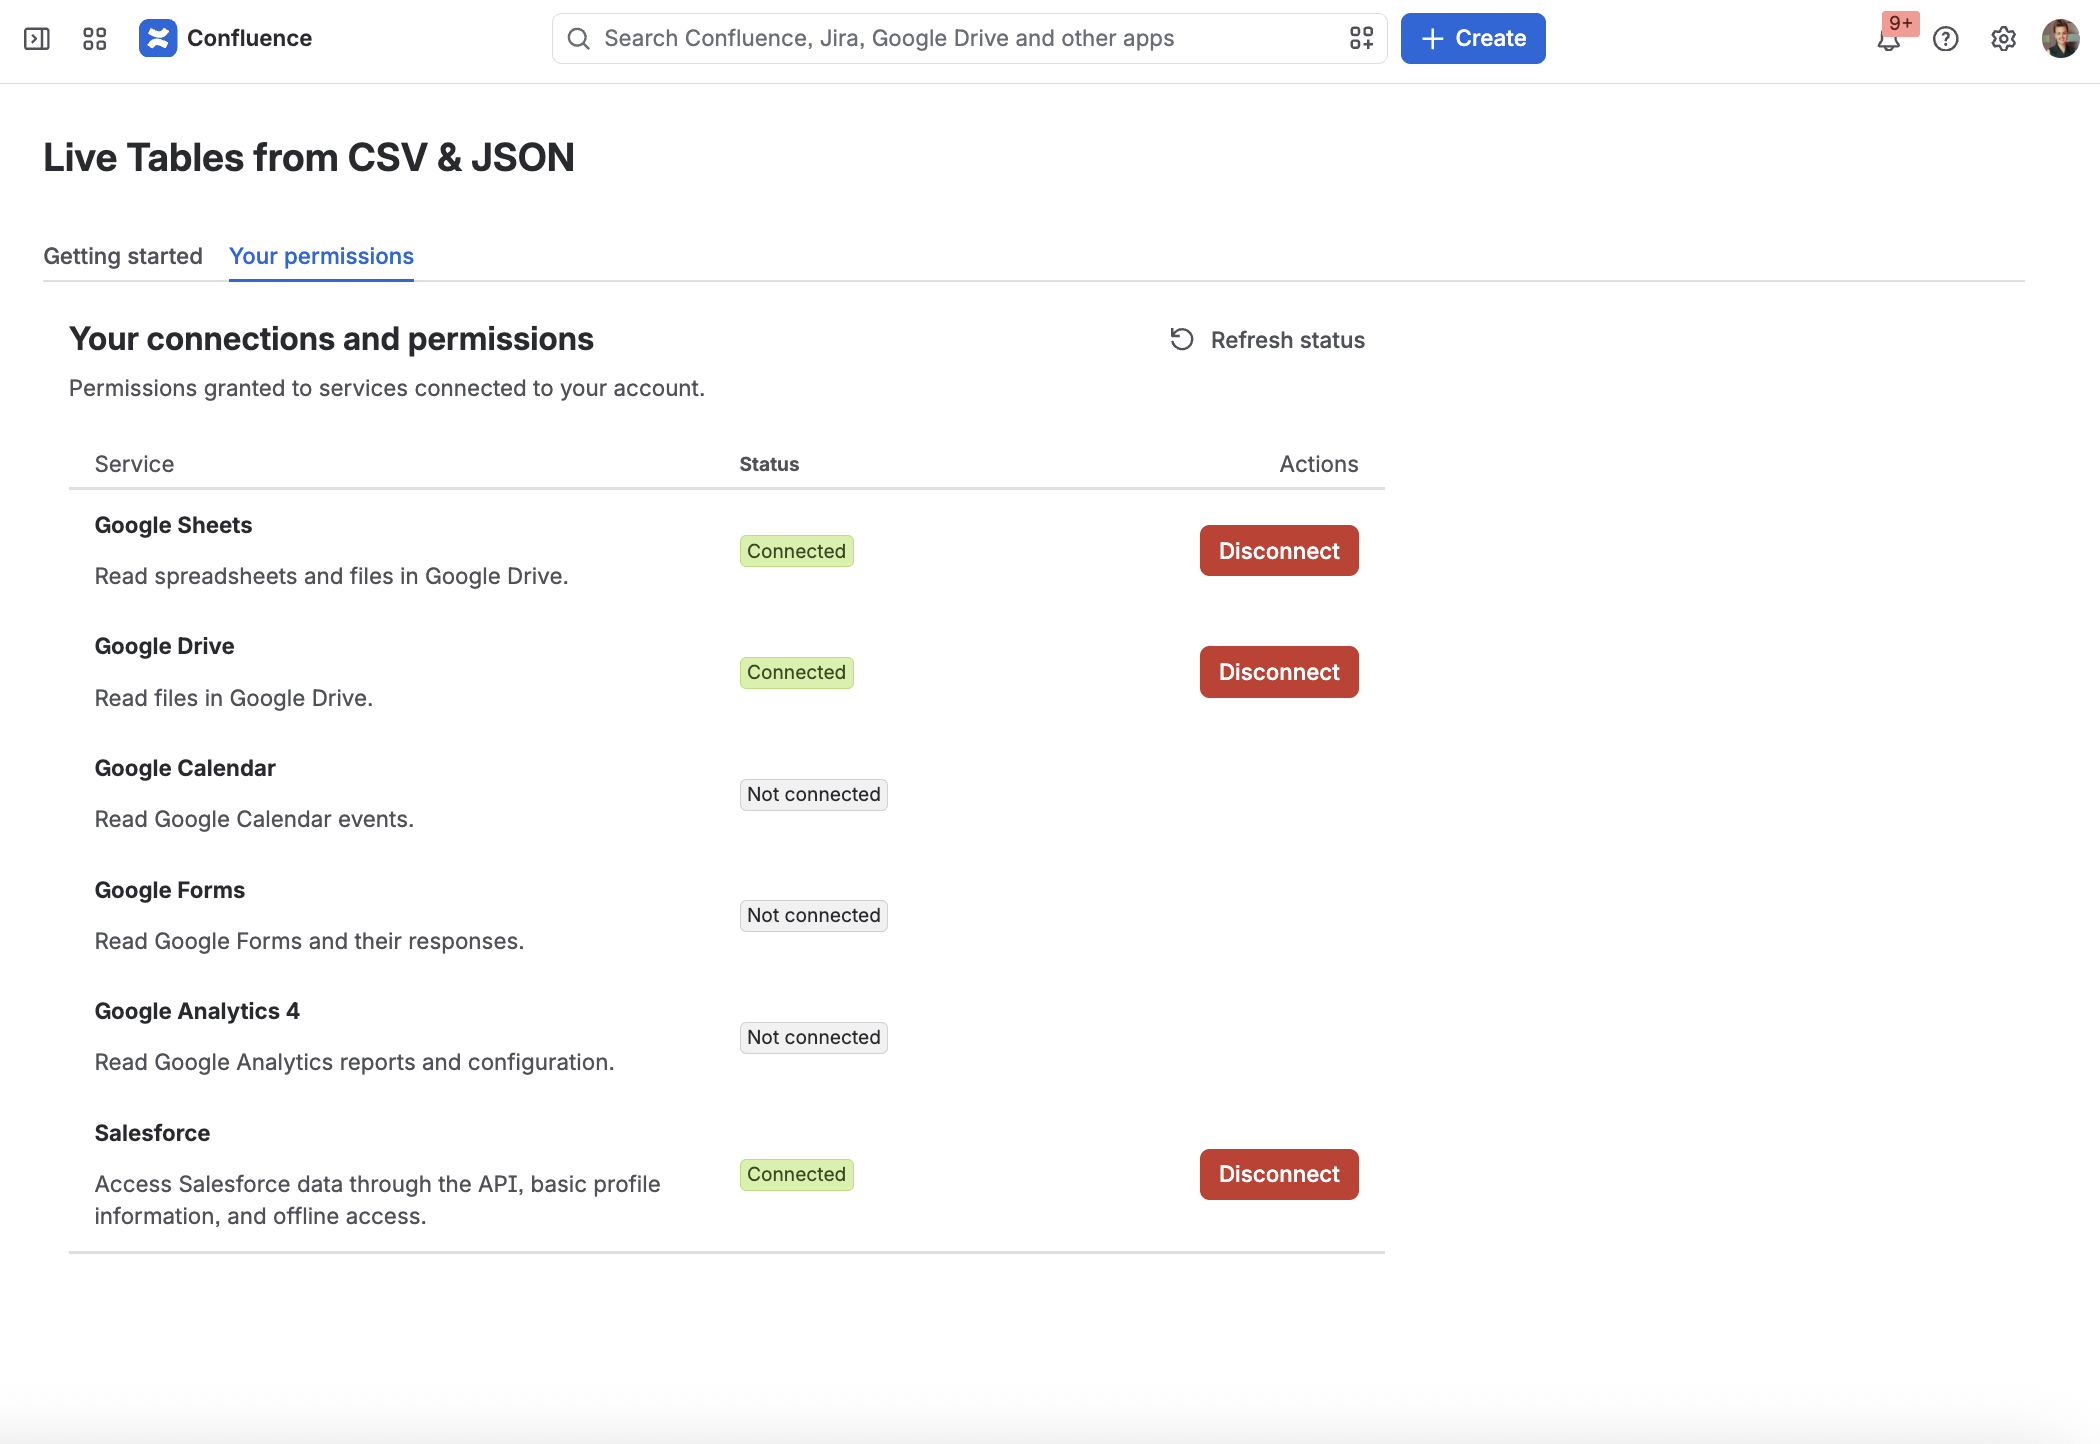
Check the current user connections and permissons via the Apps → Live Tables → Your permissions.
Working with the table
The table shows the file data available to the viewer when the macro loads.
To filter data, create charts, or process the table, combine the Live Table from Google Drive macro with Table Filter, Charts & Spreadsheets macros.
Use Table Toolbox to nest the macros.To edit and analyze the table data in a spreadsheet, use Spreadsheet from Table.