Download PDF
Download page Table from CSV.
Table from CSV
The Table from CSV macro allows you to output a table from CSV or TSV data source.
The macro supports outputting data from a URL or an attached file.
Using the Table from CSV macro
1. Insert the macro on a page:
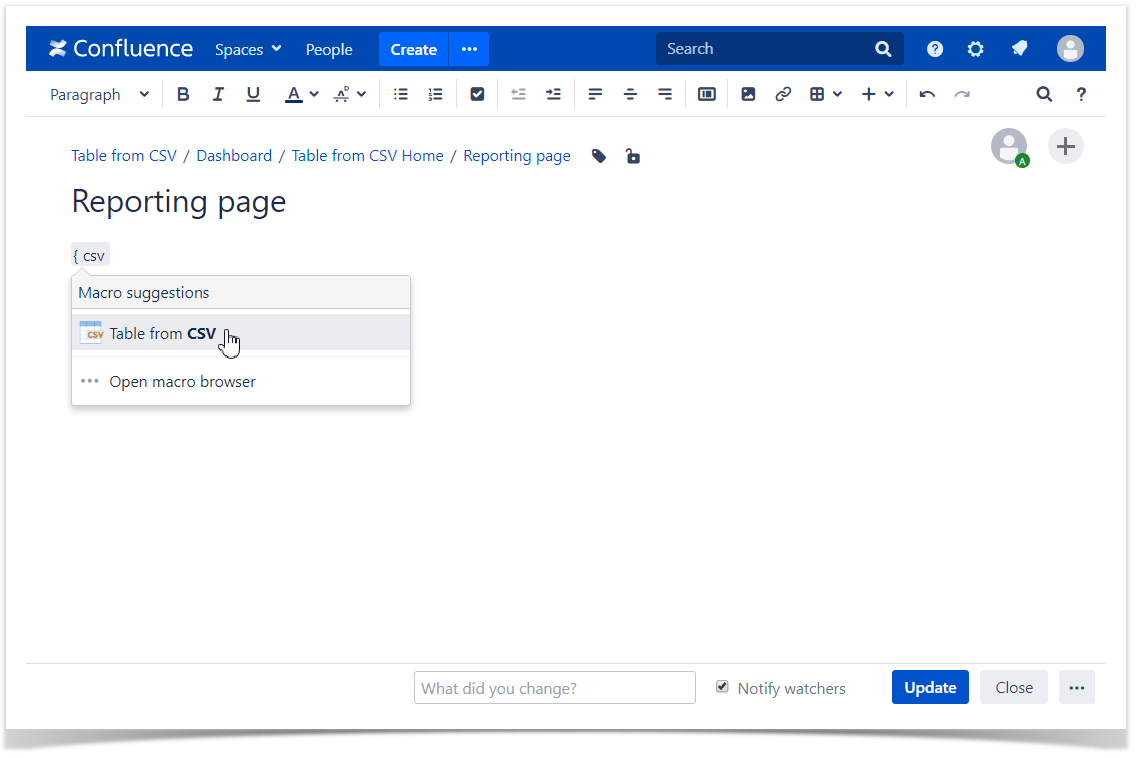
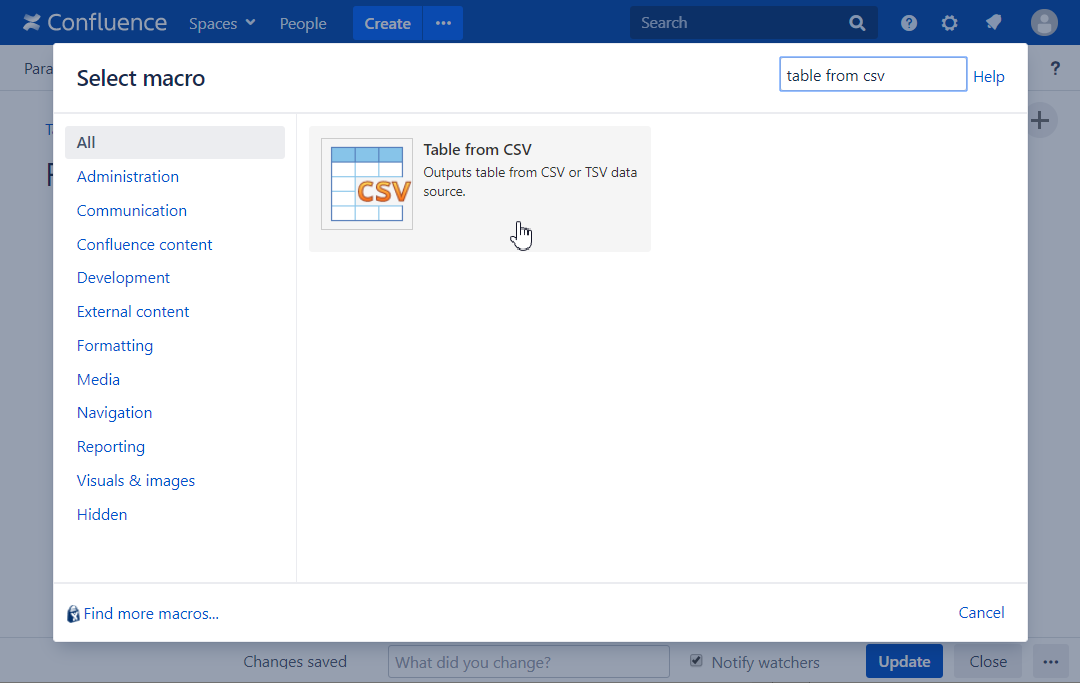
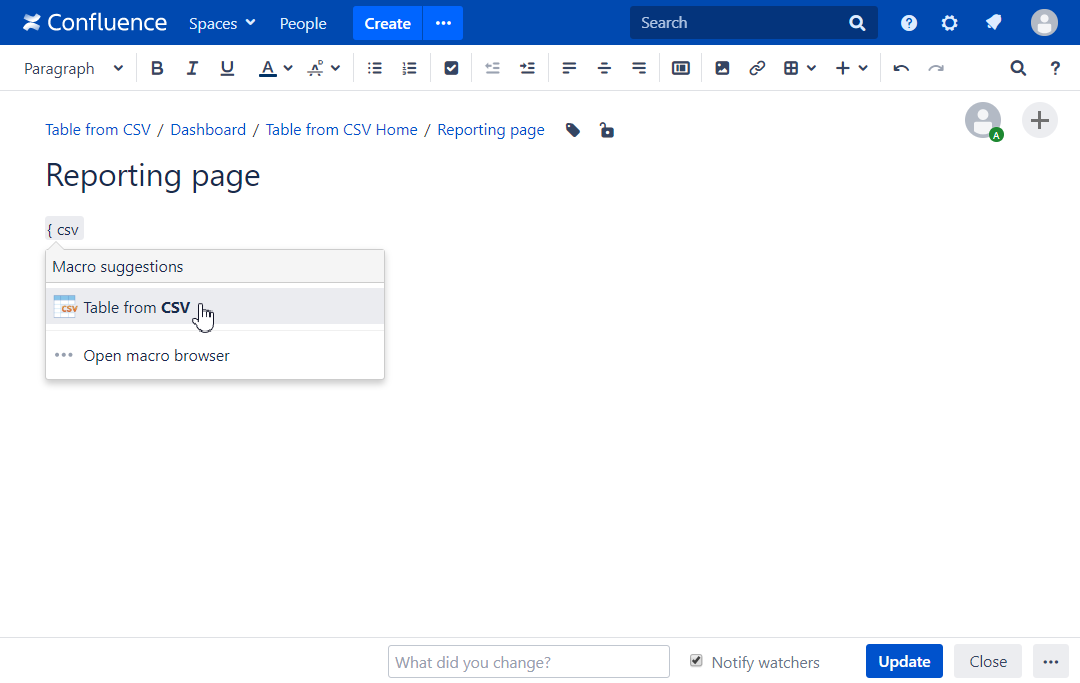
- Start entering {Table from CSV} and select the macro
- Or on the editor pane, click Insert more content -> Other macros, find the macro and insert it on the page
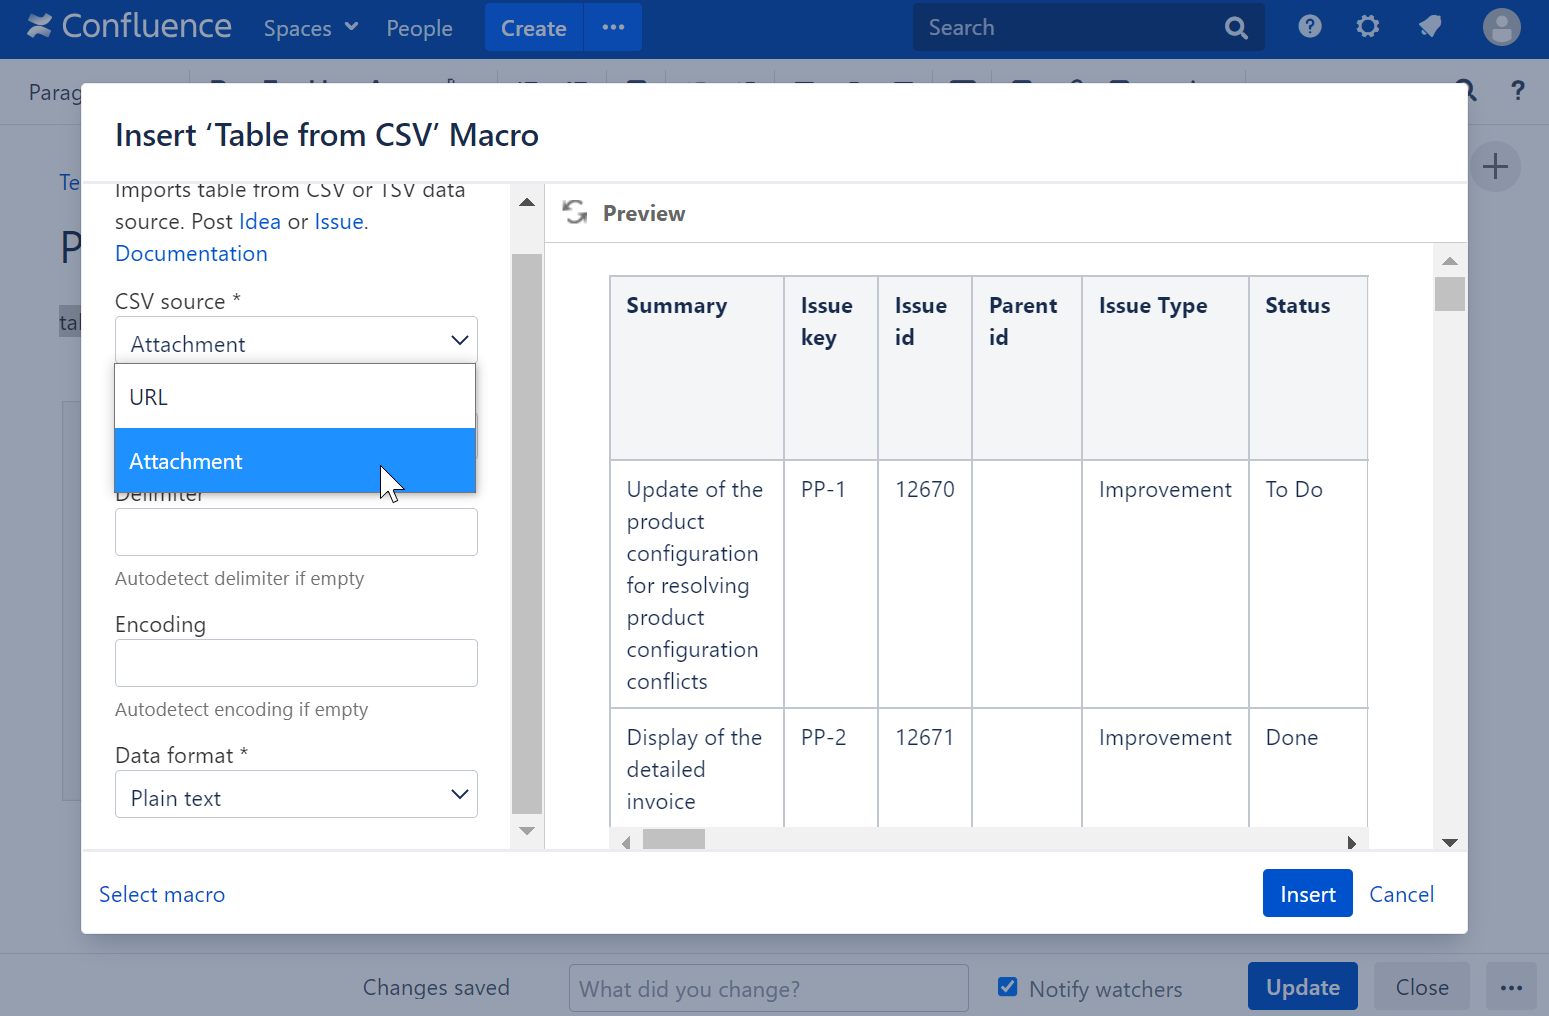
2. Specify the CSV source option:
- URL
- Attachment

If the URL is local, please add it to the Allowed URL list.
You can use {pageId} variable in the URL, which means ID of the current page.
You can use {currentUser.id} variable in the URL, which stands for the login of the current user.
The case may be to pass this login to the server that generates a CSV file, so that only the specific data related to the current user will be produced.
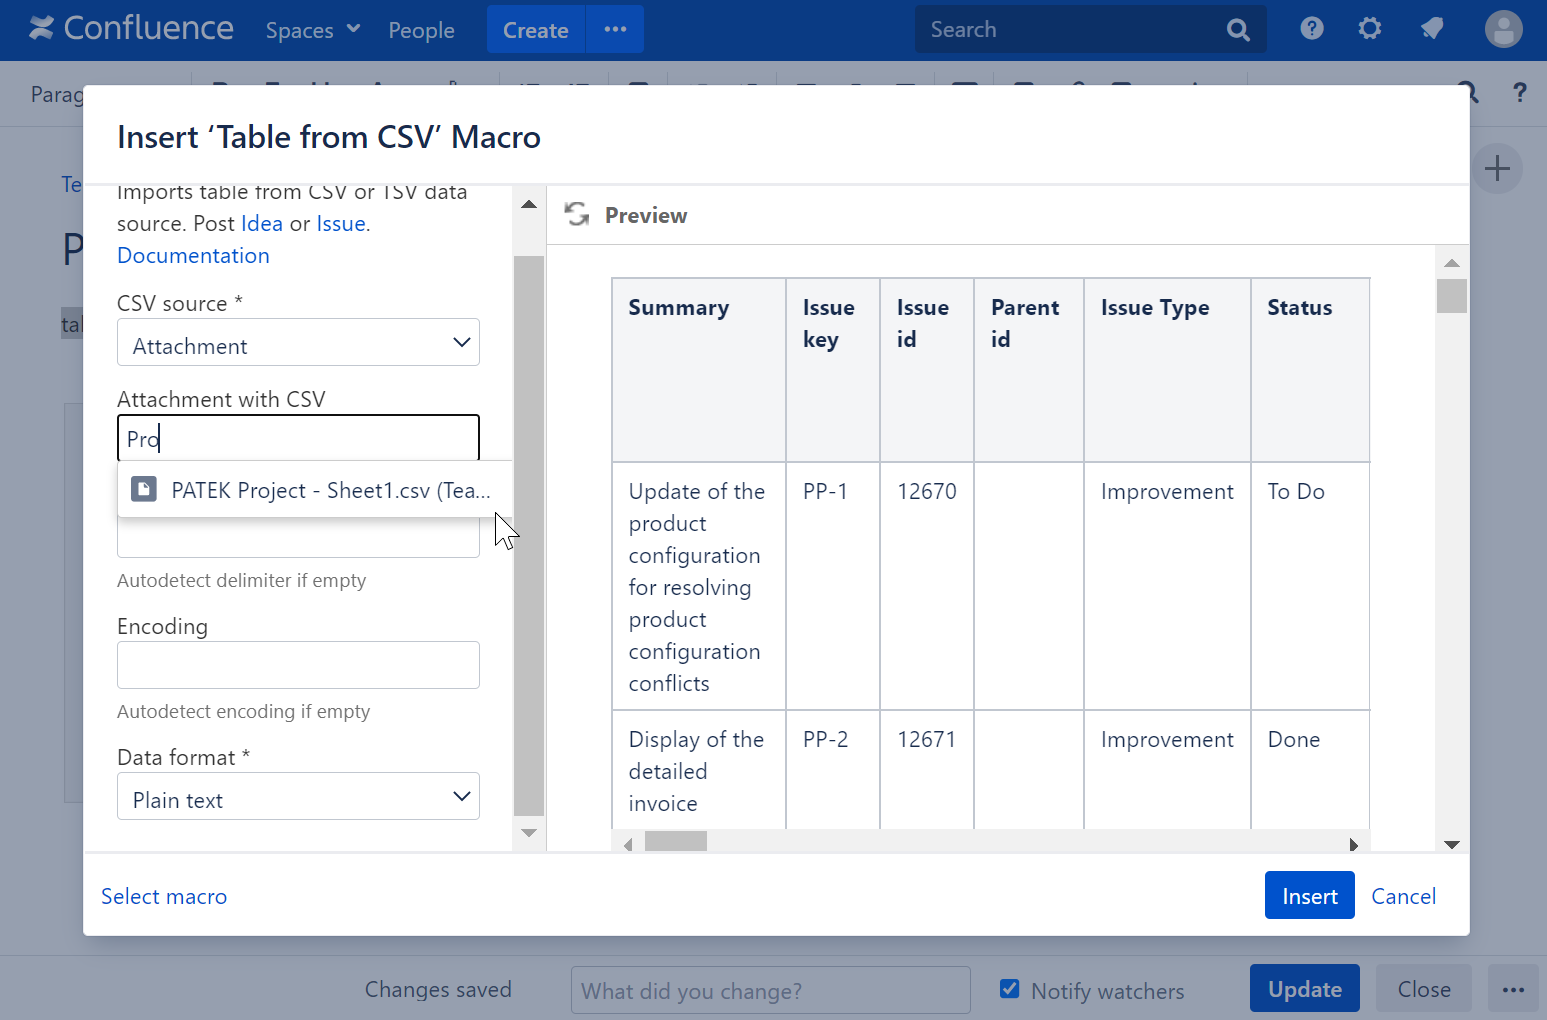
3. Find the attachment by typing the file name.
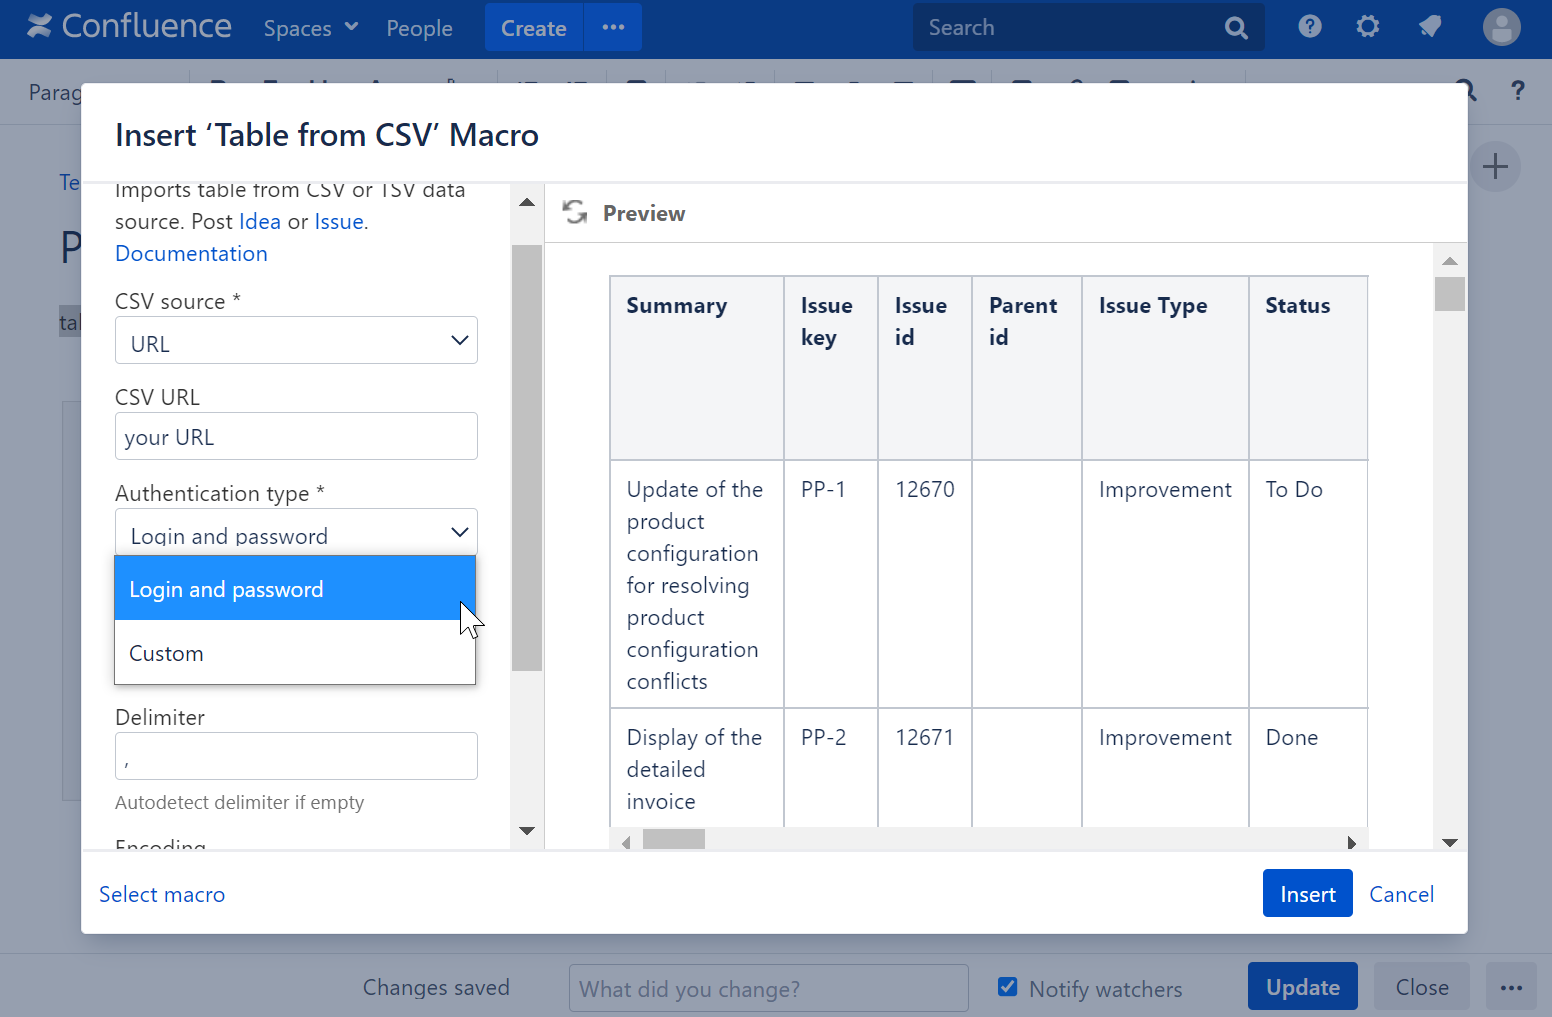
4. Or configure a URL:
- Add a URL to CSV
- Select the Authentication type
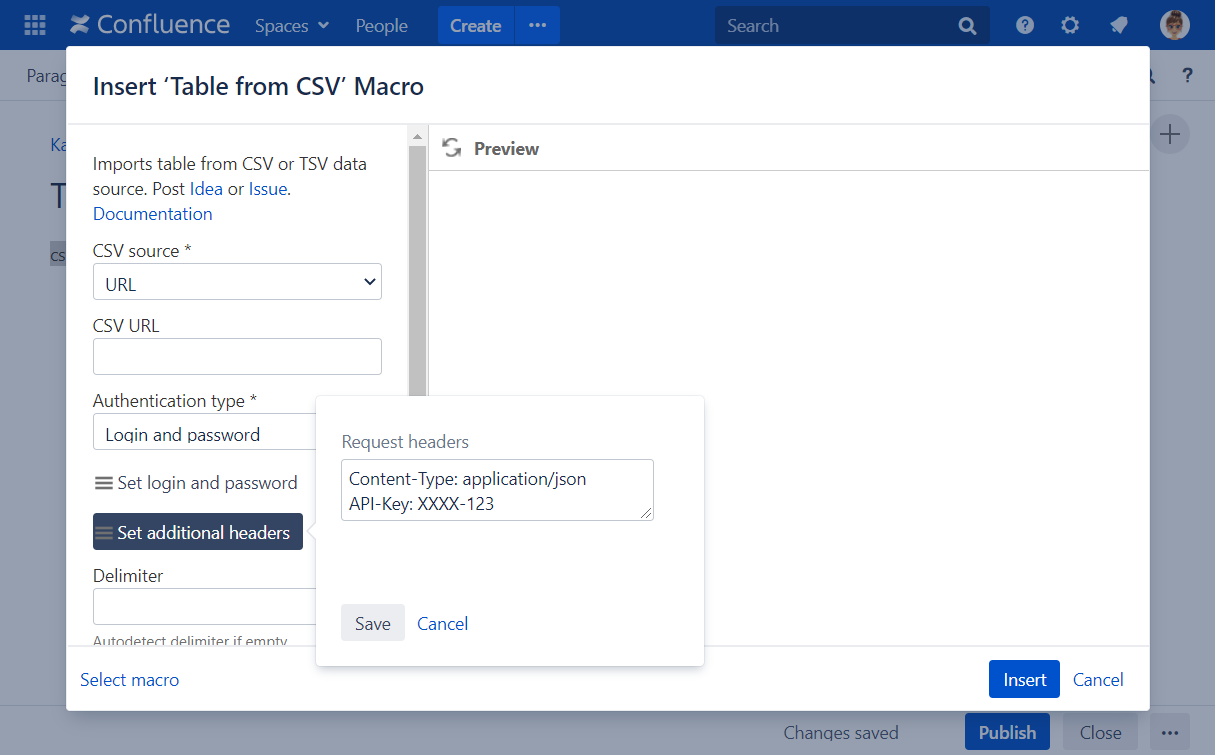
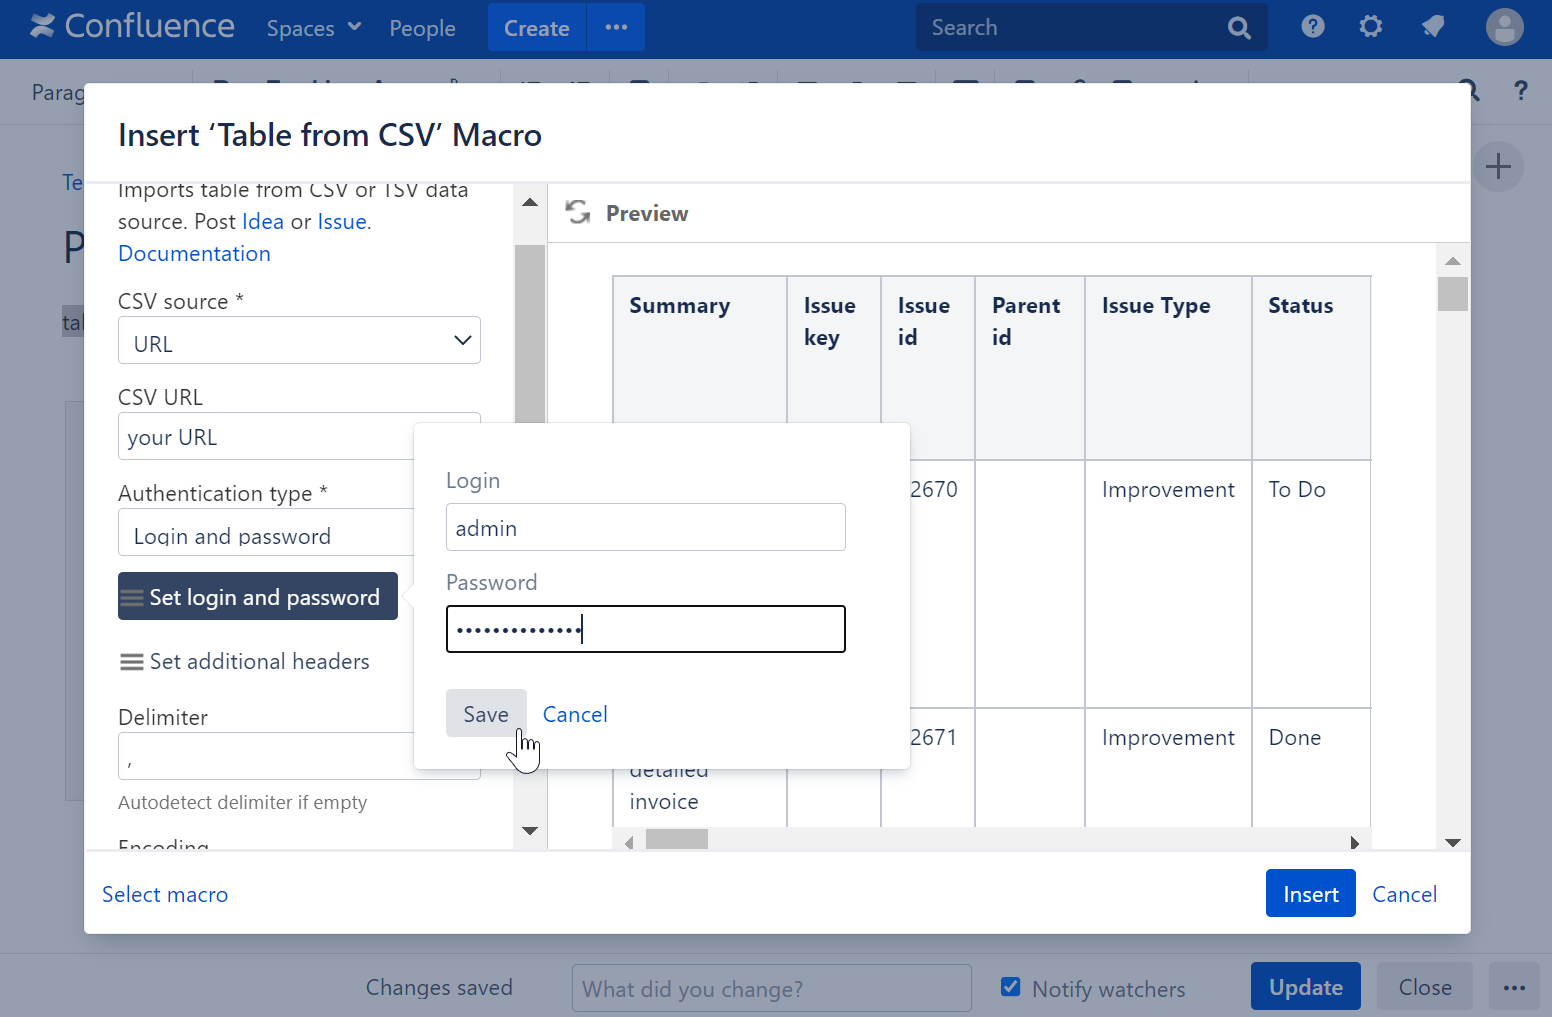
Optionally set the login and password settings, the authentication header, additional headers.

To ensure users re-enter credentials when a macro is copied to another page, ask your Confluence administrator to enable the Prevent macro copy with credentials option (the Table from CSV/JSON tab) in the Administration console. This feature is available starting from version 13.2.0 and above. This option does not revoke credentials from users who have already viewed the page. After removing someone's access, change the password or token in the source system and in the macro. See Storing authentication data.
The request headers format:
Header name: header value
Another header: another value
The header name and its value should be separated by a colon, headers by line breaks.
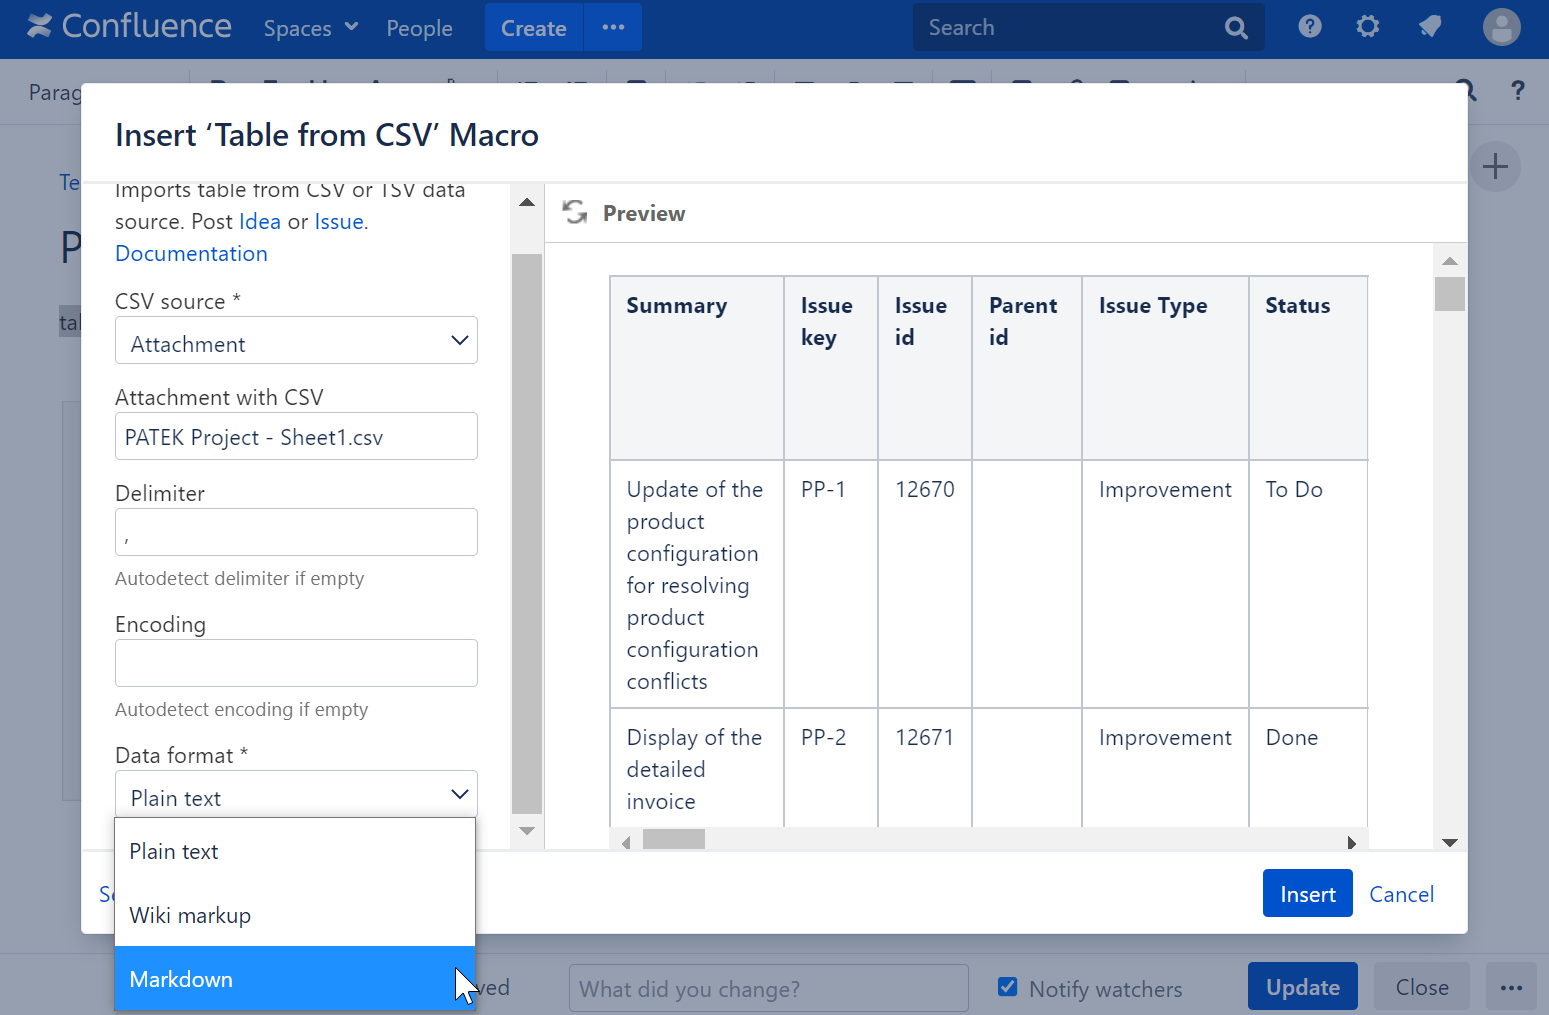
5. Select an appropriate encoding and data format (Plain text/Wiki markup/Markdown) from the list or add it manually.
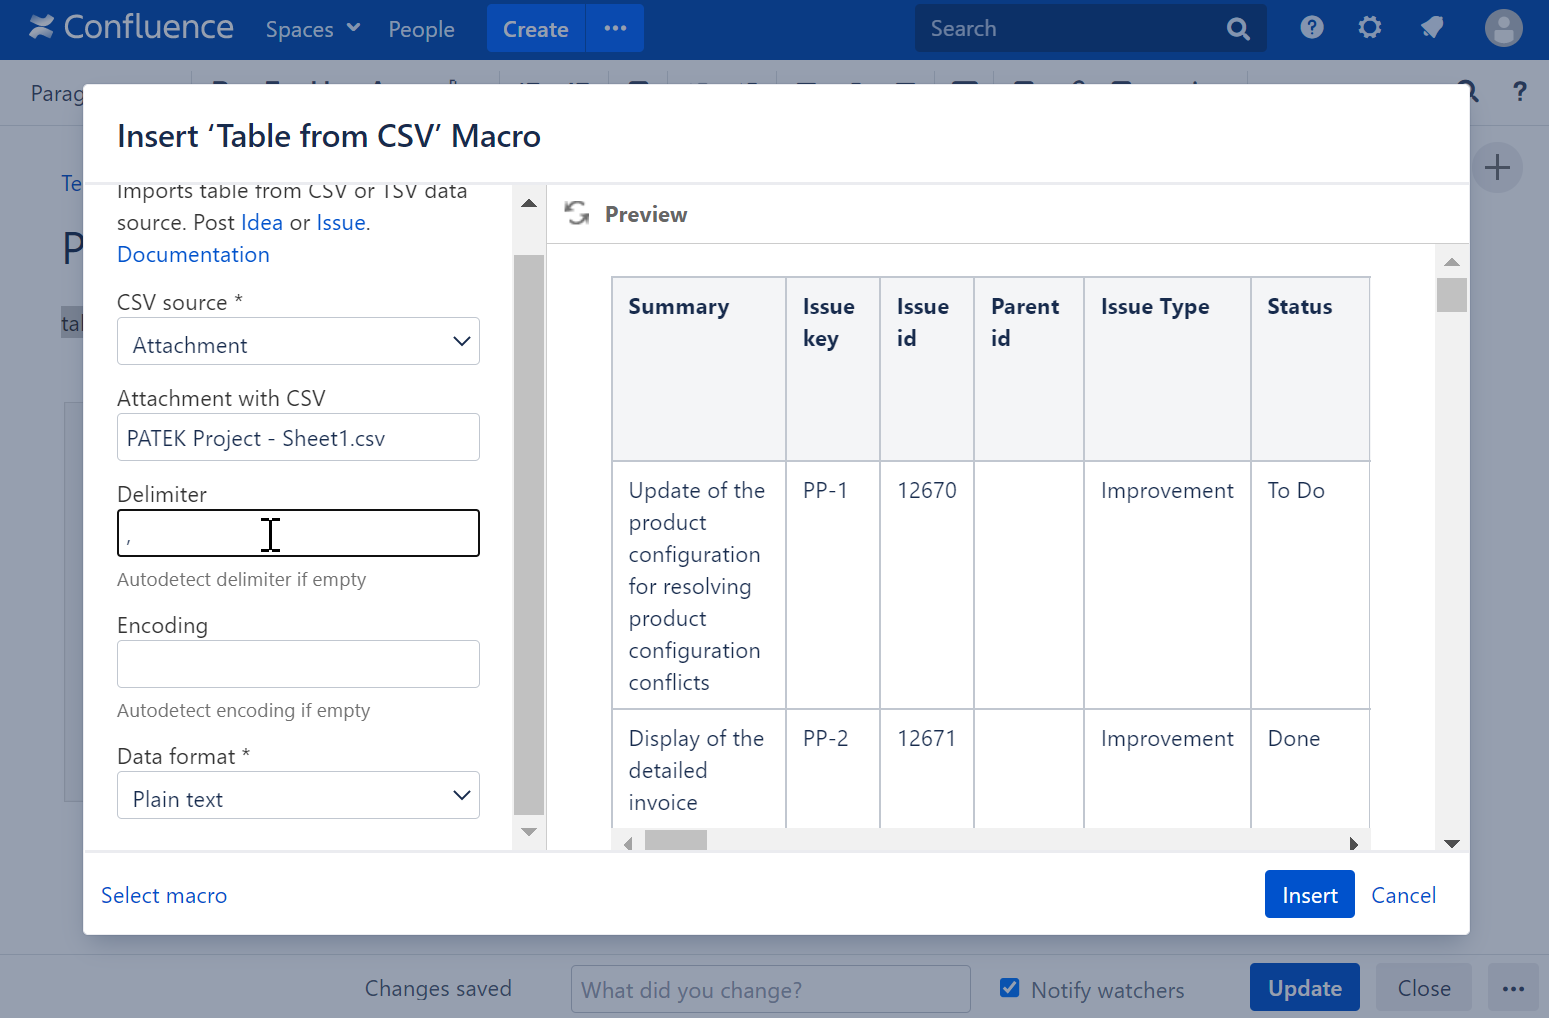
6. Specify a delimiter.
7. Save the macro and update the page.
Utilize the benefits of Excel-like spreadsheets right on your Confluence pages. Try spreadsheets for Confluence now!
Combine the Table from CSV macro with other macros bundled in the Table Filter, Charts & Spreadsheets app to process table data.
Storing authentication data
The login and password, or a custom authentication header, are encrypted with AES-256 using a secret key generated for your Confluence instance, and saved in the macro parameters.
The encrypted value works only in your Confluence instance and only for the protocol, host and path of the URL specified in the macro. The query string is not part of this binding. If the Prevent macro copy with credentials option is enabled, the value also works only on the page where it was created.
Any user who can view the page can reuse the encrypted value to request data from the same URL, without seeing the credentials in plain text. Removing their access to the page or re-saving the macro does not revoke it. To revoke access, change the password or token in the source system, then enter the new credentials in the macro.
We recommend using a dedicated account or token with read-only access to only the data you want to show on the page.
Custom Authentication with a Jira/Bitbucket/GitLab access token
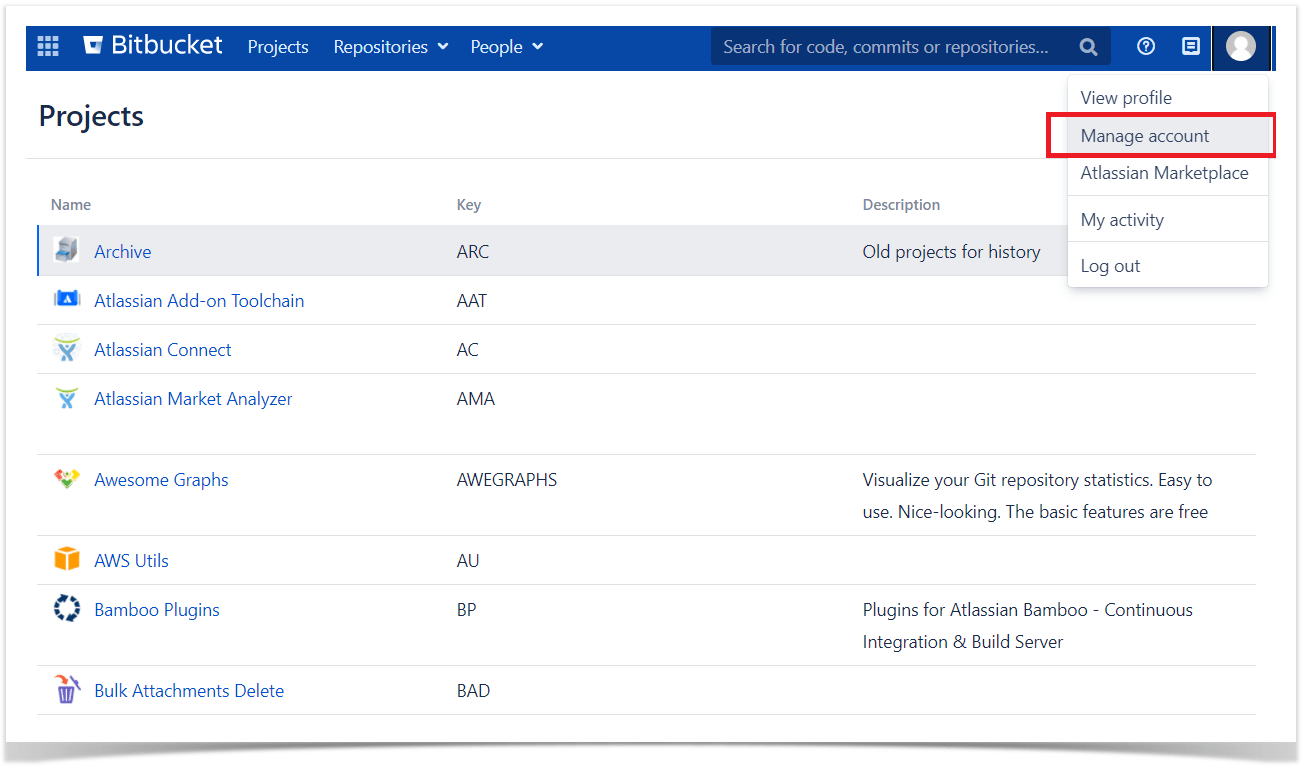
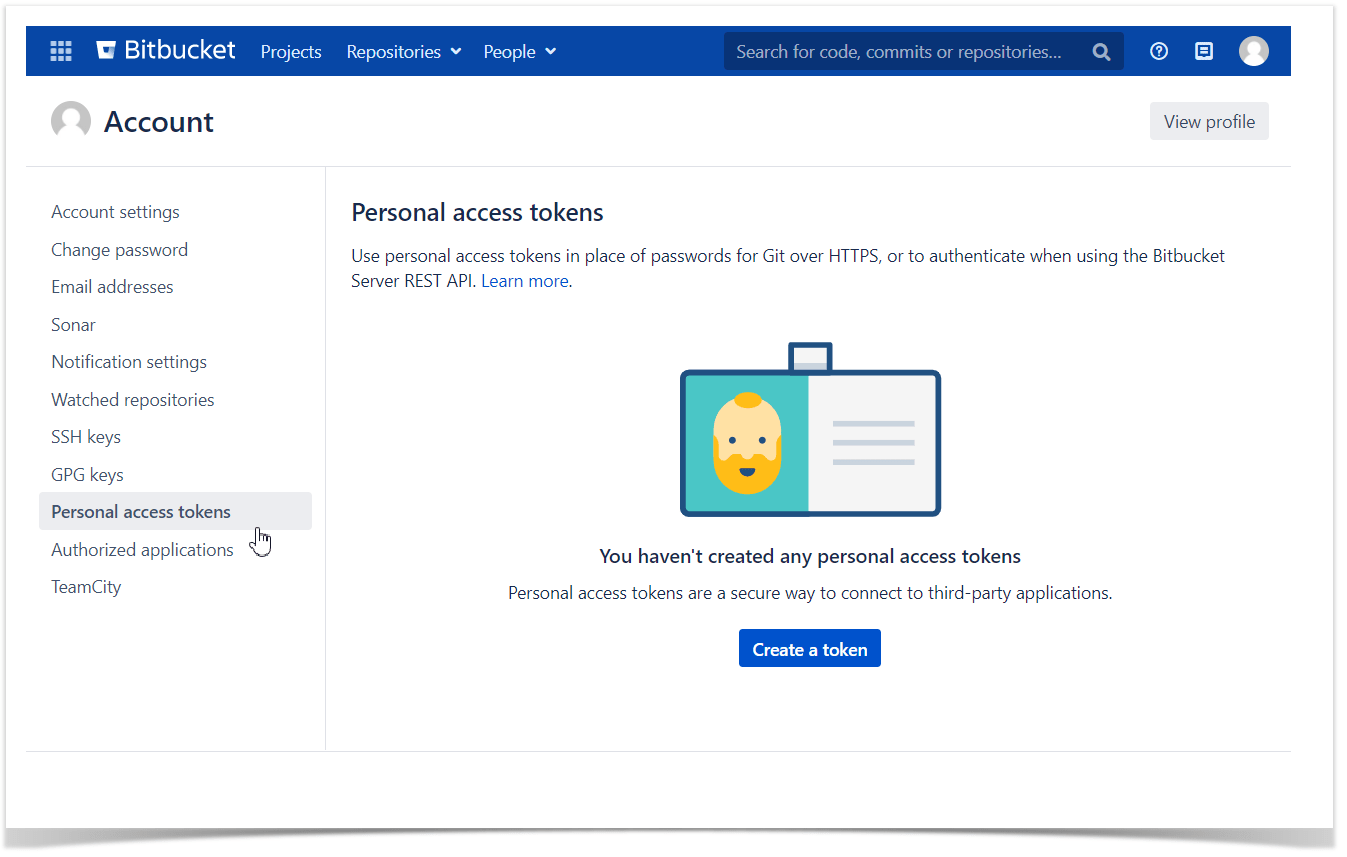
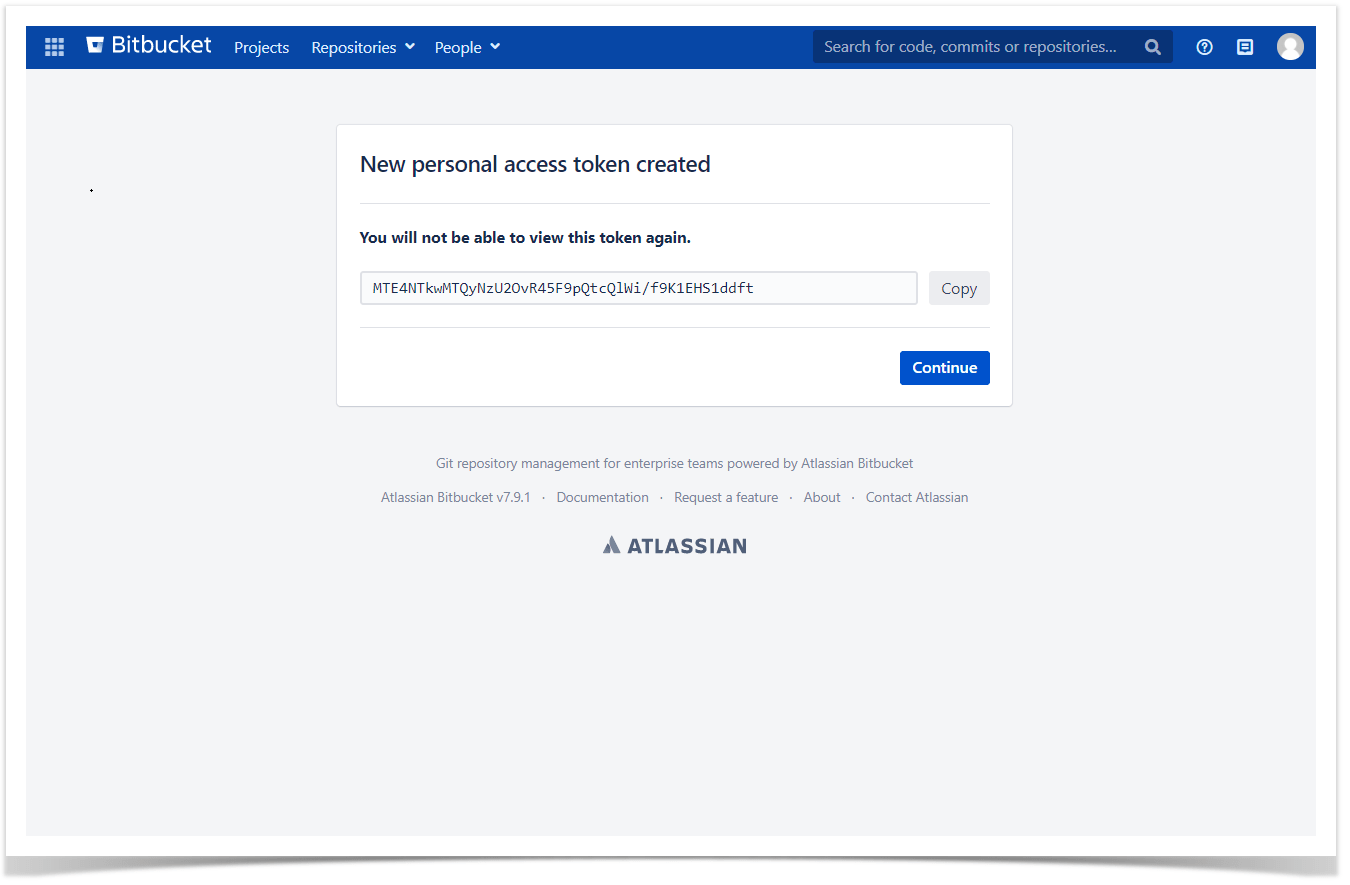
1. Create a personal access token in your Jira, Bitbucket or GitLab account
2. Insert the Table from CSV macro on the Confluence page
3. Add a URL to CSV.
To specify a correct URL for GitLab, visit its API documentation
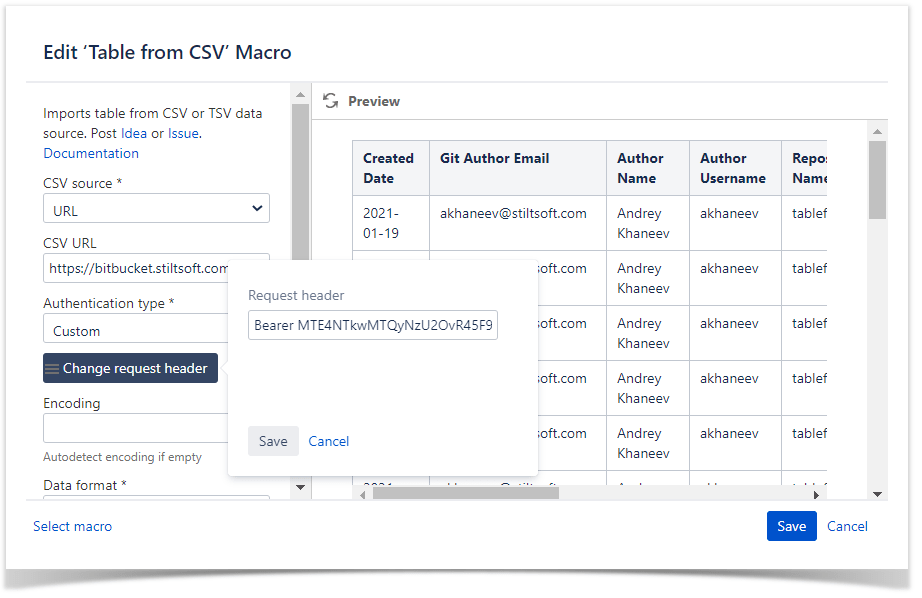
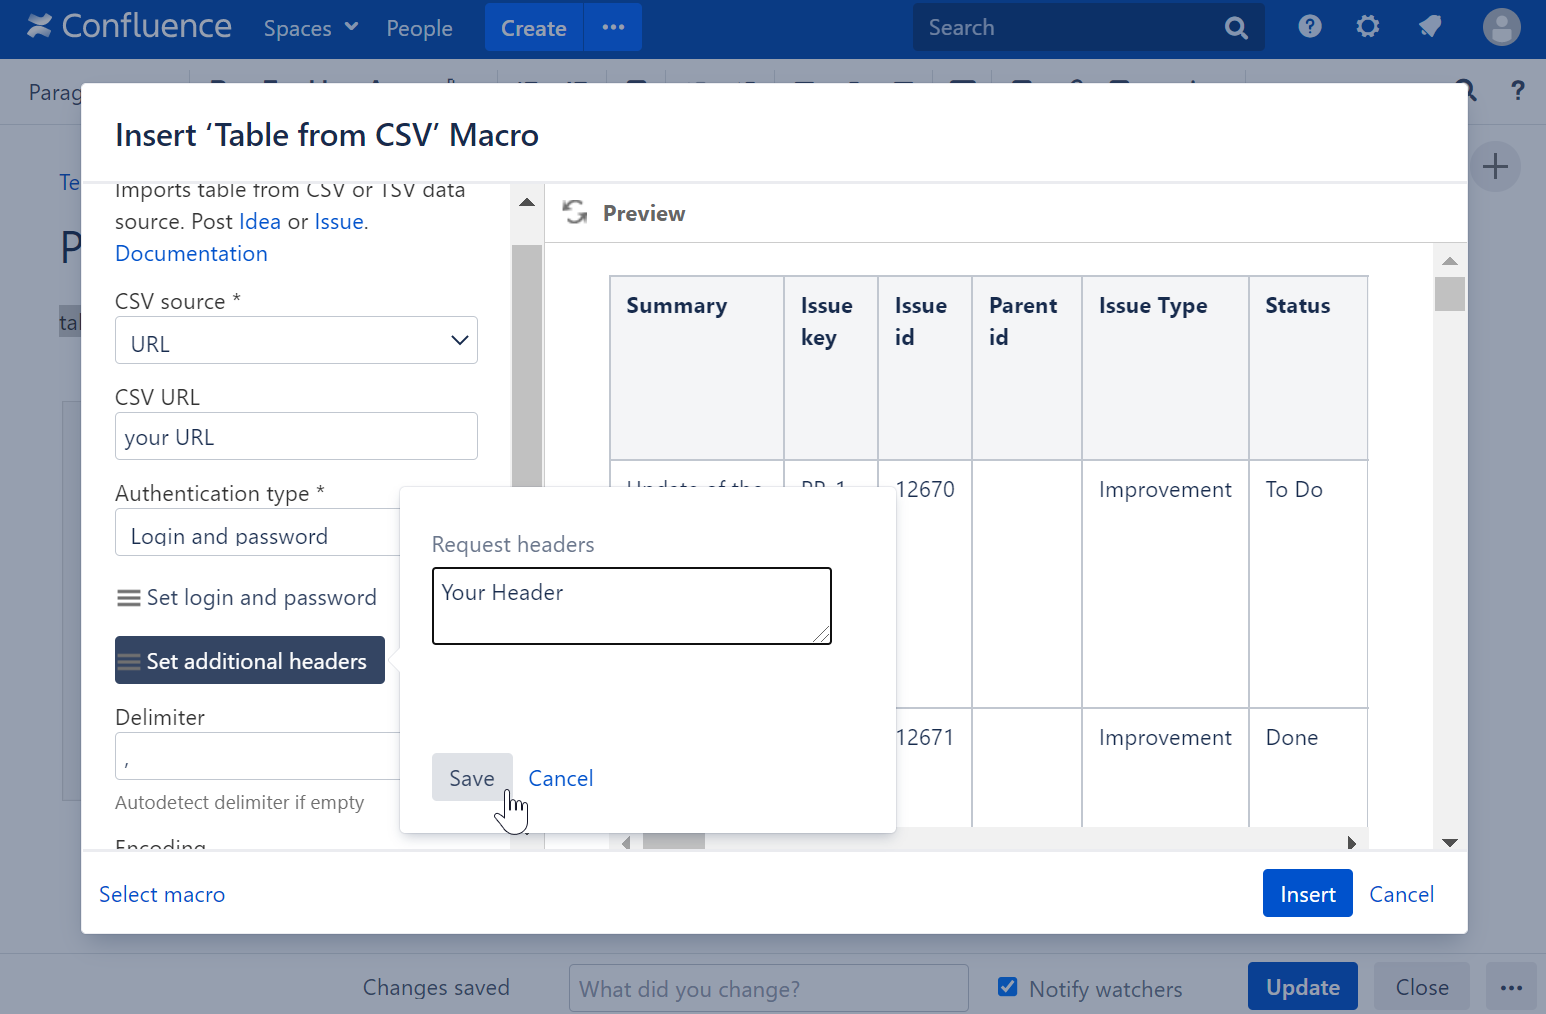
4. Select the Authentication type: Custom.
5. Use Bearer Auth without the username.
Change request header: Bearer Your_Token
6. Save Request header